Replacing a SIM card transfers your cellular service identity, your phone number and carrier connection, to the new SIM, so your phone can make calls, send texts, and use mobile data. It does not move your apps, photos, messages, or other personal data, which stay on the phone itself. This is the core of what does replacing SIM card do: it swaps your network identity, not your content.
What does replacing a SIM card do?
When you physically swap your SIM card, you are moving your cellular line from the old SIM to the new one. The new SIM identifies your line to the carrier network, allowing the phone to connect for calls, texts, and data. Your personal files, apps, photos, messages, and settings, remain untouched on the device, because they are stored in the phone’s internal storage, not on the SIM.
When you should replace your SIM card
You typically replace a SIM card in a few common situations. The most frequent is activating service on a new or replacement phone, where the new device needs your line transferred to its SIM tray. You also replace a SIM when the existing one is failed, damaged, lost, or stolen, since a broken SIM cannot hold your connection to the network. Switching carriers requires a new SIM from the new provider, and moving service to another compatible phone you already own also calls for a swap. Finally, a SIM replacement can restart cellular service after a SIM-related issue, such as persistent network errors or activation failures.
What a SIM replacement does not do
A SIM swap does not transfer your personal data. Apps remain on the phone and must be re-downloaded or restored from a backup if you move to a new device. Photos, videos, and documents stay in the phone’s storage. Text messages and call logs are not carried by the SIM, and your Wi-Fi passwords, wallpapers, and other settings are unaffected. The SIM only carries your subscriber identity, carrier details, and some network-specific information, so you should back up anything important before you swap, especially if you are moving to a new phone.
How to replace a SIM card in an iPhone
Apple’s documented steps for replacing a physical SIM in an iPhone are:
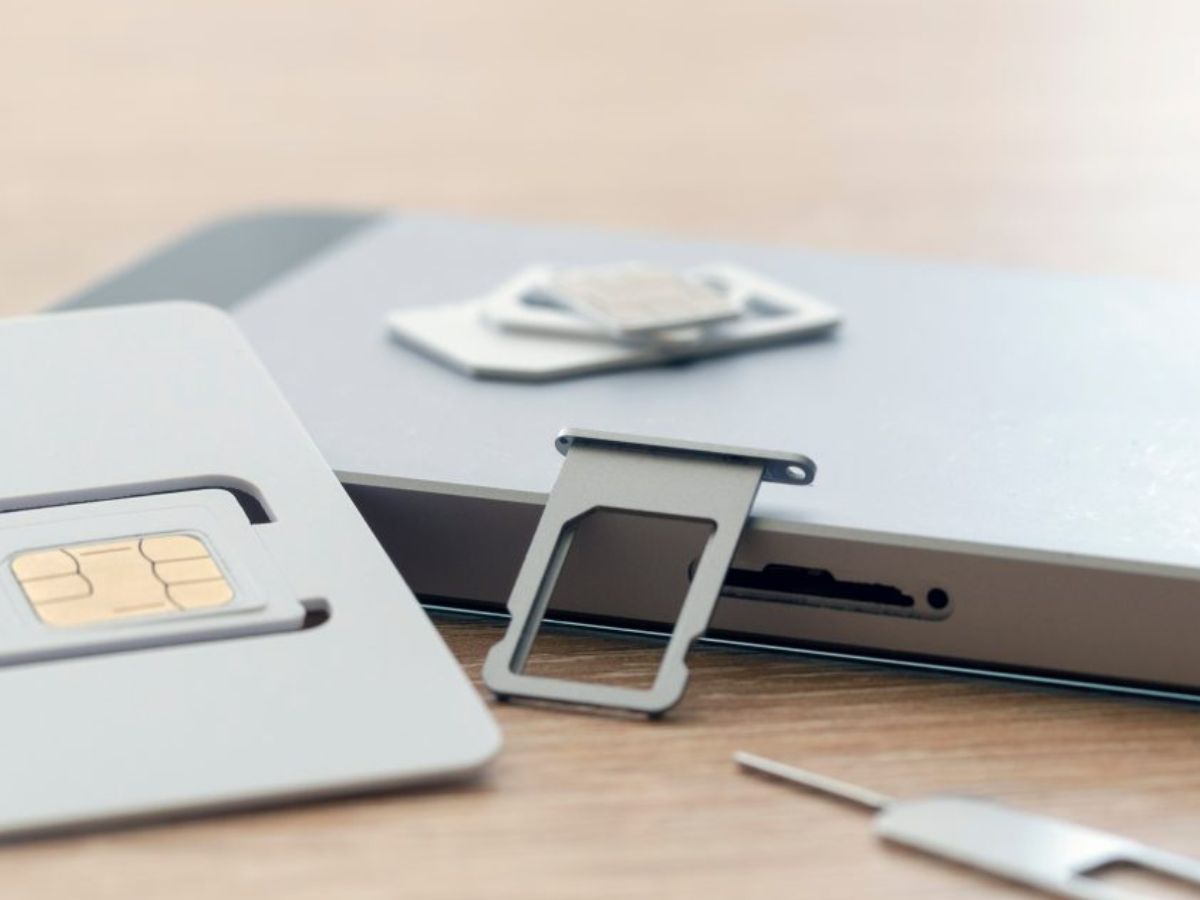
- Insert a paper clip or SIM-eject tool into the hole beside the SIM tray.
- Push in toward the iPhone, without forcing it.
- Remove the tray.
- Remove the old SIM.
- Place the new SIM in the tray; it fits only one way because of the notch.
- Reinsert the tray completely in the same orientation.
Apple says to use only the SIM tray that came with your iPhone. To find the tray, locate your model in Apple’s list of supported physical-SIM iPhones, which includes iPhone 12, iPhone 12 Pro, iPhone 12 Pro Max; iPhone 11, iPhone 11 Pro, iPhone 11 Pro Max; iPhone XS, iPhone XS Max, iPhone XR, iPhone X; iPhone SE (1st, 2nd, and 3rd generation); iPhone 8, iPhone 8 Plus, iPhone 7, iPhone 7 Plus; iPhone 6s, iPhone 6s Plus, iPhone 6, iPhone 6 Plus; and iPhone 5s, iPhone 5c, iPhone 5, iPhone 4s, and iPhone 4 (GSM model).
Critical note: iPhone models without a SIM tray support eSIM only. iPhone 14 models or later purchased in the United States can only be activated with an eSIM, and iPhone models without a physical SIM tray include iPhone 17e, iPhone 17, iPhone 17 Pro, and iPhone 17 Pro Max. In Hong Kong and Macao, certain iPhone models have Dual SIM with two nano-SIM cards.
How to replace a SIM card in an Android phone
Google’s Android help gives the basic steps for a standard SIM swap:
- Place your SIM card in the SIM tray.
- Put the SIM tray back into your device.
For Google Fi on Android, the documented SIM replacement flow is:
- Order a new SIM card from Google Fi’s website.
- Remove the failed SIM card from your phone.
- On the tray in SIM slot 1, correctly place the new SIM card.
- Restart your device by holding the power button for 30 seconds.
- Open the Google Fi app.
- Follow the on-screen instructions to activate the phone on the new SIM card.
Google Fi also says that if your device can't use eSIM and you must replace your SIM card, you should order a replacement on your Google Fi account. For transferring service on a Pixel during setup, Google says both devices must have Android 12 or later, the current version of Google Play Services, and screen lock set up. The steps are:
- Have the other device near.
- Go through setup.
- Choose the SIM you want to transfer.
- Tap Transfer or Activate.
- Wait for activation and follow the on-screen instructions.
Frequently Asked Questions
Can I transfer my contacts from my old SIM card to a new one?
Yes, if your contacts are saved to the SIM itself, you can copy them to the new SIM or to your phone’s storage. However, most modern phones store contacts in the cloud or on the device, so a SIM swap usually does not affect them.
How often should I replace my SIM card?
There is no set schedule; replace it only when it is damaged, lost, or when you switch phones or carriers. SIM cards are designed to last for years, and a working SIM does not need routine replacement.
Is it necessary to replace the SIM card when switching to a new phone?
Only if the new phone uses a different SIM size or is eSIM-only. If your current SIM fits the new phone and is compatible with the carrier, you can move it directly without ordering a replacement.
Will I lose my photos or apps if I replace my SIM card?
No. Photos, apps, and other personal data are stored on the phone, not the SIM. You will only lose data if you erase the phone itself, so back up your device before making any major changes.
What should I do if my new SIM card is not working?
Restart your phone first, then check that the SIM is seated correctly in the tray. If it still does not connect, contact your carrier to confirm the SIM is activated on your line.
For the wider topic, see SIM card information and costs.