
Whether you’re taking a break from social media or simply want to step back from certain online platforms, deactivating your account can be a useful option. Temporarily or permanently deactivating your account allows you to regain control over your online presence and take a much-needed breather. But how can you go about deactivating your account? In this article, we will guide you through the steps of temporarily or permanently deactivating your account on popular platforms. From social media giants like Facebook and Twitter to popular messaging apps like WhatsApp and Instagram, we will walk you through the process so that you can regain your privacy and enjoy a digital detox. So, if you’re wondering how to temporarily or permanently deactivate your account, read on for a step-by-step guide.
Inside This Article
- Temporary Deactivation
- Permanently Deactivating via Website
- Permanently Deactivating via Mobile App
- Steps to Reactivate Your Account
- Conclusion
- FAQs
Temporary Deactivation
Temporary deactivation is a great option if you just need a break from using a mobile app, but don’t want to permanently delete your account. It allows you to step away from the app for a while without losing all your data and settings.
To temporarily deactivate your account, you usually need to go to the app’s settings or account management section. Look for an option like “Deactivate Account” or “Temporarily Disable Account.”
Once you find the option, click on it and follow the prompts to confirm your decision. The app may ask you to provide a reason for deactivating or offer some alternative options to address your concerns.
Temporary deactivation usually means that your account will be hidden from other users and you won’t be able to access the app’s features. However, your data, such as messages, photos, and other personal information, will typically be preserved so you can retrieve it when you reactivate your account.
It’s important to note that the duration of temporary deactivation can vary depending on the app or platform. Some apps offer a specific time frame, such as 30 days, before the account is automatically reactivated. Others may allow you to choose the length of the deactivation period.
If you decide to reactivate your account before the designated time is up, you can usually do so by logging back into the app with your existing credentials. The app will guide you through the reactivation process, and you should regain access to all your previous data and settings.
Temporary deactivation can be a helpful tool if you want to take a break from a mobile app without permanently deleting your account. It provides a flexible option to step away temporarily and return when you’re ready.
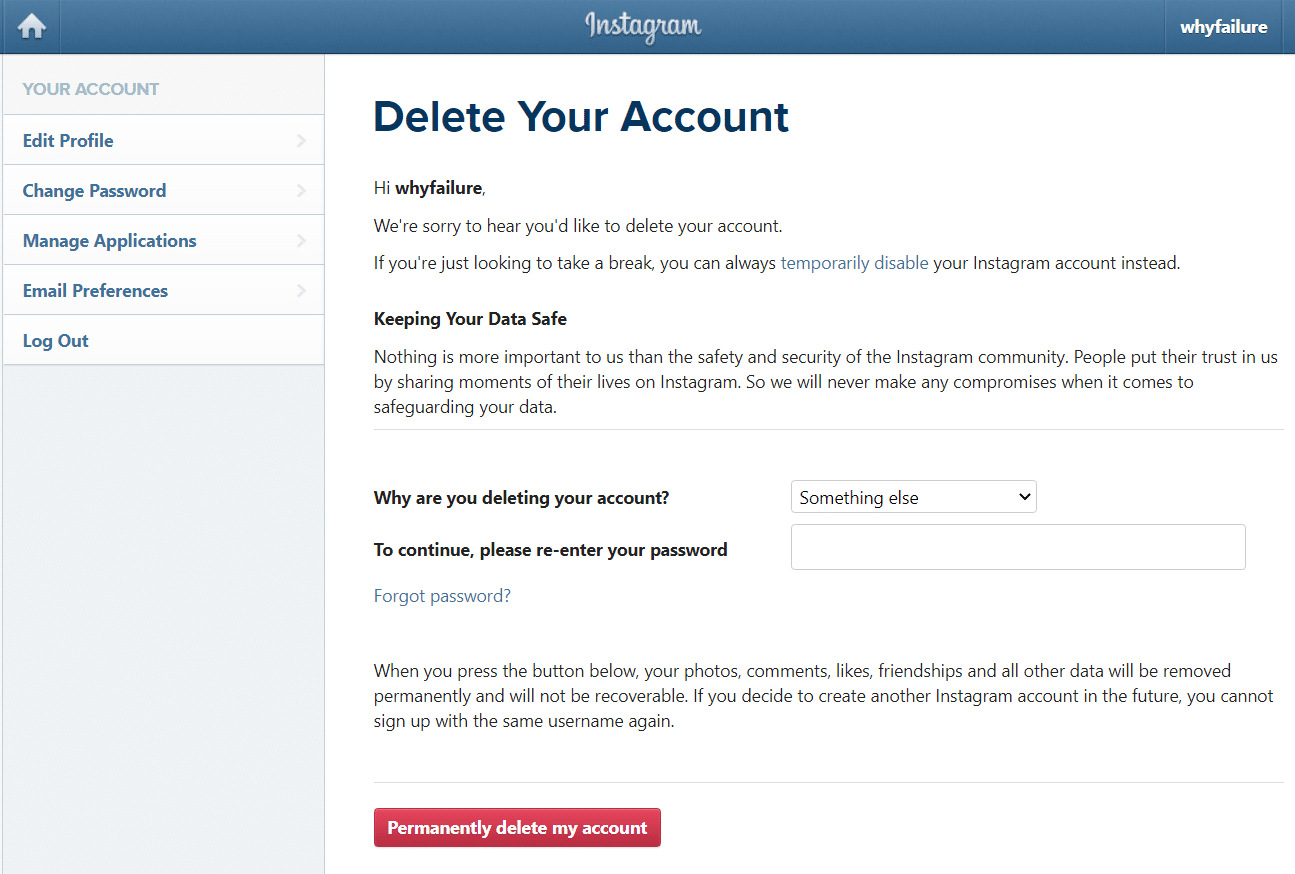
Permanently Deactivating via Website
Do you want to permanently deactivate your account on a website? You have come to the right place. In this section, we will guide you through the steps to permanently deactivate your account via a website.
First, ensure that you are logged into the website using your account credentials. Once you are logged in, navigate to your account settings. This can usually be accessed by clicking on your profile picture or username, and then selecting “Account Settings” or a similar option.
Within the account settings, look for the option to deactivate or delete your account. It may be listed under a privacy or security tab. Click on this option to begin the process of permanently deactivating your account.
Next, the website may ask you to provide a reason for your account deactivation. This step is optional and you can choose to skip it if you prefer. However, providing feedback can be helpful for the website to improve its services.
After submitting the deactivation request, the website may prompt you to confirm your decision. This is an additional security measure to prevent accidental deletions. Take a moment to review your decision and confirm the permanent deactivation of your account.
Once the confirmation is complete, your account will be permanently deactivated. Keep in mind that this action is irreversible, and you will lose access to all associated data and services. If you change your mind in the future, you will need to create a new account.
It’s important to note that the steps to permanently deactivate your account may vary slightly depending on the website. If you cannot find the deactivation option in your account settings, try consulting the website’s help center or contact their customer support for guidance.
By following these steps, you can securely and easily deactivate your account on a website, ensuring that your personal information and data are no longer accessible.
Permanently Deactivating via Mobile App
If you have made the decision to permanently deactivate your account, you can easily do so via the mobile app. Follow these simple steps to ensure your account is deactivated:
1. Open the mobile app on your device.
2. Login to your account if you haven’t already.
3. Access the settings menu. This can typically be found by tapping on your profile picture or the three horizontal lines at the top of the screen.
4. Scroll through the settings menu until you find the option for account settings.
5. Once in the account settings, look for the option to deactivate your account.
6. Tap on the deactivate account option and carefully review the information presented. Make sure you understand the consequences of permanently deactivating your account.
7. If you are certain about your decision, tap on the confirm button to proceed with the deactivation process.
8. You may be asked to enter your password to authenticate the deactivation. This is to ensure that only authorized individuals can deactivate the account.
9. After confirming the deactivation, the app will proceed to permanently deactivate your account. You will no longer be able to access your account or use any features associated with it.
10. It’s important to note that once you have deactivated your account, your profile and all associated data will be permanently deleted. This includes your photos, messages, and any other information stored within the app.
If you change your mind and decide to come back, you will need to create a new account. Keep in mind that your previous account and its data cannot be recovered once it has been permanently deactivated.
So, before proceeding with the permanent deactivation, make sure it’s a decision you are truly comfortable with. Take the time to consider your options and the potential impact of permanently deactivating your account.
Steps to Reactivate Your Account
If you have previously deactivated your account and now wish to reactivate it, you can follow these simple steps:
- Launch the mobile app or visit the website of the platform.
- Enter your login credentials, including your username and password.
- Once logged in, navigate to the account settings or profile section.
- Look for an option that says “Reactivate Account” or similar.
- Click on the option to begin the reactivation process.
- Depending on the platform, you may need to provide additional information or complete certain verification steps.
- Follow the prompts and instructions provided by the platform.
- Review the terms and conditions, and privacy policy if required.
- Confirm your decision to reactivate your account.
- Wait for the reactivation process to complete.
Once the reactivation process is complete, you should have access to your account again. It is important to note that the exact steps may vary depending on the platform you are using, so it is always recommended to refer to the official documentation or support resources provided by the platform for the most accurate instructions.
Conclusion
In conclusion, deactivating or permanently deleting your account can provide a temporary or permanent solution for various reasons. Whether you need a break from social media or no longer find value in a particular platform, the option to deactivate or delete your account gives you control over your online presence. It’s important to consider the consequences and implications of deactivating or permanently deleting your account, as it may impact your access to certain features, connections, or data. Additionally, make sure to review the platform’s terms and conditions to understand the process and any potential limitations. Ultimately, the decision to deactivate or permanently delete your account is a personal one, and it’s essential to weigh the pros and cons based on your individual circumstances.
FAQs
1. How do I temporarily deactivate my account?
To temporarily deactivate your account, just follow these simple steps:
1. Log in to your account.
2. Go to your account settings.
3. Look for the option to deactivate your account.
4. Click on it and confirm your decision.
5. Your account will be temporarily deactivated and you can reactivate it whenever you’re ready.
2. Can I reactivate my account after deactivating it?
Yes, you can reactivate your account after deactivating it. Simply log in to your account using your previous login credentials, and your account will be reactivated.
3. What happens to my data when I deactivate my account?
When you deactivate your account, your data is temporarily hidden from other users. However, it is stored securely on the server. Your data will be readily available when you reactivate your account.
4. How long can I keep my account deactivated?
You can keep your account deactivated for as long as you want. There is no time limit for how long your account can remain deactivated. Once you’re ready to use it again, simply reactivate it.
5. Can I permanently deactivate my account?
Yes, you have the option to permanently deactivate your account. However, it is important to note that this action is irreversible. Permanently deactivating your account means that all your data, including your profile and any content associated with it, will be permanently removed from the platform. Make sure you have a backup of any important information before choosing this option.