
In today’s digital age, where smartphones have become an integral part of our lives, capturing and sharing videos has become more accessible than ever. Whether you’re a social media influencer, a vlogger documenting your travels, or simply looking to add a creative touch to your personal videos, having the ability to edit videos right from your Android phone is a game-changer.
Editing videos on Android devices has come a long way, with numerous powerful apps available on the Google Play Store. These apps offer a wide range of features, allowing you to trim and merge clips, apply filters, add music, captions, and much more. So, if you’re eager to learn how to edit videos on your Android phone, you’ve come to the right place!
Inside This Article
- Importing and Organizing Video Clips
- Trimming and Clipping Video Segments
- Applying video effects and filters
- Importing and Organizing Video Clips
- Trimming and Clipping Video Segments
- Applying Video Effects and Filters
- Adding Transitions and Overlays
- Conclusion
- FAQs
Importing and Organizing Video Clips
Editing videos on Android devices has become increasingly popular, thanks to the vast array of powerful video editing apps available. Whether you want to create professional-quality videos for social media or simply enhance your personal video projects, organizing your video clips is an essential first step. Here’s a step-by-step guide on how to import and organize video clips on Android:
- Choose the Right Video Editing App: Before you start organizing your video clips, it’s important to choose a reliable video editing app that suits your needs. With a variety of options available, take your time to research and find an app that offers a user-friendly interface and the features you require.
- Import Videos from Your Gallery: Most video editing apps allow you to import videos from your device’s gallery. Open the app and select the option to import videos. You will be able to browse through your gallery and choose the desired video clips.
- Create a New Project: Once you have imported the desired video clips, create a new project within the video editing app. This will allow you to organize your clips effectively and work on them easily.
- Arrange Clips in a Timeline: Drag and drop the video clips on the timeline in the desired order. This step is crucial to ensure the flow and coherence of your edited video. Rearrange the clips by simply tapping and dragging them to new positions.
- Rename and Tag Clips: To make it easier to identify and locate specific clips, consider renaming and adding tags to them. This can be done within the app’s organization or project management settings. By assigning meaningful names and tags, you can quickly search for and locate specific clips in larger projects.
- Create Folders or Albums: Some video editing apps allow you to create folders or albums to further organize your video clips. This is particularly helpful when you are working on multiple projects or have a large number of clips. Group related clips together in separate folders for easy access and organization.
- Add Metadata: If your video editing app supports it, take advantage of adding metadata to your video clips. This can include information such as location, date, or even a brief description of the clip. Metadata can be useful not only for organization but also for making it easier to search for specific clips based on specific criteria.
By following these steps, you can ensure that your video clips are organized, easily accessible, and ready for the next stage of the video editing process. Taking the time to organize your clips from the start will save you time and effort in the long run, allowing you to focus on the creative aspects of video editing on your Android device.
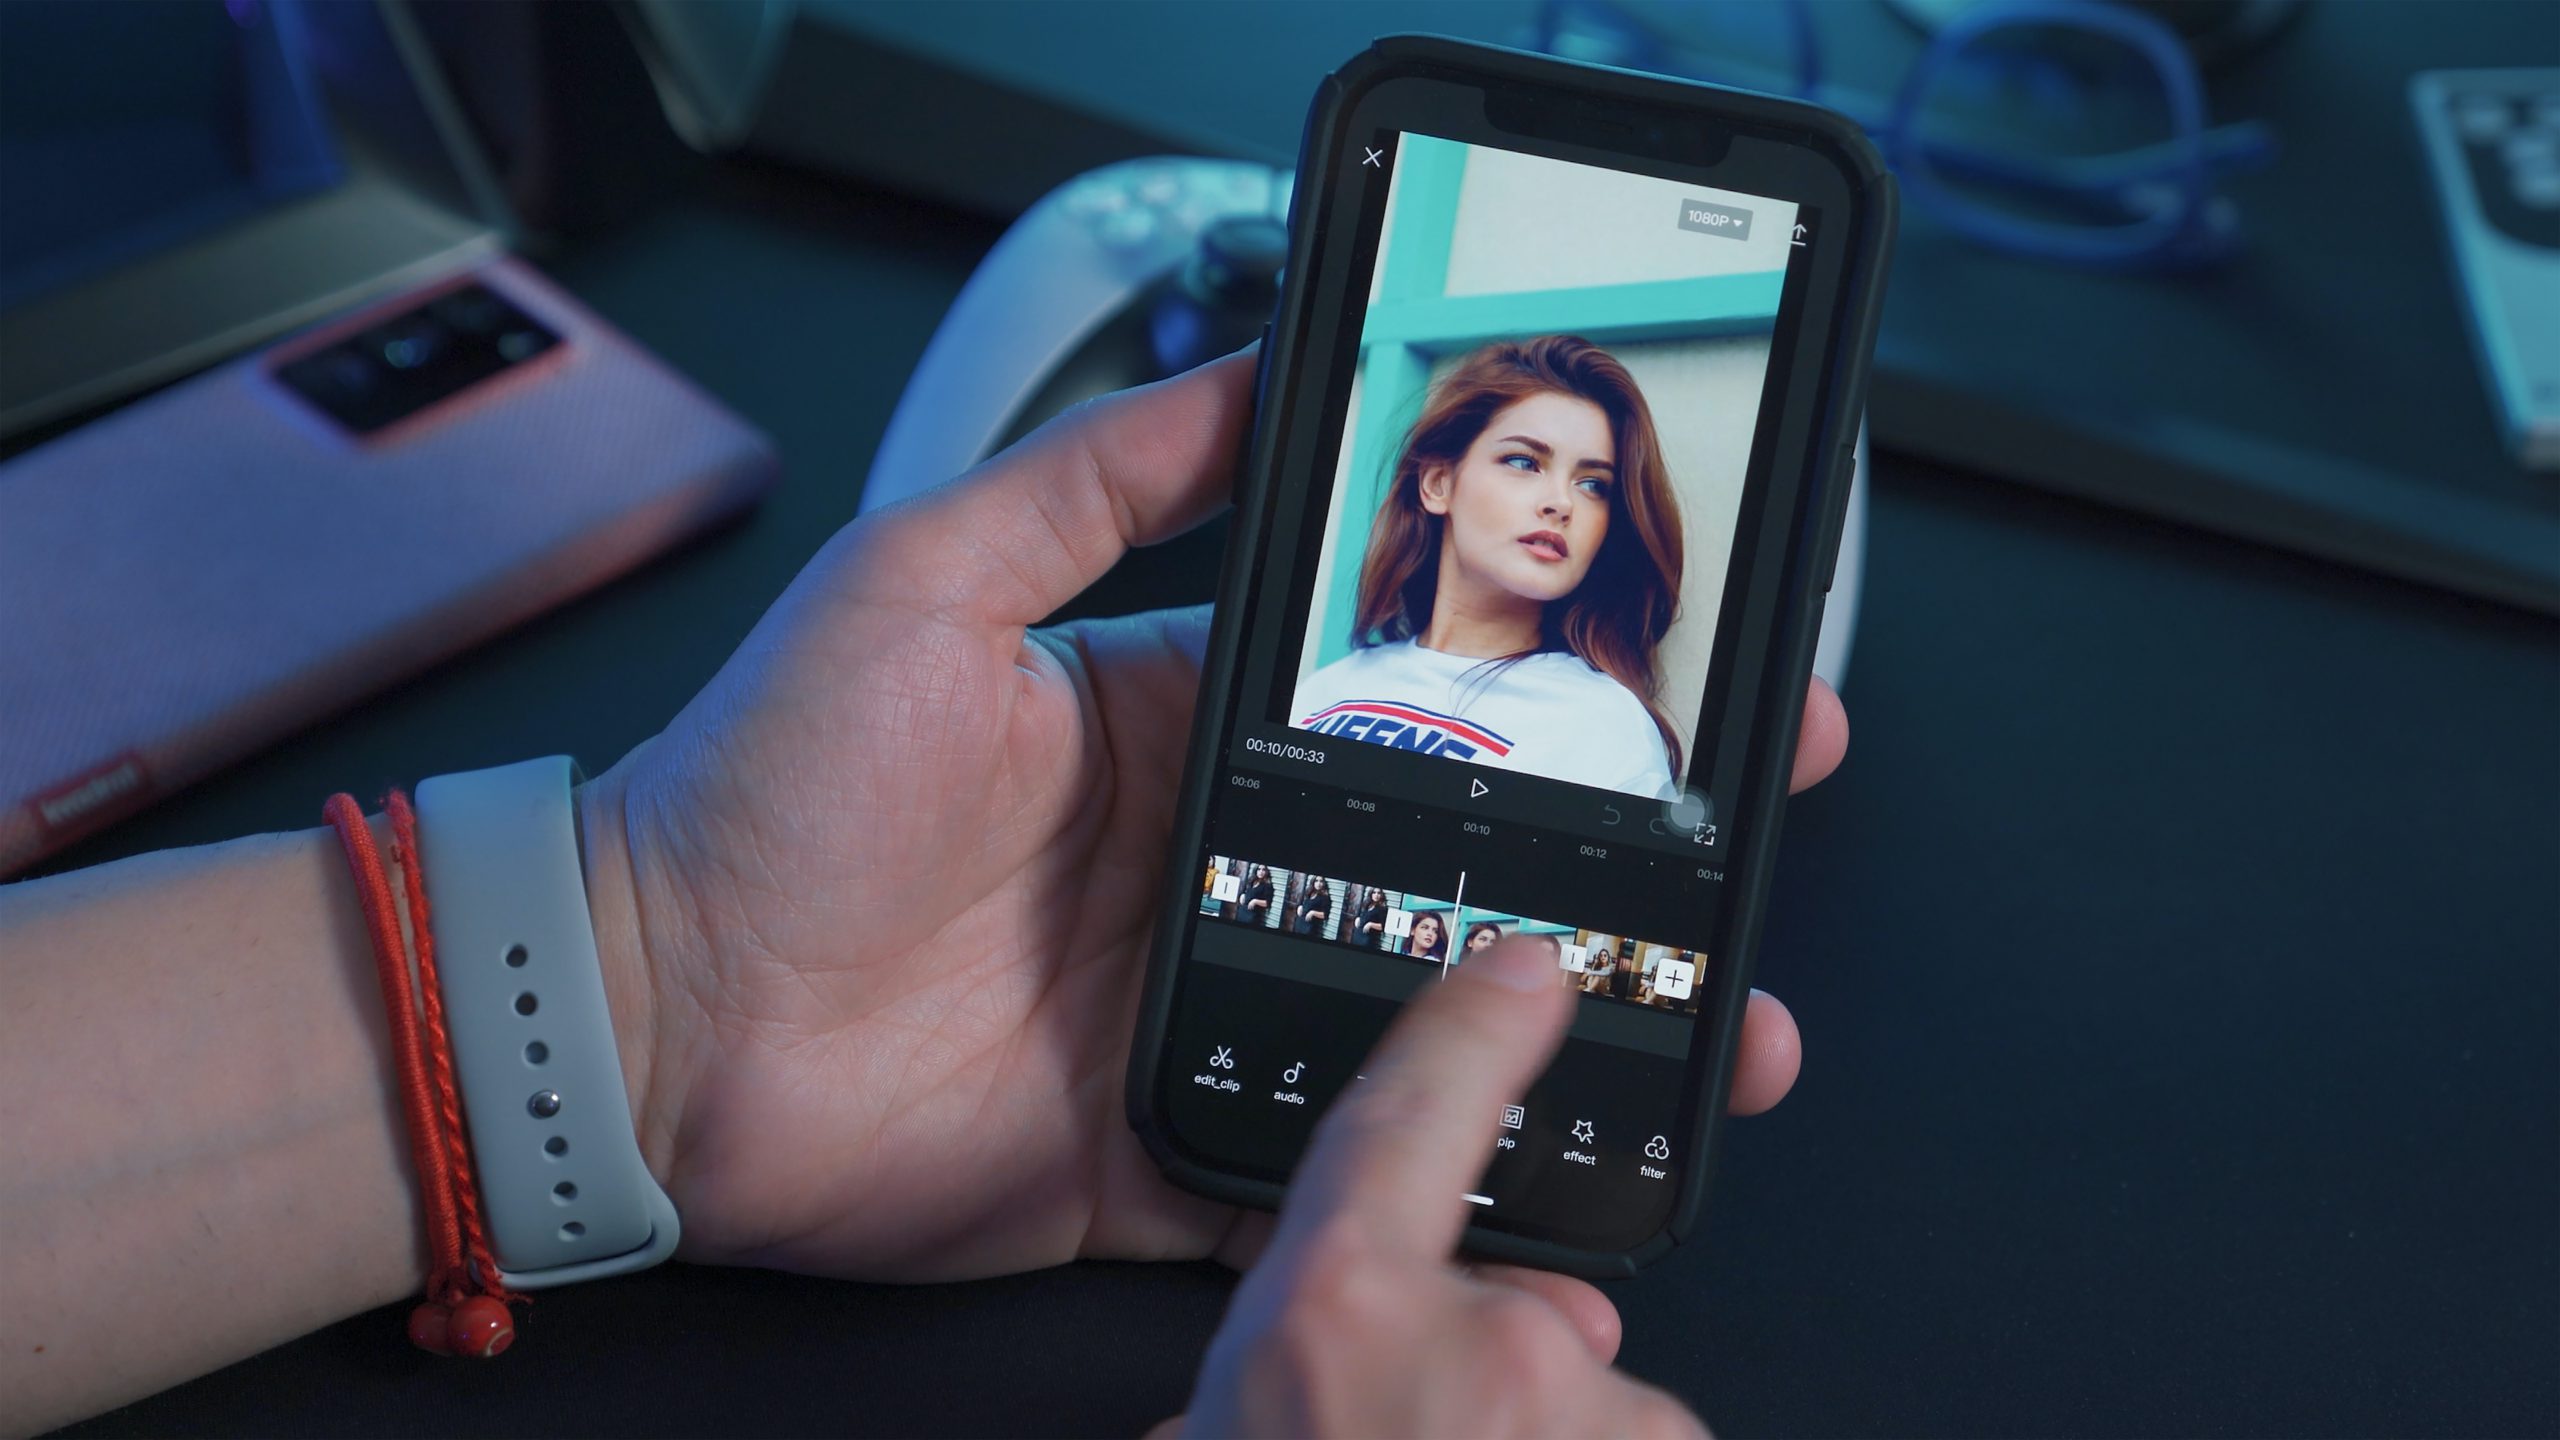
Trimming and Clipping Video Segments
When it comes to editing videos on your Android device, one of the most important tasks is trimming and clipping video segments. This allows you to remove unwanted parts of the video and create a more polished and concise final product. Here are some tips and techniques to help you effectively trim and clip video segments on your Android:
- Choose the right video editing app: There are numerous video editing apps available on the Google Play Store that offer the ability to trim and clip video segments. Do some research and choose an app that suits your needs and preferences.
- Import the video: Once you have selected your preferred video editing app, import the video footage into the app. You can either import the video directly from your device’s gallery or shoot a new video using the app’s built-in camera feature.
- Identify the segments to be trimmed: Play the video in the editing timeline and identify the sections you want to trim or clip. Take note of the start and end points for each segment.
- Use the trim and clip tools: Most video editing apps provide intuitive trimming and clipping tools. These tools allow you to easily select the desired segment and remove the unwanted parts. Simply drag the trim handles or adjust the time markers to set the start and end points of each segment.
- Preview and fine-tune: After trimming and clipping the video segments, use the preview feature to play back the edited video. This allows you to review the changes and make any necessary adjustments. If you’re not satisfied with the results, you can always go back and retrim the segments.
- Save and export: Once you’re happy with the trimmed and clipped segments, save the edited video. The video editing app will provide options to save the video in different formats and resolutions, depending on your preferences. Choose the desired settings and export the final video.
Trimming and clipping video segments is an essential part of the video editing process on Android devices. By removing unnecessary footage, you can create more engaging and concise videos. Whether you’re creating content for social media, vlogs, or professional projects, mastering the art of trimming and clipping can greatly enhance the quality of your videos.
Applying video effects and filters
When it comes to creating visually stunning videos, applying video effects and filters can take your footage to the next level. Whether you want to add a cinematic feel, enhance colors, or apply artistic effects, there are plenty of options available on Android devices. Let’s explore how you can apply video effects and filters to make your videos stand out.
1. Built-in editing tools: Many Android video editing apps come with built-in effect libraries that offer a range of options. You can find features like color correction, brightness adjustment, saturation control, and more. These tools can help you enhance the overall look and feel of your video.
2. Filters and presets: Android video editing apps often provide a variety of filters and presets that can be easily applied to your footage. These filters can change the mood, style, and tone of your video, allowing you to create a specific aesthetic. Whether you want to give your video a vintage vibe or a futuristic look, filters provide a quick and easy way to achieve the desired effect.
3. Special effects: Android video editing apps also offer a range of special effects that can add dynamic elements to your videos. From adding explosions and fireworks to creating slow-motion or time-lapse effects, these features allow you to unleash your creativity and make your videos more engaging and captivating.
4. Transition effects: Transition effects are particularly useful when you want to smoothly transition between different video clips or scenes. Android video editing apps often include a wide variety of transition effects, such as fades, wipes, and slides. These effects can help make your videos look polished and professional.
5. Customization options: In addition to pre-built effects and filters, many Android video editing apps also allow for customization. You can tweak settings such as intensity, duration, and application order to create a personalized look that matches your creative vision.
6. Real-time preview: One advantage of editing videos on Android is the ability to preview the applied effects and filters in real-time. This allows you to make adjustments and see the changes instantly, ensuring that you get the desired result before finalizing your edits.
Remember, while adding effects and filters can enhance your videos, it’s important to use them in moderation. Avoid going overboard with effects that can distract from the content of your video. Experiment with different options, explore the possibilities, and let your creativity shine!
Importing and Organizing Video Clips
When it comes to editing videos on your Android device, the first step is to import and organize the video clips you want to work with. There are several ways to do this:
- Connect your Android device to your computer using a USB cable and transfer the video clips to your device.
- Use a file manager app on your Android device to locate and access the video clips stored on your device or SD card.
- Download video clips directly from the internet or capture videos using your device’s camera.
Once you have your video clips ready, you can use a video editing app to organize them into a timeline or storyboard. This allows you to rearrange and sequence the clips in the order you desire.
Additionally, you can add titles, descriptions, and tags to your video clips, making it easier to search and categorize them. This will ensure that your video library remains well-organized and easily accessible for future editing projects.
Trimming and Clipping Video Segments
Trimming and clipping video segments is an essential part of video editing, as it allows you to remove unwanted parts and focus on the most important content. Here’s how you can do it on your Android device:
- Open your video editing app and import the video clip you want to trim or clip.
- Locate the timeline or storyboard where you can see the video clip.
- Select the portion of the clip you want to remove or trim by swiping or dragging the handles at the beginning and end of the segment.
- Tap the “Trim” or “Cut” button to remove the selected portion of the clip.
By trimming and clipping video segments, you can eliminate any unnecessary footage, create seamless transitions, and highlight the best moments of your videos.
Applying Video Effects and Filters
One of the great features of video editing apps on Android is the ability to enhance your videos by applying various effects and filters. Here’s how you can do it:
- Open your video editing app and import the video clip you want to edit.
- Look for the “Effects” or “Filters” tab, where you can find a wide range of options to choose from.
- Select the effect or filter you want to apply to your video clip.
- Adjust the intensity or settings of the effect to achieve the desired result.
- Preview the changes and apply the effect to your video.
By applying video effects and filters, you can give your videos a professional touch, adjust the colors, add visual enhancements, or even create a specific mood or theme.
Adding Transitions and Overlays
Transitions and overlays are powerful tools that can add visual interest and professionalism to your videos. Here’s how you can use them:
- Open your video editing app and import the video clip you want to edit.
- Look for the “Transitions” or “Overlays” tab, where you can find a variety of options to choose from.
- Select the transition or overlay you want to add to your video clip.
- Adjust the duration or placement of the transition or overlay for seamless integration.
- Preview the changes and apply the transition or overlay to your video.
Transitions can be used to create smooth and seamless transitions between different video clips, while overlays can add graphics, text, or additional visual elements to enhance your videos.
Conclusion
Editing videos on Android has become easier than ever before, thanks to the variety of editing apps available on the market. Whether you’re a professional videographer or someone who simply loves creating and sharing videos, these apps offer a range of features and tools to help you bring your vision to life.
With the ability to trim, cut, merge, add effects, and enhance the quality of your videos, these Android video editing apps offer functionality that rivals desktop software. The convenience of being able to edit videos on your smartphone or tablet means that you can work on your projects anytime and anywhere.
When choosing a video editing app for Android, consider your specific needs and preferences. Some apps specialize in simple editing tasks, while others offer advanced features for more complex projects. It’s also important to check the app’s compatibility with your device and ensure it offers the necessary export options for sharing your edited videos.
By exploring and experimenting with different Android video editing apps, you’ll be able to find the one that best suits your style and requirements. So get ready to unleash your creativity, capture stunning videos, and edit them to perfection with the power of Android video editing apps!
FAQs
1. Can I edit videos on my Android device?
Absolutely! Android devices offer a wide range of video editing apps that allow you to edit videos right from your phone or tablet. With these apps, you can trim and merge videos, add filters and effects, adjust the brightness and contrast, and much more.
2. Which video editing app is the best for Android?
There are several excellent video editing apps available for Android, catering to different needs and preferences. Some popular choices include Adobe Premiere Rush, Kinemaster, FilmoraGo, and PowerDirector. It’s a good idea to try out a few apps and find the one that suits your requirements the best.
3. Can I edit videos in 4K resolution on Android?
Yes, many Android video editing apps support 4K resolution editing. However, it’s important to note that the capability to edit 4K videos may vary depending on your device’s hardware specifications and the app you are using. Make sure to check the app’s features and requirements before editing videos in 4K.
4. Will editing videos on my Android device affect their quality?
When you edit videos on an Android device, there is a possibility of some loss in quality, especially if you make extensive edits or export the video in a lower resolution. However, modern video editing apps strive to maintain the original quality as much as possible. It’s always a good idea to use high-quality source footage and choose a reputable app for editing to minimize any loss in quality.
5. Are there any free video editing apps for Android?
Yes, there are plenty of free video editing apps available for Android. Apps like VivaVideo, InShot, and Quik offer a range of editing features at no cost. Although free apps may have certain limitations or show ads, they can still provide a solid editing experience for casual users. If you require advanced features or want to remove ads, you may opt for the paid versions or consider subscription plans offered by the app developers.