
Are you having trouble with your Android device? Whether it’s slow performance, freezing issues, or simply the need for a fresh start, a factory reset can often be the solution. In this article, we will guide you through the process of factory resetting an Android device, giving it a clean slate and restoring it to its original settings. A factory reset not only fixes software glitches, but it also removes all personal data, apps, and settings, so it’s important to back up any important information before proceeding. So, if you’re ready to give your Android device a fresh start, let’s dive into the step-by-step process of performing a factory reset!
Inside This Article
- How To Factory Reset An Android
- Introduction
- Reasons to Factory Reset an Android Device
- Backup Your Data Before Factory Resetting
- Method 1: Using the Settings Menu to Factory Reset
- Method 2: Using Recovery Mode to Factory Reset
- Backup Your Data
- Performing a Factory Reset
- Restoring Your Device
- Conclusion
- FAQs
How To Factory Reset An Android
Factory resetting your Android device can be a useful solution in various situations. Whether you’re experiencing performance issues, encountering software glitches, or preparing to sell or give away your device, a factory reset can help restore your Android to its original state. In this guide, we’ll walk you through two methods of performing a factory reset on an Android device.
Reasons to Factory Reset an Android Device
There are several reasons why you might consider doing a factory reset on your Android device:
- Restoring Performance: Over time, your Android device may become slow or unresponsive due to accumulated junk files, outdated software, or conflicting apps. A factory reset can help improve performance by wiping away unnecessary data and resetting the device to its default settings.
- Fixing Software Issues: If your device is experiencing frequent crashes, app freezes, or other software-related problems, a factory reset can often resolve these issues. It clears out any corrupt files or settings that may be causing the problems.
- Selling or Giving Away Your Device: Before selling or giving away your Android device, it’s crucial to remove all personal data and accounts. A factory reset ensures that your data is erased and the device is restored to its factory settings, protecting your privacy.
Backup Your Data Before Factory Resetting
Before proceeding with a factory reset, it’s essential to back up any important data you have on your Android device. This includes photos, videos, contacts, messages, and any other files you want to keep. There are several ways to back up your data, such as using cloud storage services or transferring files to an external storage device like an SD card or USB drive.
Method 1: Using the Settings Menu to Factory Reset
This method is suitable if your Android device is still functioning properly and you can access its settings menu. Here’s how to perform a factory reset through the settings:
- Open the Settings app on your Android device. It’s usually represented by a gear icon in your app drawer or notification panel.
- Scroll down and tap on the “System” option or “System & Device” depending on your device.
- Select “Reset” or “Advanced” options, followed by “Reset options.”
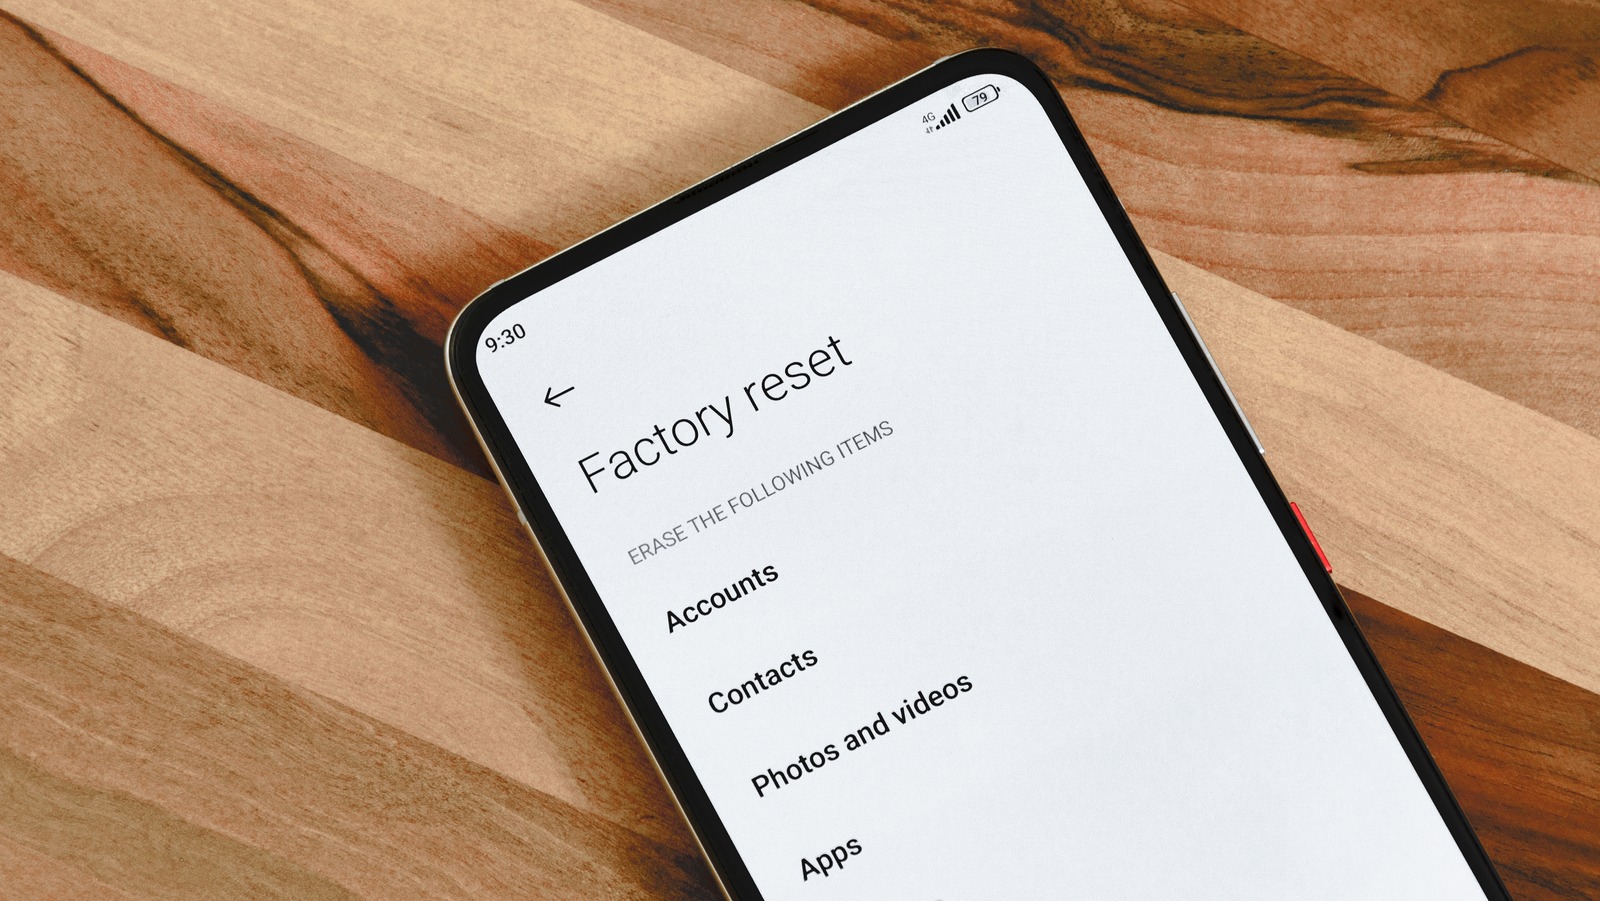
- Tap on “Erase all data (factory reset)” or a similar option.
- Review the information and confirm the reset by tapping on “Reset” or “Delete all.”
Your Android device will then begin the factory reset process. It may take a few minutes to complete, and your device will restart once the reset is finished. Follow the on-screen instructions to set up your device as new or restore from a backup if you have one.
Method 2: Using Recovery Mode to Factory Reset
If your Android device is unresponsive or you’re unable to access the settings menu, you can perform a factory reset using recovery mode. The steps to access recovery mode can vary depending on the device model, but here’s a general guide:
- Turn off your Android device completely.
- Press and hold the Volume Up button and the Power button simultaneously until the device logo appears.
- Release the Power button but continue holding the Volume Up button until the Android recovery menu appears.
- Use the Volume Up and Volume Down buttons to navigate through the menu options, and use the Power button to select “Factory Reset,” “Wipe Data,” or a similar option.
- Confirm the reset by selecting “Yes” or “Delete All.”
- Wait for the reset process to complete, and then select the “Reboot System Now” option.
Once the device restarts, it will be restored to its factory settings. You can proceed with the initial setup or restore your data from a backup.
Performing a factory reset on your Android device can be a powerful troubleshooting tool and a way to start fresh. Just remember to back up your data beforehand to avoid any loss. Whether you use the settings menu or recovery mode, these methods can help you reset your Android device and get it back to its optimal state.
Understanding Factory Reset
Introduction
Factory reset is a term that often comes up when troubleshooting or selling an Android device. It is a process that restores the device to its original factory settings, wiping out all the data and settings that have been added after the initial setup. Factory resetting your Android device can be a useful solution for various reasons, such as fixing software issues, preparing the device for sale, or simply starting fresh with a clean slate.
Reasons to Factory Reset an Android Device
There are several reasons why you might consider performing a factory reset on your Android device:
- Software Issues: If your device is experiencing frequent crashes, freezing, or performance issues, a factory reset can help resolve these problems. It essentially clears out any corrupt or conflicting files that may be causing the issues.
- Preparing for Sale: Before selling or giving away your Android device, performing a factory reset is crucial to ensure that all your personal data is removed. This helps protect your privacy and prevents any sensitive information from falling into the wrong hands.
- Storage Cleanup: Over time, your device can accumulate a lot of unnecessary files and data, taking up valuable storage space. By performing a factory reset, you can reclaim that storage and start fresh with a device that’s running smoothly.
Backup Your Data Before Factory Resetting
Before proceeding with a factory reset, it is crucial to create a backup of your data, as the process will erase everything on your device. You can back up your data using various methods, including:
- Google Backup: Android devices offer built-in backup settings that allow you to back up your app data, contacts, photos, and more to your Google account. Ensure that your device is set up to automatically back up your data to the cloud.
- External Storage: Manually copying important files, photos, videos, and documents to an external storage device, such as an SD card or computer, will ensure that you don’t lose them during the factory reset process.
- Third-party Backup Apps: There are several apps available on the Google Play Store that offer comprehensive device backups, allowing you to easily restore your data after a factory reset.
Method 1: Using the Settings Menu to Factory Reset
To perform a factory reset using the Settings menu, follow these steps:
- Open the Settings app on your Android device.
- Scroll down and tap on “System” or “System and Updates,” depending on your device.
- Tap on “Reset” or “Reset Options.”
- Select “Factory Data Reset” or “Erase All Data.”
- Review the information and confirm the reset by tapping on “Reset” or “Erase Everything.”
Method 2: Using Recovery Mode to Factory Reset
If you are unable to access the Settings menu on your Android device, you can perform a factory reset using the recovery mode:
- Turn off your Android device.
- Press and hold the Volume Up and Power buttons simultaneously until the device’s logo appears.
- Use the volume buttons to navigate the recovery menu and select “Factory Reset” or “Wipe Data/Factory Reset.”
- Confirm the reset and wait for the process to complete.
Factory resetting your Android device should only be done as a last resort or when necessary. It is important to understand that all your data will be permanently erased, so make sure to back up any important files beforehand. Follow the mentioned methods carefully and you will have a fresh start with your Android device.
Backup Your Data
Before embarking on the process of factory resetting your Android device, it is crucial to backup your data to ensure that you do not lose any important information. Factory resetting will erase all the data on your device, including contacts, photos, videos, app data, and settings. Here are some steps to help you backup your data before proceeding with the factory reset:
1. Backup to Google Account
Your Android device is likely synced with a Google account, which offers built-in backup features. To backup your data to your Google account, follow these steps:
- Go to the Settings app on your Android device.
- Scroll down and tap on “System” or “Accounts & Backup” depending on your device.
- Select the “Backup” option.
- Toggle on the “Backup to Google Drive” option to enable automatic backup.
- Tap on “Backup Now” to initiate an immediate backup.
This will back up your contacts, calendars, app data, and some system settings to your Google account.
2. Use Third-Party Backup Apps
In addition to the built-in backup features provided by Google, there are several third-party apps available on the Google Play Store that offer comprehensive backup solutions. These apps allow you to backup not only your contacts and app data but also your photos, videos, and other files. Some popular backup apps include Google Photos, Dropbox, and Helium.
3. Transfer Data to Computer
If you prefer, you can also manually transfer your data from your Android device to your computer for safekeeping. Connect your device to your computer using a USB cable, and then navigate to the internal storage or SD card on your device. Copy and paste the files and folders you want to backup onto your computer.
4. Sync with Cloud Storage Services
Cloud storage services such as Google Drive, OneDrive, or Dropbox offer an additional option to backup your data. Install the respective apps on your Android device and enable automatic backup for the files and folders you want to save. This way, your data will be securely stored in the cloud, accessible from any device with an internet connection.
By taking the time to backup your data, you can ensure that all your important information is safely stored before proceeding with the factory reset. Once you have completed the backup process, you can move on to the next step of factory resetting your Android device.
Performing a Factory Reset
If you’ve decided to factory reset your Android device, there are two main methods you can use. The first method involves using the Settings menu on your device, while the second method involves using the Recovery Mode. Let’s explore both methods in detail:
Method 1: Using the Settings Menu
The easiest way to perform a factory reset is through the Settings menu on your Android device. Here’s how you can do it:
- Go to your device’s Settings.
- Scroll down and tap on the “System” option.
- Look for the “Reset” or “Reset options” menu.
- Tap on “Factory data reset” or “Erase all data” (the wording may vary depending on your device).
- You might be prompted to enter your device’s PIN, pattern, or password for security purposes.
- Confirm the reset by tapping on “Reset” or “Erase everything.”
- Wait for your device to erase all data and reset to its factory settings.
Note: Keep in mind that performing a factory reset will delete all data on your device, including apps, photos, videos, and contacts. Make sure you have backed up any important data before proceeding.
Method 2: Using Recovery Mode
In some cases, if you’re unable to access the Settings menu on your Android device, you can use the Recovery Mode to perform a factory reset. Here’s how:
- Turn off your device completely.
- Press and hold the Power button and Volume Down button simultaneously until the device powers on.
- Once you see the bootloader or recovery menu, use the Volume buttons to navigate and the Power button to select the options.
- Find and select the “Wipe data/factory reset” option.
- Confirm the reset by selecting “Yes” or “Wipe all data.”
- Wait for your device to erase all data and reset to its factory settings.
After the factory reset process is complete, your device will restart and return to its original state when it was first purchased. You can start setting up your device again and restoring your data from the backup you made earlier.
Performing a factory reset can be a useful troubleshooting step or a helpful way to wipe all data from your Android device before selling or giving it away. Just remember to back up your data and proceed with caution to avoid any unexpected data loss.
Restoring Your Device
After performing a factory reset on your Android device, you will need to go through the process of restoring it to its previous state. Here are the steps to follow:
- Set up your device: When you turn on your device after the reset, you will be greeted with the initial setup screen. Follow the prompts to choose your language, connect to a Wi-Fi network, and sign in to your Google account. This step is crucial as it will allow you to access your previously backed up data.
- Restore from a Google account: During the setup process, you will be given the option to restore your device from a previous backup saved to your Google account. Choose the appropriate backup and let your device restore the data. This includes your contacts, app data, calendar events, and settings. It may take some time depending on the size of the backup.
- Reinstall apps: Once the backup is restored, you will need to reinstall your apps. Head to the Play Store and navigate to the “My apps & games” section. You will find a list of all the apps you had installed previously. Tap on each app and select “Install” to download and install them on your device.
- Download missing files: If you had any files, documents, or media that were not included in the backup, you will need to download them again. Connect to your cloud storage accounts or transfer the files from your computer to the device.
- Customize your settings: Once you have restored your device and reinstalled your apps, take some time to customize your settings. This includes adjusting your ringtone, wallpapers, notification preferences, and any other personalization options available on your device.
By following these steps, you can ensure that your Android device is fully restored after performing a factory reset. It’s important to note that not all data may be recoverable, especially if you didn’t have a recent backup. So, it’s always a good practice to regularly back up your device to avoid any potential data loss.
Conclusion
In conclusion, learning how to factory reset an Android device is an essential skill that can come in handy in various situations. Whether you want to erase all your personal data before selling or giving away your phone, troubleshoot software issues, or simply start with a fresh slate, performing a factory reset can help you achieve your goals.
While the process may differ slightly depending on the specific Android device and version you are using, the general steps remain the same. It is crucial to back up your important data before initiating a factory reset, as it will erase all data, apps, and settings on your device.
Remember to follow the appropriate instructions for your device to ensure a successful reset and avoid any potential complications. Utilizing built-in features or Android’s recovery mode can simplify the process and save your time.
By following the steps outlined in this article, you can confidently perform a factory reset on your Android device and enjoy the benefits of a clean and optimized system. Just be sure to be cautious and double-check your backups to prevent any data loss. Now you have the knowledge to reset your Android device hassle-free, empowering you to take control of your smartphone experience.
FAQs
Q: Why would I need to factory reset my Android device?
A: There are several reasons why you might need to factory reset your Android device. It can help resolve software issues, remove malware or viruses, or simply restore your device to its original settings if you’re planning to sell it or give it away.
Q: Will a factory reset erase all my data?
A: Yes, a factory reset will erase all the data on your Android device. This includes your apps, contacts, photos, videos, and any other personal files or settings. It’s crucial to backup your important data before performing a factory reset.
Q: How do I perform a factory reset on my Android device?
A: The precise steps for performing a factory reset may vary slightly depending on your device model and Android version. However, generally, you can navigate to the “Settings” menu, select “System” or “Backup & Reset,” and then choose the “Factory Data Reset” option. Follow the on-screen instructions to complete the process.
Q: Will a factory reset remove any installed apps and updates?
A: Yes, a factory reset will remove all the installed apps and updates on your Android device. After performing the reset, your device will return to its original state as if it were new, with the default apps and settings pre-installed by the manufacturer.
Q: Can I undo a factory reset on my Android device?
A: Unfortunately, a factory reset is irreversible. Once you initiate the process and confirm the reset, all your data will be permanently erased from the device’s internal storage. Be absolutely certain before proceeding with a factory reset and make sure to back up any important data beforehand.