
Syncing emails on your Android device is a fundamental feature that allows you to access your email account conveniently and effortlessly. Whether you’re using Gmail, Outlook, or any other email service, syncing your emails ensures that you stay connected and receive real-time updates on your mobile device.
In this article, we will delve into the ins and outs of syncing emails on Android. We will guide you through the process step by step, providing valuable tips and insights to help you optimize and streamline your email experience on your Android device.
So, whether you’re a business professional who needs to stay on top of your ever-growing inbox or a casual user who wants to stay connected with friends and family, learning how to sync emails on your Android device is essential. Let’s dive in and get your emails synced in no time!
Inside This Article
- Introduction
- Method 1: Using the Default Email App
- Method 2: Using Gmail App
- Method 3: Using Outlook App
- Method 4: Using Third-Party Email Apps
- Troubleshooting Common Sync Issues
- Conclusion
- Conclusion
- FAQs
The introduction section is a crucial part of the article as it sets the stage for what follows. It gives readers a glimpse of what they can expect to learn and highlights the importance of syncing emails on Android devices. Let’s dive into crafting an engaging introduction:
Introduction
Syncing emails on Android devices has become a necessity for today’s tech-savvy individuals. With the increasing importance of staying connected and organized, having access to your emails on the go is a game-changer. Whether you’re using your smartphone for work or personal communication, being able to sync your emails ensures that you never miss an important message or appointment.
In this comprehensive guide, we will explore various methods through which you can easily sync emails on your Android device. From using the default email app to leveraging popular third-party apps, we will cover all the bases to ensure a seamless email syncing experience.
Are you ready to take control of your email management and stay on top of your inbox at all times? Let’s dive into the different methods you can use to sync your emails on Android.
Method 1: Using the Default Email App
When it comes to syncing emails on your Android device, one of the simplest and most convenient options is to use the default email app. The default email app is pre-installed on most Android devices and offers a seamless email syncing experience. Here’s how you can set it up:
- Open the default email app on your Android device. The app is usually labeled as “Email” or “Mail”.
- Tap on the “+” or “Add Account” button to begin the setup process.
- Select the type of email account you want to sync. The options typically include Google, Microsoft Exchange, Yahoo, and other popular email providers. Choose the one that corresponds to your email account.
- Enter your email address and password, and then tap on the “Next” button.
- The app will attempt to automatically detect the server settings for your email account. If the settings are correct, your email will be synced automatically. If not, you may need to manually enter the incoming and outgoing server addresses.
- Once the setup is complete, you’ll be able to access and manage your emails directly from the default email app on your Android device.
Using the default email app offers advantages such as simplicity and integration with other features of your Android device. However, keep in mind that the functionality and features may vary slightly depending on the specific make and model of your device. In case you encounter any issues or need additional customization options, you can consider using alternative email apps available on the Google Play Store.
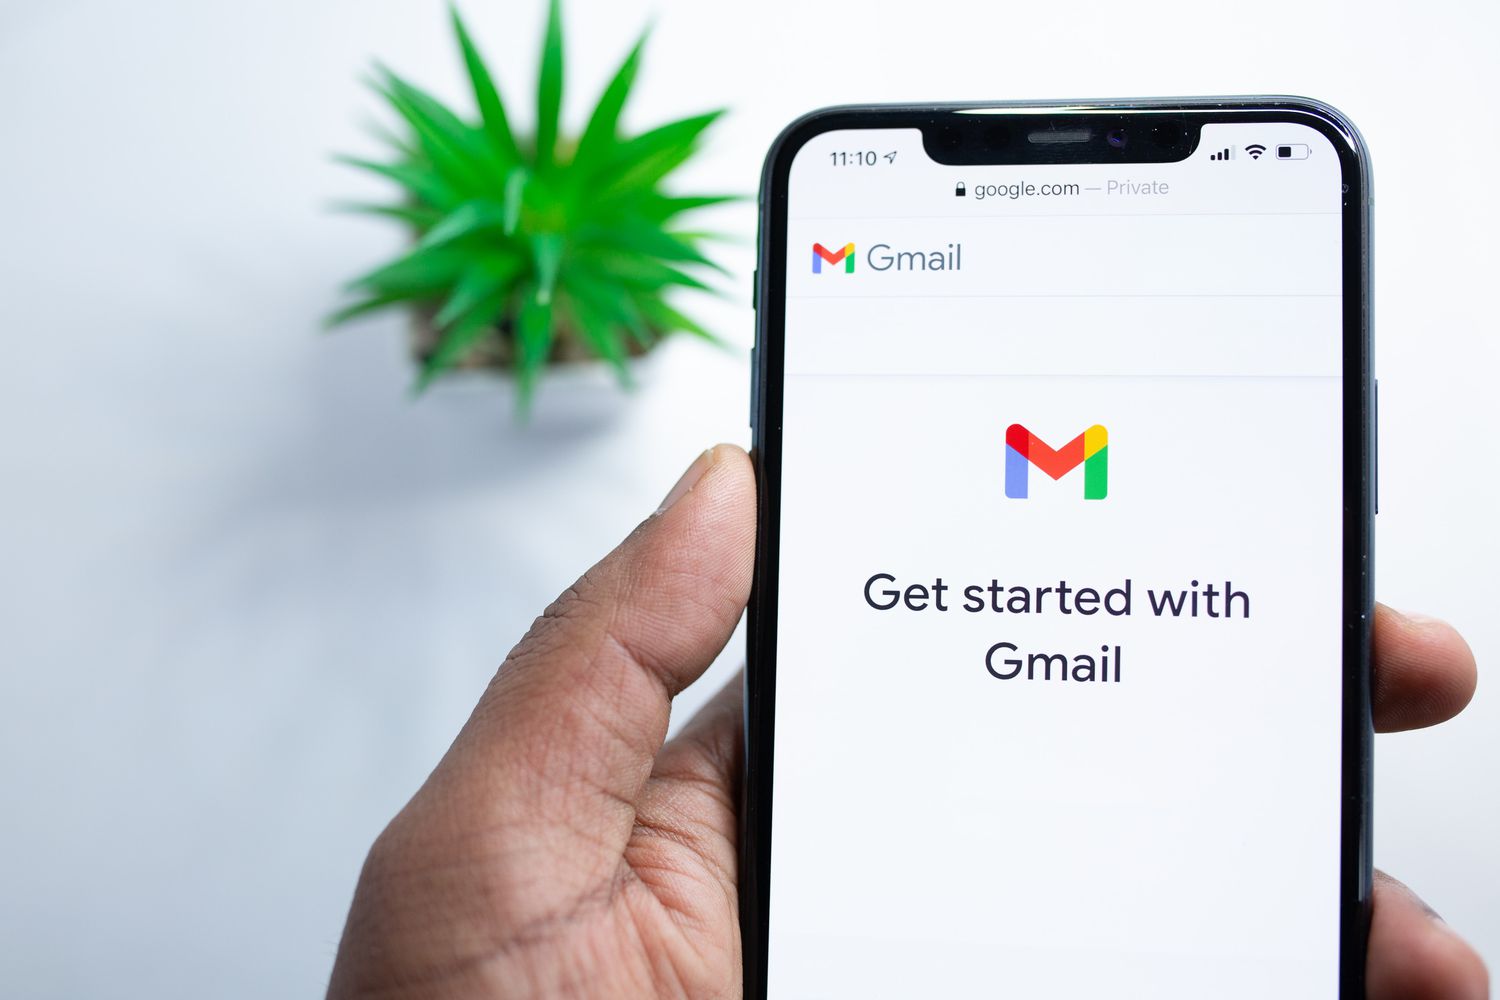
Method 2: Using Gmail App
If you’re an avid user of Gmail, you’ll be glad to know that using the Gmail app on your Android device is an excellent way to sync your emails. The Gmail app offers a seamless and user-friendly interface, making it convenient to manage your email accounts on the go. Here’s how to use the Gmail app to sync your emails:
- First, ensure that you have the Gmail app installed on your Android device. If not, you can download it for free from the Google Play Store.
- Open the Gmail app and sign in with your Gmail account credentials. If you don’t have a Gmail account, you can create one by tapping on “Add another account” on the sign-in screen.
- Once you’re signed in, you’ll see your inbox with all your emails. The Gmail app automatically syncs your emails in real-time, so any new emails you receive will appear in your inbox instantly.
- If you have multiple email accounts, you can add them to the Gmail app by tapping on the menu icon (three horizontal lines) in the top-left corner, then selecting “Settings” and “Add account.” Follow the on-screen instructions to add your additional email accounts.
- To ensure that your emails are synced properly, go to the Gmail app settings by tapping on the menu icon, then selecting “Settings.” In the settings menu, choose your account and make sure that the “Sync Gmail” option is enabled.
With the Gmail app, you can not only sync your emails but also access other useful features like organizing your emails into folders, setting up filters and forwarding rules, and even composing and sending emails directly from the app. It’s a comprehensive email solution that offers a seamless syncing experience.
Keep in mind that the Gmail app will only sync the emails associated with your Gmail account. If you have other email accounts from different providers, you’ll need to use separate apps or follow the specific instructions provided by the respective email service provider.
Now that you know how to use the Gmail app to sync your emails, let’s explore another method using the Outlook app in the next section.
Method 3: Using Outlook App
If you prefer using the Outlook app for managing your emails on your Android device, syncing your emails is a straightforward process. Follow the steps below to get started:
- First, download and install the Outlook app from the Google Play Store if you don’t already have it installed on your device.
- Open the Outlook app and sign in with your Outlook or Microsoft account credentials. If you don’t have an account, you can create one by tapping on the “Create account” option.
- Once you’re signed in, tap on the menu icon (usually represented by three horizontal lines) located at the upper-left corner of the screen.
- In the menu, tap on “Settings” to access the app’s settings options.
- Within the settings menu, locate and tap on the account you want to sync. This will open the account settings.
- In the account settings, you’ll find various options to customize how your emails sync. Ensure that the “Sync email” option is toggled on.
- Additionally, you can adjust other options like the sync frequency, the number of emails to sync, and whether to sync attachments. Customize these settings according to your preferences.
- Once you’re done configuring the settings, tap the back arrow or the home button to return to the main screen of the Outlook app.
- The Outlook app will automatically sync your emails according to the settings you’ve configured. You can now access and manage your synced emails directly from the app.
Using the Outlook app provides you with a seamless integration with your Outlook or Microsoft account, allowing you to access your emails, calendars, and other features in one place. It offers a user-friendly interface and additional productivity tools that make managing your emails on Android effortless.
Remember to periodically check the app’s settings to ensure that your email sync is still active and functioning correctly. If you encounter any issues with syncing your emails, you can try troubleshooting methods such as clearing cache and data, updating the app, or reconfiguring your email account settings within the app.
Now that you know how to sync your emails using the Outlook app on Android, you can enjoy the convenience of accessing your emails on the go and staying organized with ease.
Method 4: Using Third-Party Email Apps
Another option to consider is using third-party email apps to sync your emails on Android. These apps often offer additional features and customization options that may enhance your email experience. Here are a few popular third-party email apps to consider:
- Microsoft Outlook: While Microsoft Outlook has its own dedicated app, it offers seamless syncing capabilities with Android devices. You can add multiple email accounts, including Gmail, Yahoo, and Exchange, and sync them all in one place. The app also includes features like inbox organization, automatic filtering, and integrated calendars.
- BlueMail: BlueMail is a versatile email app that supports multiple email providers, including Gmail, Yahoo, Outlook, iCloud, and more. It offers a unified inbox, customizable swipe gestures, and advanced email management tools like snooze, send later, and read receipts.
- Spike: Spike is a unique email app that combines email, instant messaging, and collaborative features into one platform. It supports popular email providers and offers features like real-time chat, threaded conversations, and the ability to collaborate on emails with teammates.
- Newton Mail: Newton Mail is a powerful email client known for its robust syncing capabilities. It supports various email providers and offers features like snooze, read receipts, undo send, and advanced email tracking. Newton Mail also integrates with popular productivity apps like Trello and Todoist.
When using third-party email apps, keep in mind that some features may require a premium subscription. Additionally, be sure to review the app’s privacy policy and security measures to ensure your emails are protected.
Troubleshooting Common Sync Issues
While syncing emails on your Android device is generally a seamless process, there may be times when you encounter issues. Here are some common sync issues and troubleshooting steps you can take to resolve them:
- Check your internet connection: Make sure you have a stable internet connection. If you’re experiencing connectivity issues, try restarting your device or switching to a different Wi-Fi network.
- Verify your email settings: Double-check your email account settings to ensure they are correct. Ensure that the incoming and outgoing server settings are accurate and that the server addresses are properly entered.
- Clear cache and data: Sometimes, cached data can interfere with the syncing process. Go to your device’s Settings, find the Apps or Applications Manager section, locate your email app, and clear its cache and data. This will remove any temporary files or settings that might be causing issues.
- Update your email app: Outdated versions of email apps can sometimes cause sync problems. Make sure you have the latest version of your email app installed. If an update is available, install it and try syncing again.
- Restart your device: A simple restart can often resolve minor issues. Power down your device, wait a few moments, and then turn it back on. Once your device is back on, try syncing your emails again.
- Check for conflicting apps: Certain apps, especially those related to security or battery optimization, may interfere with email syncing. Disable or adjust the settings of any such apps to allow your email app to function properly.
- Contact your email provider: If you have tried all the troubleshooting steps mentioned above and still cannot sync your emails, it may be worth reaching out to your email provider for technical support. They can assist you in identifying and resolving any server or account-related issues.
By following these troubleshooting steps, you can often resolve common email sync issues on your Android device. However, if the problem persists, it may be necessary to consult with a technical expert or consider seeking professional assistance.
Conclusion
In conclusion, syncing emails on Android devices is essential for staying connected and organized. Whether you’re using the default email app, Gmail, Outlook, or third-party email apps, there are multiple methods available to ensure that your emails are in sync across your devices.
The default email app provides a convenient and straightforward way to sync your emails. It allows you to easily add multiple email accounts and manage all your messages in one place. By configuring the settings and ensuring that sync is enabled, you can ensure that your emails update in real-time.
If you’re a user of Gmail, the Gmail app offers seamless syncing capabilities. With features like label organization, swipe gestures, and powerful search functionality, managing your emails on the go becomes effortless. Simply install the app, sign in with your Gmail account, and let the syncing begin.
For those who use Outlook as their preferred email service, the Outlook app is the way to go. It not only syncs your emails but also integrates with other Microsoft services like calendars and contacts. With a user-friendly interface and advanced features, Outlook app ensures a smooth and efficient email experience.
However, if you prefer exploring third-party email apps, there are plenty of options available on the Google Play Store. These apps offer unique features, customization options, and seamless syncing capabilities. From popular apps like Blue Mail and Newton Mail to lesser-known gems, there’s an email app to suit every preference.
While the majority of email syncing processes go smoothly, it’s not uncommon to encounter some sync issues along the way. Whether it’s a problem with authentication, connection, or settings, there are troubleshooting steps you can take to resolve these issues. By checking your internet connection, clearing app cache, or reconfiguring account settings, you can often fix the problem and get your emails back in sync.
Overall, syncing emails on Android devices is crucial for productivity and efficient communication. By following the methods outlined in this guide and troubleshooting any issues that arise, you can ensure that your emails are properly synced across your Android device and never miss an important message.
So, go ahead and start syncing your emails on Android today to stay organized and connected on the go!
Conclusion
In conclusion, syncing your emails on Android devices is a simple and straightforward process that can greatly enhance your productivity and convenience. With the right setup and configuration, you can ensure that your emails are always up to date and easily accessible, no matter where you are.
By utilizing the native email app or third-party email clients, you can sync multiple email accounts, including Gmail, Yahoo, Outlook, and more, all in one place. This allows for seamless communication and efficient management of your inbox.
Remember to customize your sync settings according to your preferences, such as choosing whether to sync emails automatically or manually, selecting sync frequency, and setting up notifications for new messages.
Having your emails synced on your Android device ensures that you never miss an important communication. Whether you’re a busy professional or a casual user, syncing your emails on Android is a crucial step towards staying organized and connected.
So, take the time to set up email syncing on your Android device and enjoy the benefits of having all your messages conveniently accessible at your fingertips. Stay connected, stay organized, and make the most of your Android experience!
FAQs
1. How do I sync my emails on Android?
To sync your emails on Android, you can follow these steps:
- Open the email app on your Android device.
- Go to the app settings or account settings.
- Select the option to add an email account.
- Enter your email address and password.
- Choose the sync frequency and other settings if prompted.
- Click on the “Sync” or “Save” button to save your settings.
- Your emails will now start syncing to your Android device.
2. Can I sync multiple email accounts on Android?
Yes, you can sync multiple email accounts on Android. Most email apps on Android support adding and syncing multiple email accounts. Simply follow the steps mentioned in the previous question for each email account you want to sync.
3. Why is my email not syncing on Android?
There could be several reasons why your email is not syncing on Android. Here are some common troubleshooting steps you can try:
- Make sure you have a stable internet connection.
- Check if your email account credentials are correct.
- Verify that the sync settings for your email account are enabled.
- Clear the cache and data of your email app.
- Restart your Android device and try syncing again.
- If the issue persists, you may need to contact your email service provider for further assistance.
4. How can I sync my Gmail account with the Android email app?
To sync your Gmail account with the Android email app, you can follow these steps:
- Open the email app on your Android device.
- Go to the app settings or account settings.
- Select the option to add an email account.
- Enter your Gmail email address and password.
- Choose the sync frequency and other settings if prompted.
- Click on the “Sync” or “Save” button to save your settings.
- Your Gmail emails will now start syncing to your Android device.
5. Are there any third-party email apps for Android that offer better sync functionality?
Yes, there are several third-party email apps for Android that offer enhanced sync functionality. Some popular options include Microsoft Outlook, Blue Mail, Spark, and Nine. These apps often provide additional features and customization options to enhance your email experience on Android.