
Are you an iPhone user who is curious about how to make the most of Apple Wallet? Look no further! In this comprehensive guide, we will walk you through the ins and outs of using Apple Wallet to add tickets, boarding passes, and more. Apple Wallet, originally known as Passbook, is a convenient mobile app available on iOS devices that allows you to store digital versions of various cards, passes, and tickets all in one place. With Apple Wallet, you can ditch the clutter of physical cards and easily access your digital passes with just a few taps on your iPhone. Whether you’re catching a flight, attending a concert, or using loyalty cards, Apple Wallet is your go-to tool for seamless convenience. So, let’s dive into the world of Apple Wallet and discover how to make your life easier with this amazing mobile app.
Inside This Article
- Setting Up Apple Wallet
- Adding Tickets to Apple Wallet
- Adding Boarding Passes to Apple Wallet
- Using Apple Wallet for More than Tickets and Boarding Passes
- Tips and Tricks for Maximizing Apple Wallet Usage
- Conclusion
- FAQs
Setting Up Apple Wallet
Apple Wallet, formerly known as Passbook, is a powerful tool that allows you to store and manage various digital tickets, boarding passes, loyalty cards, and more. Setting up Apple Wallet is a straightforward process that can be done in just a few steps. Here’s how you can get started:
1. Ensure that your iPhone is running the latest version of iOS. Apple Wallet is a native app on iOS devices, so make sure that you have the most recent software update installed. You can check for updates by going to Settings > General > Software Update.
2. Open the Wallet app on your iPhone. It is a pre-installed app that comes with your iOS device. Look for the icon that resembles a stack of credit cards.
3. Tap on the “+” icon or the “Add” button. This will initiate the process of adding a new pass to your Apple Wallet.
4. You can add passes to Apple Wallet through various methods. For example, if you receive an email or a message with a pass, you can tap on it and select “Add to Wallet.” You can also use apps that are compatible with Apple Wallet to add passes directly from within the app.
5. If you have a physical card or ticket with a QR code, you can scan it using your iPhone’s camera to add it to Apple Wallet. Simply align the QR code within the camera frame, and your iPhone will recognize and add the pass automatically.
6. Once you have added a pass to Apple Wallet, it will be stored and accessible from within the app. You can easily view and manage your passes by opening the Wallet app.
That’s it! You have successfully set up Apple Wallet and added your first pass. Now you can enjoy the convenience of having all your digital tickets, boarding passes, and more in one place.
Adding Tickets to Apple Wallet
Apple Wallet is not just limited to storing boarding passes; it also allows you to conveniently store and access tickets for various events and occasions. Whether you’re attending a concert, a sporting event, or a movie, Apple Wallet makes it easy to keep all your tickets in one place. Here’s how you can add tickets to Apple Wallet:
1. Check for ticket compatibility: Before adding a ticket to Apple Wallet, ensure that the event or venue supports digital tickets. Many ticket providers and venues now offer digital ticketing options, so double-check their website or contact their customer support to verify compatibility.
2. Purchase or receive your ticket: Once you’ve confirmed the compatibility, purchase your ticket from an authorized seller or receive it from the event organizer. This could be through a ticketing platform, email, or a dedicated ticketing app.
3. Open the ticket on your iPhone: If you received the ticket via email or a dedicated ticketing app, open the email or app on your iPhone. Locate the ticket and tap on it to view the details.
4. Look for the “Add to Apple Wallet” option: Within the ticket details, keep an eye out for the “Add to Apple Wallet” option. It is often represented by a “+” sign or an “Add” button. Tap on it to proceed.
5. Confirm the ticket details: Apple Wallet will display the ticket details for you to review. Ensure that all the information, such as the event name, date, time, and seat number, is accurate. If everything looks good, tap on the “Add” or “Confirm” button.
6. Access your ticket in Apple Wallet: Once the ticket is successfully added, it will appear in Apple Wallet. You can access it by opening the Wallet app on your iPhone or by double-clicking the side button (or home button for older iPhones) and selecting the ticket from the lock screen or the Wallet shortcut.
7. Use your ticket at the event: When you arrive at the event venue, simply open Apple Wallet, locate the ticket, and present it to the ticketing staff or scanner. They will scan and validate your ticket, granting you entry to the event.
8. Manage and organize your tickets: In Apple Wallet, you can easily manage and organize your tickets. You can rearrange the order of your tickets, delete expired ones, or even share them with friends and family via AirDrop or Messages.
Adding tickets to Apple Wallet streamlines the ticketing process and eliminates the need to carry physical tickets. It not only saves you time but also ensures that you never miss an important event due to misplaced or forgotten tickets.
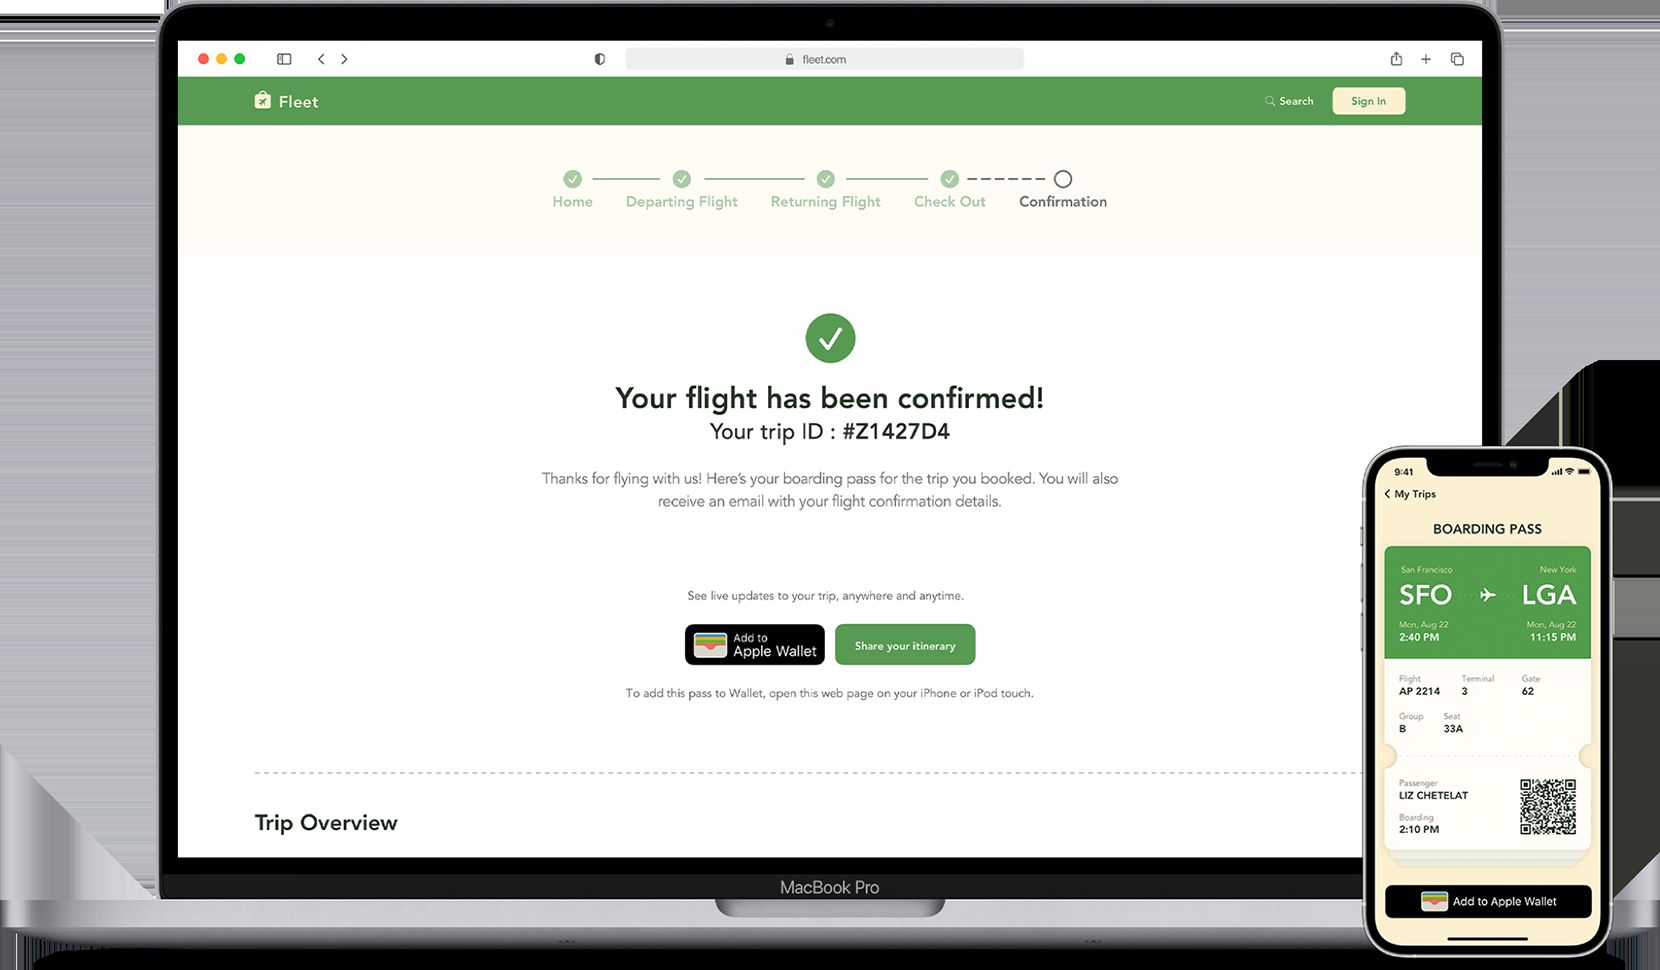
Adding Boarding Passes to Apple Wallet
Apple Wallet is not just useful for storing tickets but also for conveniently storing and accessing boarding passes. With the rise of digital boarding passes, gone are the days of fumbling through emails or searching for printed tickets. Here’s how you can easily add boarding passes to your Apple Wallet:
Step 1: Receive your boarding pass
Before you can add a boarding pass to Apple Wallet, you need to receive it. Most airlines offer the option to send your boarding pass directly to your email or through a mobile app. Make sure to check-in for your flight and follow the airline’s instructions on obtaining your digital boarding pass.
Step 2: Open the boarding pass on your device
Once you have received your boarding pass, access it on your device. This could be through an email attachment or by opening the airline’s mobile app. Ensure that you have a stable internet connection, as you will need to access the boarding pass to add it to Apple Wallet.
Step 3: Tap on the “Add to Apple Wallet” option
When you have the boarding pass open, look for the “Add to Apple Wallet” option. It is usually represented by an icon that resembles a wallet or a plus sign. Tap on this option to initiate the process of adding the boarding pass to your Apple Wallet.
Step 4: Confirm and customize your boarding pass
After tapping on the “Add to Apple Wallet” option, a confirmation prompt will appear. Confirm that you want to add the boarding pass by tapping on the “Add” or “Confirm” button. Additionally, you may have the option to customize the appearance of the boarding pass, such as choosing a specific design or adding a note. Customize these settings according to your preference.
Step 5: Access your boarding pass in Apple Wallet
Once you have successfully added the boarding pass to Apple Wallet, you can access it easily at any time. Simply open the Wallet app on your Apple device and navigate to the boarding pass section. Your digital boarding pass will be displayed, ready to be scanned at the airport gate.
Adding boarding passes to Apple Wallet not only simplifies the travel process but also reduces the risk of misplacing or losing important documents. With all your travel essentials in one place, you can breeze through airports with ease and convenience.
Using Apple Wallet for More than Tickets and Boarding Passes
While Apple Wallet is primarily known for its convenience in storing tickets and boarding passes, it offers a range of other features that can streamline your everyday life. Here are some creative ways you can utilize Apple Wallet beyond just tickets and boarding passes:
1. Store Loyalty Cards: Say goodbye to carrying around a bulky wallet filled with various store loyalty cards. With Apple Wallet, you can easily add and access your loyalty cards digitally. This means no more fumbling through your wallet at the checkout counter – simply scan the barcode or NFC code in Apple Wallet to earn points and redeem rewards.
2. Make Contactless Payments: Apple Wallet allows you to securely link your credit or debit cards and make contactless payments with just a tap of your iPhone or Apple Watch. Whether you’re grabbing a coffee, shopping for groceries, or dining out, you can leave your physical wallet at home and use Apple Wallet to complete your transactions.
3. Organize Coupons and Vouchers: Instead of carrying around paper coupons or vouchers, you can digitize them with Apple Wallet. Many retailers and service providers offer digital coupons that can be stored and redeemed through Apple Wallet. Simply present your iPhone at the point of purchase, and the coupon or voucher will be automatically applied.
4. Keep Important Documents: Apple Wallet gives you the option to store important digital documents, such as insurance cards, concert tickets, or even your passport. This provides a convenient and secure way to have all your essential documents in one place, easily accessible whenever you need them.
5. Manage Event Tickets: In addition to traditional tickets, Apple Wallet allows you to store and manage event tickets. Whether you’re attending a concert, sporting event, or theater performance, you can conveniently access your tickets through the Wallet app, eliminating the need for physical tickets or printed e-tickets.
6. Share Passes and Tickets: Apple Wallet enables you to share passes, tickets, and other digital items with friends, family, or colleagues. Whether it’s sharing a movie ticket with a friend or sending a boarding pass to a travel companion, you can easily distribute digital passes through AirDrop, email, or messaging apps.
7. Receive Real-time Updates: With certain passes in Apple Wallet, you can receive real-time updates and notifications. For example, if there’s a gate change for your flight, your boarding pass in Apple Wallet will automatically update with the new information, ensuring you stay informed and prepared.
As you can see, Apple Wallet is more than just a handy tool for storing tickets and boarding passes. Its versatility and integration with various apps and services make it a powerful digital wallet for simplifying and enhancing your everyday experiences.
Tips and Tricks for Maximizing Apple Wallet Usage
Apple Wallet offers a range of convenient features, allowing you to streamline your digital life. Here are some tips and tricks to help you make the most out of your Apple Wallet experience:
1. Organize your passes: As you accumulate various tickets, boarding passes, and loyalty cards, it can get overwhelming to find what you need quickly. Take advantage of the “Edit Passes” option in Apple Wallet to rearrange and categorize your passes. Create folders or group related passes together for easy access.
2. Customize pass appearance: Did you know you can customize the appearance of your passes in Apple Wallet? Tap on the “i” or “…” button on the pass, then select “Edit Pass” to access options like changing the card background color or adding a photo. Personalize your passes to make them stand out and reflect your style.
3. Utilize notifications: Enable notifications for relevant passes to receive alerts and updates without even opening the app. For example, your boarding pass can notify you about the gate change or departure time. Simply go to “Settings” > “Notifications” and toggle on the notifications for Apple Wallet.
4. Use Wallet-enabled apps: Many apps now integrate with Apple Wallet, allowing you to streamline your experience even further. Look for apps that support Wallet integration, such as event ticketing apps or transportation apps. This way, you can easily add tickets or passes directly from the app to your Apple Wallet.
5. Take advantage of Wallet passes on the lock screen: With Wallet passes enabled on the lock screen, you can quickly access your passes without unlocking your device. This feature is especially handy when you’re in a rush and need to scan your pass in a hurry. To enable this, go to “Settings” > “Face ID & Passcode” or “Touch ID & Passcode” and toggle on “Wallet” under “Allow Access When Locked”.
6. Share passes with friends and family: Have an extra ticket or a discount code you want to share with someone? You can easily do so with Apple Wallet. Simply tap on the pass, select the share icon, and choose the desired sharing method, such as AirDrop, Messages, or Email. Your friends or family members can then add the pass to their own Apple Wallet.
7. Remove expired passes: Keep your Apple Wallet clutter-free by removing expired passes. By default, Apple Wallet automatically removes expired passes, but you can also do it manually. Simply swipe left on the pass and tap on the “Delete” button. This way, you can ensure that your Apple Wallet contains only relevant and up-to-date passes.
By following these tips and tricks, you can make the most of Apple Wallet’s capabilities. Whether it’s organizing your passes, customizing their appearance, or taking advantage of notifications, Apple Wallet offers a seamless and effortless way to manage your digital tickets, boarding passes, and more.
Conclusion
Apple Wallet is an incredibly useful tool that allows you to store and access a wide range of digital items, such as tickets, boarding passes, loyalty cards, and more. With its user-friendly interface and seamless integration with various apps and services, Apple Wallet streamlines your everyday life by eliminating the need to carry physical items.
Whether you’re attending a concert, boarding a flight, or shopping at your favorite store, Apple Wallet ensures that you have all your essential items conveniently stored on your iPhone. Its versatility and accessibility make it a must-have app for Apple users.
By following the simple steps outlined in this guide, you can easily add and manage your digital items in Apple Wallet, ensuring that you stay organized and always have the information you need at your fingertips.
So, start maximizing the potential of Apple Wallet today and enjoy the convenience of carrying your digital life in your pocket.
FAQs
1. Can I add my credit cards to Apple Wallet?
Absolutely! Apple Wallet allows you to add your credit and debit cards to make quick and secure payments using your iPhone or Apple Watch. Simply go to the Wallet app, tap on the “+” icon, and follow the prompts to add your cards.
2. Can I use Apple Wallet to store my boarding passes?
Yes, you can! Apple Wallet is a convenient tool for storing your boarding passes. When you receive your electronic boarding pass via email or through a supported airline’s app, simply tap the “Add to Apple Wallet” button. Your boarding pass will then be easily accessible for a hassle-free airport experience.
3. How can I add tickets to Apple Wallet?
Adding tickets to Apple Wallet is a breeze. Whether you have concert tickets, movie tickets, or event tickets, look for the option to add them to Apple Wallet in the ticketing app or email. Just tap the “Add to Apple Wallet” button and your tickets will be saved for easy access when you need them.
4. Can I use Apple Wallet for loyalty cards?
Absolutely! Apple Wallet is a great tool for organizing your loyalty cards. Many retailers and businesses provide the option to add your loyalty cards to Apple Wallet. This way, you can quickly access and use your reward points, discounts, and perks without the need to carry multiple physical cards.
5. Is Apple Wallet secure?
Yes, Apple Wallet prioritizes security. Your payment information and sensitive data are protected with several layers of security, including encryption and authentication. Plus, when making payments, Apple Wallet uses tokenization technology, which keeps your card details secure by generating a unique identifier for each transaction instead of sharing your actual card number.