
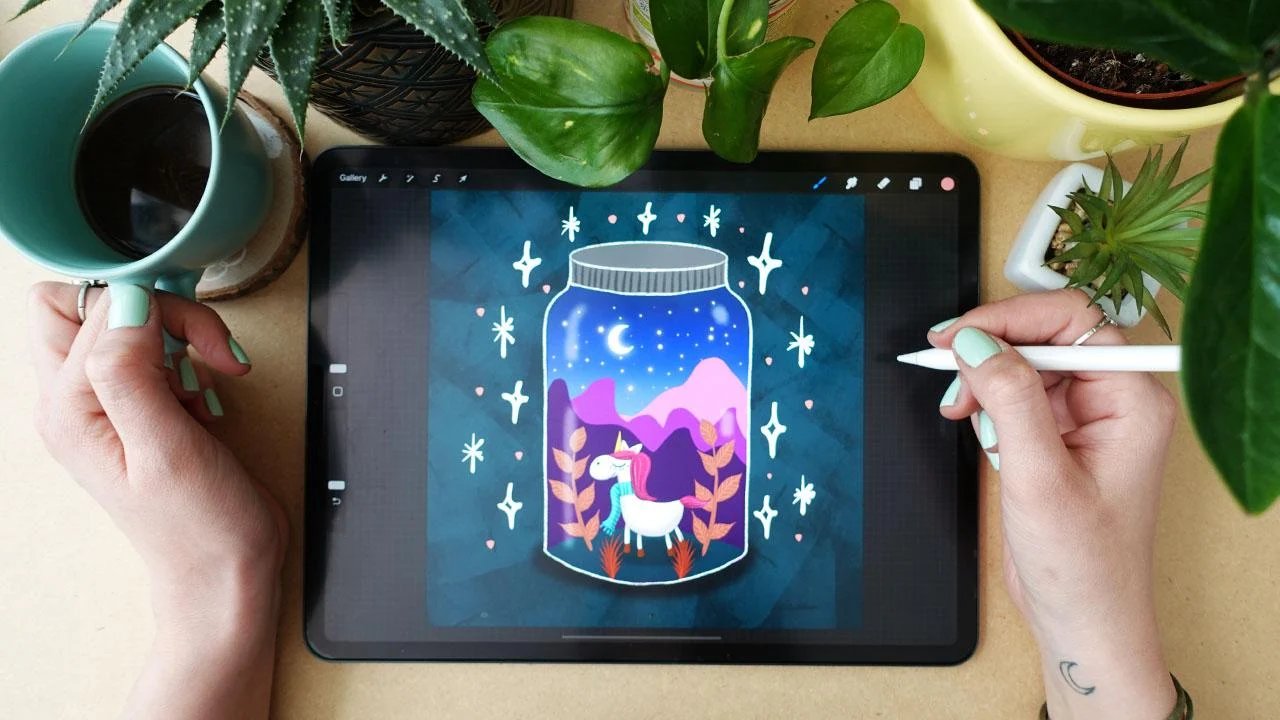
Are you a creative soul longing to bring your artistic visions to life? Look no further than Procreate—an innovative and powerful app that revolutionizes digital drawing on the iPad. With Procreate, you can harness the full potential of your iPad and Apple Pencil to create stunning works of art with ease.
In this comprehensive guide, we’ll walk you through the fundamentals of using Procreate, from setting up your tools to mastering advanced techniques. Whether you’re a beginner exploring digital art for the first time or an experienced artist looking to expand your repertoire, this article will provide you with everything you need to know to unleash your creativity.
Inside This Article
- Setting Up Procreate
- Getting to Know the App Interface
- Using Basic Drawing Tools
- Working with Layers
- Conclusion
- FAQs
Setting Up Procreate
Procreate is a powerful digital art and drawing app designed specifically for iPad users. Before you can start creating stunning artwork, you’ll need to set up Procreate on your device. Here’s a step-by-step guide to get you started:
1. Install Procreate: Begin by downloading and installing the Procreate app from the App Store on your iPad. It’s a one-time purchase, but the app’s robust features and functionality make it well worth the investment.
2. Open Procreate: Locate the Procreate app on your iPad’s home screen and tap on its icon to launch the app. Once opened, you’ll be greeted with a welcoming interface that’s intuitive and easy to navigate.
3. Create a New Canvas: After opening Procreate, you’ll want to create a new canvas to start your artwork. Tap on the “+” icon located in the top right corner of the screen to access the Canvas Creation menu. Here, you can customize your canvas size, resolution, and orientation based on your needs.
4. Familiarize Yourself with the Tools: Procreate offers a wide range of tools and brushes that allow you to bring your creative vision to life. Take some time to explore the different brushes, layers, and settings available in the app to understand their capabilities.
5. Customize Your Preferences: Procreate allows you to personalize your workflow by customizing various settings. To access the Preferences menu, tap on the wrench icon located in the top left corner of the screen. Here, you can adjust settings related to brushes, gestures, colors, and more.
6. Learn the Gesture Controls: Procreate utilizes various gestures for easy navigation and control. For example, you can use a two-finger swipe to undo or redo an action, pinch to zoom in or out, and use three fingers to access quick menus. Familiarize yourself with these gestures to work more efficiently.
7. Import and Export Options: Procreate allows you to import images, photos, and even PSD files from external sources. This feature enables you to incorporate existing artwork into your Procreate projects seamlessly. Additionally, you can export your artwork in various file formats, including PSD, JPEG, PNG, and more.
8. Explore Procreate’s Community: Procreate has a vibrant online community where artists share their work, tips, and resources. Take advantage of this supportive community by joining forums, following social media accounts, and participating in challenges. This way, you can learn from others and get inspired to create even more remarkable artwork.
With Procreate now set up on your iPad, you’re ready to unleash your creativity and dive into the world of digital art. Remember, practice makes perfect, so don’t hesitate to experiment with different brushes, techniques, and styles to develop your own unique artistic voice.
Getting to Know the App Interface
When you first launch Procreate on your iPad, you’ll be greeted with an intuitive and user-friendly interface. Familiarizing yourself with the different components of the app will help you navigate and make the most out of its powerful features.
At the top of the screen, you’ll find the menu bar, which houses essential tools and settings. Here, you can access functions such as exporting your artwork, creating a new canvas, or adjusting advanced settings.
Beneath the menu bar is the toolbar, which contains some of the most frequently used tools for drawing and editing. This includes brushes, erasers, selection tools, and more. By tapping on any of these icons, you’ll have quick and easy access to the tool you need.
The canvas itself takes up the majority of the screen. This is where you’ll create your artwork using your Apple Pencil. Procreate provides you with a wide range of brushes and customization options to bring your ideas to life in stunning detail.
On the right side of the screen, you’ll find the layers panel. This panel allows you to organize your artwork into different layers, similar to traditional art techniques. Layers are a powerful feature that lets you work on different elements of your artwork independently, making it easier to make adjustments and corrections.
Below the layers panel, you’ll see the color palette. Procreate offers a vast selection of colors and gradients to choose from, or you can create your own custom colors. Having easy access to the color palette allows you to add depth and variety to your artwork with just a few taps.
Lastly, on the left side of the screen, you’ll find the brush library. This is where you can select different brush styles and customize their settings to suit your artistic style. With a wide variety of brushes to choose from, you’ll have endless creative possibilities at your fingertips.
By familiarizing yourself with the Procreate interface, you’ll be able to navigate the app effortlessly and take full advantage of its features. Whether you’re a beginner or an experienced artist, Procreate provides an intuitive and versatile platform for unleashing your creativity.
Using Basic Drawing Tools
Once you have familiarized yourself with the Procreate app interface, it’s time to explore the basic drawing tools that will bring your ideas to life. The app offers a wide range of brushes, colors, and other essential tools to help you create stunning digital artwork. Let’s dive in and discover how to make the most of these basic drawing tools.
1. Brushes – Procreate provides a vast library of brushes, each with its own unique characteristics. From pencils and inks to watercolors and oils, you can choose the perfect brush for your desired effect. Experiment with different brush styles by selecting the Brushes icon on the top toolbar and exploring the various options available.
2. Color – The app offers a comprehensive color picker tool, allowing you to select any hue or shade you desire. Just tap the Color icon on the top toolbar and start exploring the wide range of colors available. You can also create your own custom color palettes or save favorite colors for future use.
3. Layers – Working with layers is crucial for creating complex and detailed artwork. Layers enable you to separate different elements of your composition and make it easier to edit and manipulate individual parts without affecting the rest of your artwork. Use the Layers icon on the top toolbar to add, delete, duplicate, or rearrange layers as needed.
4. Selection Tools – The selection tools in Procreate allow you to isolate and work on specific areas of your artwork. You can use the Selection icon on the top toolbar to choose from various selection options such as rectangular, freehand, or magic wand selection. Once you have made a selection, you can apply different effects or make edits only within that selected area.
5. Transform Tools – The transform tools in Procreate make it easy to scale, rotate, distort, or warp your artwork. Use the Transform icon on the top toolbar to access options like Scale, Rotate, Warp, or Liquify. These tools give you the flexibility to adjust the size, perspective, or shape of your elements to achieve the desired composition.
6. Eraser – Just like traditional erasers, Procreate offers an eraser tool that allows you to remove or correct any mistakes or unwanted marks in your artwork. You can access the Eraser by tapping the Eraser icon on the top toolbar. Experiment with different eraser sizes and opacity levels to achieve the desired erasing effect.
7. Undo and Redo – Making mistakes is a natural part of the creative process, and in Procreate, you can easily undo or redo any changes you make. Simply use the Undo or Redo buttons located on the top toolbar or swipe left with two fingers to undo and swipe right to redo. This feature gives you the confidence to explore different techniques without fear of irreversible changes.
Now that you have a good understanding of the basic drawing tools in Procreate, it’s time to unleash your creativity and start crafting beautiful digital artwork. Experiment with different brushes, colors, and techniques to develop your own unique style. Remember, practice makes perfect, so keep honing your skills and exploring the possibilities that Procreate has to offer.
Working with Layers
Layers are a powerful feature in Procreate that allow you to separate elements of your artwork and make edits without affecting the rest of the image. Here are some tips and tricks to help you work with layers effectively:
1. Adding and removing layers: To add a new layer, tap on the layers icon at the top right corner of the screen and select “Add Layer.” You can also duplicate a layer by swiping right on the layer and tapping “Duplicate.” To remove a layer, swipe left on the layer and tap “Delete.”
2. Organizing layers: You can easily rearrange layers by tapping and holding on a layer, then dragging it up or down to the desired position. This allows you to control the order in which elements are displayed in your artwork.
3. Layer opacity: Adjusting the opacity of a layer can add depth and transparency to your artwork. You can change the opacity by selecting the layer and adjusting the slider at the top of the layers menu. Lower opacity values make the layer more transparent, while higher values make it more opaque.
4. Blending modes: Procreate offers a wide range of blending modes that control how layers interact with each other. Experiment with different blending modes to achieve various effects, such as overlay, multiply, and screen. You can find the blending modes in the layers menu, next to the opacity slider.
5. Clipping masks: Clipping masks are a useful technique for applying a layer only to the areas that intersect with the layer below it. To create a clipping mask, simply swipe right on the layer and select “Clip to Layer Below.” This is particularly handy when adding textures or patterns to a specific area of your artwork.
6. Grouping layers: If you have multiple layers that belong together, you can group them to keep your canvas organized. To create a group, tap on the layers icon and select “Group.” You can then drag and drop layers into the group, and even collapse or expand the group to hide or show its contents.
7. Layer blending options: Procreate also provides advanced layer blending options, such as blend modes, alpha lock, and masking. These options give you more control over how layers interact and can help you achieve unique and creative effects in your artwork.
8. Layer transparency lock: To protect the transparency of a layer while editing it, you can enable the transparency lock. This ensures that you only modify the existing colors and don’t accidentally paint over transparent areas. You can enable the transparency lock by selecting the layer and tapping on the “Lock” icon in the layers menu.
By mastering the use of layers in Procreate, you can create complex and captivating artwork with ease. Experiment with different techniques and explore the possibilities that layers offer to enhance your digital art.
Conclusion
Using Procreate on your iPad with the Apple Pencil is a game-changer for artists and creative individuals. The combination of powerful features, a user-friendly interface, and the precision of the Apple Pencil elevates the digital drawing experience to new heights.
Whether you are a professional artist, a hobbyist, or someone exploring their creative side, Procreate offers a wide range of tools and capabilities to bring your artistic visions to life. From creating stunning illustrations and paintings to designing digital art for various purposes, Procreate provides a seamless and intuitive platform.
With the tips and techniques outlined in this article, you are well-equipped to get started with Procreate and make the most of its features. Embrace the flexibility and convenience of digital drawing, and let your creativity shine on the iPad canvas.
So grab your Apple Pencil, fire up Procreate, and unlock the limitless possibilities of digital artistry!
FAQs
– FAQ 1: Can I use Procreate on an iPad other than the iPad Pro?
– FAQ 2: Is it necessary to have an Apple Pencil to use Procreate?
– FAQ 3: Can I export my artwork from Procreate to other file formats?
– FAQ 4: Can I use Procreate on an iPhone?
– FAQ 5: Is Procreate easy to learn for beginners?