
Are you tired of dealing with HEIC image files on your computer or mobile phone? HEIC is a relatively new file format introduced by Apple, which offers better image quality and smaller file sizes compared to its counterpart, JPG. However, HEIC files may not be compatible with all devices or software applications. If you’re looking to batch convert your HEIC files to the widely supported JPG format, you’ve come to the right place. In this article, we will provide you with valuable tips and techniques to help you effortlessly convert HEIC to JPG on both your computer and mobile phones. Whether you’re a Windows or Mac user, or if you prefer using iOS or Android devices, we’ve got you covered. Say goodbye to HEIC format compatibility issues and join us as we unlock the secrets to batch converting HEIC to JPG effectively.
Inside This Article
- Installing HEIC Converter Software on Computer
- Batch Converting HEIC to JPG on Computer
- Using Online HEIC to JPG Conversion Tools
- Converting HEIC to JPG on Mobile Phones
- Conclusion
- FAQs
Installing HEIC Converter Software on Computer
HEIC (High Efficiency Image Format) is a relatively new image format that offers high-quality images with smaller file sizes. However, the HEIC format is not universally supported on all devices and platforms. If you need to convert HEIC images to the more widely compatible JPG format on your computer, you can install HEIC converter software. Here are some steps to guide you through the installation process.
1. Research and choose a reliable HEIC converter software: There are various software options available for converting HEIC to JPG on your computer. It’s essential to select a trustworthy software that meets your specific requirements. Look for user reviews, ratings, and features to make an informed decision.
2. Download the HEIC converter software: Once you’ve selected the software, visit the official website or trusted download platforms to download the installation file. Make sure you download the version compatible with your operating system.
3. Run the installer: Locate the downloaded file on your computer and double-click it to run the installer. You may be prompted to grant necessary permissions and agree to the terms and conditions. Follow the on-screen instructions to proceed with the installation process.
4. Customize installation settings (optional): During the installation, you may have the option to customize certain settings, such as the installation location and additional features. You can choose to keep the default settings or make necessary adjustments based on your preferences.
5. Complete the installation: Once you’ve customized the settings (if applicable), click on the “Install” or “Next” button to start the installation process. The software will then be installed on your computer. This may take a few moments, depending on your system’s specifications.
6. Launch the HEIC converter software: After the installation is complete, you can launch the software by either finding it in your applications list or double-clicking the desktop shortcut (if created). The software should now be ready to use.
7. Get familiar with the software interface: Take some time to explore the HEIC converter software and familiarize yourself with the interface. Look for options related to batch conversion, quality settings, output folder selection, and any other features you may require for converting HEIC to JPG.
Once you have successfully installed the HEIC converter software on your computer, you can begin converting HEIC images to JPG. This will allow you to easily share and view your images on various platforms and devices without compatibility issues.
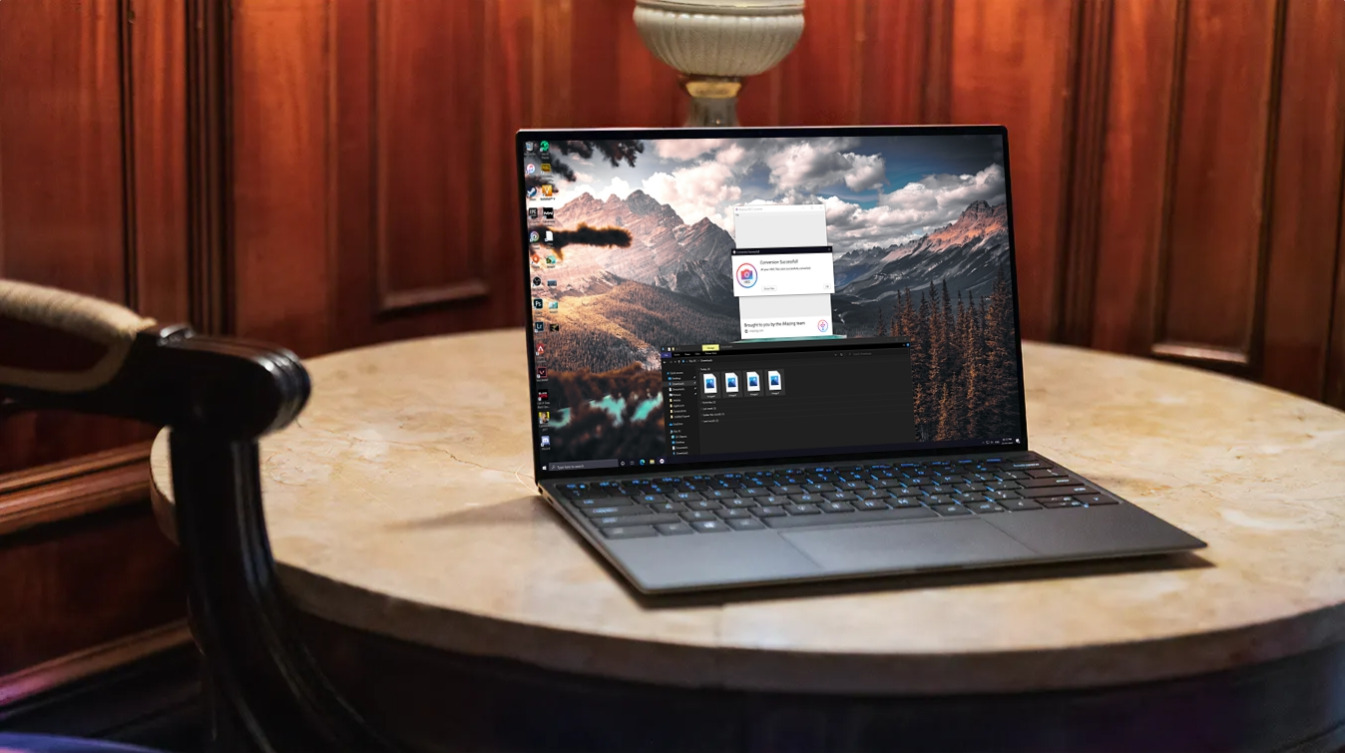
Batch Converting HEIC to JPG on Computer
If you have a large number of HEIC (High Efficiency Image Format) files that you need to convert to JPG format, there are several methods you can use on your computer. Batch converting HEIC to JPG not only saves time but also ensures that all your images are compatible and easily accessible on various devices and platforms. Here are some tips to help you with batch conversion:
1. Install HEIC Converter Software:
To start the batch conversion process, you need to install HEIC converter software on your computer. There are various applications available that can efficiently convert HEIC to JPG in bulk. Some popular options include Adobe Photoshop, XnConvert, and iMazing HEIC Converter. Choose the software that suits your requirements and download it from the official website.
2. Organize and Select the HEIC Files:
Before initiating the batch conversion, it’s essential to organize and select the HEIC files you want to convert. Create a separate folder and transfer all the HEIC images into it. This will make it easier to locate and select the files during the conversion process.
3. Open the Converter Software:
Launch the HEIC converter software on your computer. Once you have the software open, you will typically find an option to add files or folders. Click on this option and navigate to the folder where you have stored the HEIC files.
4. Customize the Conversion Settings:
Most converter software allows you to customize the conversion settings according to your preferences. You can adjust parameters such as image quality, resolution, and output format. In this case, select JPG as the output format.
5. Initiate the Batch Conversion:
Once you have customized the conversion settings, you are ready to initiate the batch conversion process. Click on the “Convert” or “Start” button, depending on the software you are using. The software will begin converting all the selected HEIC files to JPG format.
6. Check the Converted JPG Files:
After the conversion process is complete, navigate to the output folder specified in the software. Here, you will find all the converted JPG files. Open a few of them to ensure that the conversion was successful and the image quality meets your requirements.
7. Save and Organize the Converted Files:
Once you have verified the quality of the converted JPG files, you can save and organize them according to your preferences. You can create separate folders or categorize them by date or event to make it easier to locate specific images in the future.
By following these steps, you can effortlessly convert a large batch of HEIC files to JPG format on your computer. Batch conversion not only saves time but also ensures that all your images are compatible and easily accessible across multiple devices and platforms.
Using Online HEIC to JPG Conversion Tools
If you don’t want to install any software on your computer or if you’re on the go and need a quick solution, online HEIC to JPG conversion tools are the perfect option for you. These web-based tools allow you to convert your HEIC files to JPG format without the need for any additional software.
Using online HEIC to JPG conversion tools is fairly simple. Just follow these steps:
- First, open your preferred web browser and search for “HEIC to JPG converter” or similar keywords.
- Select a reliable online conversion tool from the search results.
- Upload your HEIC files to the tool by either dragging and dropping them into the designated area or by clicking the “Upload” button and selecting the files from your computer.
- Once the files are uploaded, you may have the option to adjust some settings such as image quality or output size, depending on the tool.
- Click on the “Convert” or “Start” button to begin the conversion process.
- Wait for the conversion to complete. The time taken for the conversion will depend on the number and size of the files being converted.
- Once the conversion is finished, you will typically be provided with a download link or the option to directly save the converted JPG files to your computer.
It is important to note that using online HEIC to JPG conversion tools may have some limitations. These tools may have file size restrictions or may require an internet connection to perform the conversion. Additionally, the output quality may vary depending on the tool’s algorithms.
When using online conversion tools, it is recommended to choose reputable and trusted websites to ensure the privacy and security of your files. Take a moment to read user reviews or check for any certifications or security seals that the website may display.
Overall, online HEIC to JPG conversion tools provide a convenient and straightforward method for converting your HEIC files to the widely compatible JPG format without the need for any software installation.
Converting HEIC to JPG on Mobile Phones
Converting HEIC (High Efficiency Image Format) files to JPG (Joint Photographic Experts Group) format on mobile phones is a straightforward process. There are several apps available for both iOS and Android devices that can handle this conversion efficiently. Let’s take a look at some of the popular options:
1. Google Photos: If you’re an Android user, chances are you already have Google Photos installed on your device. This app not only acts as a gallery for your photos but also offers a built-in HEIC to JPG conversion feature. Simply select the HEIC image you want to convert, tap the share icon, and choose the “Save to device” option. Google Photos will automatically convert the HEIC file to JPG and save it to your device’s gallery.
2. Dropbox: Another popular option for converting HEIC to JPG on mobile phones is the Dropbox app. While Dropbox is primarily used for cloud storage, it also has a built-in image viewer with conversion capabilities. Open the HEIC image in Dropbox, tap the share icon, and select the “Save image” option. The image will be converted to JPG and saved to your device.
3. Microsoft Pix: For iOS users, Microsoft Pix is an excellent choice for converting HEIC to JPG. In addition to offering various camera features, it also has a built-in image converter. Simply open the HEIC image in Microsoft Pix, tap the share icon, and select the “Save as JPG” option. The app will quickly convert the image and save it to your camera roll.
4. File Converter: File Converter is a versatile app available for both iOS and Android devices. It supports various file formats, including HEIC and JPG. Simply select the HEIC image you want to convert, choose JPG as the output format, and tap the convert button. The app will swiftly convert the file and allow you to save it to your device.
5. Online HEIC to JPG converters: In addition to using specific apps, you can also convert HEIC to JPG on mobile phones using online conversion tools. Websites like heictojpg.com and freeconvert.com allow you to upload your HEIC files and convert them to JPG format directly in your mobile browser.
Overall, converting HEIC to JPG on mobile phones is a seamless process thanks to the availability of various apps and online tools. Whether you’re an Android or iOS user, you can easily convert your HEIC files to JPG format and make them more accessible and compatible with a wide range of devices and platforms.
In conclusion, batch converting HEIC to JPG is a versatile and convenient solution for accessing and sharing HEIC images across different platforms and devices. Whether you are using a computer or a mobile phone, there are various methods and tools available to effortlessly convert HEIC files to the universally compatible JPG format.
By following the tips outlined in this article, you can easily convert HEIC to JPG in batches, saving you time and effort. Whether you choose to use specialized software or online converters, the process is simple and efficient. Keep in mind the benefits of batch converting, such as preserving image quality and reducing file size, making it easier to store, send, and view your images on any device.
So, say goodbye to compatibility issues and start converting your HEIC files to JPG format today. Enjoy seamless sharing, editing, and viewing of your images on any computer or mobile phone!
FAQs
1. What is HEIC?
HEIC, or High Efficiency Image Format, is a file format used for saving photos on iOS devices. It offers superior image quality and smaller file sizes compared to traditional formats like JPEG.
2. Why would I need to convert HEIC to JPG?
While HEIC provides several benefits, not all devices and platforms support this format. Converting HEIC to JPG ensures compatibility with a wider range of devices, making it easier to share and view your photos.
3. Can I convert HEIC to JPG on a computer?
Yes, you can. There are several software applications available that allow you to batch convert HEIC to JPG on your computer. These tools provide a simple and efficient way to convert multiple HEIC files at once.
4. How can I convert HEIC to JPG on my mobile phone?
For mobile phones, there are numerous apps available on both iOS and Android platforms that allow you to convert HEIC to JPG with ease. Simply download a HEIC to JPG converter app from your device’s app store, and follow the instructions to convert your HEIC files.
5. Are there any online tools to convert HEIC to JPG?
Yes, there are online tools available that allow you to convert HEIC to JPG without the need to download any software. These online converters offer a convenient way to convert your files on the go, without the need for additional installations.