
Are you finding it frustrating to open HEIC files on your Mac? HEIC (High Efficiency Image Format) is an image file format introduced by Apple to reduce file size while maintaining high image quality. However, not all devices and applications support this format, making it difficult to view or share these files.
In this article, we will explore six possible ways to convert HEIC to JPG on your Mac. Whether you want to convert a single file or batch convert multiple HEIC files, these methods will help you easily convert your files into a more universal format that can be opened and viewed on any device or operating system.
By the end of this article, you will have a clear understanding of different methods to convert HEIC to JPG on your Mac, allowing you to enjoy seamless compatibility and easy sharing of your image files. Let’s dive in and explore these options!
Inside This Article
- Methods to convert HEIC to JPG on Mac
- Using Preview
- Utilizing the Photos App
- Using Automator
- Utilizing online converter tools
- Conclusion
- FAQs
Methods to convert HEIC to JPG on Mac
If you own a Mac and have photographs in the HEIC format that you need to convert to JPG, fret not! There are several methods you can use to easily convert HEIC files to JPG on your Mac. Let’s explore some of the most convenient and efficient ways:
1. Using Preview: Mac’s native image viewer, Preview, can help you convert HEIC files to JPG effortlessly. Simply open the HEIC file in Preview, go to the “File” menu, select “Export,” choose “JPEG” as the output format, and save the file with a new name.
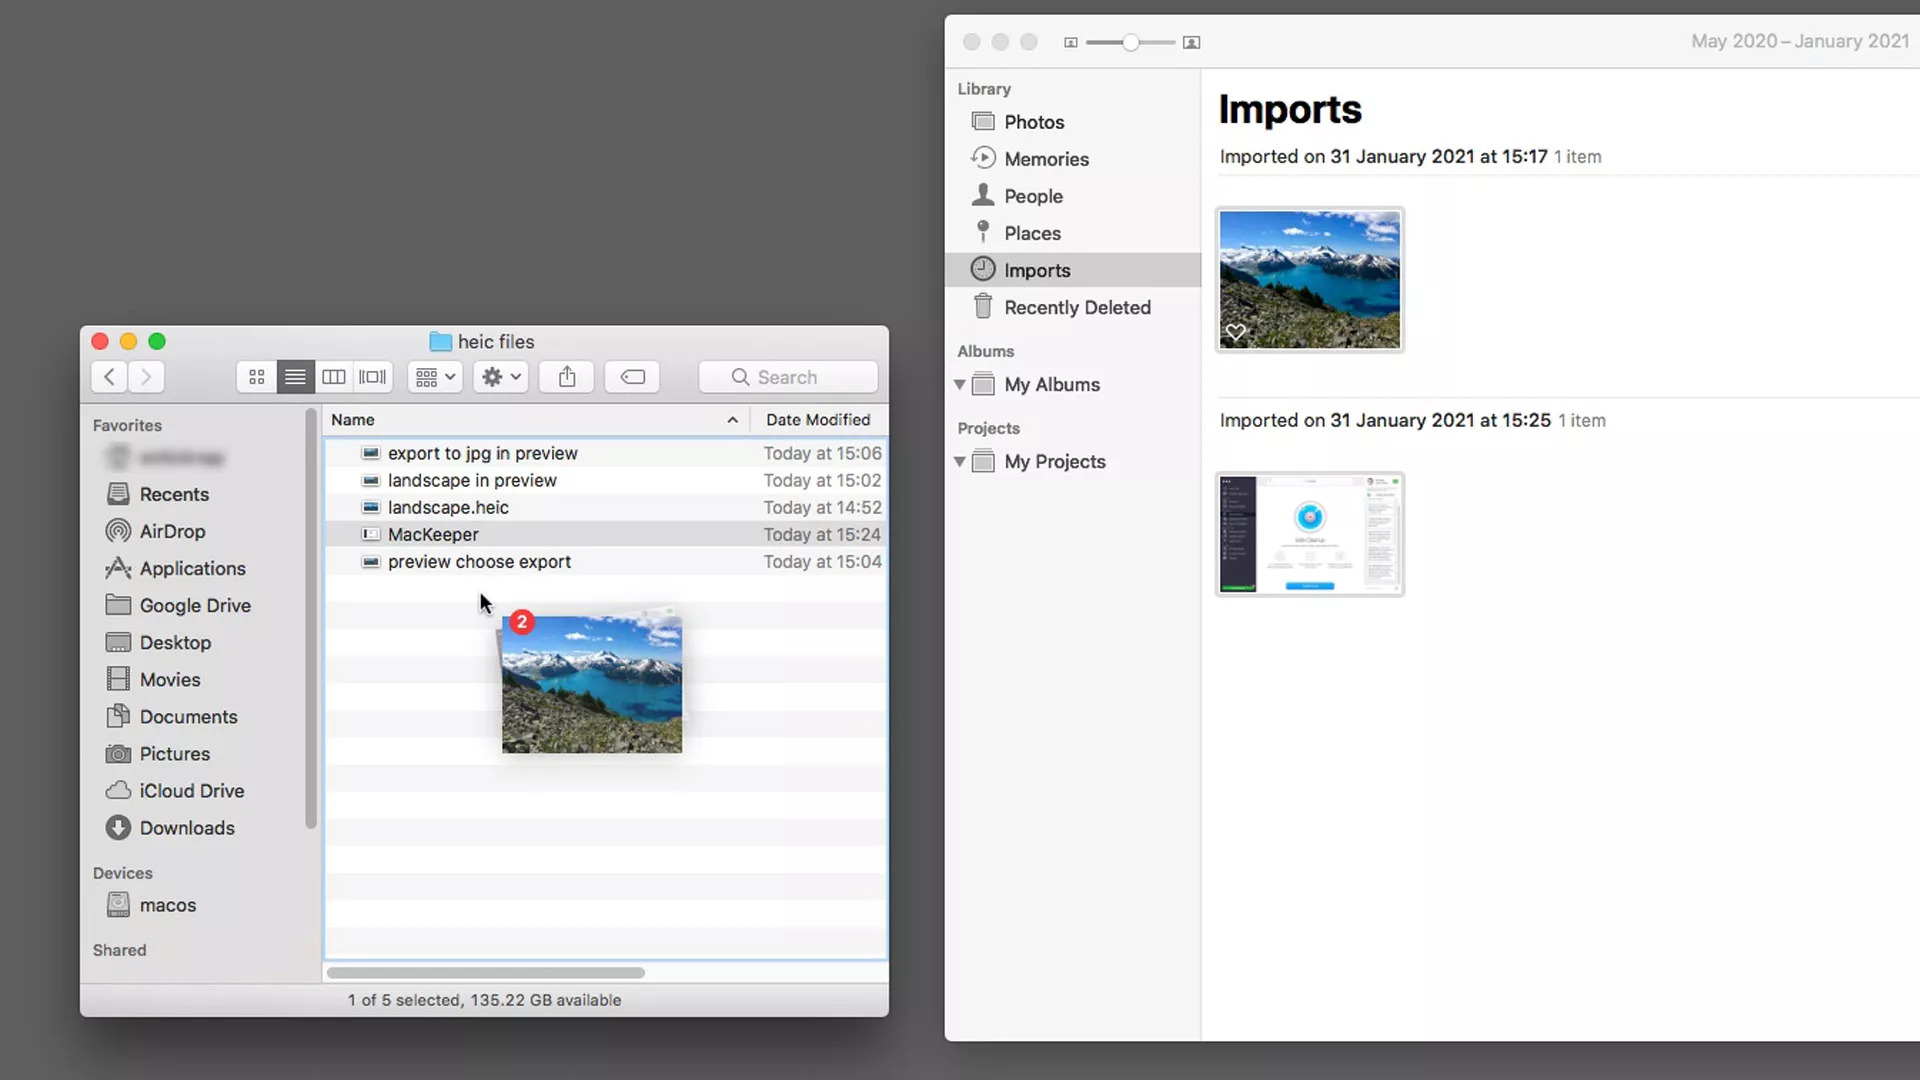
2. Utilizing the Photos App: If you prefer a more integrated approach, you can convert HEIC files to JPG using the Photos app on your Mac. Import the HEIC files into the Photos app, select the images you want to convert, go to the “File” menu, choose “Export,” and select “Export [number] Photos.” From the export options, select JPEG as the format, adjust the quality settings if desired, and click “Export.”
3. Using Automator: Mac’s Automator tool can streamline the conversion process. Launch Automator, create a new workflow, add the “Change Type Of Images” action, set the output format to JPEG, add the HEIC files as input, and save the workflow. Now, you can simply run the workflow to convert your HEIC files to JPG.
4. Utilizing online converter tools: If you’re looking for a quick solution without installing additional software, online converter tools can be a good option. There are various websites that allow you to upload HEIC files and convert them to JPG directly in your browser. Simply search for “HEIC to JPG converter online” to find reputable options.
With these methods at your disposal, converting HEIC files to JPG on your Mac is a breeze. Choose the method that suits your preferences and needs to efficiently convert your HEIC files to the widely compatible JPG format. Enjoy seamless compatibility with a range of devices and software!
Using Preview
If you’re a Mac user looking to convert HEIC files to the more widely supported JPG format, you’re in luck! One of the easiest and most convenient ways to do so is by utilizing the built-in Preview application. Preview is a versatile tool that allows you to view, edit, and convert various image formats, making it the perfect solution for your HEIC to JPG conversion needs.
To convert HEIC to JPG using Preview, follow these simple steps:
- Locate the HEIC file that you want to convert on your Mac.
- Right-click on the file and select “Open With” from the drop-down menu.
- Choose “Preview” from the list of applications.
- Once the file is open in Preview, click on “File” in the top menu bar.
- Select “Export” from the drop-down menu.
- In the Export window, choose the JPEG format from the Format dropdown menu.
- Specify the desired output location and click “Save”.
Preview will then convert the HEIC file to JPG format and save it in the location you specified. The converted JPG file can now be easily opened and shared on any device or platform that supports the JPG format.
The use of Preview to convert HEIC to JPG is a convenient option, especially if you don’t want to rely on third-party tools or online converters. It provides a simple and straightforward solution, allowing you to quickly convert your HEIC files with just a few clicks.
However, it’s worth noting that Preview may not be able to convert HEIC files that are in the HEVC (High Efficiency Video Coding) format. In such cases, you may need to explore alternative methods or utilize specialized HEIC to JPG conversion software.
Utilizing the Photos App
The Photos app on Mac provides a convenient and efficient way to convert HEIC files to JPG format. The app comes pre-installed on most Mac devices and offers a range of editing and organizing features for your photos.
Here are the steps to convert HEIC to JPG using the Photos app:
- Open the Photos app on your Mac.
- Select the HEIC image you want to convert to JPG.
- Click on the “File” menu at the top of the screen.
- Choose the “Export” option from the drop-down menu.
- A pop-up window will appear with various export options.
- Select the “Export [number] Photo” option. Replace [number] with the actual number of photos you have selected.
- Choose the JPEG format from the dropdown menu next to “Photo Kind.”
- Click on the “Export” button.
- Choose the destination folder where you want to save the converted JPG file.
- Click the “Export” button again.
After following these steps, the Photos app will convert the selected HEIC file to JPG format and save it in the designated destination folder. You can now use the JPEG image format on any device or platform without compatibility issues.
The Photos app provides a straightforward and user-friendly method to convert HEIC files to JPG formats, making it an ideal choice for Mac users who need to convert multiple images quickly and efficiently.
Using Automator
If you’re looking for a more automated approach to convert HEIC to JPG on your Mac, you can take advantage of the Automator app. Automator is a built-in macOS tool that allows users to create custom workflows and automate repetitive tasks.
Here’s how you can use Automator to convert your HEIC files to JPG:
- Launch Automator by searching for it in Spotlight or by navigating to Applications -> Utilities -> Automator.
- When Automator opens, you’ll be asked to choose a template for your workflow. Select “Quick Action” and click on “Choose.”
- In the workflow interface, search for the “Change Type of Images” action in the search bar located on the left-hand side.
- Drag and drop the “Change Type of Images” action into the workflow area on the right-hand side.
- Ensure that the “Change Type of Images” action is selected, and in the options pane on the right, choose “JPEG” from the “To Type” dropdown menu.
- Save your workflow by going to File -> Save and giving it a descriptive name, like “HEIC to JPG Converter.”
- Now, you can use your workflow by right-clicking on one or multiple HEIC files, going to “Quick Actions,” and selecting your newly created workflow.
- The Automator workflow will automatically convert the selected HEIC files to JPG format and save them in the same location.
Using Automator provides a convenient way to batch convert HEIC images to the more widely supported JPG format. It saves you time and effort by automating the conversion process.
Keep in mind that Automator can be used for various other purposes as well, so take some time to explore its capabilities and unleash its full potential on your Mac.
Utilizing online converter tools
Another convenient option to convert HEIC to JPG on Mac is by using online converter tools. These tools are easy to access and can quickly convert your files without the need to download any software. Here are a few popular online converter tools that you can consider:
1. HEIC to JPG: HEIC to JPG is a popular online tool that allows you to convert HEIC files to JPG format effortlessly. Simply upload your HEIC file, choose the output format as JPG, and click on the convert button. The tool will process the conversion and provide you with a downloadable JPG file.
2. Aconvert: Aconvert is a versatile online converter tool that supports a wide range of file conversions, including HEIC to JPG. It offers a simple and user-friendly interface where you can upload your HEIC file, select the output format as JPG, and initiate the conversion process. Aconvert also allows you to customize the image settings before converting, such as adjusting the quality, resolution, and file size.
3. Zamzar: Zamzar is a popular online file conversion platform that supports various formats, including HEIC to JPG conversion. With Zamzar, you can upload your HEIC file, select JPG as the output format, enter your email address to receive the converted file, and click on the convert button. Zamzar will process the conversion and send you a download link to retrieve your converted JPG file.
These online converter tools provide a convenient and hassle-free way to convert HEIC to JPG on your Mac. However, keep in mind that they may have file size limitations and require a stable internet connection for the conversion process.
Before using an online converter tool, ensure that you choose a reputable website that prioritizes the security and privacy of your files. It is also a good practice to delete your files from the online tool once the conversion is complete to maintain data confidentiality.
Utilizing online converter tools is an effective solution for converting HEIC to JPG on your Mac without the need for additional software. Choose the tool that best suits your needs and enjoy the convenience of converting your files effortlessly.
Conclusion
In conclusion, converting HEIC to JPG on Mac is a simple and efficient process that can greatly enhance compatibility and ease of use. With the six possible methods discussed in this article, Mac users have a variety of options to convert their HEIC files to the widely supported JPG format. Whether you prefer using native Mac applications like Preview or Photos, or relying on third-party software like iMazing or PowerPhotos, there is a solution that suits your needs.
Remember, converting HEIC to JPG allows you to easily share your photos with friends, family, and colleagues on different devices and platforms. It also ensures that your images are accessible and viewable without any compatibility issues. So, if you find yourself with HEIC files that need to be converted, simply choose one of the methods mentioned above and enjoy seamless access to your precious memories in the JPG format.
FAQs
1. What is HEIC format and why would I need to convert it to JPG?
HEIC (High Efficiency Image Format) is a file format used by Apple devices to compress images while maintaining high quality. However, not all devices or platforms support HEIC, which can make it difficult to view or share these files. Converting HEIC to JPG allows you to easily open and work with the images on a wider range of devices and platforms.
2. How can I convert HEIC to JPG on my Mac?
There are several ways to convert HEIC to JPG on a Mac:
– You can use Preview, the built-in image viewer and editor on Mac, to convert HEIC files to JPG. Simply open the HEIC file in Preview, go to the “File” menu, select “Export,” choose JPG as the format, and save the file.
– Another option is to use third-party software, such as Adobe Photoshop or Adobe Lightroom, both of which support HEIC to JPG conversion.
– Additionally, you can use online HEIC to JPG converters, where you can upload your HEIC files and have them converted to JPG format.
3. Are there any specialized software or apps for converting HEIC to JPG on Mac?
Yes, there are several specialized software and apps available that can help you convert HEIC to JPG on your Mac. Some popular options include iMazing HEIC Converter, HEIC Converter Free, and Joyoshare HEIC Converter.
4. Can I convert multiple HEIC files to JPG at once?
Yes, you can convert multiple HEIC files to JPG at once. If you are using Preview, you can select multiple HEIC files and open them in Preview simultaneously. Then, follow the steps mentioned in the previous question to convert them to JPG format.
If you are using specialized software or apps, they usually provide batch conversion options, allowing you to convert multiple HEIC files to JPG format in one go.
5. Will converting HEIC to JPG affect the image quality?
When converting HEIC to JPG, there may be a slight loss in image quality due to the compression differences between the two formats. However, the loss in quality is typically minimal and may not be noticeable to the naked eye. It’s important to note that the quality of the original HEIC file also plays a role in the final result.