
Creating your own Android app can be an exciting and rewarding experience. Whether you’re a budding developer looking to explore your creativity or a business owner aiming to reach a wider audience, knowing how to write an Android app can open up endless possibilities. With Android being one of the most popular mobile operating systems in the world, it’s no wonder that there is a growing demand for well-designed and functional apps.
In this comprehensive guide, we will walk you through the steps of writing an Android app, from understanding the basics of Java programming to building user interfaces and incorporating essential features. Whether you have prior coding experience or you’re a complete beginner, we will take you on a journey that will equip you with the knowledge and skills needed to bring your app idea to life.
Inside This Article
- Overview of Android App Development
- Setting Up Your Development Environment
- Understanding the Android Studio Interface
- Writing Your First Android App
- Conclusion
- FAQs
Overview of Android App Development
Android app development is the process of creating mobile applications for devices running on the Android operating system. With over 2.5 billion active devices worldwide, Android has become the most popular and widely used mobile platform.
Developing an Android app offers immense opportunities for developers, as it allows them to reach a vast user base and tap into the ever-growing demand for mobile applications. Android apps can be created for various purposes, including entertainment, productivity, social networking, education, and more.
Android app development involves a combination of programming languages, frameworks, and tools. The primary programming language used for Android app development is Java, although Kotlin has gained popularity as an alternative. Developers also utilize XML for designing user interfaces and various APIs and frameworks provided by the Android platform.
When starting with Android app development, it is essential to have a clear understanding of the Android architecture. Android apps follow a modular structure, with various components like activities, services, content providers, and broadcast receivers working together to provide functionality.
One of the key advantages of Android app development is the flexibility it offers in terms of device compatibility. Android apps can be developed to run on a wide range of devices, including smartphones, tablets, smart TVs, and even wearables.
Android Studio is the official Integrated Development Environment (IDE) for Android app development. It provides a comprehensive set of tools, including a code editor, emulator, and debugging features, to streamline the development process.
Throughout the development cycle, it is crucial to consider factors like user experience (UX), performance optimization, and security. Ensuring that an app delivers a smooth user interface, handles data efficiently, and protects user information are essential aspects to focus on.
Overall, Android app development offers a rewarding and dynamic field for developers. With continuous updates and advancements in the Android ecosystem, there are always new possibilities and features to explore, making it an exciting journey for anyone interested in creating mobile applications.
Setting Up Your Development Environment
Before you can start writing an Android app, it is crucial to have your development environment properly set up. This includes installing the necessary software and configuring the required tools. By following these steps, you will be equipped with everything you need to begin your Android app development journey.
The first step is to download and install Android Studio, the official integrated development environment (IDE) for Android app development. Android Studio provides a comprehensive set of tools, including a code editor, debugger, and emulator, all in one package. You can download the latest version of Android Studio from the official Android Developer website.
Once Android Studio is downloaded, run the installation wizard and follow the on-screen instructions to complete the installation process. Make sure to select all the necessary components, such as the Android SDK and the virtual device manager. These components are essential for building and testing your Android apps.
After the installation is complete, you need to configure your Android Studio by setting up the SDK (Software Development Kit). The SDK contains the necessary libraries, tools, and resources to develop Android apps. Open Android Studio and go to the “Welcome to Android Studio” screen. From there, navigate to the “Configure” menu and select “SDK Manager.”
In the SDK Manager window, you will see a list of available SDK platforms and tools. Make sure to check the checkbox corresponding to the latest Android version and select the additional components you may need, such as support libraries or Google Play Services. Click on “Apply” to download and install the selected components.
Next, you need to set up a virtual device or connect a physical device to test your Android apps. You can create a virtual device (also known as an emulator) using the Android Virtual Device (AVD) Manager. Open Android Studio and go to the “Welcome to Android Studio” screen. From there, navigate to the “Tools” menu and select “AVD Manager.”
In the AVD Manager window, click on the “Create Virtual Device” button and choose a device definition that suits your needs. Select the system image for the desired Android version, and configure the hardware specifications for the virtual device. Once the virtual device is created, you can start it and run your app on it for testing.
If you prefer to test your app on a physical device, you need to enable USB debugging on your Android device. To do this, go to the “Settings” menu on your device, tap on “About phone,” and locate the “Build number.” Tap on the “Build number” multiple times until the message “You are now a developer” appears. Then, go back to the “Settings” menu, and you will find the “Developer options.” Enable the “USB debugging” option.
With your development environment set up, you are ready to start writing your Android app. Android Studio provides a user-friendly interface and a host of tools to make the development process efficient and enjoyable. Stay tuned for the next section, where we will dive into understanding the Android Studio interface and its key features.
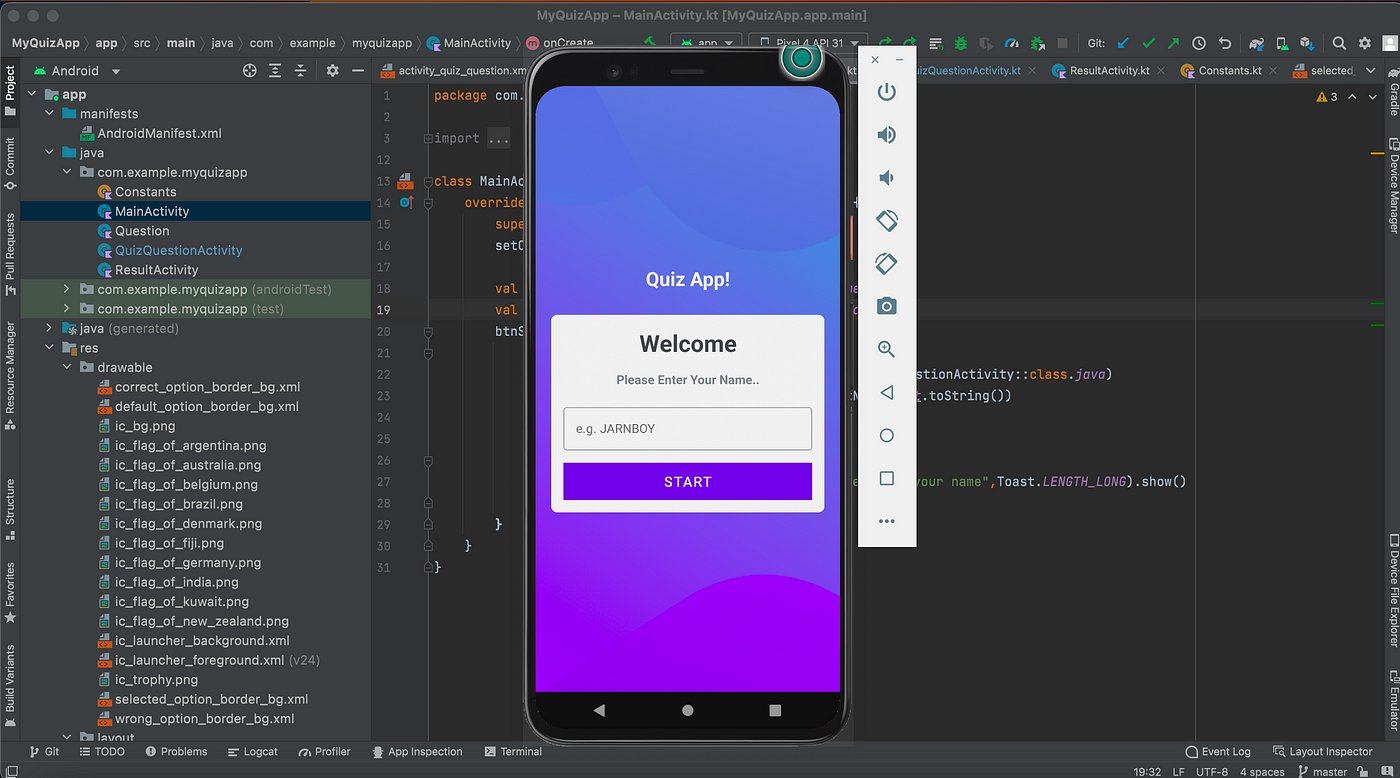
Understanding the Android Studio Interface
When it comes to developing Android apps, one of the essential tools to have in your arsenal is Android Studio. As an Android developer, you will spend a significant amount of time working with this Integrated Development Environment (IDE), so it’s crucial to understand the interface and how to navigate through it efficiently.
At first glance, the Android Studio interface may seem overwhelming, with its various panels, menus, and toolbars. However, once you become familiar with its components, you’ll find that it offers a user-friendly and intuitive development environment.
- Project Explorer: This panel provides a hierarchical view of your project’s files and folders. You can navigate through your project’s structure, access various resources, and manage dependencies.
- Editor Window: This is where you write your code. Android Studio provides a powerful code editor with features like syntax highlighting, code completion, and refactoring tools.
- Toolbar: The toolbar contains buttons for frequently used actions, such as building and running your app, debugging, and managing configurations.
- Palette: The palette is a visual representation of the user interface (UI) components that you can drag and drop onto your app’s layout. It includes various widgets and layout containers.
- Component Tree: This panel displays the hierarchy of UI components in your app’s layout. You can navigate through the XML representation of your layout and make modifications as needed.
- Logcat: The logcat panel displays system logs and messages generated by your app. It can be helpful for debugging and monitoring app behavior.
As you start developing Android apps, it’s essential to explore and familiarize yourself with the different sections of the Android Studio interface. Understanding how to navigate through the project structure, write code efficiently, and utilize the various tools and panels will streamline your development workflow and enhance your productivity.
Writing Your First Android App
So, you’re ready to embark on the exciting journey of writing your first Android app! Congratulations! Developing an Android app can be a rewarding and fulfilling experience, and with the right guidance, you’ll be well on your way to creating something amazing. Let’s dive in and explore the essential steps you need to follow to write your first Android app.
Step 1: Define Your App’s Purpose
The first step in writing an Android app is to clearly define its purpose. What problem does your app solve? Who is your target audience? Understanding your app’s purpose will help you make design and development decisions later on.
Step 2: Set Up Your Development Environment
Before you start writing code, you need to set up your development environment. This involves installing Android Studio, the official integrated development environment (IDE) for Android app development. Android Studio provides a user-friendly interface and a wide range of tools to help you build your app.
Step 3: Learn Java or Kotlin
In order to write Android apps, you’ll need to learn either Java or Kotlin, the primary programming languages used for Android development. Both languages have their own advantages, so choose the one that aligns with your preferences and goals. There are plenty of online tutorials and resources available to help you get started.
Step 4: Understand the Android App Components
Android apps are built using a set of components, including activities, services, broadcast receivers, and content providers. Understanding how these components work together is crucial for building a functional and interactive app. Take the time to familiarize yourself with these components and their respective roles in the Android app architecture.
Step 5: Design Your App’s User Interface
An appealing and user-friendly interface is key to the success of any app. You can design your app’s user interface using XML layouts, which define the structure and appearance of the app’s screens. Android Studio offers a visual layout editor that enables you to create and modify your app’s layouts easily.
Step 6: Write Your Code
Now comes the exciting part – writing the code for your app! Depending on the complexity of your app, you’ll need to write code to handle user interactions, process data, and handle any other functionality you want to implement. You can use Java or Kotlin to write the code in Android Studio’s code editor.
Step 7: Test and Debug Your App
Testing and debugging are essential steps in the app development process. Use Android Studio’s built-in tools to test your app on virtual devices or physical devices. This will help you identify and fix any issues or bugs that may arise during the testing phase.
Step 8: Publish Your App
Congratulations, you’ve completed your first Android app! Now it’s time to share it with the world. Before publishing your app on the Google Play Store, make sure to thoroughly test it and optimize it for performance. Create a developer account on the Google Play Console, follow the submission guidelines, and get your app ready for launch.
Remember, writing your first Android app may come with challenges, but don’t be discouraged. With practice and perseverance, you’ll become more proficient and confident in your Android app development skills. Take advantage of the vast resources available online, join developer communities, and keep exploring new techniques and technologies to stay ahead in the ever-evolving world of Android app development.
In conclusion, writing an Android app requires a combination of technical expertise, creativity, and attention to detail. By following the necessary steps and guidelines, developers can create high-quality apps that meet the needs of users and stand out in a highly competitive market. The process involves understanding the app’s purpose, designing a user-friendly interface, implementing functional features, and testing for bugs and optimization. With the vast resources and tools available for Android app development, it has never been easier to turn your ideas into reality. Whether you are a seasoned developer or just starting, remember to stay updated on the latest industry trends and best practices to ensure your app’s success. So what are you waiting for? Start honing your coding skills and unleash your creativity to create the next groundbreaking Android app!
FAQs
1. What programming language is used to write Android apps?
Android apps can be written in several programming languages, but the most commonly used language is Java. Java provides a robust and flexible environment for developing Android applications. Another option is Kotlin, which is gaining popularity among Android developers due to its concise syntax and increased productivity.
2. Is it necessary to have programming knowledge to write an Android app?
Having a basic understanding of programming concepts is helpful when writing an Android app. However, there are tools like Android Studio that provide a user-friendly interface and templates to simplify the development process. If you are a beginner, you can start by learning the fundamentals of Java or Kotlin to grasp the necessary programming concepts.
3. Do I need to know HTML to develop Android apps?
No, HTML is not required to develop Android apps. While HTML is a markup language used for building webpages, Android apps are developed using Java or Kotlin along with XML for defining the layout and UI components. Understanding XML can be useful in developing user interfaces in Android, but it is not essential.
4. How long does it take to write an Android app?
The time it takes to write an Android app varies depending on factors such as the complexity of the app, the experience of the developer, and the availability of resources. Simple apps with basic functionality can be developed in a few weeks, while more complex apps with advanced features may take several months or even longer.
5. What are the steps involved in writing an Android app?
The process of writing an Android app typically involves the following steps:
1. Designing the user interface using XML.
2. Writing the app’s logic and functionality in Java or Kotlin.
3. Testing the app on different devices and resolving any issues.
4. Refining the user experience and adding polish to the app.
5. Publishing the app to the Google Play Store or other app distribution platforms, after meeting the necessary requirements and guidelines.