
In this digital age, smartphones have become an integral part of our daily lives. From communication to entertainment, we rely on these devices for a multitude of tasks. One of the essential features of any smartphone is its ability to display the accurate time. However, there may be instances when your Android phone’s time is not in sync with the real-world time. Whether it’s due to traveling to a different time zone or a technical glitch, learning how to change the time on your Android phone can be incredibly useful. In this article, we will guide you through the process of changing the time on your Android phone, ensuring that you never miss an appointment or deadline due to an incorrect time setting.
Inside This Article
- Setting the Date and Time Automatically
- Setting the Date and Time Manually
- Adjusting the Time Zone
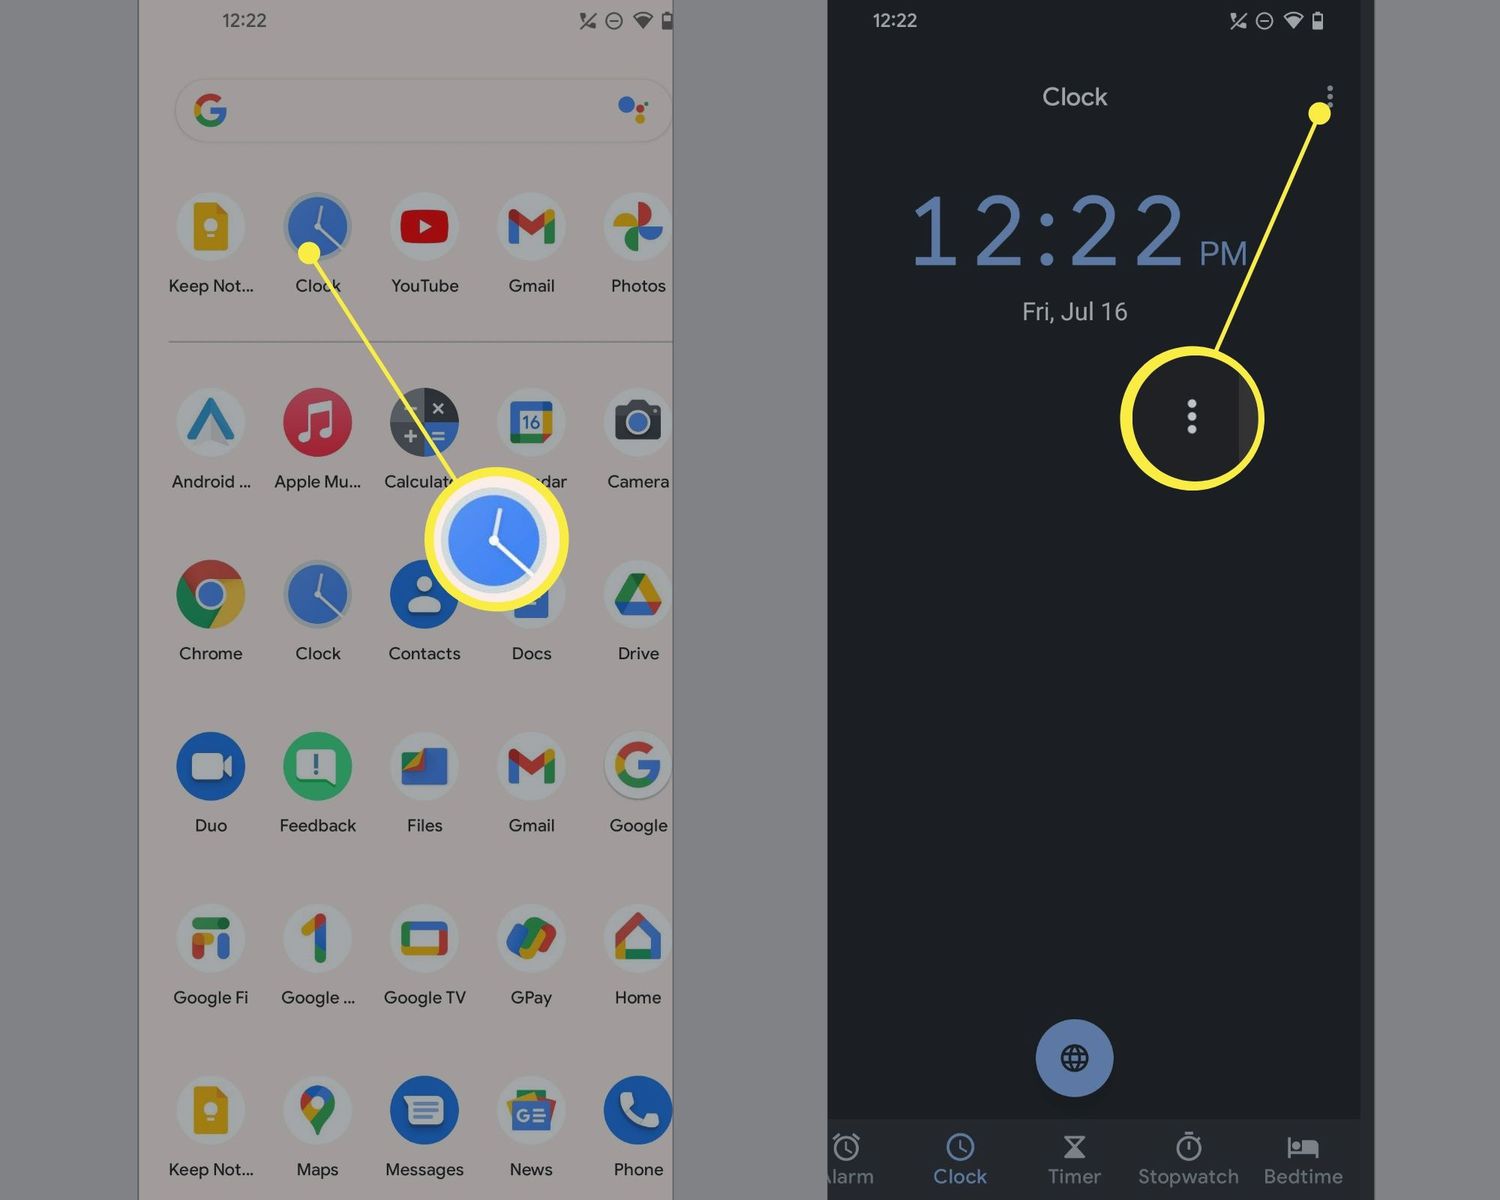
- Using a Third-Party Time App
- Conclusion
- FAQs
Setting the Date and Time Automatically
One of the conveniences of modern smartphones, including Android phones, is the ability to automatically set the date and time. This feature ensures that your phone is always accurate and synchronized with the global time. In this section, we will take you through the steps to enable automatic date and time on your Android phone.
To set the date and time automatically, follow these simple steps:
- Open the “Settings” app on your Android phone. You can usually find the app icon in your app drawer or by swiping down from the top of your screen and tapping the gear-shaped settings icon.
- Scroll down and tap on “System” or “System & Device,” depending on your phone’s manufacturer and Android version.
- Tap on “Date & Time.”
- Toggle the switch next to “Automatic date & time” or “Use network-provided time” to enable this feature.
Once you’ve enabled automatic date and time, your Android phone will synchronize with the network time provider periodically, ensuring that your device always displays the correct date and time. This is especially useful when traveling across different time zones or during daylight saving time changes.
Note that the automatic date and time feature relies on your phone’s internet connection. Therefore, make sure you have an active internet connection to ensure accurate time synchronization.
By allowing your Android phone to set the date and time automatically, you can save yourself the hassle of manually adjusting the time and ensure that your phone is always up to date.
Setting the Date and Time Manually
Setting the date and time manually on your Android phone is a straightforward process. Whether you want to correct an incorrect time or adjust it to match your specific needs, the steps are simple and can be done in just a few taps.
To change the date and time manually, follow these steps:
- Open the “Settings” app on your Android phone. It can usually be found on the home screen or in the app drawer.
- Scroll down and tap on “System” or “System & Device,” depending on your device’s manufacturer and software version.
- Next, tap on “Date & Time” or “Date & Time Settings.” This option may be placed differently on different devices.
- You will see two options: “Automatic date & time” and “Automatic time zone.” Make sure these options are turned off.
- Now, tap on the “Set date” or “Set time” option. A calendar or a numeric keypad will appear, depending on the section you choose to modify.
- Select the desired date and time by scrolling or entering the values using the keypad. You can also switch between AM and PM if modifying the time.
- Once you have set the date and time, tap on the “OK” or “Save” button to confirm the changes.
After following these steps, your Android phone will display the newly set date and time. Remember that changing the date and time manually may affect the functioning of certain apps and features that rely on accurate time information.
If you want to switch back to automatic date and time, simply go back to the “Date & Time” section and toggle the “Automatic date & time” and “Automatic time zone” options on.
Now that you know how to set the date and time manually on your Android phone, you have full control over this essential aspect of your device. Whether you need to adjust for different time zones or correct inaccuracies, it’s a quick and hassle-free process.
Adjusting the Time Zone
Adjusting the time zone on your Android phone is essential for ensuring accurate timekeeping and syncing with the local time when you are in a different region. Whether you are traveling or simply want to switch to a different time zone, follow these simple steps to adjust the time zone on your Android device.
1. Open the “Settings” app on your Android phone. You can usually find this app icon on your home screen or in the app drawer.
2. Scroll down and tap on “System” or “General Management,” depending on the version of Android you are using.
3. Look for the “Date and Time” option and tap on it. On some devices, you may have to tap on “Additional settings” or “Additional settings for date and time.”
4. Tap on the “Select time zone” or “Time zone” option. A list of available time zones will be displayed.
5. Scroll through the list and find the desired time zone. You can use the search bar at the top to quickly locate your time zone.
6. Tap on your preferred time zone, and it will be automatically selected.
7. Press the back button or navigate back to the previous screen. Your phone will now be set to the new time zone.
It’s worth noting that selecting the correct time zone is crucial if you rely on your phone’s clock for scheduling appointments, meetings, or reminders. Updating the time zone ensures that your phone accurately reflects the local time and keeps you on track.
Remember to adjust the time zone whenever you travel to a different region or if you move to a new location permanently. This will help you stay organized and keep your phone’s clock in sync with your surroundings.
With these simple steps, you can easily adjust the time zone on your Android phone and ensure that your device displays the correct local time, no matter where you are.
Using a Third-Party Time App
If you’re not satisfied with the default time and date settings on your Android phone, you have the option to use a third-party time app. These apps offer enhanced features and customization options that go beyond what the built-in settings provide.
When choosing a third-party time app, look for ones that have positive user reviews and a high number of downloads. Some popular options include ClockSync, World Clock, and Chronus. These apps allow you to not only change the time and date on your Android phone but also provide additional features like multiple time zones, alarms, timers, and widgets.
Once you’ve installed the app of your choice, follow the instructions provided by the app to set the date and time. Typically, you’ll need to open the app and navigate to the settings menu, where you can adjust the time and date to your preference. Some apps may also offer the option to sync the time with an internet time server for more accurate and up-to-date time information.
Using a third-party time app can be a great option if you frequently travel or work with people in different time zones. These apps allow you to easily switch between time zones and keep track of multiple locations at a glance. Additionally, if you prefer a different time format or layout, you can often customize the app to display the time and date in your preferred format.
While using a third-party time app can provide more flexibility and customization options, it’s important to note that these apps may require additional permissions to access your device’s settings and internet connection. Be mindful of the permissions requested by the app and only download from trusted sources to ensure the security of your device and personal information.
Conclusion
In conclusion, changing the time on your Android phone is a simple and straightforward process that can be done in just a few steps. Whether you want to adjust the time due to travel, daylight saving time, or simply to keep your device up to date, you now have the knowledge and tools to make the necessary changes. Remember to access the Date & Time settings on your Android phone, select the appropriate options, and make sure to adjust for the correct time zone.
Having the correct time on your phone is not only essential for staying on schedule and being punctual, but it also ensures that your phone’s functionalities like alarms, reminders, and notifications work accurately. By following the steps outlined in this article, you can easily stay on top of time management and make the most out of your Android phone’s features.
FAQs
Q: How do I change the time on my Android phone?
A: To change the time on your Android phone, you can follow these steps:
1. Go to the Settings app on your phone.
2. Scroll down and tap on “Date & time”.
3. Enable the “Automatic date & time” option to sync with the network-provided time, or disable it to set the time manually.
4. If you choose to set the time manually, tap on “Set time” or “Set date” and adjust the time using the on-screen tools.
5. Once you’ve made the necessary changes, exit the settings and your Android phone will have the updated time.
Remember that these steps may vary slightly depending on the Android version and device you’re using.
Q: Why is the time on my Android phone incorrect?
A: There could be several reasons why the time on your Android phone might be incorrect. Some possible causes include:
1. Network issues: If your phone is not able to sync with the network provider, it may not receive the correct time.
2. Time zone settings: If your time zone is set incorrectly, it can lead to the wrong time being displayed on your phone.
3. Daylight saving time: If your phone does not automatically adjust for daylight saving time, it may show the incorrect time during DST transitions.
4. Software bugs: Occasionally, software bugs can cause the time on your Android phone to be incorrect.
If you’re experiencing issues with your phone’s time, it’s a good idea to check these factors and make the necessary adjustments.
Q: Can I change the time format on my Android phone?
A: Yes, you can change the time format on your Android phone. The steps to do so vary depending on the device and Android version, but generally, you can follow these instructions:
1. Open the Settings app on your phone.
2. Scroll down and tap on “Date & time”.
3. Look for an option called “Time format” or “Use 24-hour format” and tap on it.
4. Choose the desired time format: 12-hour or 24-hour.
5. Once you’ve selected your preferred time format, exit the settings, and the time on your Android phone will be displayed accordingly.
Again, keep in mind that the exact steps may differ slightly depending on your specific device.
Q: How often does the time on my Android phone update?
A: By default, Android phones are set to automatically update the time based on the network-provided time. This means that your phone will sync with the network periodically to update the time. The frequency of these updates can vary depending on factors such as your network connection, time zone changes, and daylight saving time transitions. However, it is generally recommended to keep the automatic time update feature enabled to ensure your phone has the correct time at all times.
Q: Can I change the time zone on my Android phone?
A: Yes, you can change the time zone on your Android phone. To do this, follow these steps:
1. Open the Settings app on your phone.
2. Scroll down and tap on “Date & time”.
3. Look for an option called “Time zone” or “Select time zone” and tap on it.
4. From the list of available time zones, select the one that corresponds to your location.
5. Once you’ve selected the correct time zone, exit the settings, and your Android phone will display the updated time based on the new time zone.
Remember to choose the right time zone to ensure accurate time representation on your device.