
In the digital age, our smartphones have become an integral part of our lives, capturing precious moments with their advanced cameras. However, as we accumulate countless photos on our phones, we may find ourselves running out of storage space. That’s where a flash drive comes in handy. A flash drive, also known as a USB drive or thumb drive, allows us to transfer photos and other files from our phone to a separate storage device.
In this article, we will guide you through the process of downloading pictures from your phone to a flash drive. Whether you want to free up space on your phone or simply create a backup of your precious memories, we’ve got you covered. From selecting the right flash drive to transferring the photos, we will provide step-by-step instructions so that you can easily and efficiently manage your digital photo collection. Let’s get started on this exciting journey of preserving your memories by transferring pictures from your phone to a flash drive.
Inside This Article
- Connecting your phone to the flash drive
- Transferring pictures from phone to flash drive using a computer
- Transferring pictures from phone to flash drive using an OTG cable
- Conclusion
- FAQs
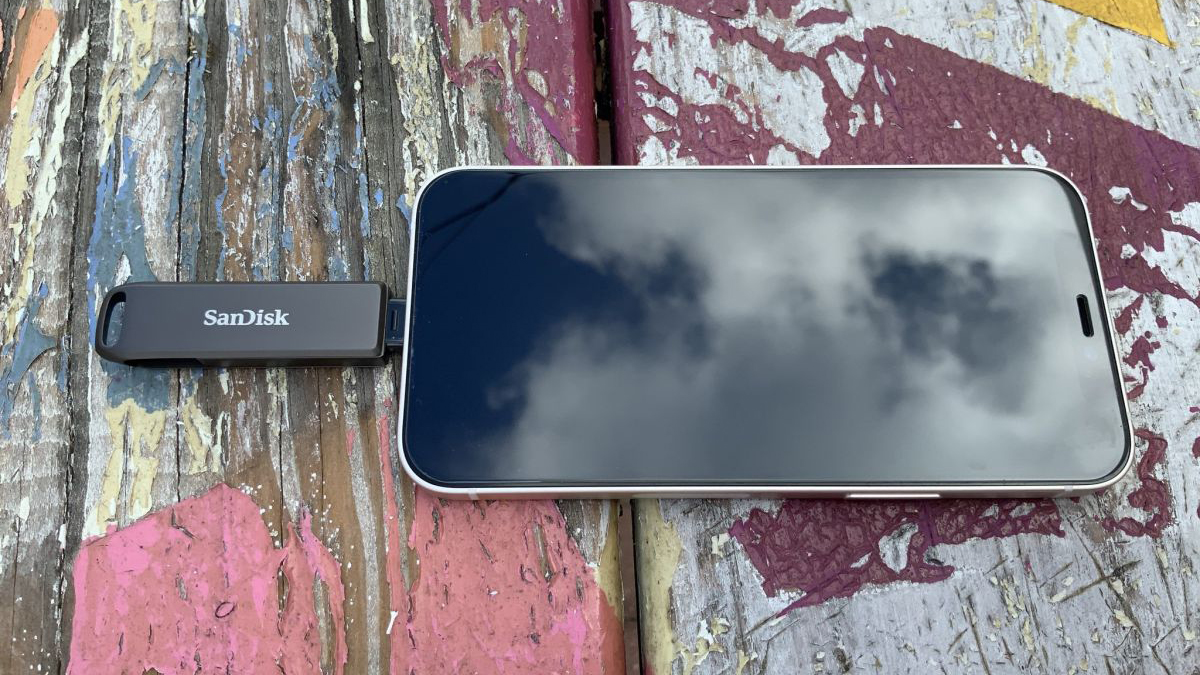
Connecting your phone to the flash drive
One of the most common methods to transfer pictures from your phone to a flash drive is by connecting them directly. This easy and convenient method allows you to quickly move your precious memories from your phone’s storage to an external drive.
To get started, you will need a USB OTG (On-The-Go) adapter. This small device acts as a bridge between your phone and the flash drive, enabling them to communicate with each other. Most modern Android phones are compatible with USB OTG, but it’s worth checking your phone’s specifications to confirm its compatibility.
Insert one end of the USB OTG adapter into the charging port of your phone. Then, connect the other end to the USB port of your flash drive. Once the connection is established, your phone will typically prompt you with a notification indicating that an external storage device has been connected.
Now that your phone and flash drive are connected, you can begin transferring your pictures. Open your phone’s file manager app or the gallery app and locate the folder or pictures you want to transfer. Select the pictures by tapping and holding on them or using the respective selection buttons in the app.
Once the pictures are selected, choose the option to share or move the selected items. In the sharing or moving options, you should see an option to choose the flash drive as the destination. Tap on it and confirm the transfer. The pictures will then be copied from your phone’s storage to the flash drive.
After the transfer is complete, safely disconnect the flash drive from your phone. This can usually be done by tapping on the notification indicating the connected external storage device and selecting the option to safely remove or eject it.
By following these simple steps, you can easily connect your phone to a flash drive and transfer your pictures with ease. Keep in mind that the exact steps and options may vary depending on the make and model of your phone and the file manager or gallery app you are using.
Transferring pictures from phone to flash drive using a computer
If you prefer using your computer to transfer pictures from your phone to a flash drive, you’re in luck! It’s a straightforward process that only requires a few simple steps. Here’s a step-by-step guide to help you:
1. Connect your phone to your computer using a USB cable. Ensure that your phone is unlocked and the screen is on. Your computer will detect the connected phone as a storage device.
2. On your computer, open “File Explorer” or “My Computer” (Windows) or “Finder” (Mac) to access your phone’s files.
3. Locate the folder where your pictures are stored on your phone. This is usually the “Pictures” or “Gallery” folder.
4. Open a new window and navigate to the location where you want to transfer the pictures on your flash drive. This can be a specific folder or the root directory of the flash drive.
5. Now, simply select the pictures you want to transfer from your phone’s folder, and drag and drop them into the destination folder on your flash drive.
6. Wait for the transfer to complete. The time it takes will depend on the size and number of pictures you’re transferring.
7. Once the transfer is finished, safely eject your phone and flash drive from your computer. You can do this by right-clicking on their respective icons and selecting the “Eject” option.
8. That’s it! You’ve successfully transferred your pictures from your phone to the flash drive using your computer. You can now disconnect the USB cable and continue using your devices as usual.
This method is convenient and allows you to easily organize and backup your pictures from your phone to a flash drive. It also frees up valuable storage space on your phone, especially if you have a large number of high-resolution photos.
Transferring pictures from phone to flash drive using an OTG cable
Transferring pictures from your phone to a flash drive using an OTG (On-The-Go) cable is a convenient and straightforward method. OTG cables allow you to connect your phone directly to a USB flash drive, enabling easy file transfer without the need for a computer. Here’s how you can do it:
1. Start by ensuring that your phone supports OTG functionality. Most modern Android phones have this feature, but it’s always a good idea to double-check your phone’s specifications or user manual.
2. Get an OTG cable compatible with your phone. These cables have a micro USB or USB-C connector on one end and a USB-A connector on the other.
3. Connect one end of the OTG cable to your phone’s charging port or data transfer port. Make sure it is securely attached.
4. Plug the USB flash drive into the USB-A connector of the OTG cable. Ensure that the flash drive is connected properly and recognized by your phone.
5. Once the connection is established, you can access the files on your flash drive through your phone’s file manager app. Open the app and navigate to the location where your pictures are stored.
6. Select the pictures you want to transfer to the flash drive. You can usually do this by long-pressing on a picture to select it, and then tapping on any additional pictures you want to include in the selection.
7. Look for an option to “Copy” or “Move” the selected pictures. This option may vary depending on the file manager app you’re using. Tap on it to proceed.
8. Navigate to the directory or folder on the flash drive where you want to store the pictures. If needed, you can create a new folder by tapping on the “New Folder” option.
9. Paste the pictures into the designated location on the flash drive. The transfer process may take some time depending on the size of the pictures and the speed of your phone and flash drive.
10. Once the transfer is complete, safely disconnect the OTG cable and remove the flash drive from your phone to prevent any data corruption.
Transferring pictures from your phone to a flash drive using an OTG cable offers a direct, hassle-free method to backup or share your photos. It eliminates the need for a computer, making it a convenient option while on the go. Remember to always handle your flash drive and OTG cable with care and ensure that they are compatible with your phone for optimal performance.
Conclusion
Downloading pictures from your phone to a flash drive is a simple process that can be incredibly convenient. It allows you to securely store and transfer your precious memories, freeing up space on your phone and ensuring that your photos are safely backed up. Whether you want to preserve your travel photos, share memorable moments with loved ones, or create a physical album, using a flash drive is an excellent solution.
By following the step-by-step instructions outlined in this article, you can easily transfer your pictures from your phone to a flash drive. Remember to connect your phone to your computer, locate the pictures you want to transfer, and then drag and drop them into the flash drive. With a few simple clicks, you can have all your pictures safely stored on a portable device, ready to be accessed whenever you need them.
So, give it a try! Take control of your digital files and enjoy the convenience of having your pictures stored on a flash drive. It’s a great way to keep your memories safe and organized, while also freeing up space on your phone for new adventures and experiences.
FAQs
Q: Can I download pictures from my phone to a flash drive?
A: Yes, you can transfer pictures from your phone to a flash drive with a few simple steps.
Q: What do I need to transfer pictures from my phone to a flash drive?
A: To transfer pictures, you will need a USB OTG (On-The-Go) adapter, a compatible flash drive, and your phone’s charging cable.
Q: How do I connect my phone to a flash drive?
A: First, connect the USB OTG adapter to your phone. Then, insert your flash drive into the OTG adapter’s USB port. Your phone should recognize the flash drive.
Q: How do I transfer pictures from my phone to the flash drive?
A: Open the file manager app on your phone. Navigate to the folder where your pictures are stored. Select the pictures you want to transfer and tap on the share button. Choose the option to save or copy the pictures to the flash drive.
Q: Can I transfer other types of files from my phone to the flash drive?
A: Yes, you can transfer various types of files, including documents, videos, and music, from your phone to the flash drive using the same method mentioned above.
Q: Are there any other methods to transfer pictures from my phone to a flash drive?
A: Yes, besides using a USB OTG adapter, you can also use cloud storage services or transfer pictures via Bluetooth to a computer and then copy them to the flash drive.
Q: Can I directly connect a flash drive to my phone without an adapter?
A: It depends on your phone’s model and specifications. Some newer Android phones support direct USB connections to flash drives without the need for an adapter.
Q: Are there any precautions I should take when transferring files to a flash drive?
A: It is advisable to back up your files before transferring them to a flash drive to avoid data loss. Additionally, ensure that the flash drive is compatible with your phone to avoid any compatibility issues.