
Are you tired of running out of storage space on your Android phone due to the numerous photos you have captured? Luckily, there’s a simple solution to free up space and ensure that your precious memories are safely stored. Transferring your photos from your Android phone to a USB flash drive can provide you with the extra storage you need while keeping your cherished moments securely backed up.
In this article, we will guide you through the process of transferring photos from your Android phone to a USB flash drive, providing you with step-by-step instructions to make the process seamless and efficient. Whether you are looking to clear space on your phone, protect your photos from accidental loss, or simply have a backup of your pictures for safekeeping, we’ve got you covered.
Read on to discover the best methods and tips to transfer your photos from your Android phone to a USB flash drive effortlessly.
Inside This Article
- Preparing Your Android Phone and USB Flash Drive
- Connecting Your Android Phone to the USB Flash Drive
- Transferring Photos from Android Phone to USB Flash Drive
- Safely Ejecting Your USB Flash Drive from Android Phone
- Conclusion
- FAQs
Preparing Your Android Phone and USB Flash Drive
Before you can successfully transfer photos from your Android phone to a USB flash drive, there are a few essential steps you need to follow to ensure compatibility and a smooth transfer process. Here’s a guide on how to prepare both your Android phone and USB flash drive:
- Check USB OTG support: USB On-The-Go (OTG) is the feature that allows you to connect external devices, like a USB flash drive, to your Android phone. Confirm if your Android phone supports USB OTG by checking the specifications on the manufacturer’s website or referring to the user manual.
- Ensure sufficient storage: Assess the available storage space on your Android phone and make sure it has enough capacity to accommodate the photos you want to transfer. If your phone’s storage is running low, consider freeing up space by deleting unnecessary files or moving them to a cloud storage service.
- Select a compatible USB flash drive: Not all USB flash drives are created equal when it comes to compatibility with Android phones. Look for USB flash drives that explicitly state their compatibility with Android devices. It is recommended to choose a USB flash drive with a storage capacity suitable for your photo transfer needs.
- Format the USB flash drive: To ensure optimal performance and compatibility, it’s advisable to format your USB flash drive to a file system that Android devices can recognize. Connect the USB flash drive to a computer, locate it in the file explorer, right-click on it, and choose the option to format. Make sure to select a compatible file system such as FAT32 or exFAT.
- Install a file manager app: While some Android phones come with built-in file managers, others may require you to install one from the Google Play Store. A file manager app will allow you to manage and navigate the files both on your Android phone and the connected USB flash drive.
By following these steps, you’ll ensure that your Android phone and USB flash drive are ready for the photo transfer process. Once both devices are prepared, you can continue to the next steps to connect them and transfer your photos successfully.
Connecting Your Android Phone to the USB Flash Drive
Once you have prepared your Android phone and USB flash drive, it’s time to connect them and start the process of transferring photos. Follow these simple steps to establish a connection between your Android phone and the USB flash drive:
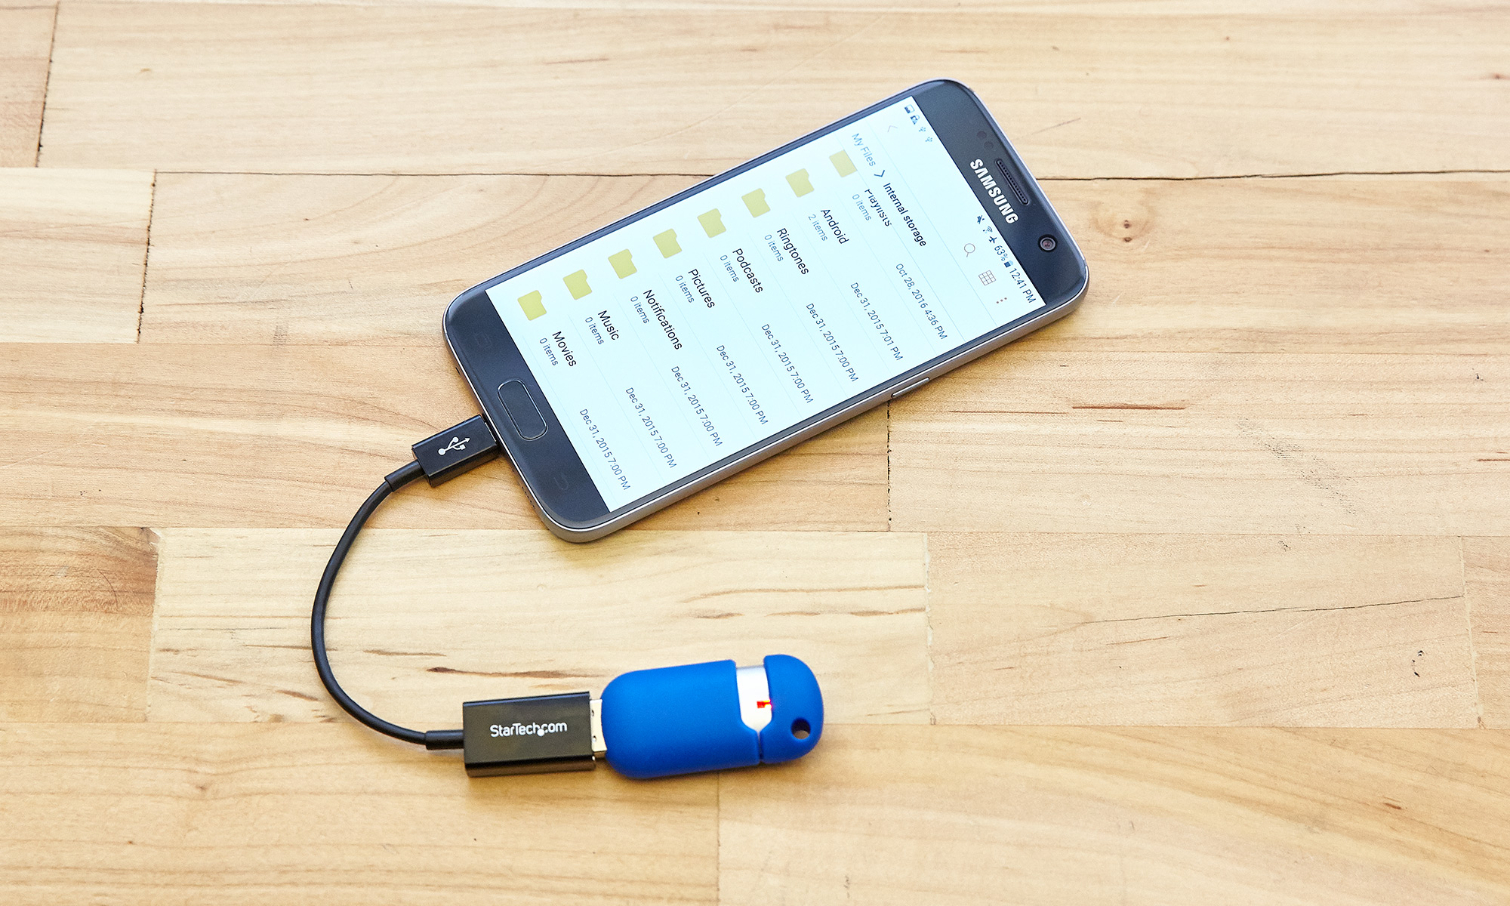
- Locate the USB port on your Android phone: Most Android phones have a USB-C or micro USB port, depending on the model. Ensure that your USB flash drive is compatible with the port on your phone.
- Insert the USB flash drive: Carefully insert the USB flash drive into the corresponding USB port on your Android phone. Make sure the connection is firm and secure.
- Allow your phone to recognize the USB flash drive: Your Android phone should automatically detect the presence of the USB flash drive. It may display a notification or prompt you to choose how to use the USB connection. Select the option that allows you to transfer files or access photos.
At this stage, your Android phone and USB flash drive are successfully connected. It’s important to note that the specific steps to establish this connection may vary slightly depending on your phone’s make and model, as well as the Android version it is running. However, the general process outlined above should apply to most Android devices.
Once the connection is established, you can move on to the next step of transferring photos from your Android phone to the USB flash drive.
Transferring Photos from Android Phone to USB Flash Drive
Transferring photos from your Android phone to a USB flash drive is a convenient way to backup and free up space on your phone. Here are the steps to complete the transfer:
- Connect your Android phone to the USB flash drive:
- Insert the USB flash drive into the USB port on your phone using an OTG (On-The-Go) cable. Make sure the flash drive is recognized by your phone.
- If prompted, select the option to view the contents of the USB flash drive on your phone.
- Select the photos you want to transfer:
- Navigate to the gallery or file manager app on your phone.
- Locate the folder or album containing the photos you wish to transfer.
- Tap and hold on a photo to select it. You can then select multiple photos by tapping on each one.
- Copy or move the selected photos to the USB flash drive:
- Once you’ve selected the desired photos, tap on the share or options icon (usually represented by three dots) in the top right corner of the screen.
- Choose the option to copy or move the selected photos.
- Navigate to the USB flash drive and select the destination folder where you want to transfer the photos.
- Tap on the paste or move button to initiate the transfer process.
- Wait for the transfer to complete:
- The time it takes to transfer the photos will depend on the size and quantity of the files. Larger files may take longer to transfer.
- Do not disconnect the USB flash drive or interrupt the transfer process until it is complete.
- Verify the transferred photos:
- Once the transfer is finished, navigate to the USB flash drive and open the destination folder.
- Check that all the photos you transferred are successfully copied or moved to the flash drive.
Now you have successfully transferred your photos from your Android phone to a USB flash drive. You can safely remove the flash drive from your phone and keep it as a backup or transfer the photos to another device for further editing or sharing.
Remember to periodically backup your photos and other important data to prevent any accidental loss or corruption. Using a USB flash drive provides an extra layer of protection and ensures your precious memories are safe and accessible whenever you need them.
Safely Ejecting Your USB Flash Drive from Android Phone
After successfully transferring your photos from your Android phone to the USB flash drive, it’s important to properly eject the flash drive to avoid any data corruption or loss. Here’s a step-by-step guide to safely ejecting your USB flash drive from your Android phone:
- Make sure all file transfers are complete: Before ejecting the USB flash drive, double-check that all the photos have been successfully copied and saved on the flash drive. It’s crucial to confirm that the transfer is complete to prevent any future data loss.
- Go to your Android phone’s settings: Swipe down from the top of your phone’s screen to access the notification panel, and then tap on the gear icon to open the Settings menu.
- Select the Storage option: Within the Settings menu, look for the Storage or Storage & USB option. The terminology may vary depending on your phone’s manufacturer or Android version.
- Find the USB flash drive: Under the Storage section, you should see the name or label of the USB flash drive that you connected to your Android phone. Tap on it to access the USB settings.
- Tap on Eject or Safely Remove: Within the USB settings, you should see an option to eject or safely remove the USB flash drive. Tap on this option to initiate the ejection process.
- Wait for the confirmation message: After tapping on the Eject or Safely Remove option, a confirmation message will appear, indicating that it is safe to remove the USB flash drive.
- Physically disconnect the USB flash drive: Once you receive the confirmation message, gently remove the USB flash drive from the USB port of your Android phone. Make sure to handle it carefully to avoid any physical damage.
By following these steps, you can ensure that you safely eject your USB flash drive from your Android phone without risking any data corruption or loss. It’s always important to properly disconnect any external storage devices to maintain the integrity of your files and the overall functionality of your Android device.
Remember, if you plan on transferring more photos or files in the future, always follow the necessary precautions and steps to guarantee the safety of your data.
Conclusion
Conclusion
In conclusion, transferring photos from your Android phone to a USB flash drive is a simple and convenient process that allows you to easily back up and transfer your precious memories. Whether you want to free up storage space on your phone or simply have a backup of your photos, using a USB flash drive is an efficient solution.
By following the steps outlined in this article, you can ensure a smooth and successful transfer of your photos. Remember to connect the USB flash drive to your Android phone using an OTG cable, select the photos you want to transfer, and then copy them to the USB drive. It’s also important to safely eject the USB flash drive from your phone to avoid any data loss.
With this knowledge, you can easily transfer your photos whenever you need to, ensuring that your memories are safe and accessible. Don’t forget to keep your USB flash drive in a secure place and make backups regularly to avoid any potential data loss.
So, go ahead and transfer those beautiful pictures from your Android phone to a USB flash drive and cherish your memories for years to come.
FAQs
Q: Can I transfer photos from my Android phone to a USB flash drive?
A: Yes, you can transfer photos from your Android phone to a USB flash drive. There are several methods you can use to achieve this, depending on your phone model and available options.
Q: What do I need to transfer photos from my Android phone to a USB flash drive?
A: To transfer photos from your Android phone to a USB flash drive, you will need the following:
- An Android phone with a USB-C or micro USB port
- A USB flash drive with enough storage capacity
- A USB OTG (On-The-Go) adapter, if your phone doesn’t have a built-in USB port
- A USB cable
Q: How do I transfer photos from my Android phone to a USB flash drive?
A: The process may vary slightly depending on your phone model and Android version, but generally, you can follow these steps:
- Connect your Android phone to the USB flash drive using a USB cable (or USB OTG adapter, if needed).
- On your phone, swipe down from the top of the screen to access the notification panel, then tap on “USB connected” or “USB options”.
- Select “File Transfer” or “Transfer files” from the available options.
- Open the File Manager or the Gallery app on your phone.
- Navigate to the folder containing the photos you want to transfer.
- Select the photos you want to transfer by tapping and holding on one photo, then selecting the others.
- Tap on the share icon (typically represented by three dots or an arrow) and choose the option to “Copy” or “Move”.
- Navigate to the USB flash drive directory and tap on “Paste” to transfer the photos.
- Wait for the transfer to complete, then safely disconnect the USB flash drive from your phone.
Q: Can I transfer photos directly from the Gallery app to a USB flash drive?
A: Yes, most Android phones allow you to transfer photos directly from the Gallery app to a USB flash drive. Simply open the Gallery app, select the photos you want to transfer, tap on the share icon, and choose the option that says “Copy to USB” or “Save to USB”.
Q: Are there any alternative methods to transfer photos from an Android phone to a USB flash drive?
A: Yes, apart from using a USB cable and the File Manager or Gallery app, you can also use third-party apps like “File Manager+” or “ES File Explorer” to transfer photos from your Android phone to a USB flash drive. These apps provide additional features and options for managing files on your device.