
Have you ever wondered if it’s possible to duplicate a phone? With the increasing reliance on smartphones for storing valuable information and the fear of losing or damaging our devices, the idea of duplicating a phone can be quite intriguing. Although duplicating a phone may sound like a complex and secretive process, it is actually a well-known and widely used practice in the tech world.
In this article, we will explore the steps and methods involved in duplicating a phone. Whether you want to transfer all your data to a new device or create a backup for emergencies, this guide will provide you with the necessary information to duplicate your phone successfully. From cloning apps to utilizing cloud services, we will cover various techniques that can help you replicate your phone’s data and settings. So, let’s dive in and unlock the secrets of duplicating a phone!
Inside This Article
- Setting Up the Backup
- Installing a Backup App – Granting Necessary Permissions – Configuring Backup Settings
- Creating a Backup
- Launching the Backup App – Selecting the Data to Backup – Initiating the Backup Process
- Restoring the Backup
- Installing the Backup App on the New Phone – Accessing the Backup Files – Initiating the Restore Process
- Verifying the Duplicated Phone
- Checking App and Data Integrity, Testing Phone Functionality, Syncing Accounts and Settings
- Conclusion
- FAQs
Setting Up the Backup
When it comes to duplicating a phone, setting up a backup is the crucial first step. By backing up your phone’s data, you can ensure that all your important information, such as contacts, photos, and app data, is safely preserved and ready to be transferred to a new device. Here’s how you can set up the backup:
Installing a Backup App: Start by downloading and installing a reliable backup app on your phone. There are several reputable options available on both Android and iOS platforms, such as Google Drive, iCloud, and third-party apps like Titanium Backup or Helium.
Granting Necessary Permissions: Before you can begin the backup process, make sure to grant the backup app all the necessary permissions it requires. These permissions usually include access to your contacts, media files, and app data.
Configuring Backup Settings: Once the app is installed and the permissions are granted, take some time to configure the backup settings. Choose what data you want to include in the backup, such as photos, videos, messages, and application data. You may also want to set up automatic backups at regular intervals to ensure your data is always up to date.
By following these steps, you’ll be well on your way to setting up a backup for your phone. Having a backup in place will give you peace of mind knowing that your data is protected and ready to be duplicated onto a new device.
Installing a Backup App – Granting Necessary Permissions – Configuring Backup Settings
When it comes to duplicating a phone, one of the crucial steps is installing a reliable backup app. These apps provide a convenient way to store your phone’s data and settings so that they can be easily transferred to a new device. Here’s how you can install a backup app:
1. Open the app store on your phone, such as the Google Play Store for Android devices or the App Store for iPhones.
2. Search for a reputable backup app, such as “Backup and Restore” or “Titanium Backup” for Android, or “iCloud Backup” for iPhones.
3. Once you’ve found a suitable app, click the “Install” button to download and install it on your phone.
Granting necessary permissions to the backup app is essential to ensure that it can access the required data for a successful duplication process. Here’s what you need to do:
1. Launch the installed backup app on your phone.
2. The app will prompt you to grant certain permissions. These permissions may include accessing your contacts, messages, media files, and other data. Read through the permissions carefully and click “Allow” to grant the necessary access.
Configuring backup settings is crucial to decide what data and settings you want to duplicate. Here are the steps to configure backup settings:
1. Open the backup app on your phone.
2. Look for the “Settings” or “Backup Options” section within the app.
3. In the settings, you may find options to select specific data like contacts, messages, photos, apps, and more that you want to include in the backup.
4. Additionally, you may have options to choose the backup location, such as an external SD card or a cloud storage service like Google Drive or Dropbox.
5. Take some time to go through the available settings and customize them according to your preferences.
Once you have successfully installed the backup app, granted necessary permissions, and configured backup settings, you are now ready to create a backup of your phone’s data and settings. This backup will serve as the foundation for duplicating your phone onto a new device.
Creating a Backup
When it comes to duplicating a phone, creating a backup of your precious data is essential. Whether you want to transfer your data to a new device or simply have a backup for emergencies, following the right steps will ensure a smooth process.
1. Launching the Backup App:
To begin the backup process, you need to have a reliable backup app installed on your phone. There are several options available, such as Google Drive, Samsung Smart Switch, or third-party apps like Titanium Backup. Choose the one that suits your needs and preferences.
2. Selecting the Data to Backup:
Once you’ve settled on a backup app, it’s time to determine which data you want to duplicate. Most backup apps allow you to select specific categories like contacts, messages, photos, videos, and apps. Take the time to review your data and select the ones you want to include in the backup.
3. Initiating the Backup Process:
Now that you’ve chosen the data to backup, it’s time to initiate the backup process. Depending on the app you’re using, the steps might vary slightly. In general, you’ll find a “Backup” or “Start Backup” button that you can tap to begin the process. Ensure that your phone is connected to a stable Wi-Fi network to avoid any disruptions.
4. Monitoring the Backup Progress:
During the backup process, it’s crucial to monitor its progress to ensure everything is going smoothly. Some backup apps provide a progress bar or a percentage indicator, giving you an idea of how much has been backed up. It’s best to avoid interrupting the backup process until it’s complete.
5. Verifying the Backup:
Once the backup is complete, it’s highly recommended to verify its integrity. Some backup apps offer options to test the backup by restoring a small portion of the data. This step will ensure that your backup is functional and you can rely on it when needed.
Creating a backup of your phone is a proactive step to safeguard your valuable data. By following these steps to create a backup, you can rest assured that your information is securely duplicated and ready to be transferred or restored when required.
Launching the Backup App – Selecting the Data to Backup – Initiating the Backup Process
When it comes to duplicating a phone, the first step is to launch the backup app on your device. Locate the backup app in your app drawer or home screen and tap on it to open. If you don’t have a backup app installed, you can easily find and download one from the Google Play Store or Apple App Store, depending on your device’s operating system.
Once the backup app is open, you’ll be presented with various options and settings. Look for the option to select the data you want to backup. This could include your contacts, messages, call logs, photos, videos, apps, and more. Depending on the backup app you’re using, the options may vary.
It’s important to carefully select the data you want to backup. Consider the amount of storage space you have available on your device and choose the most essential data that you’d like to duplicate. Keep in mind that backing up larger files like photos and videos may require more storage space.
After you’ve made your selections, you can proceed to initiate the backup process. This typically involves tapping on a “Backup” or “Start Backup” button within the app. The backup app will then begin the process of creating a duplicate copy of your selected data. Depending on the amount of data you’re backing up, this process may take a few minutes to complete.
During the backup process, it’s important to ensure that your device remains connected to a stable internet connection and has sufficient battery life. Interrupting the backup process or losing power midway can lead to incomplete or corrupted backups.
Once the backup process is complete, you’ll receive a confirmation notification or message within the backup app. This indicates that your data has been successfully duplicated and is ready for restoration or transfer to another device.
Remember to securely store your backup files, as they contain sensitive information. You can choose to save them on a cloud storage service, an external storage device, or even your computer. It’s always a good idea to have multiple backup copies in case of any unforeseen circumstances.
By launching the backup app, selecting the data you want to backup, and initiating the backup process, you’re one step closer to successfully duplicating your phone and safeguarding your valuable data.
Restoring the Backup
Once you have successfully created a backup of your phone’s data, you can easily restore it onto your new device. Restoring the backup ensures that all your apps, settings, and data are transferred seamlessly, saving you time and effort. Follow these steps to restore the backup:
1. Installing the Backup App on the New Phone: Begin by downloading and installing the same backup app you used to create the backup on your previous device. You can find popular backup apps like Titanium Backup, Helium, or Google Drive on the Play Store. Once installed, open the app and proceed to the next step.
2. Accessing the Backup Files: The app will typically provide an option to access the stored backup files. Tap on the option to browse the backup files stored on your device’s storage or cloud storage account. Locate the backup file you created earlier and select it. The app will begin the process of restoring the backup.
3. Initiating the Restore Process: Once you have selected the backup file, the app will prompt you to confirm the restore process. This may include a warning that the restore will overwrite existing data on your new device. Carefully read and understand the warning before proceeding. Confirm your selection and allow the app to begin restoring the backup.
4. Additional Configurations: Depending on the app and the type of data being restored, you may need to configure additional settings during the restore process. For example, you might need to input your account credentials to restore app data or grant permissions for the app to access certain data types. Follow the on-screen instructions provided by the app to complete the restore process.
5. Verifying the Restored Phone: Once the restore process is complete, it is essential to verify that your phone has been successfully duplicated. Take the time to check app and data integrity by opening various apps and ensuring that they function properly. Test essential phone features, such as making calls, sending messages, and connecting to Wi-Fi or cellular data. Additionally, reconfigure any account settings and ensure that all your personal preferences have been restored.
Restoring a backup onto a new phone ensures that you can continue using your new device as seamlessly as possible. It eliminates the hassle of manually transferring data and setting up apps from scratch. By following these steps, you can successfully duplicate your phone and have your new device up and running in no time.
Installing the Backup App on the New Phone – Accessing the Backup Files – Initiating the Restore Process
Once you have successfully backed up your old phone, it’s time to transfer that backup to your new phone. Here’s a step-by-step guide on how to install the backup app on your new phone, access the backup files, and initiate the restore process.
To begin, you will need to download and install the same backup app that you used on your old phone. Open the app store on your new phone and search for the backup app by typing its name in the search bar. Once you locate the app, tap on it to open the app’s page. From there, click on the “Install” button to commence the installation process. Wait for the app to download and install on your new phone.
After the backup app is successfully installed, open it on your new phone. You may be prompted to sign in to your account if you had created one on your old phone. Enter your login credentials and proceed to the next step.
Next, you will need to access the backup files. Typically, the backup app will provide you with an option to restore data from an existing backup. Tap on the “Restore” or “Import” button, depending on the app you are using. The app will then offer different ways to access the backup files. You can choose to retrieve the backup from cloud storage, if it was saved there, or you can transfer the backup files directly from your old phone to your new phone via a USB cable or Bluetooth connection.
If you opt to restore the backup from cloud storage, ensure that you are connected to the internet and sign in to your cloud storage account. Select the backup file you want to restore and let the app retrieve the data from the cloud. This process may take some time depending on the size of your backup and the speed of your internet connection.
If you decide to transfer the backup files from your old phone to your new phone directly, make sure that both devices are nearby and have Bluetooth enabled. On your old phone, open the backup app and select the backup file you want to transfer. Choose the option to send it via Bluetooth and confirm the action. On your new phone, open the backup app and select the option to receive the backup file via Bluetooth. Once the devices connect, the transfer will start, and the backup file will be copied to your new phone.
After accessing the backup files, you can now initiate the restore process. Depending on the backup app, you may have different options for what to restore. Typically, you will be able to choose between restoring contacts, messages, call logs, photos, videos, and other data. Select the data types you want to restore and tap on the “Restore” button. The app will then begin restoring the selected data from the backup file to your new phone. Similar to the backup process, the restore process may take some time to complete.
Once the restore process is finished, you can verify that your new phone has been successfully duplicated by checking the app and data integrity. Open the respective apps that you restored from the backup and ensure that all your data is intact. Additionally, test the phone’s functionality by making calls, sending messages, and accessing various features.
Lastly, don’t forget to sync your accounts and settings on your new phone. This will ensure that your email accounts, social media accounts, and other personalized settings are properly set up on your new device.
By following these steps, you can easily install the backup app on your new phone, access the backup files, and initiate the restore process. This will allow you to seamlessly transition to your new phone while keeping all your important data and settings intact.
Verifying the Duplicated Phone
Once you have successfully created a backup and restored it onto the new phone, it is important to verify that the duplicated phone is functioning properly. Here are some key steps to take in order to ensure that everything is in proper working order:
Checking App and Data Integrity: Begin by thoroughly inspecting the apps and data that were transferred to the new phone. Open each app and make sure that it functions as expected. Test various features and functionalities to ensure that nothing is missing or corrupted. Additionally, check that all your personal data, such as contacts, photos, and documents, have been successfully transferred and are accessible.
Testing Phone Functionality: Next, test the basic functionality of the duplicated phone. Make calls, send text messages, and check if the phone can connect to the internet via Wi-Fi or cellular data. Test the camera, speakers, and other hardware components to ensure that they are working properly. If any issues or abnormalities arise during these tests, it may indicate that something went wrong during the duplication process.
Syncing Accounts and Settings: One important aspect of verifying the duplicated phone is to sync your accounts and settings. This includes signing in to your email accounts, social media accounts, and any other accounts that were previously set up on your old phone. Ensure that your notifications, preferences, and other customized settings are preserved on the new device. By syncing your accounts and settings, you can ensure a seamless transition from the old phone to the duplicated one.
It is worth noting that even with a successful phone duplication process, there may be slight variations in the new device’s performance and settings. This is because each phone might have unique hardware configurations or software versions. However, by following the steps above, you can ensure that the duplicated phone is as close as possible to the original, making for a smooth and uninterrupted user experience.
Checking App and Data Integrity, Testing Phone Functionality, Syncing Accounts and Settings
After successfully restoring the backup and setting up your new phone, it’s important to ensure that all your apps and data are intact. By checking the app and data integrity, you can verify that everything has been duplicated correctly.
To start, go through your app list and open each one to make sure they are functioning as expected. Take note of any apps that are missing or not working properly. This can help you identify any issues with the backup and restore process.
Next, test the functionality of your phone by performing various tasks such as making calls, sending messages, browsing the internet, and taking pictures. This will ensure that all the essential features are working smoothly on your duplicated phone.
Syncing your accounts and settings is another crucial step to complete the duplication process. Begin by accessing the settings menu on your new phone. Look for the accounts section, where you can add your email accounts, social media profiles, and other online services. Make sure to enter the correct login credentials to sync all your accounts.
Additionally, review the settings of your phone and customize them according to your preferences. This includes adjusting display settings, sound settings, notifications, and security options. By syncing your accounts and settings, you can recreate your personalized mobile experience on the duplicated phone.
Remember to double-check that all the necessary data, such as contacts, calendar entries, notes, and media files, have been successfully duplicated on your new phone. Open the respective apps to ensure that all the data is present and updated.
If you encounter any issues or inconsistencies during the checking process, it is recommended to retrace the steps and repeat the restore process. Alternatively, you can contact the customer support of the backup app or the phone manufacturer for assistance.
By thoroughly checking the app and data integrity, testing the phone functionality, and syncing your accounts and settings, you can confidently use your duplicated phone knowing that it replicates the features and data of your original device.
Conclusion
In conclusion, duplicating a phone can be a useful solution in certain situations. Whether you need to transfer data from an old device to a new one, or simply want to create a backup of your important files, having the ability to duplicate a phone can save you time and effort. By following the step-by-step instructions provided in this article, you can easily duplicate your phone without any hassle.
Remember, always ensure that you have the necessary tools and software before attempting to duplicate your phone. It is also important to back up your data regularly to avoid any potential loss. If you encounter any difficulties or have any specific questions, don’t hesitate to consult the user manual or reach out to the manufacturer’s customer support for assistance.
With the ability to duplicate a phone, you can have peace of mind knowing that your data is safe and easily accessible. Whether you’re upgrading to a new device or simply want to have a backup, duplicating your phone is a valuable skill to have in today’s digital age.
FAQs
1. Can I duplicate my phone?
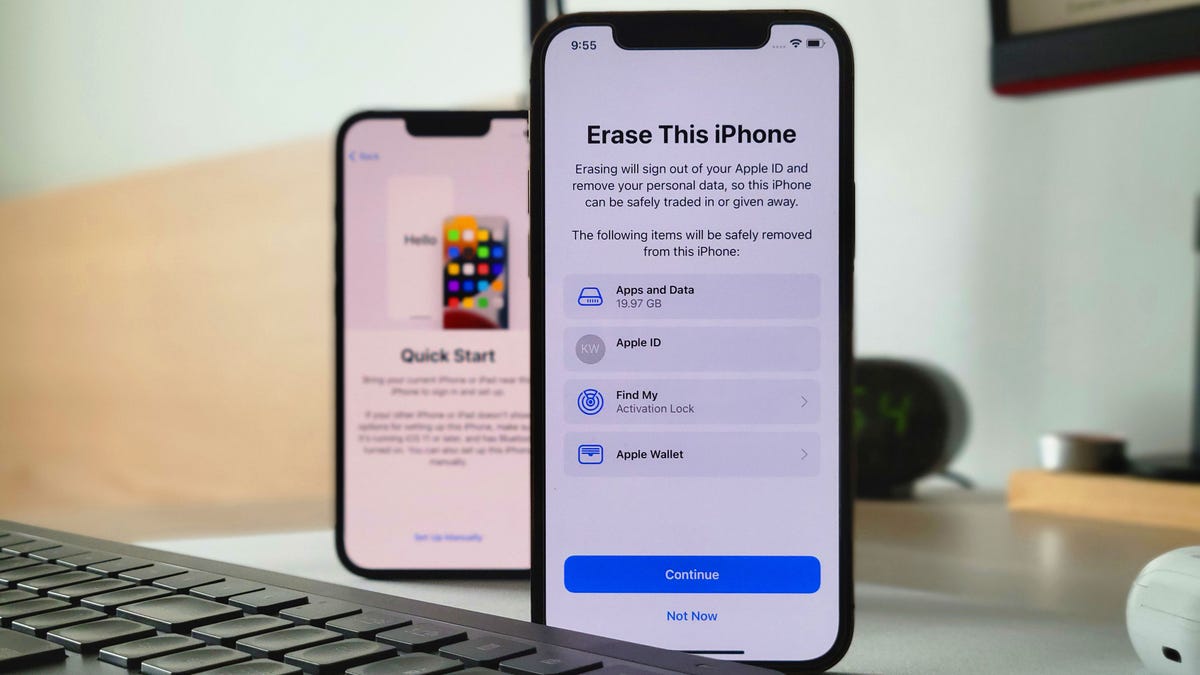
Duplicating a phone or cloning its entire content is not possible. Each phone has a unique device identifier, known as the IMEI number, which cannot be changed or replicated. However, you can transfer data, contacts, apps, and settings from one phone to another using various methods.
2. What are the methods to transfer data between phones?
There are multiple methods to transfer data between phones, such as:
- Using a cloud storage service like Google Drive or iCloud
- Using a computer to transfer data via USB cable
- Using wireless methods like Bluetooth or Wi-Fi Direct
- Using third-party apps specifically designed for data transfer
3. Can I transfer data between different operating systems?
Yes, it is possible to transfer data between phones running different operating systems. However, certain limitations may apply depending on the method you choose. For example, transferring data between iOS and Android devices may require additional steps or using specific apps that support cross-platform data transfer.
4. Can I transfer apps from one phone to another?
Yes, you can transfer apps from one phone to another, but the process may vary depending on the app stores and operating systems. Android users can easily transfer apps by signing in with the same Google account on the new phone and downloading previous purchases from the Play Store. For iOS users, signing in with the same Apple ID allows you to transfer apps purchased from the App Store.
5. Is it possible to transfer phone contacts?
Absolutely! Transferring contacts is a common practice when switching to a new phone. You can sync your contacts with your Google account or iCloud, depending on your device’s operating system. Additionally, you can export contacts as a file and import them on the new phone using third-party apps or built-in import/export functionalities.