
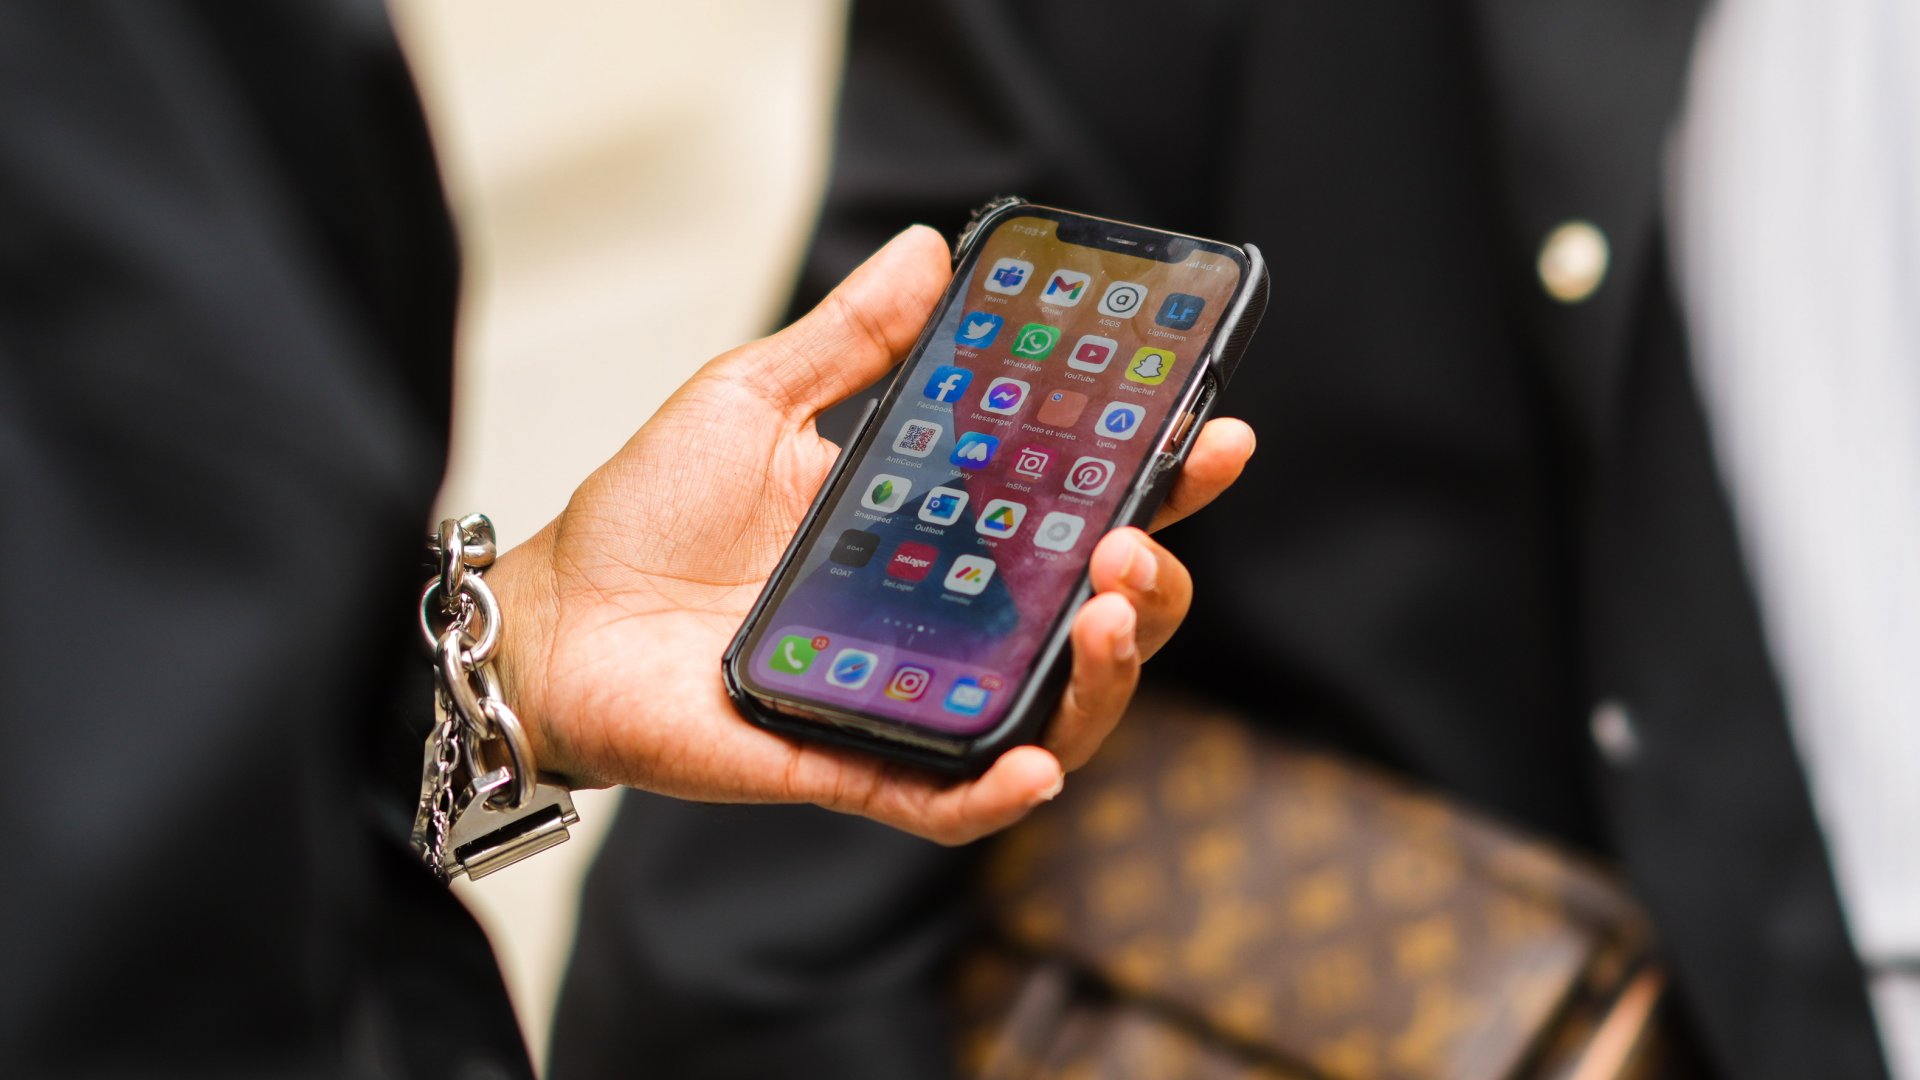
In today’s world, mobile phones have become an integral part of our lives, and the iPhone stands out as one of the leading brands in the market. With its sleek design, advanced features, and user-friendly interface, the iPhone has revolutionized the way we communicate, work, and entertain ourselves.
One of the key features of the iPhone is its touch screen, which allows us to navigate through apps, type messages, and access various functions with a simple touch. However, there may be times when we want to prevent accidental touches or unauthorized access to our device. This is where the ability to lock the touch screen comes in handy.
Locking the touch screen on your iPhone ensures that you have control over who can use your device and prevents unintentional actions from being performed. Whether you want to secure your phone from curious children or simply want to avoid mistakenly activating functions, knowing how to lock the touch screen on your iPhone is essential.
Inside This Article
- Why Lock Your iPhone’s Touch Screen?
- Different Methods to Lock Your iPhone’s Touch Screen
- Using Guided Access to Lock the Touch Screen
- Enabling the Screen Time feature to Lock the Touch Screen
- Conclusion
- FAQs
Why Lock Your iPhone’s Touch Screen?
Locking your iPhone’s touch screen can be beneficial in various situations. Here are a few reasons why you might want to consider locking your iPhone’s touch screen:
1. Prevent accidental touches: Have you ever experienced the frustration of your phone making unwanted calls or launching apps while it’s in your pocket or bag? Locking the touch screen can help prevent accidental touches and ensure that your phone stays secure.
2. Preserve battery life: By locking the touch screen, you can prevent the display from continuously lighting up and consuming battery power. This can significantly extend your iPhone’s battery life, especially when you’re not actively using it.
3. Enhanced privacy: Locking your iPhone’s touch screen adds an extra layer of security to your device. It prevents unauthorized access to your personal information, such as messages, emails, and social media accounts, by requiring a passcode or biometric authentication to unlock.
4. Avoid accidental app interactions: When you’re using certain apps or watching videos, accidentally touching the screen can interrupt your experience. Locking the touch screen can prevent unintentional interactions and allow you to fully enjoy your content without interruptions.
5. Childproofing your iPhone: If you have young children who frequently use your iPhone, locking the touch screen can be useful to prevent them from accidentally making calls, opening apps, or tampering with important settings.
6. Avoid pocket dialing: Pocket dialing can be embarrassing and inconvenient. By locking the touch screen, you can eliminate the risk of unintentionally calling someone from your contacts list while your iPhone is in your pocket or purse.
7. Protect against theft: Locking the touch screen adds an additional layer of protection against theft. It makes it more difficult for thieves to access your personal data and ensures that your iPhone remains secure, even if it falls into the wrong hands.
By considering these reasons, you can effectively use the features available on your iPhone to lock the touch screen and enhance the security and usability of your device.
Different Methods to Lock Your iPhone’s Touch Screen
Locking your iPhone’s touch screen is essential to prevent any accidental touches and ensure the security and privacy of your device. Fortunately, there are several methods you can use to easily lock your iPhone’s touch screen. In this article, we will explore three different methods that you can choose from.
Method 1: Using the Side Button
One of the simplest and fastest ways to lock your iPhone’s touch screen is by using the side button. This button is located on the right-hand side of your iPhone (on some models, it may be located on the top). To lock your touch screen using this method, simply press and hold the side button until the power off slider appears on your screen. Once the slider appears, release the side button and swipe the slider to turn off your iPhone’s display.
Method 2: Using AssistiveTouch
If you prefer a more convenient and customizable option, you can use the AssistiveTouch feature to lock your iPhone’s touch screen. AssistiveTouch is a built-in accessibility feature that creates a virtual button overlay on your screen. To enable AssistiveTouch, go to “Settings” > “Accessibility” > “Touch” > “AssistiveTouch” and toggle the switch to turn it on. Once AssistiveTouch is enabled, a floating button will appear on your screen. Tap the button, go to “Device” > “Lock Screen” to lock your touch screen instantly.
Method 3: Using Guided Access
If you want to lock your iPhone’s touch screen for a specific app or activity, you can use the Guided Access feature. Guided Access allows you to restrict the touch screen input to a single app, effectively locking the device to that app. To enable Guided Access, go to “Settings” > “Accessibility” > “Accessibility Shortcut” and make sure “Guided Access” is enabled. Once enabled, open the app you want to lock, quickly press the home button three times, and select “Start” on the Guided Access screen. Now, your touch screen will be locked to the selected app until you disable Guided Access.
By following these three methods, you can easily lock your iPhone’s touch screen and avoid any unwanted or accidental touches. Whether you prefer using the side button, AssistiveTouch, or Guided Access, the choice is yours. Experiment with these methods to find the one that suits your needs and preferences the best.
Using Guided Access to Lock the Touch Screen
If you’re an iPhone user and want to restrict access to your touch screen, you can use the Guided Access feature. This feature is particularly handy when you want to let someone use your phone for a specific purpose, such as playing a game or reading an article, without giving them full access to your device.
Here’s how you can use Guided Access to lock the touch screen on your iPhone:
- Step 1: Open the Settings app on your iPhone and tap on “Accessibility.”
- Step 2: Scroll down and tap on “Guided Access” under the “Learning” section.
- Step 3: Toggle the Guided Access switch to enable it.
- Step 4: Set a passcode to activate Guided Access. It should be different from your device passcode to maintain privacy.
- Step 5: Open the app you want to use with Guided Access.
- Step 6: Triple-press the side button (or the Home button on older iPhone models) to enter Guided Access mode.
- Step 7: Use your finger to draw circles around the areas on the screen that you want to disable touch functionality.
- Step 8: Tap on “Options” to customize additional settings such as disabling hardware buttons or motion controls.
- Step 9: Tap on “Start” in the upper-right corner to activate Guided Access and lock the touch screen.
By using Guided Access, you can ensure that only specific areas of your iPhone’s screen are touch-responsive while the rest remains locked. This feature provides an extra layer of security and control, giving you peace of mind when lending your phone to others.
To exit Guided Access mode, simply triple-press the side button (or the Home button) again and enter the passcode you set earlier.
Keep in mind that Guided Access is a useful tool for temporary touch screen lockdown, but it doesn’t replace the need for a passcode to prevent unauthorized access to your iPhone. Make sure to set a strong passcode and enable Face ID or Touch ID for additional security.
Enabling the Screen Time feature to Lock the Touch Screen
If you’re looking for a more advanced way to lock the touch screen on your iPhone, you can utilize a powerful feature called Screen Time. This feature, introduced in iOS 12, allows you to set specific restrictions and limitations on your device usage, including locking the touch screen.
To enable the Screen Time feature, follow these steps:
- Open the Settings app on your iPhone.
- Scroll down and tap on “Screen Time.”
- If you haven’t set up Screen Time before, tap on “Turn On Screen Time.” If you have already set it up, skip to the next step.
- Choose “This is My iPhone” or “This is My Child’s iPhone” depending on who will be using the device.
- Tap on “Content & Privacy Restrictions.”
- Toggle the switch for “Content & Privacy Restrictions” to enable.
Once you’ve enabled Screen Time and set up Content & Privacy Restrictions, you can easily lock the touch screen by following these steps:
- Open the Settings app on your iPhone.
- Scroll down and tap on “Screen Time.”
- Tap on “Use Screen Time Passcode.”
- Set a passcode that you will use to unlock the touch screen.
- Scroll down and tap on “App Limits.”
- Select “Add Limit” and choose the app or category you want to limit.
- Adjust the time limit to “1 minute” for that specific app or category.
- Tap on “Add” in the top-right corner to save the limit.
With these settings in place, whenever the time limit for the app or category is reached, the touch screen on your iPhone will automatically lock, preventing further usage until you enter the Screen Time passcode.
Enabling the Screen Time feature to lock the touch screen provides an effective method to manage your device usage and avoid excessive screen time. Whether you want to limit your own usage or restrict a child’s access, this feature offers a convenient way to control and protect your iPhone.
Conclusion
Locking the touch screen on your iPhone can be a useful feature to prevent accidental taps or unauthorized access. Whether you want to secure your phone while it’s in your pocket or protect your data when lending it to someone else, knowing how to lock the touch screen is essential.
In this article, we have discussed the various methods to lock the touch screen on your iPhone, such as using the built-in feature, enabling Guided Access, or using third-party apps. Each method offers its own advantages and can be tailored to your specific needs.
By following the steps outlined in this guide, you can easily enable touch screen lock on your iPhone, ensuring that only authorized usage takes place. This not only helps protect your privacy and data but also helps prolong the battery life by preventing unnecessary touches.
So, take advantage of these options and enjoy a more secure and personalized experience with your iPhone’s touch screen.
FAQs
1. Can I lock the touch screen on my iPhone?
Yes, you can lock the touch screen on an iPhone. There are various methods available to lock the touch screen, including using the built-in settings or utilizing third-party apps.
2. How do I lock the touch screen on my iPhone?
To lock the touch screen on your iPhone, you can use the built-in “Guided Access” feature. Simply go to “Settings” > “Accessibility” > “Guided Access” and enable it. Once enabled, launch the app you want to use, triple-click the home button, and select “Start”. This will lock the touch screen, allowing only the current app to be used, until you enter your passcode or use Touch ID/Face ID to unlock it.
3. Are there any third-party apps to lock the touch screen on an iPhone?
Yes, there are third-party apps available on the App Store that can help you lock the touch screen on your iPhone. These apps offer additional features and customization options compared to the built-in “Guided Access” feature. Some popular options include “TouchLock”, “Screen Lock – Pro Touch Lock with Guided Access”, and “Touch Protector (The Best Touch Blocker)”.
4. Can I set a timer to automatically lock the touch screen on my iPhone?
Unfortunately, the iPhone does not have a built-in feature to set a timer for automatically locking the touch screen. However, you can use the aforementioned “Guided Access” feature or third-party apps to manually lock the touch screen after a certain period of time.
5. Will locking the touch screen on my iPhone affect other functionalities?
When you lock the touch screen on your iPhone using the built-in “Guided Access” feature, it will only restrict touch input on the locked app. Other functionalities like volume control, home button, and notifications will still work as usual. However, keep in mind that some third-party apps may have additional restrictions and limitations when you lock the touch screen using their respective features.