
Welcome to the ultimate guide on how to lock the screen on your iPhone 13! As an iPhone user, you know how crucial it is to keep your device secure, and locking the screen is the first line of defense against unauthorized access. Whether you’re new to the iPhone 13 or simply looking to explore the various methods of locking the screen, this article has got you covered. From the traditional passcode and Touch ID to the cutting-edge Face ID, we’ll delve into the different options available to secure your device. By the end of this comprehensive guide, you’ll be equipped with the knowledge to effortlessly lock your iPhone 13 screen, ensuring the safety of your personal data and privacy.
Inside This Article
- Setting Up a Passcode
- Using Touch ID or Face ID
- Enabling Auto-Lock
- Using AssistiveTouch to Lock the Screen
- Conclusion
- FAQs
Setting Up a Passcode
Setting up a passcode on your iPhone 13 is a crucial step in securing your device and protecting your personal information. It acts as the first line of defense against unauthorized access, ensuring that only you can unlock your phone and access its contents.
To set up a passcode, navigate to the “Settings” app on your iPhone 13 and tap on “Face ID & Passcode” or “Touch ID & Passcode,” depending on the authentication method you prefer to use. If prompted, enter your current passcode or Apple ID password to proceed.
Next, select “Turn Passcode On” if it’s not already enabled. You will then be prompted to enter a six-digit passcode. For added security, you can choose a custom alphanumeric code or a four-digit numeric code by selecting the “Passcode Options” at the bottom of the screen.
Once you’ve entered and confirmed your chosen passcode, it will be activated, and your iPhone 13 will be protected by this passcode whenever it’s locked. It’s essential to choose a passcode that is easy for you to remember but difficult for others to guess, ensuring the security of your device and data.
Using Touch ID or Face ID
Apple’s Touch ID and Face ID are convenient and secure ways to unlock your iPhone and authenticate purchases. Touch ID, available on older iPhone models, uses your fingerprint to unlock the device and authenticate app purchases. Face ID, found on newer models like the iPhone 13, uses facial recognition for the same purposes.
Setting up Touch ID or Face ID is simple. For Touch ID, go to Settings, then Touch ID & Passcode. For Face ID, go to Settings, then Face ID & Passcode. Follow the on-screen instructions to register your fingerprint or face. Once set up, simply press the Home button (for Touch ID) or swipe up from the bottom of the screen (for Face ID) to unlock your iPhone.
Touch ID and Face ID can also be used to authenticate purchases from the App Store, iTunes, and other apps. When making a purchase, simply place your finger on the Home button (for Touch ID) or look at the screen (for Face ID) to confirm the transaction.
Enabling Auto-Lock
Auto-Lock is a convenient feature that automatically locks your iPhone’s screen after a specified period of inactivity, providing security and conserving battery life. To enable Auto-Lock, navigate to “Settings” on your iPhone and tap “Display & Brightness.
Next, select “Auto-Lock” from the menu. Here, you can choose the duration of inactivity before the screen locks. Options typically range from 30 seconds to 5 minutes, allowing you to customize the setting according to your preferences.
It’s important to strike a balance between security and convenience when selecting the Auto-Lock duration. A shorter duration enhances security, while a longer duration offers more convenience by reducing the frequency of screen lock.
Once you’ve chosen your preferred Auto-Lock duration, your iPhone will automatically lock its screen after the specified period of inactivity, providing peace of mind and preserving battery life.
Using AssistiveTouch to Lock the Screen
AssistiveTouch is a valuable feature on the iPhone 13 that offers convenience and accessibility. While it’s primarily designed to assist users with physical motor challenges, it can also be used to lock the screen with ease.
To utilize AssistiveTouch for locking the screen, start by enabling AssistiveTouch in the Accessibility settings. Once enabled, a virtual button will appear on the screen, allowing you to access various functions with a simple tap.
After enabling AssistiveTouch, you can customize the virtual button to include the “Lock Screen” function. This customization provides a quick and efficient way to lock the screen without using the physical buttons.
When the “Lock Screen” function is added to the AssistiveTouch menu, you can simply tap the virtual button, select “Lock Screen,” and your iPhone 13 will promptly lock, securing your device and its contents.
By leveraging AssistiveTouch to lock the screen, you can minimize wear and tear on the physical buttons while also enjoying the convenience of a virtual button for this essential function.
Mastering the art of locking your iPhone 13 screen is essential for safeguarding your privacy and preventing accidental actions. Whether you prefer the convenience of Face ID or the tactile response of the Side button, knowing how to secure your device efficiently is paramount. By familiarizing yourself with the various methods and customizing the settings to your preference, you can seamlessly integrate this security measure into your daily routine. The ability to swiftly lock and unlock your screen not only enhances your device’s security but also optimizes your overall user experience. Embracing these techniques empowers you to navigate your iPhone 13 with confidence, ensuring that your personal data remains protected at all times.
FAQs
1. How do I lock the screen on iPhone 13?
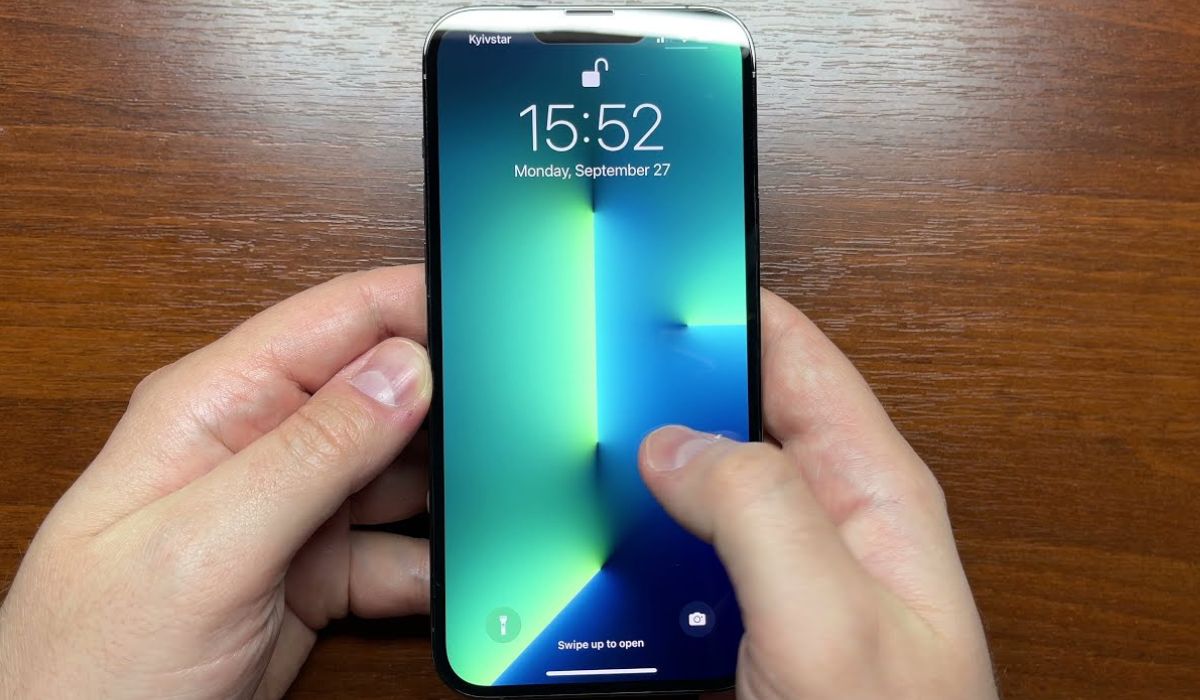
To lock the screen on your iPhone 13, simply press the side button once. This will turn off the display and activate the lock screen.
2. Can I customize the lock screen on iPhone 13?
Yes, you can customize the lock screen on your iPhone 13 by adjusting settings such as the wallpaper, notifications, and widgets. You can also enable features like Raise to Wake and Control Center access on the lock screen.
3. How do I enable Face ID or Touch ID for locking the screen on iPhone 13?
To enable Face ID or Touch ID for locking the screen on your iPhone 13, go to Settings > Face ID & Passcode or Touch ID & Passcode, and follow the prompts to set up facial recognition or fingerprint authentication for unlocking and locking your device.
4. Can I access notifications from the lock screen on iPhone 13?
Yes, you can view and interact with notifications from the lock screen on your iPhone 13. Simply tap on a notification to expand it and take action without unlocking your device.
5. Is there a way to quickly access the camera from the lock screen on iPhone 13?
Absolutely! You can access the camera directly from the lock screen on your iPhone 13 by swiping left or tapping the camera icon. This convenient feature allows you to capture moments swiftly without unlocking your device.