
Are you ready to take your Discord server to the next level? Making your Discord server public on mobile can greatly enhance your community engagement and reach. With the increasing use of mobile devices for communication and social interaction, it is essential to ensure that your Discord server can be easily accessed and joined by mobile users.
In this article, we will guide you through the process of making your Discord server public on mobile. We will provide step-by-step instructions and valuable tips to help you optimize your server visibility, attract new members, and create a thriving community. Whether you are a gamer, a content creator, or simply looking to connect with like-minded individuals, making your Discord server public on mobile will broaden your horizons and foster a dynamic social environment.
Inside This Article
- Creating a Discord Server on Mobile
- Adjusting Server Settings
- Setting Permissions for Public Access
- Sharing the Discord Server Invite Link
- Conclusion
- FAQs
Creating a Discord Server on Mobile
Discord has become a popular platform for communication and community-building, and creating a server on mobile couldn’t be easier. With just a few steps, you can have your own virtual space to connect with friends, colleagues, or people who share similar interests. Here’s how to do it:
1. Download and Install the Discord App: Start by downloading the Discord app on your mobile device. You can find it on the App Store for iOS or the Google Play Store for Android. Once downloaded, follow the installation instructions to get the app up and running.
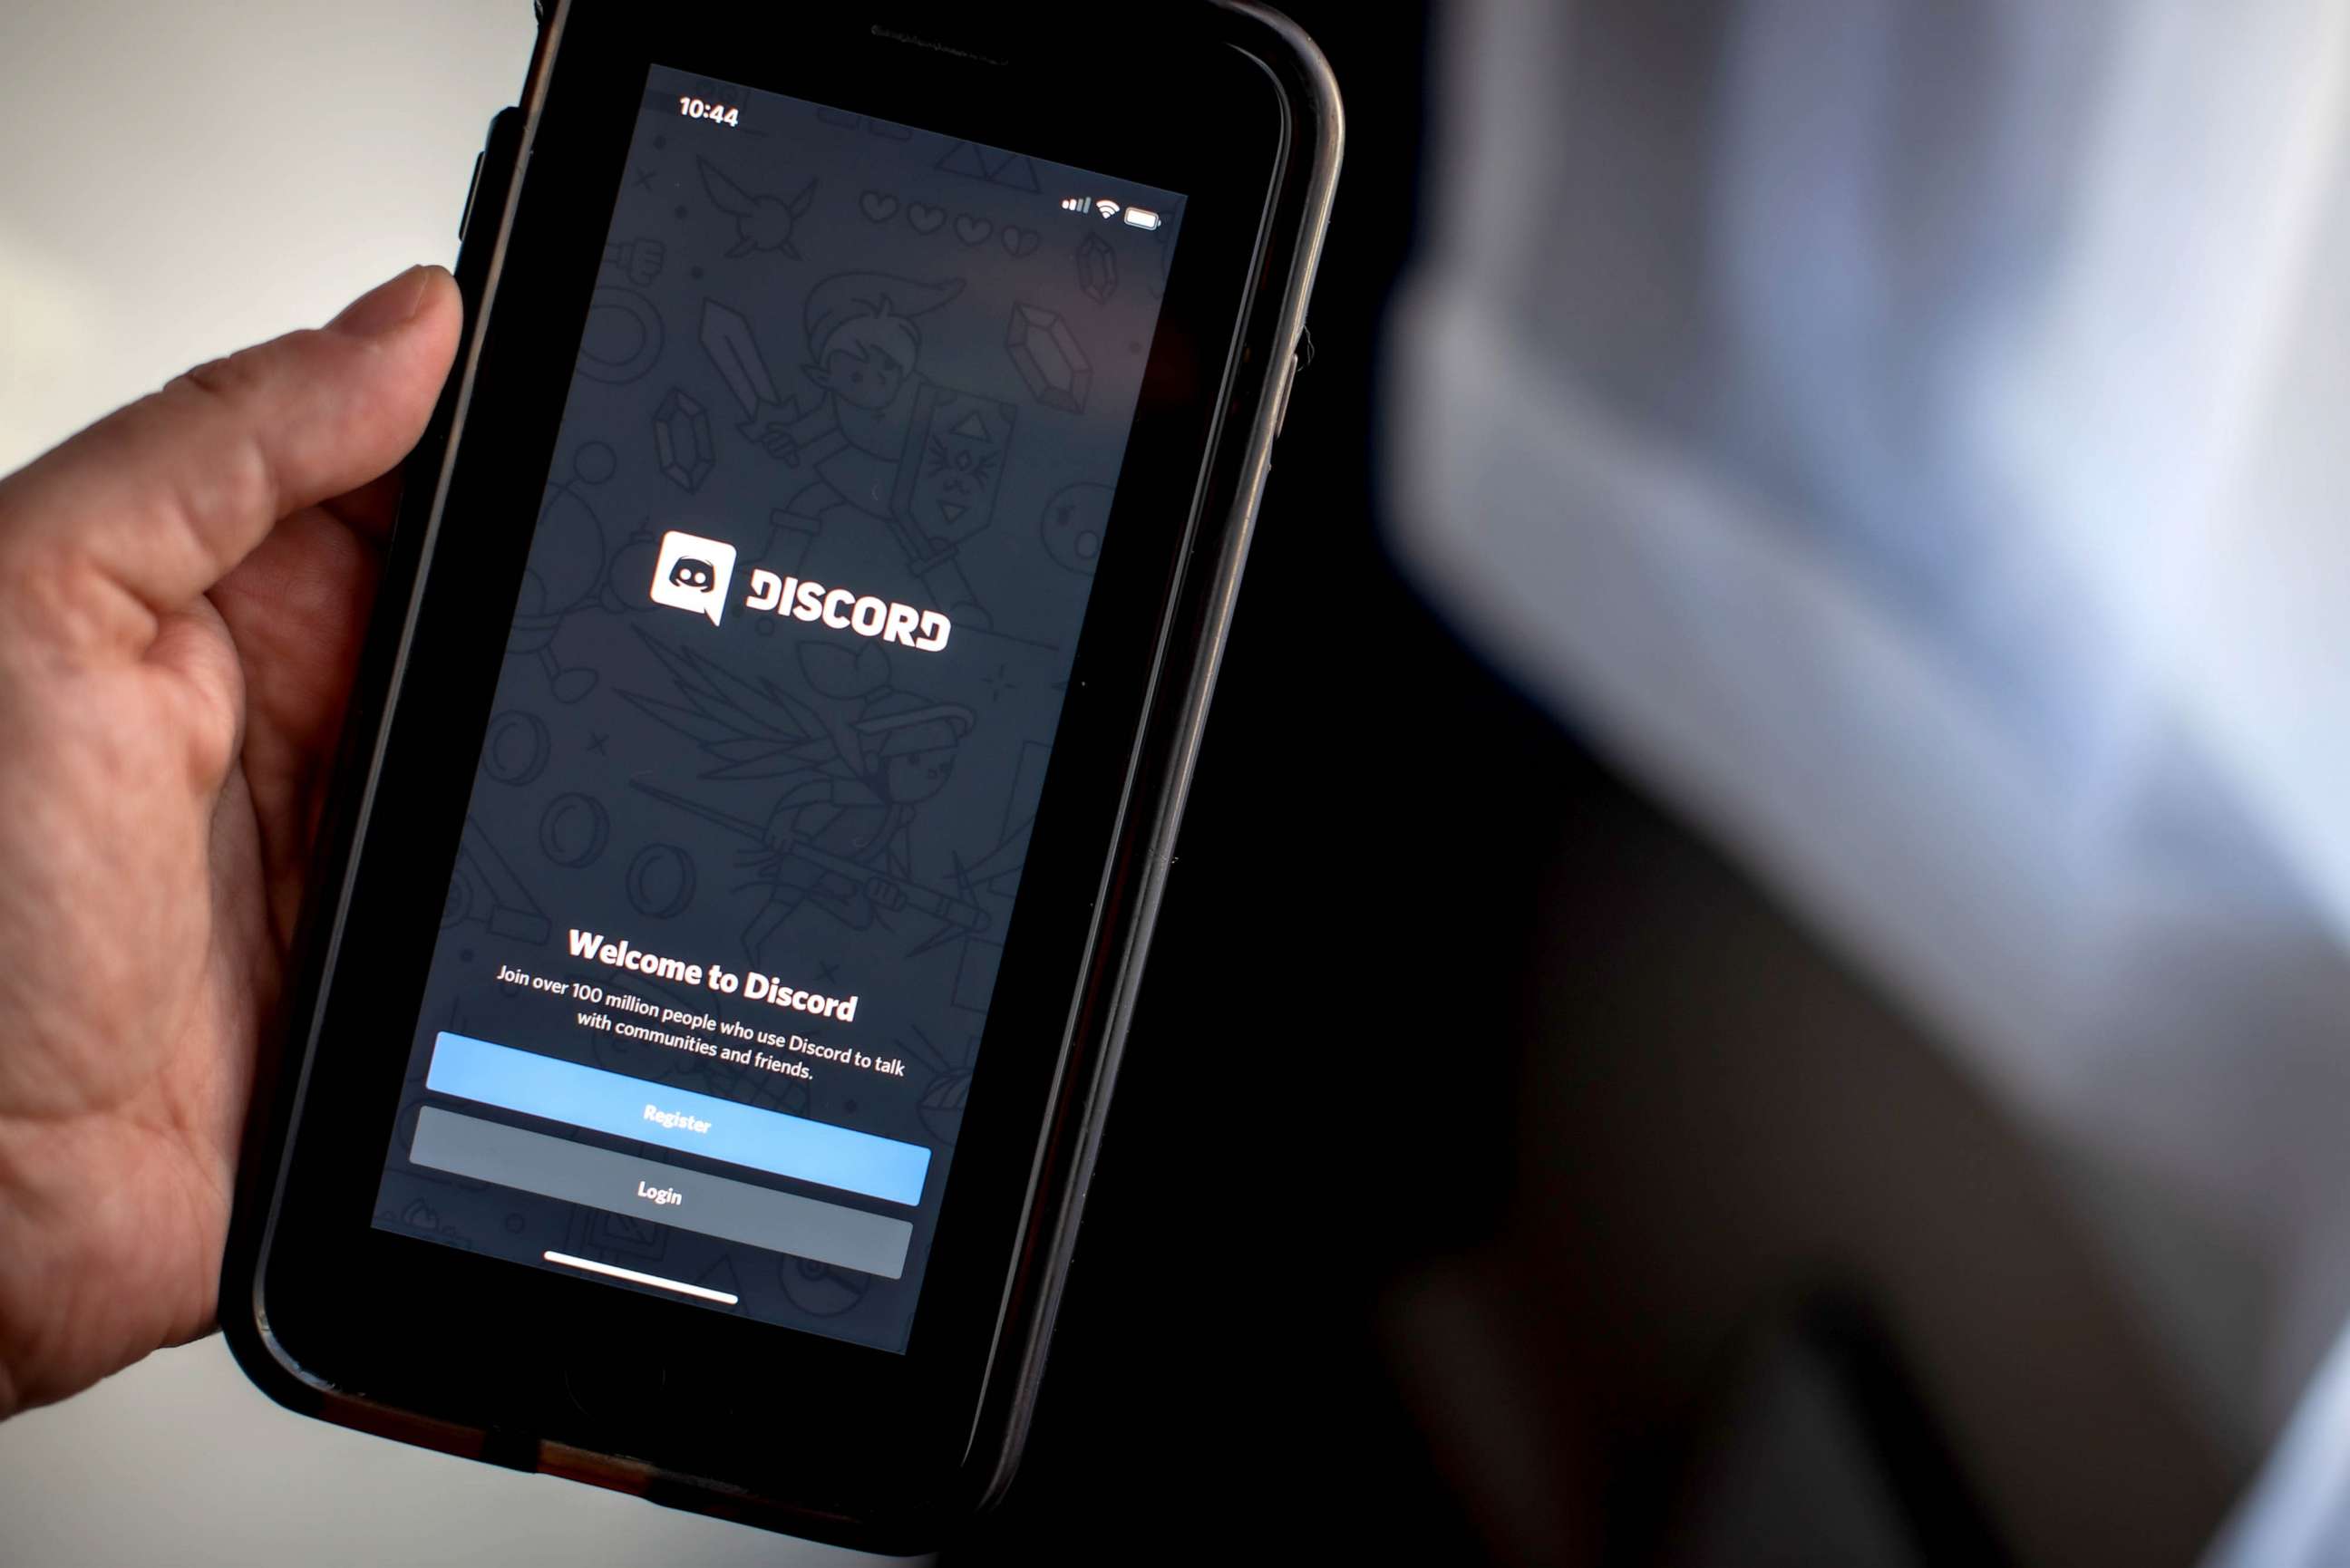
2. Sign in or Create an Account: If you already have a Discord account, sign in using your credentials. If not, click on “Register” to create a new account. Fill in the required information, including a username and password, and verify your account through the email sent to you.
3. Create a Server: Once you’re signed in, tap on the “+” button located at the bottom of the screen. This will bring up the option to create a new server. Give your server a name and choose a geographic region for optimal performance. You can also add a server icon to personalize it.
4. Customize Your Server: After creating the server, you’ll be taken to the server settings page. Here you can make various adjustments, such as changing the server name, region, and server icon. You can also enable advanced features like two-factor authentication to enhance security.
5. Add Channels: Channels are where conversations and discussions take place within a Discord server. To add a channel, tap on the “+” button under the “Text Channels” section. Give your channel a name and choose whether it’s a text or voice channel. You can create multiple channels to cater to different topics or purposes.
6. Invite Members: To populate your server and invite people, tap on the server name at the top of the screen, then select “Invite People” from the dropdown menu. You can choose whether to generate a link that expires after a set period or create a permanent invite link. Share the link with others to invite them to your server.
7. Set Up Server Roles: Roles allow you to assign permissions to different members within your server. To create roles, tap on the server name, then select “Roles.” From there, you can add new roles and customize their permissions. Assign appropriate roles to different members based on their responsibilities and privileges.
With these simple steps, you can create a Discord server on your mobile device and start building your community. Take advantage of the various customization options and features to tailor your server to your needs and preferences.
Adjusting Server Settings
Once you have created your Discord server on your mobile device, it’s time to customize the server settings to make it public. These settings allow you to control various aspects of the server and determine who can access it.
The first step is to navigate to the server settings. On the mobile app, tap on the three horizontal lines in the top-left corner of the screen to open the sidebar. From there, scroll down and tap on “Server Settings,” which will be labeled with the name of your server.
Within the server settings, you’ll find different options to configure. One of the key settings is the “Overview” section. Here, you can modify the server name, add a description, and even change the server region if needed.
Additionally, you can customize the server icon and banner to make your server more visually appealing. Tap on the “Edit” button next to the server icon or banner, and you’ll be able to upload an image from your mobile device’s gallery.
Another important setting to adjust is the “Privacy Settings.” By default, new servers are set to private, meaning that only invited members can access them. To make your server public, tap on the “Privacy Settings” option and toggle the switch to enable “Public” mode.
Furthermore, you have the option to adjust the default notification settings for the server. By tapping on “Notifications,” you can choose whether you want to receive all notifications, only mentions, or no notifications at all. This allows you to customize your notification preferences based on your needs.
Additionally, you can manage the server’s roles and permissions under the “Roles” section. You can create different roles and assign specific permissions to each role, such as the ability to manage channels, kick or ban members, or change server settings. This helps you maintain control over your server’s administration.
Lastly, don’t forget to explore other settings like “Moderation,” “Bans,” and “Audit Log” to further tailor your server settings according to your preferences and community needs.
Once you have adjusted all the necessary server settings, you are ready to make your Discord server public and invite others to join!
Setting Permissions for Public Access
When setting up a Discord server for public access on mobile, it’s important to configure the permissions properly to ensure a smooth and secure experience for all users. By customizing the server settings, you can control who can view and interact with different channels, roles, and features. Here are some key steps to follow:
1. Open the Discord app on your mobile device and navigate to your server.
2. Tap on the server name at the top-left corner of the screen to access the server settings.
3. Scroll down and select the “Roles” option.
4. Here, you will see a list of existing roles on your server. You can either edit an existing role or create a new role specifically for public access. To create a new role, tap on the “+” icon at the top-right corner and enter a name for the role.
5. Once you have created or selected the desired role, you can customize its permissions. Tap on the role to access the permissions settings.
6. In the permissions settings, you will see various categories such as General Permissions, Text Permissions, and Voice Permissions. Tap on each category to expand and view the available options.
7. Review the permissions for each category and enable or disable them based on your preferences. For example, you may want to allow the “Read Messages” and “Send Messages” permissions for the public role to ensure that users can view and participate in conversations.
8. Additionally, you can set channel-specific permissions by tapping on the “Channels” option in the role settings. This allows you to specify the access level for each individual channel on your server.
9. Once you have configured the permissions for the public role, tap on the “Save” or “Done” button to apply the changes.
By carefully managing the permissions, you can control the level of access that users have to your Discord server. This helps maintain order, prevent unwanted actions, and create a positive experience for all members. However, it’s important to strike a balance between granting public access and maintaining the security of your server.
Sharing the Discord Server Invite Link
Once you have created your Discord server and adjusted the necessary settings, it’s time to share the invite link with others to make your server public. Sharing the invite link allows anyone with the link to join your server and start engaging with your community.
To obtain the invite link, follow these steps:
- Open the Discord mobile app on your phone.
- Go to the server you want to share.
- Tap on the three dots (…) located in the top-right corner of the screen.
- From the drop-down menu, select “Invite People”.
- A list of options will appear. Choose “Copy Link”.
Now that you have copied the invite link, you can share it with others through various platforms. Here are a few common methods:
- Social Media: Share the invite link on your social media accounts, such as Facebook, Twitter, Instagram, or Discord-specific channels like Discord Servers or Server Discovery.
- Messaging Apps: Send the invite link through messaging apps like WhatsApp, Messenger, or Discord’s Direct Messages.
- Email: If you have a mailing list or want to notify specific individuals, you can send the invite link via email.
- Websites: Embed the invite link on your website to make it easily accessible for visitors.
When sharing the invite link, it can be useful to include a brief description or explanation of what your server is about. This will help potential members understand the purpose and content of your community.
Remember to moderate your server and ensure that you have appropriate rules and guidelines in place to maintain a safe and enjoyable environment for all members. Regularly monitor and manage your server to keep it active and engaging.
By sharing the Discord server invite link, you can attract new members and expand your community. Encourage your existing members to share the link as well to help accelerate growth and foster a vibrant and diverse server.
Conclusion
Creating a public Discord server on your mobile phone is an excellent way to connect with like-minded individuals, build a community, and enjoy various features offered by the Discord platform. By following the steps outlined in this article, you can easily set up your own public server and start inviting others to join. Remember to optimize your server settings and channels to ensure a safe and enjoyable experience for all members.
With the increasing popularity of mobile devices, it is crucial to be well-versed in mobile optimization techniques and leverage them to enhance your online presence. By making your Discord server public on mobile, you can reach a wider audience and foster a vibrant and engaging community on the go. So why wait? Start creating your public Discord server today and start enjoying the benefits of mobile connectivity and social interaction.
FAQs
1. Can I make my Discord server public on mobile?
Absolutely! Discord offers the functionality to make your server public on both mobile and desktop versions of the app. Whether you’re using an Android or iOS device, you can easily configure your server settings to allow anyone to join and participate.
2. How do I make my Discord server public on mobile?
To make your Discord server public on mobile, follow these simple steps:
- Open the Discord app on your mobile device.
- Go to the server you want to make public.
- Tap on the server’s name at the top of the screen.
- Select “Invite People” from the dropdown menu.
- In the invitation settings, set the “Instant Invite” option to “On” or “Create a new invite”.
- Choose the desired expiration time for the invite.
- Tap “Generate” to create the invite link.
- Share the invite link with others to make your server public.
3. Are there any limitations to making my Discord server public on mobile?
While there are no specific limitations to making your Discord server public on mobile, it’s important to note that with a public server, you may have to manage a larger community with varying personalities and behaviors. As the server owner or administrator, you may need to establish and enforce rules, moderate conversations, and ensure a positive and inclusive environment for all members.
4. Can I customize the public settings for my Discord server on mobile?
Yes, you have the flexibility to customize the public settings for your Discord server on mobile. By accessing the server settings, you can adjust permissions, roles, channels, and other configurations to align with your server’s specific requirements and preferences. This allows you to create a unique and tailored experience for your community.
5. Are there any privacy concerns when making my Discord server public on mobile?
When making your Discord server public, it’s essential to be mindful of privacy concerns. By default, public servers allow anyone with an invite link to join, which means you need to carefully manage who enters your server. It’s advisable to set up moderation tools, verification systems, and carefully review new members to maintain a safe and secure environment for your community.