
Are you tired of missing out on capturing those precious moments on your iPhone camera? Well, fret no more! In this article, we will unveil the secret to setting a timer on your iPhone camera. Whether you want to be a part of the group photo or capture a stunning self-portrait, the timer feature on the iPhone camera can be your best friend.
Gone are the days of trying to rush into the frame or finagle with your hand just to click the shutter button. With the timer feature, you can now set a desired delay and take amazing photos effortlessly. Whether you’re a photography enthusiast or simply want to improve your selfie game, this simple yet powerful feature will be a game-changer for you.
In the following sections, we will guide you through the step-by-step process of setting a timer on your iPhone camera. So, grab your iPhone and get ready to capture stunning photos without the hassle!
Inside This Article
- How to Set Timer on iPhone Camera
- Introduction
- Accessing the Timer Feature
- Setting the Timer delay
- Introduction
- Accessing the Timer feature
- Setting the Timer delay
- Taking a photo with the Timer
- Conclusion
- FAQs
How to Set Timer on iPhone Camera
Have you ever struggled to take a group photo because you couldn’t find someone to press the shutter button? Or perhaps you wanted to capture a beautiful sunset, but you needed time to adjust the framing? The timer feature on the iPhone camera is the perfect solution for these scenarios. In this article, we’ll guide you through the process of setting the timer on your iPhone camera, allowing you to capture those perfect moments without any hassle.
Accessing the Timer Feature
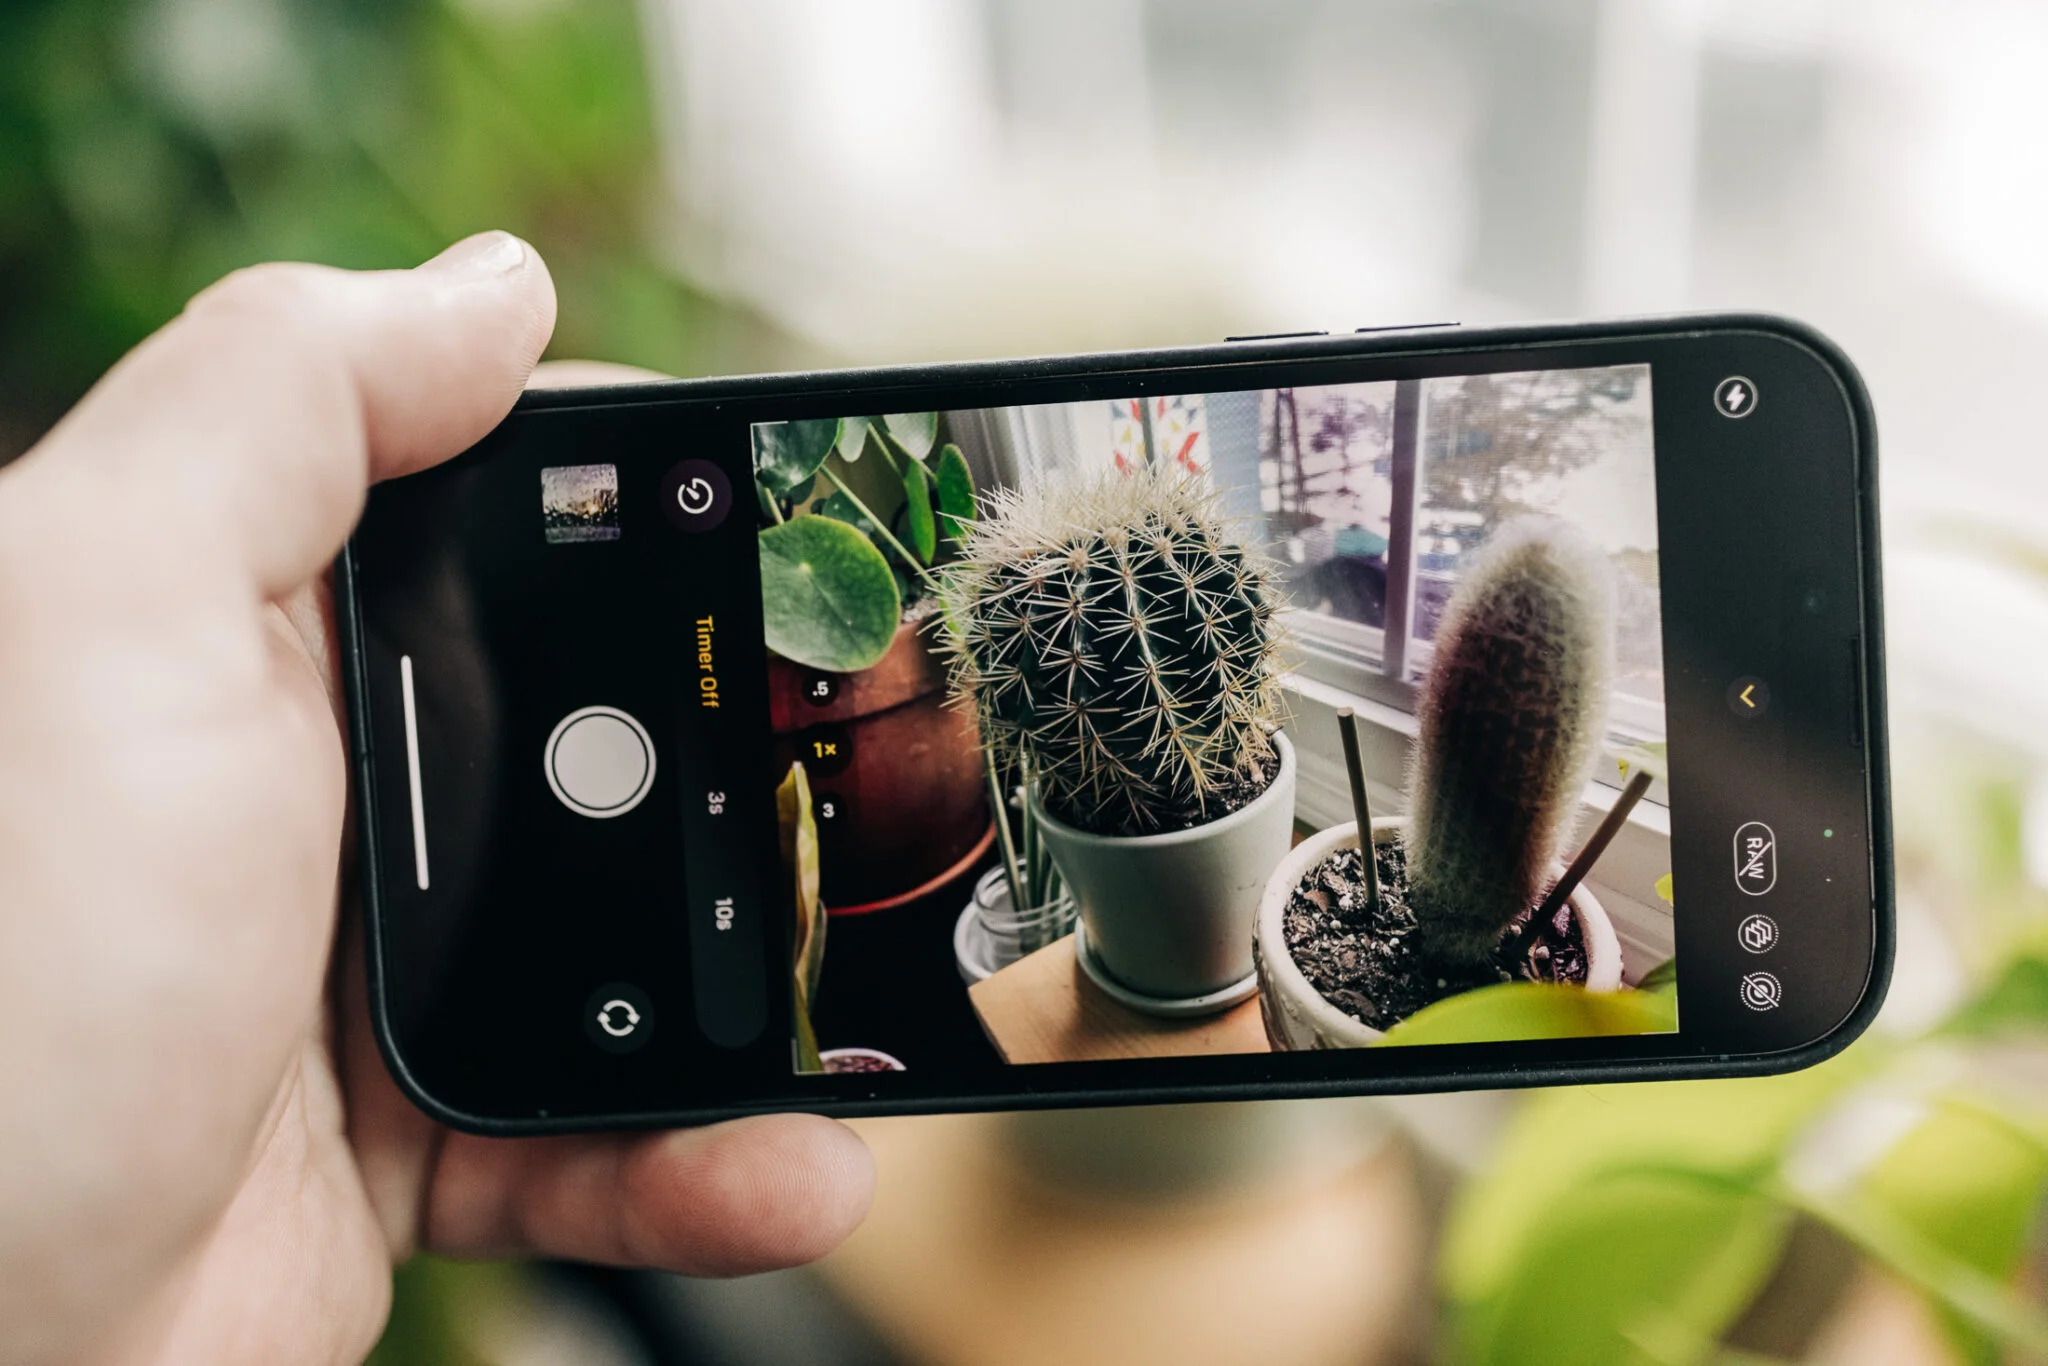
The first step to setting the timer on your iPhone camera is to open the camera app. Locate the camera icon on your home screen and tap on it to launch the app. Once you have the camera app open, you’ll notice different shooting options at the top or bottom of the screen, depending on your iPhone model and iOS version.
To access the timer feature, look for an icon that resembles a stopwatch or a clock. This icon typically appears near the shutter button, but its position may vary. Tap on the timer icon to open the timer settings.
Setting the Timer Delay
After opening the timer settings, you’ll see different options for the delay duration. The most common options are 3 seconds and 10 seconds, although some iPhone models offer additional durations such as 5 seconds or even custom durations.
To select a timer duration, simply tap on the desired option. The selected duration will be highlighted, and you can now close the timer settings by tapping outside the settings menu or by using the back button in the top-left corner, depending on your iPhone model.
Taking a Photo with the Timer
Once the timer is set, you’re ready to take a photo. Position your iPhone on a stable surface or mount it on a tripod to ensure a steady shot. Make sure that everyone or everything you want to include in the photo is in the frame.
When you’re ready, tap the shutter button, either on the screen or the physical volume button on the side of your iPhone. After you tap the shutter, a countdown will appear on the screen, indicating the remaining time before the photo is captured. You can reposition yourself or the subjects in the frame during this countdown if needed.
Once the timer reaches zero, your iPhone will automatically capture the photo. You can then review the result and repeat the process if necessary.
Setting the timer on your iPhone camera opens up a world of possibilities for capturing memorable shots. Whether you’re taking a family photo, a self-portrait, or a landscape shot, using the timer ensures that everyone or everything is included in the frame and allows you to have ample time to adjust the composition. So next time you’re faced with the need to take a photo without a helping hand, remember to use the timer on your iPhone camera for a hassle-free experience.
Introduction
This section provides an overview of the article and its purpose.
The timer feature on the iPhone camera allows you to set a predetermined delay before the photo is taken. It can be incredibly useful in various scenarios, such as capturing a group photo, taking a selfie without reaching for the shutter button, or capturing a long-exposure shot without any camera shake. In this article, we will guide you through the process of setting the timer on your iPhone camera, step by step.
By using the timer feature on your iPhone, you can ensure that everyone is ready and in position before the photo is taken. No more rushing to get in the frame or relying on someone else to take the picture for you. With just a few taps on your screen, you can set a delay and let your iPhone take care of capturing that perfect shot.
Whether you’re a photography enthusiast or simply want to take better photos with your iPhone, learning how to use the timer feature can greatly enhance your photography skills and creativity. So, let’s dive into the steps to access and utilize the timer feature on your iPhone camera.
Accessing the Timer Feature
Setting a timer on your iPhone camera allows you to capture the perfect shot without having to rush back into the frame. Whether you want to take a group photo, capture a self-portrait, or simply avoid camera shake, using the timer feature can greatly enhance your photography experience. In this section, we will explore how to access the timer feature on your iPhone camera.
To begin, unlock your iPhone and locate the Camera app on your home screen. The Camera app is represented by a simple icon resembling a camera lens. Tap on the icon to launch the camera.
Once the camera app is open, you will notice a row of icons at the top of the screen. These icons represent different camera modes, such as photo, video, time-lapse, and more. To access the timer feature, look for an icon that resembles a clock. This is the timer icon, and tapping on it will open the timer settings.
Upon tapping the timer icon, you will be presented with a few options for adjusting the timer duration. By default, the timer is set to “Off,” which means that the camera will capture the photo immediately after you tap the shutter button. However, you can customize the timer delay to give yourself enough time to position yourself in the frame before the photo is taken.
There are typically three options for the timer duration: 3 seconds, 10 seconds, and Off. The 3-second delay is ideal for situations where you can quickly position yourself in the frame. The 10-second delay allows for a bit more time, perfect for group photos or complex compositions. If you want to disable the timer feature altogether, you can choose the “Off” option.
Once you have selected the desired timer duration, simply exit the timer settings by tapping the screen or pressing the back button (depending on your iPhone model and iOS version). You are now ready to take a photo with the timer!
Taking a photo with the timer is as simple as composing your shot, pressing the shutter button, and waiting for the timer to count down. During the countdown, your iPhone may emit a series of beeps or flash the screen to indicate that the timer is active. Be sure to stay in position until the photo is captured.
That’s it! You have successfully learned how to access the timer feature on your iPhone camera. Now you can take your photography to the next level and capture stunning images without any rush or hassle.
Setting the Timer delay
Setting the timer delay allows you to choose the duration before the iPhone camera captures the photo, giving you enough time to position yourself and strike the perfect pose. Follow these simple steps to adjust the timer delay on your iPhone camera:
- Open the Camera app on your iPhone. You can find it on your home screen or by swiping right from the lock screen.
- Tap on the Timer icon, which looks like a clock located at the top-right corner of the screen. This will open the Timer options.
- You’ll see three timer delay options: 3s (seconds), 10s (seconds), and Off. The 3-second delay is ideal for quick selfies or capturing moments with minimal movement. The 10-second delay is useful when you need more time to set up a shot or group photo.
- Select the desired delay option by tapping on it. The chosen option will be highlighted in yellow.
Once you have set the timer delay, you are ready to capture stunning photos with the perfect timing. Remember to place your iPhone on a stable surface or use a tripod to ensure the best results. Once the delay is over, the camera will automatically capture the photo.
It’s also worth noting that some iPhone models offer additional timer features, such as Burst mode and Live Photos, which allow you to capture multiple photos or short video clips. These features can add more versatility and creativity to your photography.
Experiment with different timer delay options and explore the various camera features to unleash your creativity and capture memorable moments with your iPhone.
Introduction
This section provides an overview of the article and its purpose.
Are you tired of taking blurry or awkward selfies because you can’t hold your iPhone steady while pressing the shutter button? Well, worry no more! The Timer feature on the iPhone camera is here to save the day. By setting a timer delay, you can give yourself a few seconds to compose the perfect shot and eliminate any unwanted camera shake. In this article, we will guide you on how to set the timer on your iPhone camera, so you can capture stunning photos with ease.
Accessing the Timer feature
This section explains how to find and access the Timer feature on the iPhone camera.
Accessing the Timer feature on your iPhone camera is quick and easy. Start by opening the camera app on your device. You will find the camera app icon on your home screen or in the dock at the bottom of your iPhone’s display. Tap on the camera app to open it, and you will be ready to begin.
Once you have opened the camera app, look for the icons or options at the top or side of the screen. Among these icons, you will find the Timer option represented by a clock or a timer icon. Tap on the Timer icon, and a menu will appear with different timer options.
Setting the Timer delay
This section illustrates the steps to adjust the timer delay for capturing photos on the iPhone camera.
After tapping on the Timer icon, you will see a variety of options for the timer delay. Typically, you will find options like 3 seconds, 5 seconds, and 10 seconds. Choose the timer delay that suits your needs by tapping on the respective option.
Once you have selected the desired timer delay, it will automatically be set. You can close the Timer menu by tapping outside of it or by pressing the shutter button to take a photo immediately. If you wish to adjust the timer delay again, simply tap on the Timer icon and choose a different option from the menu.
Taking a photo with the Timer
This section guides users on how to initiate the photo capture using the Timer feature on the iPhone camera.
Now that you have set the timer delay, it’s time to take a photo using the Timer feature. To do this, position your iPhone securely on a stable surface or use a tripod. Ensure that your subject is in frame and ready for the photo.
Once everything is set up, press the shutter button to start the timer countdown. The timer will display on the screen, giving you a few seconds to get into the frame or prepare for the shot. During this time, make sure to hold your iPhone steadily and strike the perfect pose.
When the timer reaches zero, your iPhone camera will automatically capture the photo. You can view the photo by tapping on the thumbnail that appears in the bottom left or right corner of the screen. If you’re not satisfied with the photo, you can simply delete it and try again.
With the Timer feature on your iPhone camera, you now have a hassle-free way to take selfies, group photos, or any other shot without relying on someone else or risking shaky hands. Start experimenting with different timer delays and create stunning, well-composed photographs.
Conclusion
In conclusion, knowing how to set the timer on your iPhone camera can greatly enhance your photography experience. Whether you are taking a group photo, capturing a beautiful sunset, or trying to capture a self-portrait, the timer function allows you to step away from the camera and join in the moment with your friends and loved ones. This feature eliminates the need for a separate remote control or relying on someone else to take the picture for you.
With just a few simple steps, you can activate the timer on your iPhone camera and ensure that you are ready to capture the perfect shot. From setting the delay time to choosing between burst mode or single photo mode, you have control over how your photos turn out. So next time you find yourself in need of a hands-free photo experience, don”t forget to utilize the timer function on your iPhone camera. Happy snapping!
FAQs
1. How do I set a timer on the iPhone camera?
To set a timer on the iPhone camera, follow these steps:
1. Open the Camera app on your iPhone
2. Tap on the timer icon located at the top of the screen
3. Choose the desired timer length (3 seconds or 10 seconds)
4. Position your iPhone and tap the shutter button
5. The camera will capture the photo after the timer runs out.
2. Can I set a timer for Burst mode on the iPhone camera?
No, unfortunately, you cannot set a timer for Burst mode on the iPhone camera. Burst mode is designed to capture a rapid series of photos by holding down the shutter button. However, you can still use the timer for single shots and then switch to Burst mode afterward if needed.
3. Can I change the timer length on the iPhone camera?
Yes, you can change the timer length on the iPhone camera. When you tap on the timer icon in the Camera app, you can select either a 3-second timer or a 10-second timer. Choose the option that best suits your needs for capturing the perfect shot.
4. Is there a way to cancel the timer before it runs out?
Yes, if you change your mind or want to cancel the timer before it runs out, you can simply tap on the “Cancel” option that appears on the screen. This will stop the timer, and you can capture the photo immediately without any delay.
5. Can I use the timer on the iPhone camera for video recording?
No, the timer feature on the iPhone camera is specifically designed for capturing photos. It does not apply to video recording. If you want to start and stop recording at specific times, you can use the video editing tools available in the Photos app after recording your video. These tools allow you to trim and split your video clips as needed.