
Welcome to our comprehensive guide on how to set a timer on your phone camera. In today’s fast-paced world, capturing the perfect photo can often feel like a race against time. Whether you want to take a group selfie, capture a breathtaking sunset, or simply snap a photo without needing to physically press the shutter button, using a timer can be incredibly useful.
By utilizing the timer feature on your phone’s camera, you can give yourself enough time to perfect your pose, adjust the lighting, and ensure that everyone is ready for the shot. In this article, we will explore the step-by-step process of setting a timer on both Android and iOS devices. So, whether you’re an Android enthusiast or an iPhone aficionado, we’ve got you covered!
Inside This Article
Steps to Set Timer on Phone Camera
Setting a timer on your phone camera can be incredibly useful, whether you’re taking a group photo and want to be in the shot or capturing a self-portrait without the need for a selfie stick. Fortunately, most modern smartphones come equipped with a built-in timer feature that allows you to capture photos with a delay. In this article, we will guide you through the steps to set the timer on your phone camera, ensuring you never miss a perfect shot.
1. Open the Camera App: Launch the camera app on your phone. Locate and tap on the camera icon to open it. This will typically be found on your home screen or in the app drawer. If you have a dedicated camera button on your phone, you can also use that to quickly access the camera app.
2. Find the Timer Option: Once the camera app is open, look for the timer option. The placement of this setting may vary depending on the phone model and operating system. It is commonly represented by a clock icon or a countdown timer icon. You may need to swipe left or right or access the camera settings to find it.
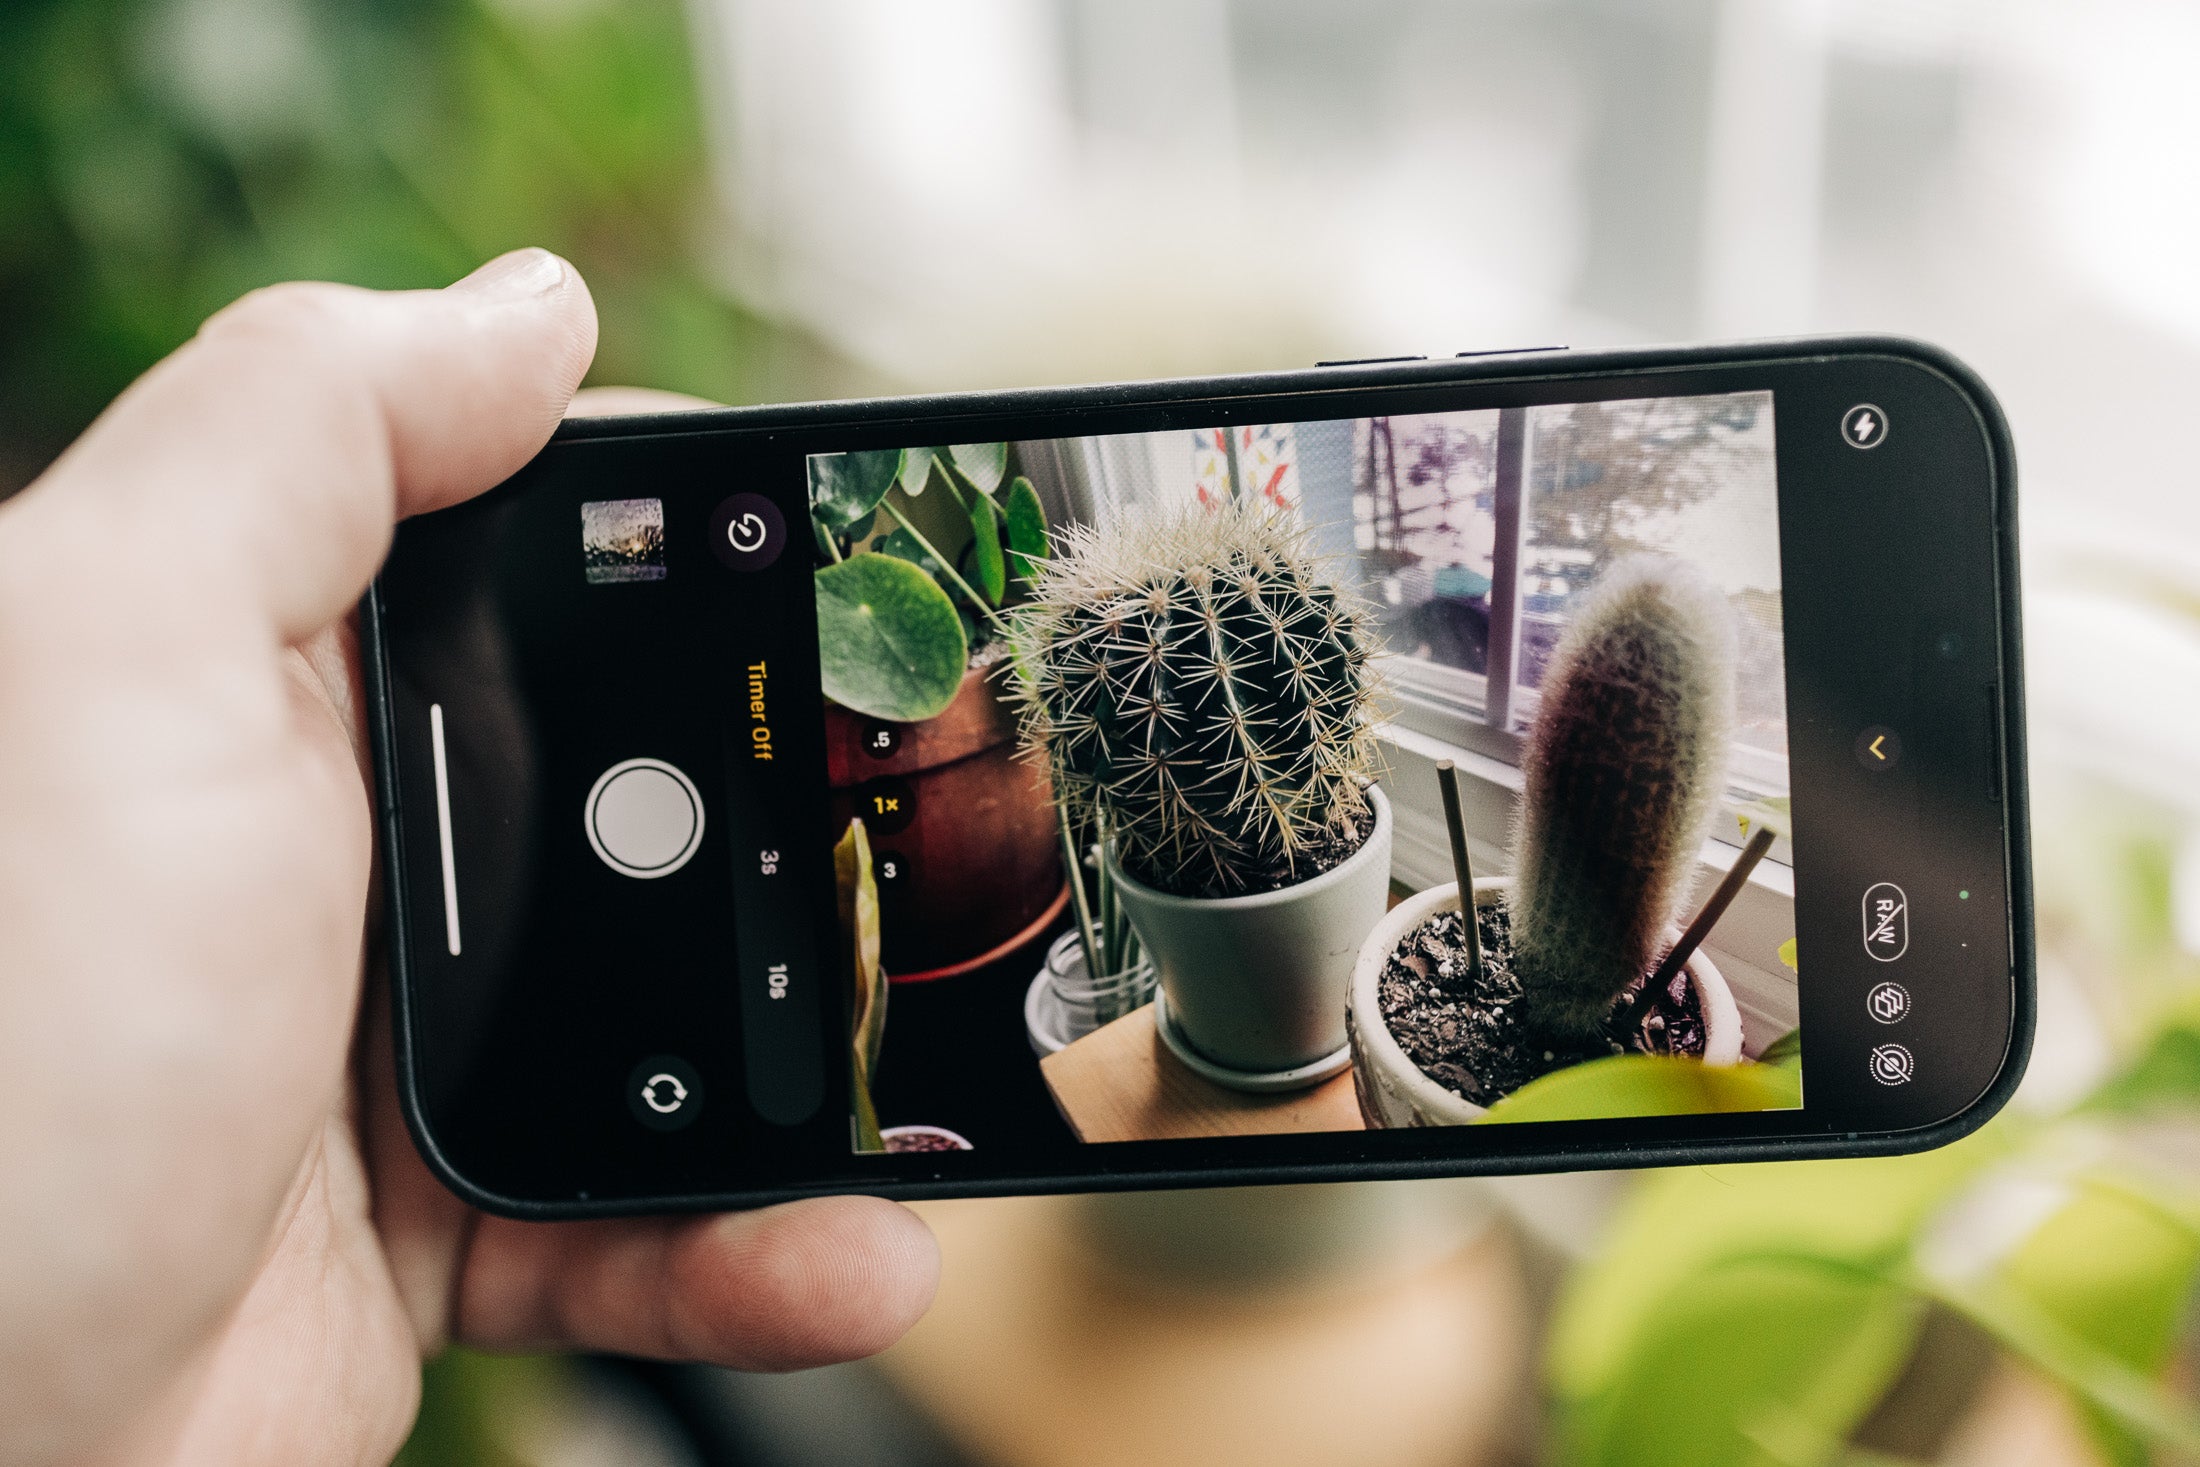
3. Set the Timer Duration: After locating the timer option, tap on it to access the available timer durations. Typically, you will have options like 3 seconds, 5 seconds, or 10 seconds. Choose the desired duration that gives you enough time to get into the frame and strike a pose.
4. Position your Phone: Once the timer duration is selected, position your phone in the desired angle and frame the shot accordingly. If you’re taking a group photo, make sure everyone is within the frame. If you’re capturing a self-portrait, position your phone at arm’s length or use a tripod to hold it steady.
5. Start the Timer: Now, tap the camera shutter button to start the timer countdown. You’ll typically see a visual indication on the screen, such as a blinking light or a countdown timer, showing the remaining time before the photo is taken. Use this time to get ready and strike the perfect pose.
6. Capture the Photo: Once the timer reaches zero, your phone camera will automatically capture the photo. Stay still and smile for the camera. Depending on your phone settings, you may hear a shutter sound or see a flash to indicate that the photo has been taken successfully.
7. Review and Retake: After the timer photo is captured, take a moment to review the shot. If you’re not satisfied with the result, you can retake the photo by following the same steps. It’s always a good idea to check the photo immediately to ensure everyone is in focus and the composition is to your liking.
8. Turn off the Timer: Once you’re done with the timer photography, make sure to turn off the timer option in the camera settings. Leaving it on unintentionally may result in accidental timer captures in the future, draining your battery or filling up your camera roll with unintended photos.
By following these easy steps, you’ll be able to set the timer on your phone camera and capture amazing photos without the need for someone else behind the lens. Whether you’re documenting a special moment with friends or taking a solo adventure, the timer feature on your phone camera ensures that you can be a part of the memories too.
Additional Tips for Timer Photography
Timer photography can be a great tool for capturing self-portraits, group photos, and long-exposure shots. Here are some additional tips to help you make the most of your timer feature:
- Choose the right location: Consider the background and lighting conditions before setting up your shot. Ensure that the area is well-lit and free from any distractions that might detract from your subject.
- Use a tripod: To avoid blurry images, it’s essential to stabilize your phone during the exposure. A tripod or a stable surface will help keep your phone steady and ensure sharp results.
- Experiment with different durations: Most camera apps allow you to set the duration of the timer. Try different timings, depending on the complexity of the shot you want to achieve. For quick snapshots, a 3-5 second timer may suffice, while longer exposures may require a 10-15 second timer.
- Position yourself correctly: If you’re including yourself in the shot, make sure to position yourself properly within the frame. Consider using the rule of thirds or other composition techniques to create an appealing composition.
- Anticipate the countdown: As the countdown begins, be ready to strike the pose or make any adjustments necessary. Prepare yourself so that you’re in the ideal position when the shutter clicks.
- Use burst mode: Some camera apps have a burst mode feature that allows you to capture a series of images in quick succession. This can be helpful when using the timer as it increases the chances of getting the perfect shot.
- Consider remote triggers: If you have access to a remote trigger or a Bluetooth shutter release, it can make timer photography even more convenient. This allows you to trigger the timer without having to physically touch your phone, minimizing any camera shake.
- Take advantage of editing tools: After capturing your images, don’t forget to enhance and edit them using editing apps or software. Adjust the brightness, contrast, and colors to give your photos a professional touch.
- Practice and have fun: Timer photography may take some practice to master, so don’t be discouraged if your initial shots aren’t perfect. Keep experimenting, trying out different techniques, and most importantly, enjoy the process!
By following these additional tips, you’ll be well-equipped to take stunning photos using the timer feature on your phone camera. Happy shooting!
Conclusion
In conclusion, setting a timer on your phone camera is a valuable tool that can greatly enhance your photography experience. By utilizing the timer feature, you can capture the perfect moments without the need for a tripod or the help of others. Whether you’re taking self-portraits, group photos, or even creative long-exposure shots, the timer function allows you to have full control and freedom to frame your shot.
With the simple steps outlined in this article, you can easily set the timer on your phone camera and start capturing stunning images. Remember to experiment with different timer durations and composition techniques to achieve the desired results. So, don’t hesitate to make use of this convenient feature, and let your phone camera be your reliable companion in capturing lasting memories.
FAQs
Q: Can I set a timer on my phone camera?
Yes, most smartphone cameras have a built-in timer feature that allows you to set a delay before taking a photo. This is especially useful when you want to be in the photo yourself or need time to pose or adjust the camera for the perfect shot.
Q: How do I access the timer feature on my phone camera?
To access the timer feature on your phone camera, open the camera app and look for a timer icon. This icon is usually represented by a clock or a countdown symbol. Tap on the icon to enable the timer, and you will be able to set the desired delay before the photo is taken.
Q: Can I adjust the duration of the timer on my phone camera?
Yes, you can adjust the duration of the timer on your phone camera. Most camera apps offer preset durations such as 3 seconds, 5 seconds, or 10 seconds. Some phones even allow for customizing the timer duration to suit your specific needs. Simply select the desired duration from the available options or enter a custom value if applicable.
Q: Are there any limitations to using the timer feature on my phone camera?
While the timer feature on phone cameras is a useful tool, it does have some limitations. One limitation is that you need to place the phone in a stable position or use a tripod to avoid camera shake during the delay. Additionally, some phone cameras may disable certain advanced shooting modes or features when the timer is activated, so it’s important to check your camera app’s settings for any restrictions.
Q: Can I use the timer feature for video recording on my phone camera?
The timer feature on phone cameras is primarily designed for taking photos, and not all camera apps support using the timer for video recording. However, some camera apps or third-party apps may offer this functionality. It’s best to check the specific camera app you’re using or explore other video recording apps that provide a timer feature if you wish to use it for recording videos.