
The iPhone 14 boasts an impressive camera that takes stunning photos and videos. One of the most useful features on the iPhone 14 camera is the timer function. With the timer, you no longer have to rush to get into the frame before the photo is taken. Whether you want to take a group photo, capture a self-portrait, or experiment with long exposures, the timer on the iPhone 14 camera gives you the flexibility and freedom to do so. In this article, we will guide you on how to effectively use the timer on your iPhone 14 camera, allowing you to capture perfect moments without the need for a third-party app or additional equipment. So, let’s dive in and explore the various ways you can maximize the timer feature on your iPhone 14 camera.
Inside This Article
- How To Use Timer On iPhone 14 Camera
- Setting up the Timer
- Adjusting the Timer duration
- Using the Timer for Photos
- Using the Timer for Videos
- Conclusion
- FAQs
How To Use Timer On iPhone 14 Camera
Have you ever wanted to take a group photo or a selfie without the hassle of finding someone to press the shutter button? With the Timer feature on the iPhone 14 camera, you can capture the perfect shot without the need for assistance. In this article, we will guide you through the steps to set up and use the Timer on your iPhone 14 camera.
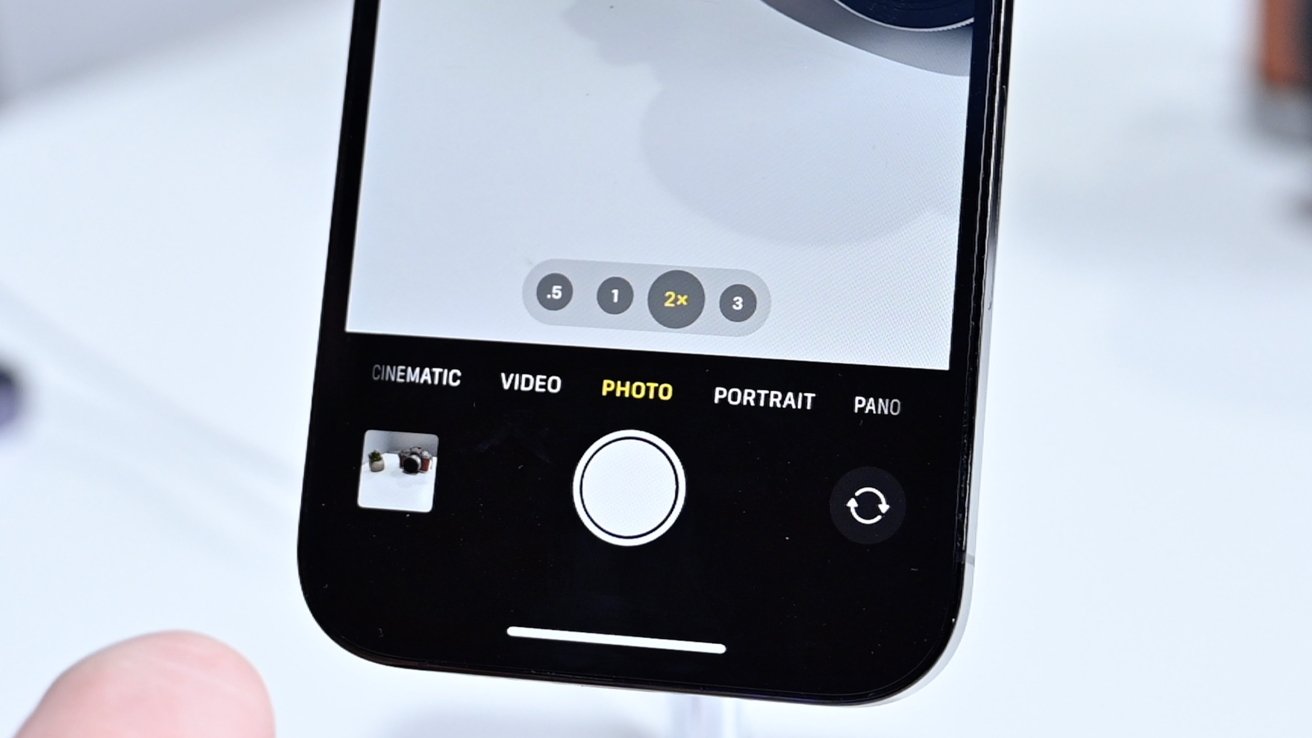
To get started, open the Camera app on your iPhone 14. You will find the Timer option located at the top of the screen, next to other shooting modes like Photo and Video. Tap on the Timer icon to access the Timer settings.
Once you tap on the Timer icon, you will see different duration options to choose from, including 3 seconds and 10 seconds. This is the time that will elapse before the camera captures the photo or starts recording a video.
To adjust the Timer duration, simply tap on the desired option. For example, if you want a few seconds to get into position before the photo is taken, choose the 3-second option. If you need more time for a group photo, go for the 10-second option. The chosen duration will be highlighted, indicating that it is now selected. You can change it at any time by tapping on a different duration.
After selecting the Timer duration, you can return to the Camera screen to compose your shot. Make sure that your iPhone is securely positioned or mounted on a tripod to avoid any camera movement or shaking. This is especially important when using longer Timer durations.
Once you are ready to use the Timer, tap the shutter button as you would normally. You will see a countdown timer on the screen, indicating the time remaining before the photo is taken or the video starts recording. Use this time to get into position or compose your shot.
When the Timer reaches zero, the camera will take the photo or start recording the video automatically. Ensure that you stay still and hold the camera steady until the capture is complete to avoid any blurriness or distortion. The Timer feature provides you with ample time to prepare, resulting in sharp and well-composed shots.
Using the Timer feature on your iPhone 14 camera is a great way to take group photos, selfies, or even capture action shots without the need for a remote shutter or assistance. Whether you want to include yourself in the frame or simply need a delay before capturing the shot, the Timer function provides the flexibility and convenience you need.
So, the next time you find yourself in need of a Timer on your iPhone 14 camera, remember these simple steps to set it up and use it effectively. Experiment with different Timer durations and get creative with your photography. With the Timer feature, you can capture moments with ease and precision.
Setting up the Timer
Setting up the Timer feature on your iPhone 14 camera is a breeze. This handy tool allows you to take self-portraits, group photos, or steady shots without having to rush to get into the frame. Follow these simple steps to get started:
- Launch the Camera app on your iPhone 14.
- Locate the Timer icon, which looks like a stopwatch, usually positioned above the shutter button.
- Tap on the Timer icon to access the Timer options.
- You will see a variety of timer durations to choose from, such as 3 seconds, 5 seconds, or 10 seconds.
- Select the desired duration by tapping on it.
Once you have completed these steps, you are all set up and ready to use the Timer feature on your iPhone 14 camera. Now, let’s move on to adjusting the duration to suit your needs.
Adjusting the Timer duration
Using the Timer feature on the iPhone 14 camera allows you to capture stunning photos and videos without the need for a physical remote or rushing to get into position before the shot is taken. To make the most of this feature, it’s important to understand how to adjust the Timer duration to suit your needs. Here’s how you can do it:
1. Open the Camera app on your iPhone 14.
2. Look for the Timer icon, usually located at the top or bottom of the screen. It looks like a clock with a circular arrow around it.
3. Tap on the Timer icon to open the Timer settings.
4. You will see a list of different Timer durations to choose from, such as 3 seconds, 5 seconds, or 10 seconds. These durations represent the delay between pressing the shutter button and the photo or video being captured.
5. Select the Timer duration that suits your needs by tapping on it. For example, if you want to take a self-portrait, you may want to choose a longer duration like 10 seconds to give yourself enough time to get into position.
6. Once you have selected the Timer duration, you can exit the Timer settings by tapping anywhere outside the settings menu or by pressing the back button, depending on your iPhone model.
7. Now, when you go back to the camera viewfinder, you will see a countdown timer displayed on the screen. This timer indicates the remaining time before the photo or video is captured.
With the Timer duration adjusted to your liking, you can now confidently set up your iPhone 14 camera for hands-free photography and videography. Whether you’re capturing family portraits, group shots, or beautiful landscapes, the Timer feature ensures that everyone is prepared for the perfect moment. Experiment with different durations and get creative with your compositions, knowing that the Timer will capture the shot at the right time.
Using the Timer for Photos
Capturing the perfect photo with your iPhone 14 camera can sometimes be challenging, especially when you want to include yourself in the shot. Luckily, the timer feature on the iPhone 14 camera allows you to take photos with a delay, giving you enough time to position yourself comfortably before the picture is taken.
To use the timer for photos on your iPhone 14, follow these simple steps:
- Open the Camera app on your iPhone 14.
- Swipe left or right to select the Photo mode.
- Tap on the Timer icon, located at the top of the screen. It looks like a stopwatch.
- You can choose from three timer options: 3 seconds, 10 seconds, or 30 seconds. Tap on the desired duration.
- Position your iPhone 14 on a stable surface or use a tripod to avoid any blurriness.
- Tap the shutter button to start the timer.
- Quickly get into position for the photo. The camera will take the picture after the selected timer duration.
Using the timer for photos gives you the freedom to include yourself in group shots or capture beautifully composed selfies without the need for a selfie stick. It also comes in handy when you want to take a stable, shake-free photo without having to touch the camera button.
After the photo is taken, you can review it in the Photos app and make any necessary edits or enhancements using the built-in editing tools. The timer feature on the iPhone 14 camera is a useful tool that allows you to capture moments with ease and creativity.
Using the Timer for Videos
The Timer feature on the iPhone 14 Camera isn’t just limited to taking photos, it can also be used to capture videos with a delay. This can come in handy in a variety of situations, whether you want to be in front of the camera for a video or simply want to ensure a stable shot. Here’s how you can use the Timer for videos on your iPhone 14:
1. Open the Camera app: Launch the Camera app on your iPhone 14 by tapping on the camera icon on your home screen or by swiping left from the lock screen.
2. Switch to Video mode: By default, the Camera app opens in Photo mode. To switch to Video mode, simply swipe left on the camera screen or tap on the video icon at the bottom of the screen.
3. Access the Timer: Once you’re in Video mode, look for the Timer icon at the top of the screen. Tap on it to open the Timer options.
4. Set the Timer duration: You can now choose the delay for your video recording. The available options are 3 seconds and 10 seconds. Tap on the desired duration to select it.
5. Start the Timer: With the desired duration selected, tap on the record button to begin the countdown. You’ll see a timer appear on the screen, indicating how much time is left before the video recording starts.
6. Get into position: Use the countdown time to get into position for your video. Whether you want to be in the frame yourself or you’re setting up the iPhone 14 to capture a stable shot of something else, make sure you’re all set before the recording begins.
7. Capture the video: Once the timer reaches zero, the video recording will automatically start. You can now go ahead and capture your desired video footage without having to worry about manually pressing the record button.
8. Stop the recording: To stop the video recording, simply tap on the stop button. It’s located at the bottom of the screen and looks like a square with a circle in the center.
Using the Timer for videos on the iPhone 14 Camera is a convenient way to capture footage with a delay. Whether you’re recording a vlog, a tutorial, or any other type of video, this feature ensures that you have enough time to prepare and get the perfect shot. So go ahead, experiment with the Timer feature and take your video recordings to the next level!
Conclusion
In conclusion, the Timer feature on the iPhone 14 camera is a valuable tool that can enhance your photography experience. Whether you want to capture stunning group photos, shoot long exposures, or take a self-portrait without reaching for the shutter button, the Timer feature has got you covered. By following the simple steps outlined in this article, you can easily set up and use the Timer on your iPhone 14 camera.
Remember to experiment with different timer durations and composition techniques to capture the perfect shot. Additionally, take advantage of features like Burst mode and HDR to further enhance the quality of your photos. With the Timer on your iPhone 14 camera, you’ll be able to unleash your creativity and capture memorable moments with ease. So go ahead, give it a try, and take your photography skills to the next level!
FAQs
1. What is the timer feature on the iPhone 14 camera?
The timer feature on the iPhone 14 camera allows you to delay taking a photo or capturing a video. It gives you a few seconds to set up your shot before the camera automatically takes the picture or starts recording.
2. How do I access the timer feature on my iPhone 14 camera?
To access the timer feature on your iPhone 14 camera, open the Camera app and tap on the timer icon located at the top of the screen. This will bring up the timer options, allowing you to choose between a 3-second or 10-second delay.
3. Can I adjust the length of the timer on my iPhone 14 camera?
Yes, you can adjust the length of the timer on your iPhone 14 camera. As mentioned earlier, you have the option to choose between a 3-second or 10-second delay. Simply tap on the timer icon and select your desired duration before capturing your photo or video.
4. How can I use the timer feature effectively for group photos?
The timer feature on the iPhone 14 camera is especially useful for group photos. To use it effectively, place your iPhone on a stable surface or use a tripod to ensure it remains steady during the countdown. Once you’ve set up the shot, start the timer, and join the rest of the group before the camera takes the photo. This way, everyone will have enough time to get into position.
5. Can I use the timer feature while using different camera modes on my iPhone 14?
Yes, you can use the timer feature while using different camera modes on your iPhone 14. Whether you’re using the standard photo mode, portrait mode, or even the video mode, the timer option is available in all of them. Simply access the timer feature as mentioned earlier and capture your desired shot in any camera mode.