
Are you tired of having too many tabs open in Safari on your iPhone? Well, you’ll be thrilled to know that iOS 16 introduces a new feature called Shared Tab Groups that allows you to organize and manage your tabs more effectively. With Shared Tab Groups, you can easily group related tabs together and access them across all your Apple devices.
This article will guide you through the process of setting up and using Shared Tab Groups in Safari on iOS 16. We’ll explore how to create tab groups, add and remove tabs, and seamlessly switch between them. Additionally, we’ll provide some tips and tricks to help you make the most out of this handy feature. So, let’s dive in and discover how Shared Tab Groups can revolutionize your browsing experience on your iPhone!
Inside This Article
- What are Shared Tab Groups?
- Setting up Shared Tab Groups in Safari on iOS 16
- Using Shared Tab Groups in Safari on iOS 16
- Conclusion
- FAQs
What are Shared Tab Groups?
Shared Tab Groups are a new feature introduced in Safari on iOS 16 that allow users to collaborate and share their browsing sessions with others. With Shared Tab Groups, you can now easily share a collection of open tabs with friends, family, or colleagues, making it simple to collaborate and explore the web together.
When you create a Shared Tab Group, it acts as a container that holds multiple tabs. Instead of sharing individual tabs one by one, you can now share an entire group of tabs at once. This makes it convenient for sharing related articles, websites, or any other web content with others.
Shared Tab Groups are not just limited to one device. They can be synced across all your Apple devices, including your iPhone, iPad, and Mac. This means that you can access and collaborate on your shared tab groups from anywhere and on any device, making it easy to continue your browsing sessions seamlessly.
One of the key advantages of using Shared Tab Groups is the ability to experience real-time collaboration. When you share a tab group with someone, they can see the tabs you have opened and even interact with them. This enables you to browse the web together, share insights, and make joint decisions, all in real-time.
Shared Tab Groups also come with privacy controls. You have the option to choose whether your shared tab group can be edited by others or if it is view-only. This gives you the flexibility to control how much access you want to grant to the people you are sharing with.
To organize your shared tab groups, you can give them specific names and labels, making it easier to find and manage them. This way, you can quickly locate and access a particular set of shared tabs whenever you need them.
Overall, Shared Tab Groups in Safari on iOS 16 offer a convenient and collaborative way to share and browse the web with others. With real-time collaboration, privacy controls, and seamless synchronization across devices, it’s easier than ever to explore and discover the internet together.
Setting up Shared Tab Groups in Safari on iOS 16
If you’re an iOS 16 user, you’ll be thrilled to know that Safari now offers the exciting feature of Shared Tab Groups. This new capability allows you to easily share your tab groups with others, making it convenient for collaboration or simply sharing interesting web pages with friends and colleagues. To get started with setting up Shared Tab Groups in Safari on iOS 16, follow the simple steps outlined below.
Step 1: Update to iOS 16
The first thing you need to do is ensure that your iPhone or iPad is updated to iOS 16. Safari’s Shared Tab Groups feature is a new addition in this version, so make sure you have the latest software installed on your device.
Step 2: Open Safari
Next, launch the Safari browser on your iPhone or iPad. You can find the Safari icon on your home screen or by swiping down on the home screen and searching for it.
Step 3: Enable iCloud Sync
Before you can set up Shared Tab Groups, you need to make sure that iCloud sync is enabled for Safari. This will allow your tab groups to be synced across all your Apple devices. To do this, go to “Settings” on your iOS device, tap on your Apple ID at the top, select “iCloud,” and toggle the switch for Safari to enable sync.
Step 4: Create a Tab Group
Now it’s time to create your first tab group. Open Safari and tap on the tabs icon at the bottom right corner of the screen. On the next screen, tap on the “+” button to create a new tab. You can add multiple web pages to this new tab by tapping on the address bar and entering the URLs or searching for specific websites.
Step 5: Add Tabs to the Tab Group
To add other web pages to the tab group, simply tap on the tabs icon again and switch to the tab you want to add. Once you’re on the desired page, tap and hold the tabs icon again until the options menu appears. From there, select “Add to Tab Group” and choose the tab group you created in the previous step.
Step 6: Share the Tab Group
Once you have all the desired web pages added to your tab group, it’s time to share it with others. To do this, tap on the tabs icon once again and select the tab group you want to share. Then, tap on the “Share” button located at the bottom left corner of the screen.
Step 7: Choose a Sharing Method
After tapping the “Share” button, a menu will pop up with various sharing options. You can choose to share the tab group via AirDrop, Messages, Mail, or any other compatible app on your device. Select the desired sharing method and follow the prompts to send the tab group to your intended recipient.
And that’s it! You have successfully set up Shared Tab Groups in Safari on iOS 16. Now you can collaborate with others or simply share your favorite web pages with ease. Enjoy the seamless browsing experience that Safari’s Shared Tab Groups offer!
Using Shared Tab Groups in Safari on iOS 16
Safari on iOS 16 introduces a new feature called Shared Tab Groups, allowing you to easily share and collaborate on tab collections with others. Whether you’re working on a group project, planning a trip with friends, or simply organizing your research, Shared Tab Groups can streamline your browsing experience and enhance collaboration. In this article, we will guide you through the process of using Shared Tab Groups in Safari on iOS 16.
To begin, open Safari on your iOS 16 device and make sure you have updated to the latest version. Then, follow these simple steps:
- Tap on the Tabs button in the bottom right corner of the Safari interface.
- On the bottom of the screen, you will find a new option – “New Tab Group”. Tap on it.
- Give your tab group a name that helps you identify its purpose or topic. For example, if you’re planning a vacation, you could name it “Vacation Planning”.
- Now, start adding tabs to your tab group. You can do this by tapping the “+” button on the top right corner of each web page or by swiping left on an existing tab and selecting “Add to Tab Group”.
- Repeat this process for each tab you want to add to your Tab Group. You can also rearrange the order of the tabs within the group by long-pressing on a tab and dragging it to the desired position.
- Once you have added all the desired tabs to your group, tap on the “Done” button on the top right corner to save your Tab Group.
Congratulations! You have successfully created a Shared Tab Group in Safari on iOS 16. Now, let’s explore how to use and share this Tab Group with others:
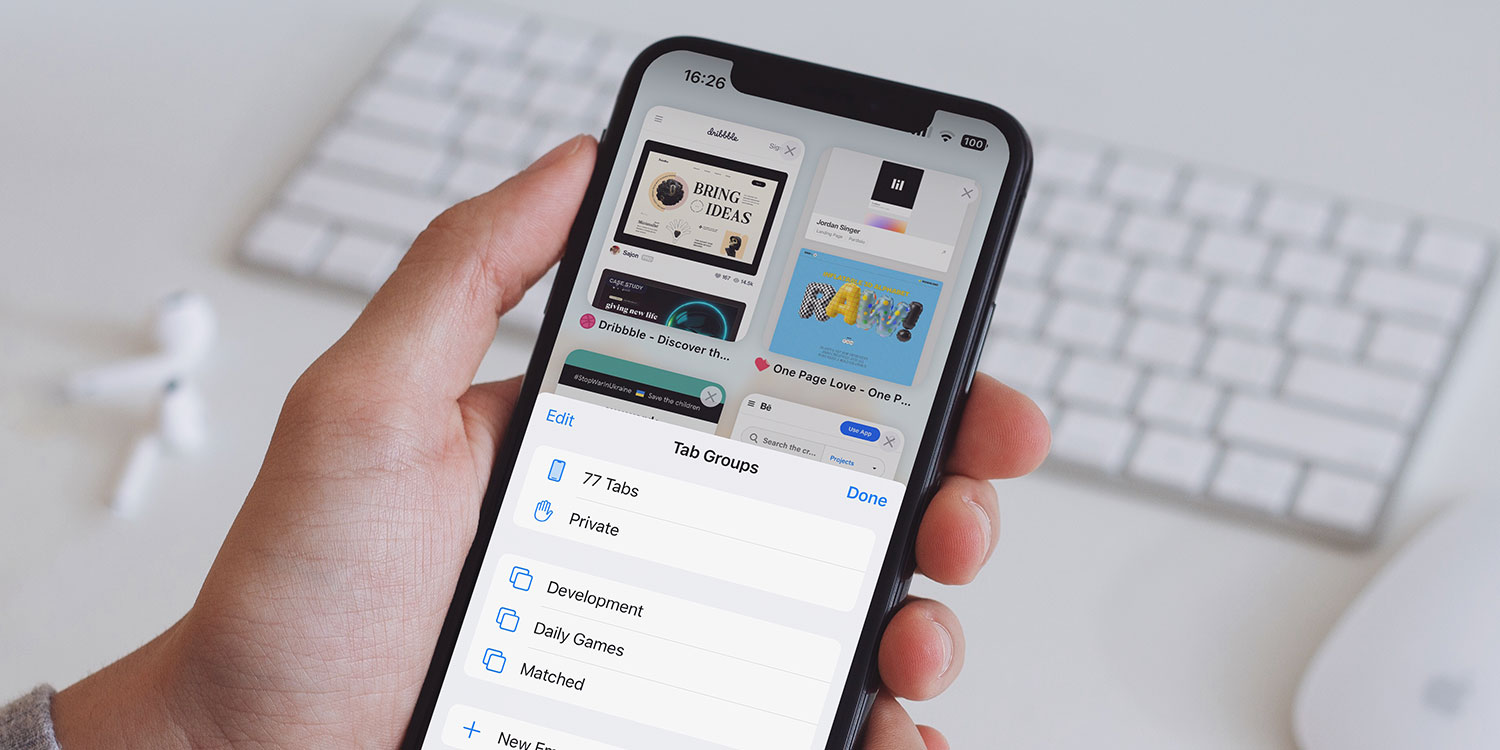
- To access your Tab Group, tap on the Tabs button again, and you will see your Tab Group listed under “Tab Groups” section. Tap on it to open.
- While viewing a Tab Group, you can switch between different tabs by swiping left or right, or by tapping on the tab you want to open.
- If you want to share your Tab Group with others, simply tap on the “Share” button on the bottom of the screen. You can send the Tab Group to your contacts via AirDrop, Messages, or any other supported sharing method.
- In addition to sharing, you can also collaborate with others on a Tab Group. If someone sends you a Shared Tab Group, you can open it in Safari, make changes, add or remove tabs, and those changes will be synced across all users.
- To stop sharing a Tab Group or remove it from your device, swipe left on the Tab Group and tap on “Delete” or “Stop Sharing”. Note that removing a Tab Group will only remove it from your device, and others will still be able to access and edit the group.
Shared Tab Groups in Safari on iOS 16 provide a convenient way to organize, share, and collaborate on web browsing sessions. Whether you’re working with colleagues, friends, or family, this feature can greatly enhance productivity and collaboration. Give it a try and experience a seamless and synchronized browsing experience across devices!
Conclusion
Setting up and using shared tab groups in Safari on iOS 16 is a fantastic way to organize and collaborate on browsing sessions with others. Whether you’re coordinating a research project with colleagues, planning a trip with friends, or simply sharing interesting articles with your family, shared tab groups streamline the process and foster seamless communication.
By following the steps outlined in this guide, you now have the tools to create, edit, and share tab groups effortlessly. Take advantage of the convenience and productivity that shared tab groups offer, and enjoy a more efficient and collaborative browsing experience on your iOS device.
So, why wait? Start exploring the possibilities of shared tab groups in Safari on iOS 16 today and revolutionize the way you browse the web with others!
FAQs
1. How do I set up shared tab groups in Safari on iOS 16?
To set up shared tab groups in Safari on iOS 16, follow these steps:
1. Open Safari on your iOS device.
2. Tap on the Tabs icon at the bottom right corner of the screen.
3. Tap on the “New Tab” button at the bottom.
4. Swipe down to reveal the tab overview.
5. Long-press on a tab and select “Add to Shared Tab Group”.
6. Choose an existing group or create a new one.
7. Tap “Add” to confirm adding the tab to the shared tab group.
Now you can share your tab group with others and collaborate on browsing sessions.
2. Can I share tab groups with people using different devices or browsers?
Yes, you can share tab groups with people using different devices or browsers. The shared tab groups feature in Safari on iOS 16 allows you to generate a link and share it via various communication platforms such as messages, emails, or social media. The recipient can open the link on their device or browser, and they will have access to the same tab group you shared.
3. How many tab groups can I create in Safari on iOS 16?
There is no specific limit on the number of tab groups you can create in Safari on iOS 16. You can create as many tab groups as you need to organize your browsing sessions effectively. Each tab group can contain multiple tabs related to a specific topic or project, helping you stay organized and easily switch between different sets of tabs.
4. Can I remove a tab from a shared tab group?
Yes, you can remove a tab from a shared tab group in Safari on iOS 16. To do this, follow these steps:
1. Open Safari and go to the shared tab group.
2. Find the tab you want to remove.
3. Swipe left on the tab to reveal the options.
4. Tap on the “Remove” button to remove the tab from the shared tab group.
The tab will be removed from the shared tab group, but it will still be available in your individual tab list.
5. Can I rename a shared tab group in Safari on iOS 16?
Currently, Safari on iOS 16 does not provide an option to rename a shared tab group. Once you create a tab group, the name you initially give it will be the name displayed to others when you share it. However, you can always delete the shared tab group and create a new one with a different name if needed.