
Are you considering switching to a new iPhone? Congratulations, you’re about to enter a world of powerful features and seamless user experience! But before you make the switch, you might be wondering, “How can I transfer and keep all my data?” Don’t worry; we’ve got you covered. In this article, we’ll guide you through the process of transferring your photos, contacts, apps, and more to your new iPhone, so you can start enjoying your new device without missing a beat. From using iCloud backups to utilizing iTunes, we’ll provide you with all the necessary steps and tips to ensure a smooth transition. So, whether you’re upgrading to a newer model or making the switch from another smartphone, read on to discover how to effortlessly transfer and keep all your valuable data on your new iPhone.
Inside This Article
- Point 1: Preparing for the switch
- Point 2: Transferring data using iCloud
- Point 3: Transferring data using iTunes
- Point 4: Transferring data using third-party apps
- Conclusion
- FAQs
Point 1: Preparing for the switch
Before you embark on the exciting journey of switching to a new iPhone, it’s important to take a few preparatory steps to ensure a smooth and seamless transition. These steps will not only help you preserve your precious data but also make the setup process of your new device a breeze.
The first thing you should do is create a backup of your current iPhone. This will safeguard all your important data, including contacts, photos, apps, and settings. You have two options for creating a backup: iCloud or iTunes.
If you prefer using iCloud, make sure you have enough storage space available or consider upgrading your iCloud storage plan. To check your storage, go to Settings > [Your Name] > iCloud > Manage Storage. If needed, you can easily upgrade to a higher storage plan right from your iPhone.
If you choose to use iTunes, connect your current iPhone to your computer or Mac using a USB cable. Launch iTunes and select your device. From there, click on “Back Up Now” to initiate the backup process. It’s important to note that iTunes backups are stored locally on your computer.
Now that you have created a backup, it’s time to make a list of all the apps you currently have installed on your iPhone. This will help you remember which apps you need to reinstall on your new device. You can either jot them down or take screenshots of your home screen for reference.
Additionally, take note of any login credentials for apps or services that you might require during the setup process of your new iPhone. This will save you time and ensure a seamless transition from one device to another.
Lastly, double-check that your current iPhone is running the latest version of iOS. This will help prevent any compatibility issues and ensure that your data can be easily transferred to your new device. To check for updates, go to Settings > General > Software Update. If an update is available, follow the on-screen instructions to install it.
By taking these preparatory steps, you are well on your way to a successful switch to your new iPhone. Armed with a backup, a list of apps, and the latest iOS version, you can confidently proceed to the next step of transferring your data.
Point 2: Transferring data using iCloud
Transferring data from your old iPhone to a new one can be a breeze with the help of iCloud. iCloud is Apple’s cloud storage service that allows you to securely store and transfer your data wirelessly. Here’s how you can use iCloud to transfer your data:
1. Back up your old iPhone: Before you begin the transfer process, make sure you have a recent backup of your old iPhone. Go to “Settings” on your iPhone, tap on your name at the top, then go to “iCloud” and select “iCloud Backup.” Make sure the “iCloud Backup” toggle is enabled and tap on “Back Up Now.” Wait for the backup to complete before proceeding.
2. Set up your new iPhone: Turn on your new iPhone and follow the on-screen instructions to set it up. When prompted, choose the option to restore from an iCloud backup.
3. Sign in to your iCloud account: During the setup process of your new iPhone, you will be asked to sign in to your iCloud account using your Apple ID and password. Make sure to use the same Apple ID that you used on your old iPhone.
4. Choose the backup: After signing in to your iCloud account, you will be presented with a list of available backups. Select the most recent backup from your old iPhone to restore it to your new iPhone.
5. Complete the setup process: Once you have selected the backup, wait for the transfer process to complete. This may take some time depending on the size of the backup and the speed of your internet connection. Once the transfer is finished, follow the on-screen instructions to complete the setup process of your new iPhone.
6. Check your data: After setting up your new iPhone, check if all your data has been successfully transferred. Your apps, photos, contacts, messages, and other data should be restored to your new iPhone exactly as they were on your old device.
Remember to keep both your old and new iPhones connected to a Wi-Fi network and plugged into a power source during the transfer process to ensure a smooth and uninterrupted transfer.
Point 3: Transferring data using iTunes
If you prefer to transfer your data from your old iPhone to your new one using a computer, iTunes can be a great option. iTunes allows you to create a backup of your old iPhone and restore it onto your new device, ensuring that all your data, settings, and apps are seamlessly transferred.
To get started, make sure you have the latest version of iTunes installed on your computer. Connect your old iPhone to the computer using a Lightning cable. iTunes should automatically launch, but if it doesn’t, open it manually.
Once your iPhone is connected, you’ll see its icon appear in the top left corner of the iTunes window. Click on the iPhone icon to access your device’s summary page.
In the “Backup” section, you have two options to choose from: “Back Up Now” or “Encrypt iPhone backup.” If you want to ensure that all your sensitive data, such as passwords and health information, is included in the backup, choose the “Encrypt iPhone backup” option and set a password. Otherwise, you can select “Back Up Now” to create a regular backup without encryption.
After selecting your preferred backup option, iTunes will start creating a backup of your old iPhone. This process may take a few minutes, depending on the amount of data you have on your device. Ensure that you keep your iPhone connected to the computer during this process.
Once the backup is complete, disconnect your old iPhone from the computer and connect your new iPhone. iTunes will recognize the new device and display its icon in the top left corner.
Click on the iPhone icon to access the new device’s summary page. Under the “Restore Backup” section, you’ll see a list of available backups. Select the backup you just created for your old iPhone and click “Restore.”
Keep in mind that restoring the backup will erase all existing data on your new iPhone. Make sure you’ve backed up any important data on your new device before proceeding. iTunes will then begin the restore process, transferring all your data, apps, and settings from the backup to your new iPhone.
Once the restore is complete, your new iPhone will restart, and you’ll be prompted to set it up. Follow the on-screen instructions to complete the setup process, including signing in with your Apple ID and setting up Face ID or Touch ID if applicable.
After the setup is complete, your new iPhone will be an exact replica of your old one, with all your data and settings intact. You can now start using your new device with all your apps, contacts, messages, photos, and more.
Note that transferring data using iTunes requires a computer and a Lightning cable. It’s a reliable and secure method that ensures a seamless transition to your new iPhone.
Point 4: Transferring data using third-party apps
While iCloud and iTunes offer convenient ways to transfer data between iPhones, some users may prefer to explore third-party apps for added flexibility and control over their data transfer process. These apps can provide alternative methods to move specific types of data, such as contacts, photos, videos, and more.
Here are a few popular third-party apps that you can consider using to transfer your data:
- iMazing: This app allows you to transfer a wide range of data, including messages, contacts, photos, videos, and music. It also enables you to manage your iPhone’s data in a more granular manner, providing enhanced control over the transfer process.
- AnyTrans: Designed for seamless data transfer, AnyTrans allows you to move files, apps, messages, contacts, and more between iPhones. It supports both wireless and wired transfers, ensuring convenience and flexibility.
- Tenorshare iCareFone: This app offers a comprehensive solution for iPhone data management, enabling you to transfer data between devices effortlessly. It also allows you to selectively transfer specific files or entire data categories.
- Google Drive: If you use Google services extensively, you can utilize Google Drive to transfer files, photos, and videos between your old and new iPhones. Simply upload your data to Google Drive on your old device and download it on your new device.
- Dropbox: Similar to Google Drive, Dropbox provides cloud storage that can be used for transferring data between iPhones. Upload your files to Dropbox on your old device and access them on your new device, ensuring a seamless transition.
Remember, when utilizing third-party apps, always ensure that you choose reputable and trustworthy applications from reliable sources. Additionally, make sure to follow the app’s instructions carefully to ensure a smooth and secure transfer process.
Now that you have explored various methods to transfer data, you can choose the one that best suits your preferences. Whether you opt for iCloud, iTunes, or third-party apps, the goal remains the same – to seamlessly transfer and keep all your valuable data on your new iPhone.
Conclusion
Switching to a new iPhone can be an exciting experience, but the thought of transferring all your data may seem daunting. Fortunately, with the right knowledge and tools, the process can be smooth and seamless. By following the steps outlined in this article, you can ensure that all your precious photos, contacts, messages, and apps are transferred to your new device without any hassle.
Whether you choose to use iCloud, iTunes, or a third-party tool, it’s important to back up your data beforehand to avoid any potential loss. Remember to update your old device, sign out of your accounts, and reset it to factory settings for a clean transition. With the powerful capabilities of iPhones, you can rest assured knowing that your important information will be safely transferred to your new device.
So, don’t let the fear of data loss hold you back from upgrading to a new iPhone. Thanks to the seamless transfer options available, you can easily make the switch and keep all your important data intact. Enjoy the exciting features and capabilities of your new iPhone, knowing that your memories and information are right at your fingertips.
FAQs
1. How do I transfer data from my old iPhone to a new iPhone?
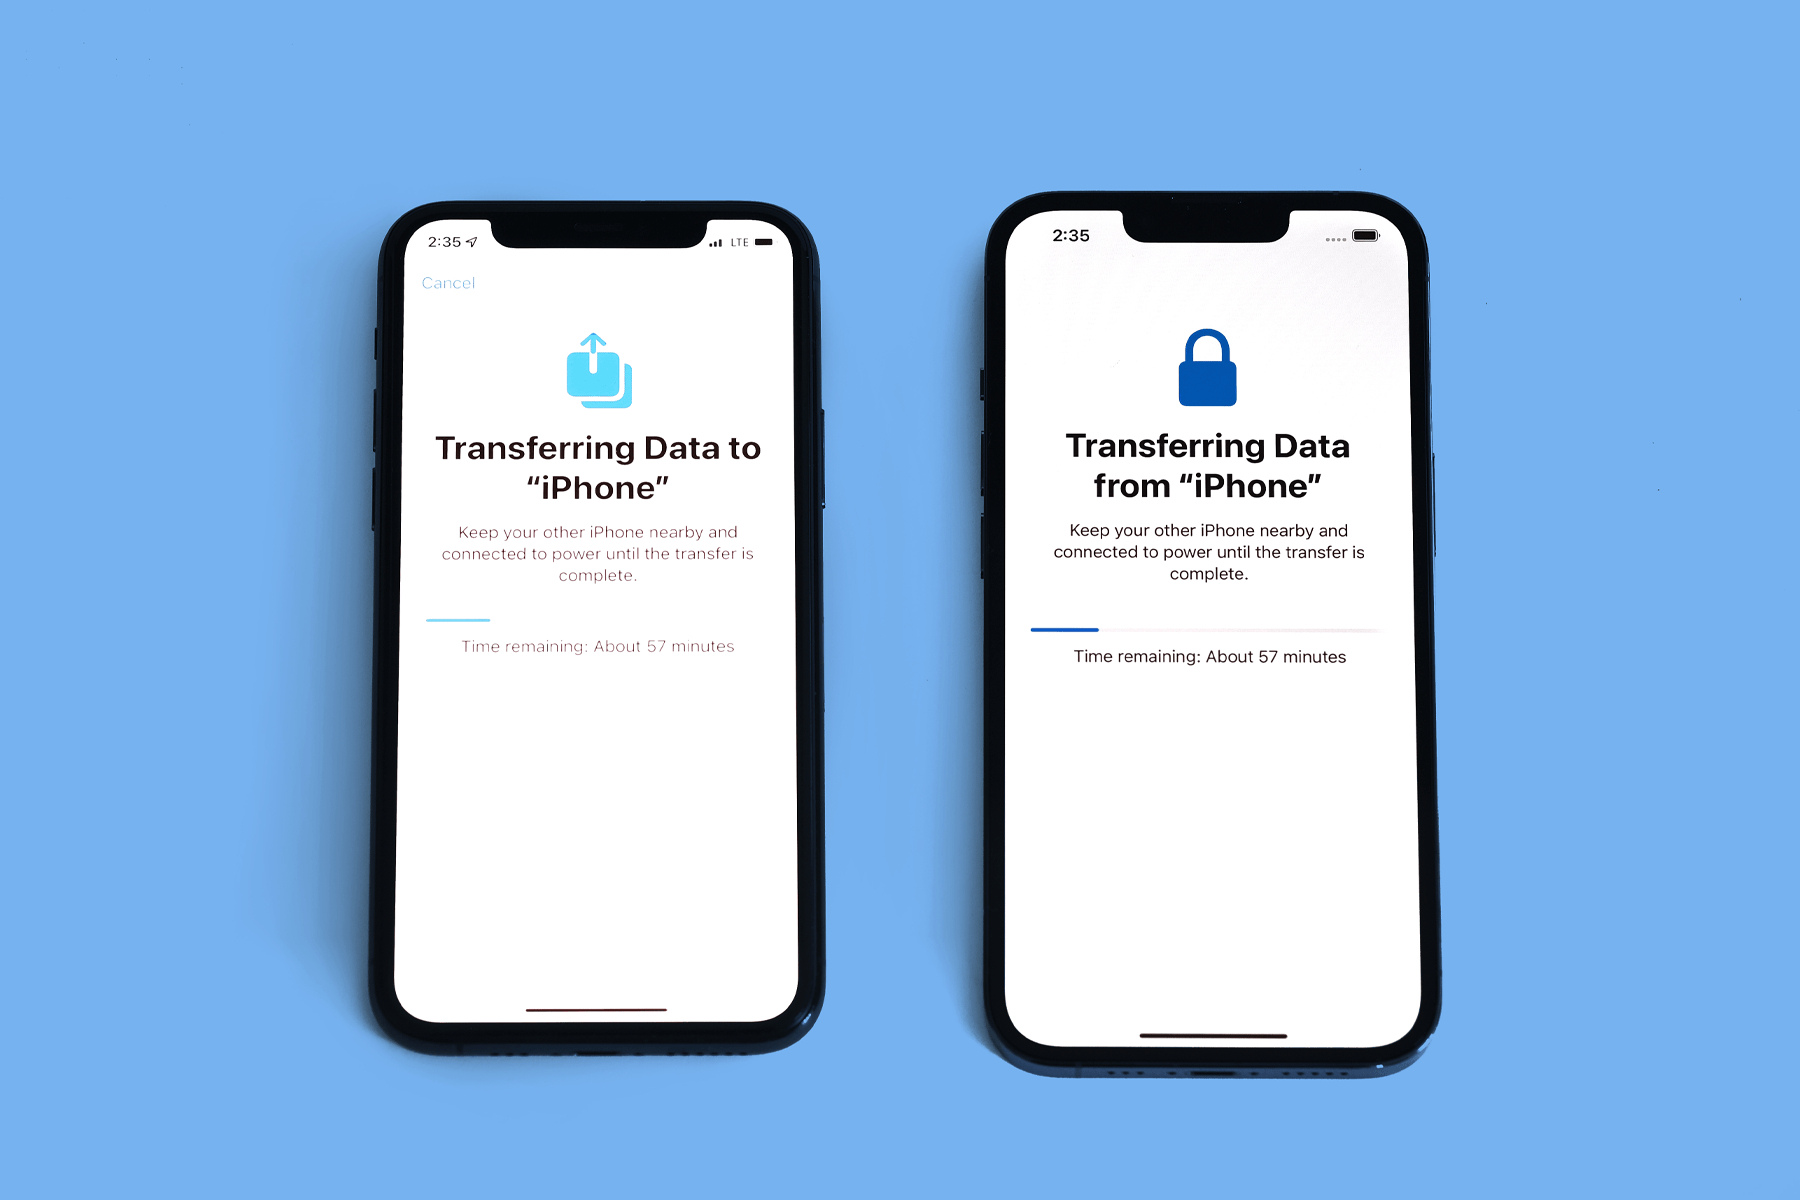
When switching to a new iPhone, you can transfer your data using various methods. One common method is to use iCloud to backup your old iPhone and then restore the backup on the new iPhone. Another option is to use iTunes by connecting both iPhones to your computer and selecting the option to transfer data. Additionally, you can use the Quick Start feature that allows you to transfer data wirelessly between two iPhones using the migration process.
2. What data can I transfer to my new iPhone?
You can transfer various types of data to your new iPhone, including contacts, messages, photos, videos, apps, and app data. iCloud and iTunes backups allow you to transfer almost all your data, while other methods like Quick Start primarily focus on transferring essential data like contacts, messages, and settings.
3. Will I lose any data during the transfer process?
In most cases, you shouldn’t lose any data during the transfer process, especially when using iCloud or iTunes backups. These methods ensure that your data is preserved and replicated on the new iPhone. However, it’s always a good idea to double-check and ensure that your backup is completed successfully before proceeding with the transfer.
4. Can I transfer data from an Android phone to an iPhone?
Transferring data from an Android phone to an iPhone may require some additional steps as the two operating systems are different. However, Apple provides a helpful app called “Move to iOS” that assists in transferring data from an Android device to an iPhone. The app helps transfer various types of data, including contacts, messages, photos, videos, and even installed apps.
5. What should I do before transferring data to a new iPhone?
Before transferring data to a new iPhone, it’s essential to ensure that you have a recent backup of your old iPhone, either through iCloud or iTunes. Make sure your old iPhone is connected to a stable Wi-Fi network and has enough free space for the backup. Additionally, it’s a good idea to update your old iPhone to the latest iOS version to ensure compatibility with the new iPhone.