
Are you ready to take your live photos on iPhone to the next level? In 2023, editing live photos has become easier and more feature-packed than ever before. Whether you’re capturing candid moments, stunning landscapes, or memorable events, editing your live photos can turn them into professional-grade masterpieces. With a few simple tips and tricks, you can enhance the colors, adjust the lighting, and add creative effects to make your live photos truly stand out. In this article, we will guide you through the process of editing live photos on your iPhone like a pro. From adjusting exposure to applying filters and even creating captivating motion effects, you’ll be able to unleash your creativity and transform your live photos into stunning works of art. So, grab your iPhone and let’s dive into the world of live photo editing!
Inside This Article
- Tips to Edit Live Photos on iPhone Like a Pro in 2023
- Adjusting the Live Photo Effects
- Removing Unwanted Objects from Live Photos
- Enhancing Live Photos with Filters and Adjustments
- Creating Stunning Animated GIFs from Live Photos
- Conclusion
- FAQs
Tips to Edit Live Photos on iPhone Like a Pro in 2023
Live Photos on iPhone capture the magic of a moment by combining a photo with a few seconds of video. With the advancement in technology, editing these Live Photos has become even more exciting. If you want to take your Live Photos to the next level, here are some tips to edit them like a pro in 2023.
1. Adjusting the Live Photo Effects
The first step in editing Live Photos is to adjust the effects. With the updated editing tools on iPhone, you can customize the intensity and duration of the Live Photo effects. Simply open the Live Photo in the Photos app, tap on “Edit,” and choose the “Effects” option. From there, you can adjust the intensity of effects like Loop, Bounce, and Long Exposure to add a unique touch to your Live Photos.
2. Removing Unwanted Objects from Live Photos
Have you ever captured a perfect moment in a Live Photo, only to find an unwanted object or person in the frame? In 2023, removing unwanted objects from Live Photos has become easier than ever. With advanced editing tools, you can now use the “Retouch” feature to seamlessly remove any unwanted elements from your Live Photos. Simply select the Retouch option, brush over the object you want to remove, and voila! The object will disappear, leaving you with a clean and professional-looking Live Photo.
3. Enhancing Live Photos with Filters and Adjustments
To give your Live Photos a personalized touch, you can enhance them with filters and adjustments. The Photos app offers a wide range of filters that can instantly transform the look and feel of your Live Photos. Additionally, you can fine-tune the exposure, saturation, and other parameters using the adjustment tools. Experiment with different combinations to find the perfect edit that highlights the essence of your Live Photo.
4. Creating Stunning Animated GIFs from Live Photos
Animated GIFs add a playful element to your photos. In 2023, creating stunning animated GIFs from Live Photos is easier than ever. Open the Live Photo in the Photos app, tap on “Edit,” and select the “GIF” option. You can then choose the desired start and end frames from the Live Photo to create a captivating animated GIF. Share these GIFs with friends and family to relive the special moments captured in your Live Photos.
With these tips, you can unleash your creativity and edit Live Photos on your iPhone like a pro in 2023. Whether it’s adjusting the effects, removing unwanted objects, enhancing with filters and adjustments, or creating animated GIFs, the possibilities are endless. So go ahead and make the most out of your Live Photos to capture and share the magic of every moment.
Adjusting the Live Photo Effects
Live Photos are a unique feature on iPhone that brings your still images to life by capturing a few moments before and after the actual photo is taken. And when it comes to adjusting the effects of these Live Photos, iPhone provides a plethora of options to make your images truly stand out.
With just a few simple steps, you can edit the Live Photo effects to enhance the overall look and feel. One of the key features is that you can apply different ambient lighting effects to your Live Photos. To adjust the lighting, simply open the Live Photo in the Photos app on your iPhone and tap on the “Edit” button.
Once you’re in the editing mode, you’ll see a variety of options at the bottom of the screen. Tap on the “Live” option to access the different pre-set lighting effects such as Natural Light, Studio Light, Contour Light, and Stage Light. Each effect adds a unique and professional touch to your Live Photos.
After choosing the desired effect, you can further fine-tune it by adjusting the intensity. You can slide your finger left or right to increase or decrease the intensity of the effect. This allows you to create a more subtle or dramatic impact depending on your preference.
In addition to adjusting the lighting effects, you can also tweak other aspects of your Live Photos. For example, you can make adjustments to the exposure, contrast, and saturation to achieve the desired look. Simply tap on the “Adjust” option and use the sliders to make the necessary changes.
Moreover, you can crop your Live Photos and apply various filters to add a creative touch. The Photos app offers a wide range of filters to choose from, including vivid, black and white, vintage, and more. Experiment with different filters to find the one that complements your photo the best.
Once you’ve made all the necessary adjustments and enhancements, don’t forget to save your changes by tapping on the “Done” button. Your edited Live Photo will be saved as a separate file, preserving the original photo as well.
By utilizing these editing features, you can take your Live Photos to the next level and transform them into stunning visuals that truly capture the moment.
Removing Unwanted Objects from Live Photos
Live Photos are a great feature on iPhones that capture a couple of seconds of video alongside a still photo. However, sometimes you may find unwanted objects or people that distract from the main subject of your Live Photo. Fortunately, with the right editing tools and techniques, you can easily remove those unwanted objects and make your Live Photos even more appealing. Here are some tips to help you remove unwanted objects from your Live Photos like a pro:
1. Use the Retouch Tool: The Retouch tool is an excellent tool available in the built-in Photos app on your iPhone. It allows you to easily remove small objects or blemishes from your Live Photos. Simply open the Live Photo in the Photos app, tap on the Edit button, and select the Retouch tool. Use your finger or Apple Pencil to swipe over the unwanted object, and the app will intelligently remove it.
2. Clone Stamp Tool: If the Retouch tool is not sufficient to remove larger or more complex objects from your Live Photos, you can try using third-party photo editing apps that offer a clone stamp tool. This tool allows you to clone a part of the image and cover the unwanted object seamlessly. Apps like Pixelmator, Snapseed, and Adobe Photoshop Express are great options that provide powerful editing tools, including the clone stamp tool.
3. Adjust the Crop: Sometimes, removing the unwanted object completely may affect the composition of the Live Photo. In such cases, you can consider using the crop tool to adjust the frame and eliminate the unwanted object or person. The crop tool allows you to resize and reposition the frame to focus on the main subject while removing distractions.
4. Content-Aware Fill: If you’re looking for advanced object removal capabilities, you can explore photo editing software like Adobe Photoshop. With the help of content-aware fill, you can intelligently remove unwanted objects from the Live Photo. This feature analyzes the surrounding pixels and fills the area with appropriate content, making it seem like the object was never there.
5. Multiple Shots: If you are capturing a moving subject in your Live Photo and there is an unwanted object blocking the view, it may be challenging to remove it completely. In such cases, try taking multiple shots of the same scene and choose the one where the unwanted object is least visible. This way, you can minimize the presence of the unwanted object in the final Live Photo.
By following these tips and using the right tools, you can effectively remove unwanted objects from your Live Photos and create visually stunning images. Remember to experiment and practice to enhance your editing skills and make your Live Photos stand out.
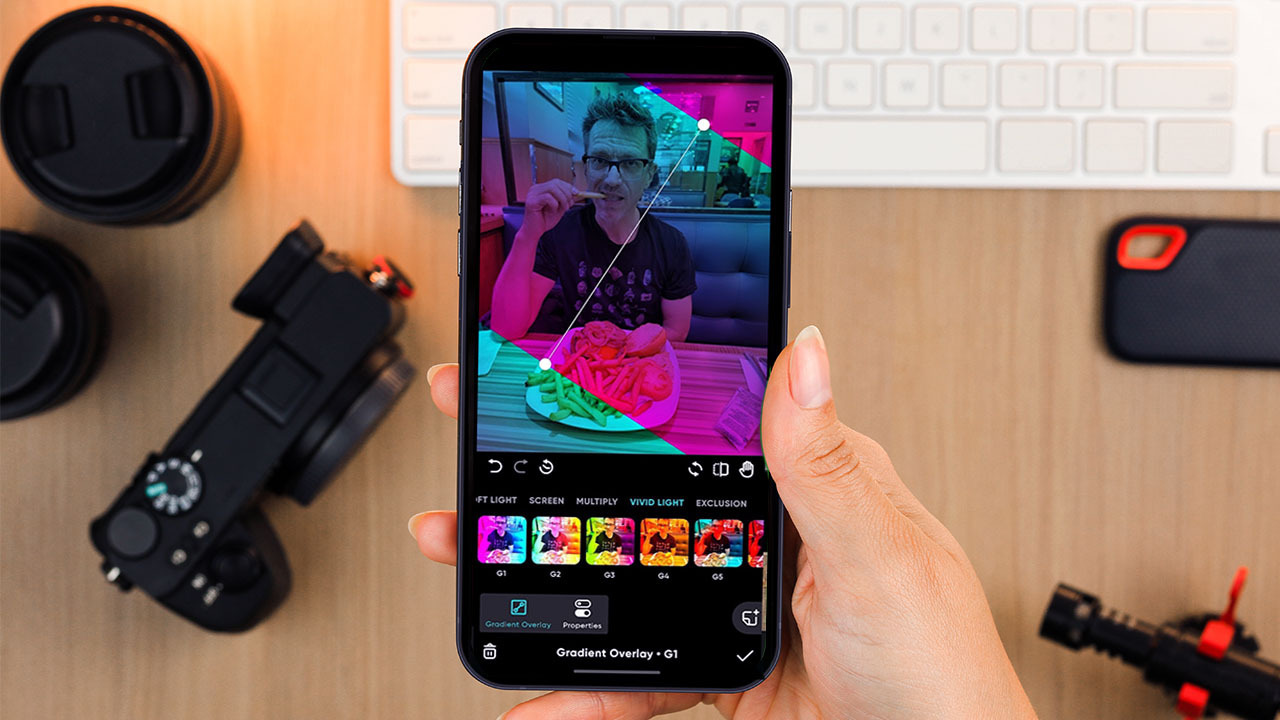
Enhancing Live Photos with Filters and Adjustments
Live Photos capture the essence of a moment by recording a few seconds of video alongside a still image. These dynamic photos can be further enhanced using filters and adjustments to make them visually stunning. With the advanced editing tools available on the iPhone, you can take your Live Photos to the next level and create captivating images that truly stand out.
One of the easiest ways to enhance your Live Photos is by applying filters. iPhone offers a wide range of built-in filters that can bring out the colors, contrast, and mood of your photos. To apply a filter, simply open the Live Photo in the Photos app, tap on the Edit button, and select the Filters option. From there, you can browse through the available filters and preview their effects in real-time.
But don’t stop at just applying filters – take advantage of the adjustment tools as well. These tools allow you to fine-tune various aspects of your Live Photos, such as brightness, contrast, saturation, and more. By adjusting these settings, you can bring out the details in dark areas, make colors pop, or achieve the perfect balance of tones for a more pleasing image.
For more precise control over your Live Photos, utilize the editing tools available in the Photos app. You can access these tools by tapping on the Edit button and selecting the Adjust option. This will bring up a range of sliders and tools that allow you to tweak the exposure, highlights, shadows, and other parameters of your Live Photos.
In addition to the basic adjustments, you can also experiment with cropping and straightening your Live Photos. This can help improve the composition or remove any unwanted elements from the frame. To do this, select the Crop tool and use the guides to adjust the framing of your Live Photo. You can also rotate the image if needed.
Another technique to enhance your Live Photos is by utilizing the Portrait Lighting effects. These effects use depth information captured by the iPhone’s dual-camera system to simulate professional lighting on your subjects. You can choose from various lighting styles, such as Natural Light, Studio Light, Contour Light, and more. To apply Portrait Lighting effects, open the Live Photo in the Photos app, tap on the Edit button, and select the Portrait Lighting option.
Once you have applied filters, adjustments, and any other desired edits to your Live Photos, make sure to save your changes by tapping on the Done button. This will preserve your edited Live Photo while keeping the original version intact.
Enhancing Live Photos with filters and adjustments is a fantastic way to bring out the best in your captured moments. With the powerful editing capabilities of the iPhone, you can transform ordinary Live Photos into visually stunning masterpieces. So grab your iPhone, get creative, and let your Live Photos shine like never before.
Creating Stunning Animated GIFs from Live Photos
Live Photos on your iPhone capture those precious moments in a way that static images cannot. But did you know that you can take your Live Photos to the next level by turning them into stunning animated GIFs? With just a few simple steps, you can transform your Live Photos into captivating loops that can be shared with friends and family. Here are some tips to help you create stunning animated GIFs from Live Photos on your iPhone.
Step 1: Choose the Perfect Live Photo
Start by selecting the Live Photo that you want to turn into an animated GIF. Open your Photos app and find the Live Photo you wish to edit. Remember, the best Live Photos for creating animated GIFs are ones that have distinct motion or eye-catching elements.
Step 2: Access the Live Photo Editing Tools
To create an animated GIF, you will need to access the built-in editing tools on your iPhone. Open the Live Photo you have chosen and tap the “Edit” button. This will bring up the editing interface with a variety of adjustment options.
Step 3: Trim the Live Photo
If your Live Photo is too long or has unwanted elements at the beginning or end, you can trim it down. Use the trimming tool by dragging the sliders to select the desired duration of the animated GIF.
Step 4: Apply Looping Effect
To give your Live Photo the looping effect that is characteristic of animated GIFs, tap the “Loop” button. This will automatically create a continuous loop of your Live Photo, making it perfect for sharing on social media or messaging apps.
Step 5: Adjust the Speed
If you want to adjust the speed of your animated GIF, you can do so by tapping the “Speed” button. This will allow you to select a slower or faster speed, depending on the desired effect.
Step 6: Save and Share
Once you are satisfied with your animated GIF, tap the “Done” button to save it. Your animated GIF will be saved as a separate file, so you can easily share it with others via messages, email, or your favorite social media platforms.
With these simple steps, you can unlock the full potential of your Live Photos and create stunning animated GIFs that will leave your friends and family in awe. So go ahead, give it a try and add a touch of magic to your memorable moments captured on your iPhone.
Conclusion
In conclusion, editing Live Photos on your iPhone can be a fun and creative process that allows you to bring your images to life. Whether you want to add stunning effects, trim unwanted elements, or adjust the playback speed, you now have the knowledge and tools to edit your Live Photos like a pro in 2023. By utilizing the powerful editing features available in the Photos app and exploring third-party editing apps, you can enhance the beauty and impact of your Live Photos with ease. So go ahead, unleash your creativity, and make your Live Photos truly stand out in your photo album or on social media. Happy editing!
FAQs
Q: Can I edit Live Photos on my iPhone?
A: Absolutely! You can edit Live Photos on your iPhone using built-in editing tools or third-party apps. It’s a great way to enhance your photos and add creative effects.
Q: How do I edit Live Photos on my iPhone?
A: To edit Live Photos on your iPhone, follow these steps:
- Select the Live Photo you want to edit from your Photos app.
- Tap on the “Edit” button.
- You can now apply various edits like adjusting brightness, contrast, and saturation, cropping, applying filters, and more.
- Once you’re done editing, tap on “Done” to save your changes.
Q: Are there any specific apps for editing Live Photos?
A: Yes, there are several apps available on the App Store specifically designed for editing Live Photos. Some popular ones include Lively, Enlight Pixaloop, and Motion Stills. These apps offer advanced features like adding motion effects, creating GIFs, and more.
Q: Can I convert Live Photos into regular photos on my iPhone?
A: Yes, you can! If you want to convert a Live Photo into a regular photo, follow these steps:
- Open the Live Photo you want to convert.
- Swipe up on the photo to reveal additional options.
- Tap on the “Live” icon to disable the Live Photo feature.
- The Live Photo will now be converted into a regular photo.
Q: How can I share Live Photos with others?
A: Sharing Live Photos with others is easy. When you send a Live Photo via iMessage or other messaging apps, it will automatically appear as a Live Photo for the recipient. If you want to share a Live Photo on social media or other platforms, make sure to check if the platform supports Live Photos. Some platforms might convert them into regular photos or short videos.