
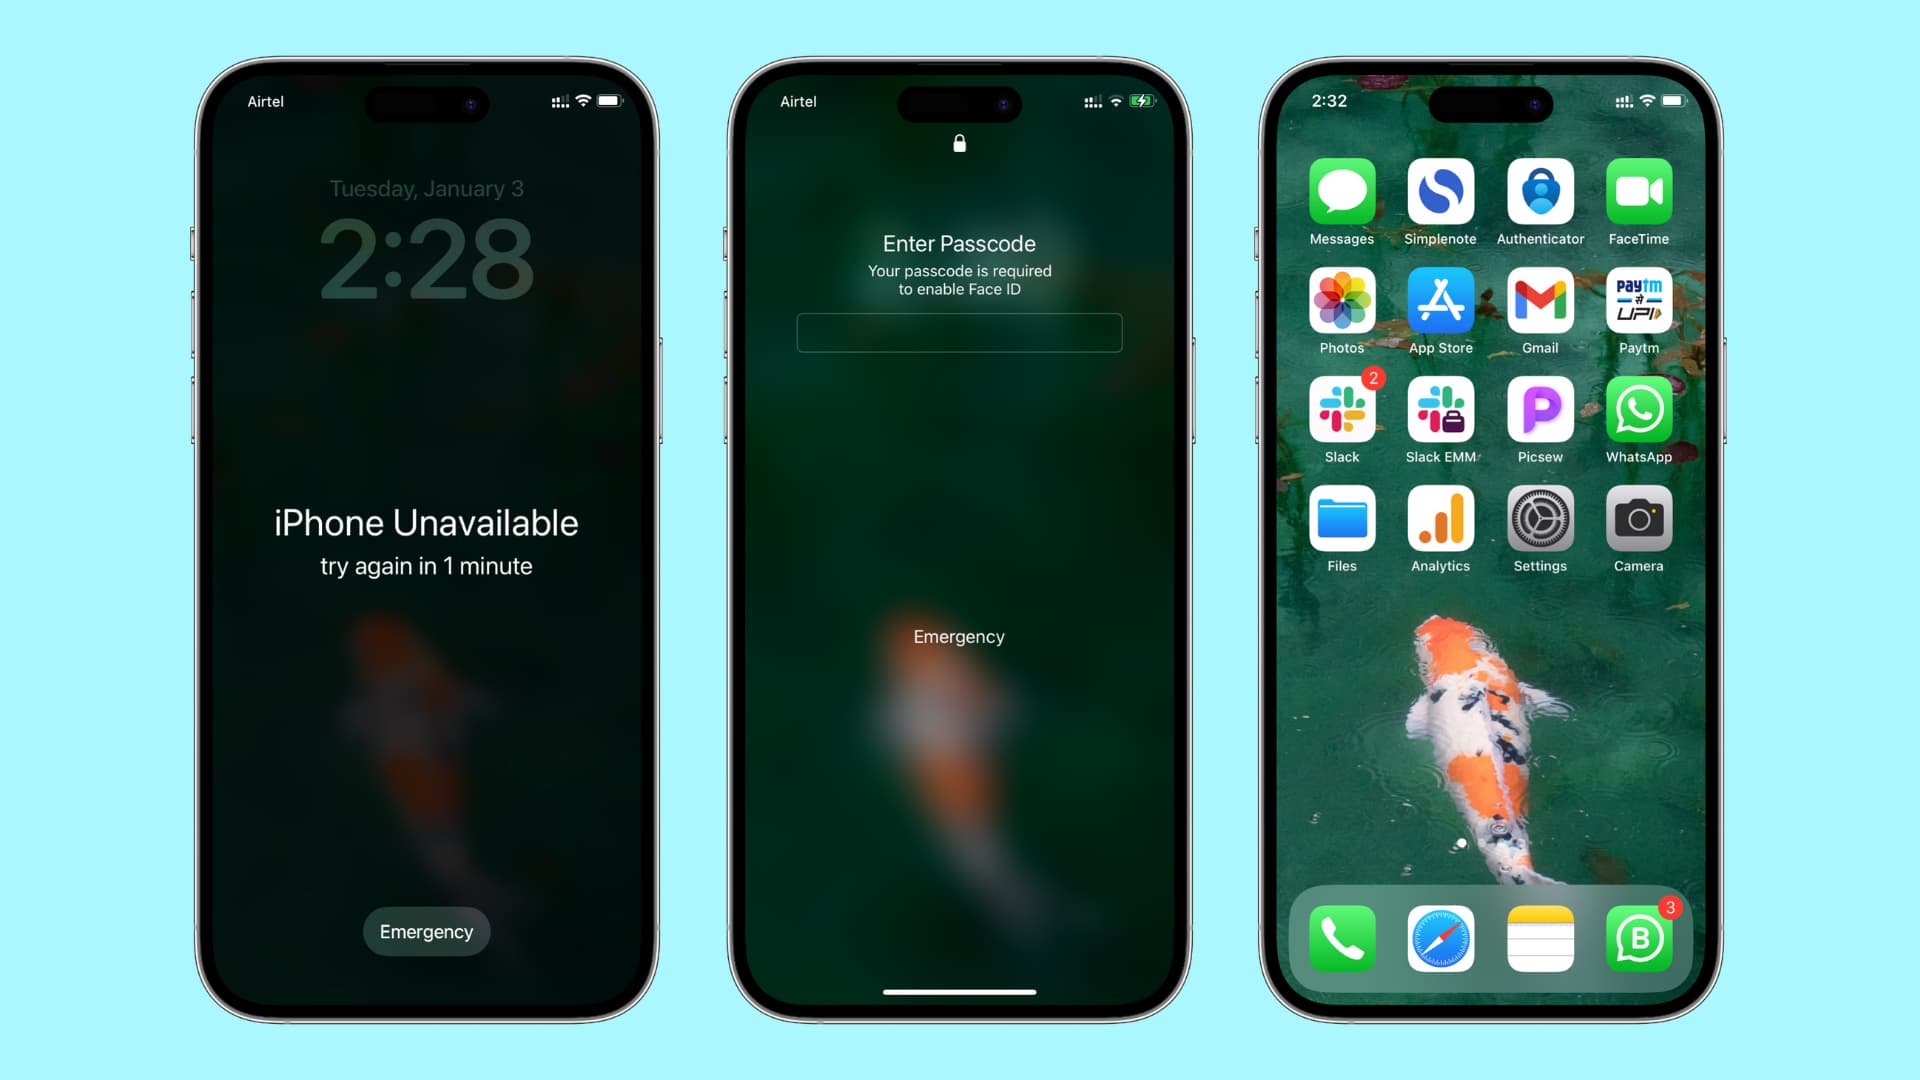
Forgot your passcode and ended up with a disabled iPhone or iPad? Don’t worry, we’ve got you covered! In this article, we’ll guide you through the steps to restore your disabled iOS device using iTunes, iCloud, or even Recovery Mode.
Losing access to your smartphone or tablet can be frustrating, but fortunately, there are multiple methods to regain control. Whether you have a recent backup in iCloud or iTunes, or you need to resort to Recovery Mode for a fresh start, we’ll walk you through the process.
No matter the reason for your device being disabled, by the end of this article you’ll have the knowledge and confidence to restore your iPhone or iPad. So, let’s dive in and get your device back up and running in no time!
Inside This Article
- Overview
- Option 1: Restore with iTunes
- Option 2: Restore with iCloud
- Option 3: Restore with Recovery Mode
- Conclusion
- FAQs
Overview
Forgetting the passcode to your iPhone or iPad can be incredibly frustrating. It can lock you out of your device and prevent you from accessing your important data. Thankfully, there are several ways to restore a disabled iPhone or iPad and regain access to your device. In this article, we will explore three options: using iTunes, using iCloud, or using Recovery Mode.
If you have a computer and have previously synced your device with iTunes, restoring your disabled iPhone or iPad using iTunes is a straightforward option. By putting your device in recovery mode and connecting it to your computer, you can easily restore your device and remove the passcode. This method can be effective even if you don’t have access to iCloud.
On the other hand, if you have enabled Find My iPhone/iPad feature and have an iCloud account, you can restore your disabled device using iCloud. By visiting iCloud.com and signing in to your account, you can remotely erase your device and set it up again. This method allows you to bypass the passcode and restore your device without needing a computer.
If both iTunes and iCloud options are not viable for you, you can resort to restoring your disabled iPhone or iPad using Recovery Mode. This method involves putting your device in recovery mode, connecting it to your computer, and using iTunes to restore it. Recovery Mode is a useful option if you don’t have access to your iCloud account or haven’t synced your device with iTunes before.
Irrespective of the method you choose, it is important to note that restoring your device will erase all the data on it. Therefore, it is essential to have a backup of your device’s data before proceeding with any of the methods mentioned above. Additionally, it’s always a good practice to regularly backup your device to prevent data loss in case of emergencies.
Now that we’ve provided an overview of the available options, let’s dive deeper into each method and walk you through the step-by-step process of restoring a disabled iPhone or iPad using iTunes, iCloud, or Recovery Mode.
Option 1: Restore with iTunes
Step 1: Connect your device to a computer.
The first step in restoring your disabled iPhone or iPad with iTunes is to connect your device to a computer. Make sure you have the latest version of iTunes installed on your computer before proceeding.
To connect your device, use a USB cable to plug it into the computer. Ensure that the cable is securely inserted into both the device and the computer’s USB port. Once connected, your device should appear in iTunes.
Step 2: Launch iTunes and put your device in recovery mode.
Once your device is connected, launch iTunes on your computer. If iTunes does not open automatically, you can manually open it.
To put your device in recovery mode, follow the specific steps for your device model:
- For iPhone X or later, iPhone 8, or iPhone 8 Plus: Press and quickly release the Volume Up button. Press and quickly release the Volume Down button. Then, press and hold the Side button until you see the recovery mode screen.
- For iPhone 7 or iPhone 7 Plus: Press and hold both the Side (or Top) button and the Volume Down button until you see the recovery mode screen.
- For iPhone 6s or earlier, iPad, or iPod touch: Press and hold both the Home button and the Top (or Side) button until you see the recovery mode screen.
Step 3: Restore your device using iTunes.
After your device is in recovery mode, iTunes will detect it and display the option to Restore or Update. To restore your disabled device, click on the Restore button.
Keep in mind that restoring your device will erase all data and settings, so it is important to have a recent backup. If you have a backup available, you can choose to restore from that backup after the restore process is complete.
Wait for iTunes to download the necessary software and restore your device. The process may take a while, so be patient and do not disconnect your device during the restore process.
Once the restore is complete, your device will restart, and you can set it up as new or restore from a backup.
That’s it! Your disabled iPhone or iPad has been successfully restored using iTunes. Remember to create regular backups of your device to avoid losing important data in the future.
Option 2: Restore with iCloud
One of the easiest methods to restore a disabled iPhone or iPad is by using iCloud. This method allows you to remotely erase your device and then set it up again. Here are the steps to restore your disabled device with iCloud:
Step 1: Visit iCloud.com
To begin the restoration process, open a web browser on your computer or another device and navigate to iCloud.com. Make sure you are connected to the internet.
Step 2: Sign in to your iCloud account
Once you have opened the iCloud website, sign in using your Apple ID and password. Ensure that you enter the correct credentials to access your iCloud account successfully.
Step 3: Erase your device remotely
After signing in, you will see the iCloud dashboard. Locate and click on the “Find iPhone” option. This will open a new window where you can track and manage your Apple devices. Select the device you want to restore from the list of devices associated with your account.
Once you have selected your device, you will find a “Erase iPhone” button. Click on it to remotely erase all the data and settings on your disabled device. Keep in mind that this action is irreversible and will delete all the data stored on your device.
Step 4: Set up your device
After the erasure process is complete, you will be prompted to set up your device. Follow the on-screen instructions to configure your device settings, including language, Wi-Fi network, and Apple ID login details.
Make sure to restore from a recent backup if you have one available to minimize data loss. Once you have completed the setup process, your device will be restored to its factory settings, and you can start using it again.
Using iCloud to restore a disabled iPhone or iPad is a convenient option that allows you to remotely erase and set up your device. It is essential to have a stable internet connection and know your Apple ID credentials to successfully complete the restoration process.
Option 3: Restore with Recovery Mode
One of the ways to restore a disabled iPhone or iPad is by utilizing the powerful feature known as Recovery Mode. This method allows you to overcome passcode restrictions and regain access to your device. Here’s a step-by-step guide on how to restore your device using Recovery Mode:
Step 1: Connect your device to a computer
Start by connecting your iPhone or iPad to a computer using a USB cable. Make sure you have the latest version of iTunes installed on your computer.
Step 2: Put your device in recovery mode
To enter Recovery Mode, you need to follow specific button combinations depending on your device model. For iPhone 8 or later models, press and quickly release the volume up button, then do the same with the volume down button. Finally, press and hold the side button until the recovery mode screen appears. For iPhone 7 or 7 Plus, simultaneously press and hold the volume down button and the side button until the recovery mode screen appears.
Step 3: Restore your device using iTunes
Once your device is in recovery mode, a prompt will appear on your computer screen, asking you to either “Update” or “Restore” your device. Choose the “Restore” option to erase all data and settings on your device and restore it to its factory settings. iTunes will then download and install the latest iOS version on your device. Note that this process may take some time, so make sure your computer is connected to a stable internet connection.
After the restore process is complete, your iPhone or iPad will restart and be ready to set up as new or restore from a previous backup. It’s important to note that restoring your device in Recovery Mode will erase all data, so it’s crucial to have a backup if you wish to recover your data after the restore.
By following these steps, you’ll be able to restore your disabled iPhone or iPad using Recovery Mode with iTunes. It’s an effective solution when you forget your passcode or encounter other issues that disable your device. Remember to always keep your data backed up to prevent any loss during the restore process.
Conclusion
In conclusion, restoring a disabled iPhone or iPad can be a challenging situation, but with the right methods, you can regain access to your device and get back to using it. Whether you choose to restore through iTunes, iCloud, or recovery mode, it’s important to remember to back up your data regularly to avoid losing any valuable information.
Now You Know how to restore a disabled iPhone or iPad using different methods. It’s always a good idea to try the least invasive option first, such as using iTunes or iCloud, before resorting to recovery mode. However, if all else fails, recovery mode is a reliable solution for fixing a disabled device.
Remember to carefully follow the instructions and keep your device updated to prevent it from becoming disabled in the future. With the right approach and the right knowledge, you can overcome the challenges of a disabled iPhone or iPad and continue using your device hassle-free.
FAQs
1. How do I know if my iPhone or iPad is disabled?
If you enter the wrong passcode too many times, your device will become disabled. You will receive a notification on the screen indicating that your device is disabled and provide instructions on what to do next.
2. Can I restore a disabled iPhone or iPad without a computer?
Unfortunately, if your device is disabled, you will need a computer to restore it. You can choose to use iTunes, iCloud, or Recovery Mode to perform the restoration process.
3. How does iTunes help restore a disabled iPhone or iPad?
iTunes is a software developed by Apple that allows you to manage and restore your iOS devices. By connecting your disabled device to a computer with iTunes installed, you can follow the steps to restore it by selecting the device in the iTunes interface and choosing the option to restore it.
4. What is iCloud and how can it restore a disabled iPhone or iPad?
iCloud is a cloud storage and computing service provided by Apple. By having an iCloud backup of your device, you can restore it to a previous point in time when it was not disabled. Simply log in to your iCloud account on a computer or another iOS device and choose the option to restore your disabled device from an iCloud backup.
5. When should I use Recovery Mode to restore a disabled iPhone or iPad?
If you are unable to restore your device using iTunes or iCloud, you can try entering Recovery Mode. This mode allows you to perform a complete restoration of your device’s operating system. You should use Recovery Mode as a last resort when other methods have failed.