
Have you ever found yourself in a situation where your Windows 11 operating system is not functioning properly and you need to reinstall it? The thought of losing all your data can be quite daunting. However, with the right knowledge and approach, you can reinstall Windows 11 without losing any of your precious files and data. In this article, we will guide you through the step-by-step process of reinstalling Windows 11 while preserving your data. Whether you encounter software issues, performance problems, or simply want a fresh start, we’ve got you covered. Let’s dive in and learn how to reinstall Windows 11 without losing data.
Inside This Article
- Method 1: Resetting Windows 11 from Settings
- Method 2: Reinstalling Windows 11 using a bootable USB drive
- Method 3: Reinstalling Windows 11 without losing data using a recovery partition
- Conclusion
- FAQs
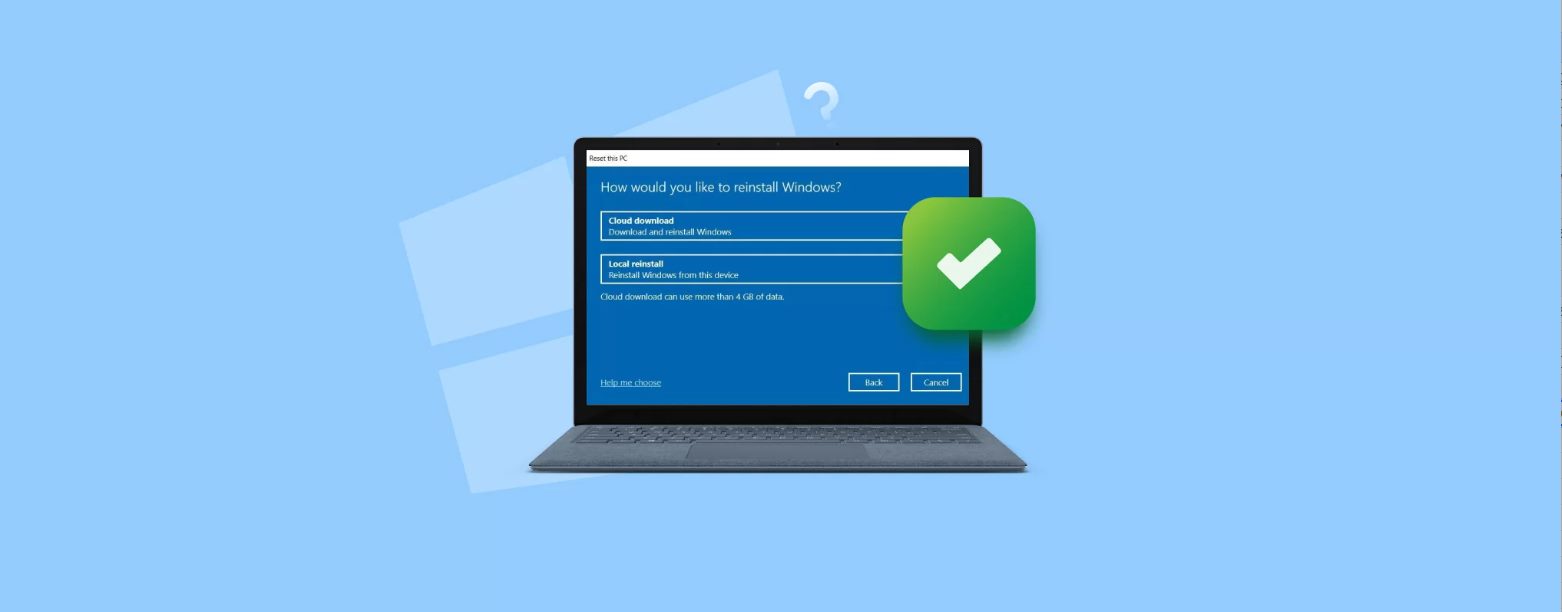
Method 1: Resetting Windows 11 from Settings
One of the easiest ways to reinstall Windows 11 without losing your data is by using the built-in Reset feature in the Settings. This method allows you to reset your system to its default settings while keeping all your files and apps intact. Follow the steps below to perform a reset from the Settings:
- Go to the Start menu and click on the Settings icon.
- In the Settings window, click on System.
- From the left-hand side menu, select Recovery.
- Under the Reset this PC section, click on the Get started button.
- You will be presented with two options:
- Keep my files: This option will remove all the apps and settings, but keep your personal files intact.
- Remove everything: This option will remove all the apps, settings, and personal files from your system.
- Choose the option that suits your needs and follow the on-screen instructions to proceed with the reset.
- Windows 11 will then reset your system, and you will have a fresh installation of the operating system, while your personal files and apps remain untouched.
It is important to note that resetting Windows 11 will remove any installed programs, so you may need to reinstall them after the reset. Additionally, make sure to back up any important data before proceeding with the reset process to avoid any potential data loss.
Method 2: Reinstalling Windows 11 using a bootable USB drive
If you’re facing issues with your Windows 11 operating system and need to reinstall it, using a bootable USB drive is a convenient and efficient method. This method allows you to start with a clean slate while retaining your important files and data.
To begin, you’ll need a USB drive with sufficient storage capacity to hold the Windows 11 installation files. Make sure the USB drive is empty as all data on it will be erased during the process.
Here are the steps to reinstall Windows 11 using a bootable USB drive:
- First, create a bootable USB drive with the Windows 11 installation files. You can do this by downloading the official Windows 11 ISO file from the Microsoft website and using the Windows USB/DVD Download Tool or a third-party tool like Rufus.
- Insert the USB drive into your computer’s USB port and restart your system.
- During the startup process, access the BIOS settings by pressing a specific key (such as F2 or Delete) as indicated on your computer’s startup screen.
- In the BIOS settings, navigate to the “Boot” tab and change the boot order to prioritize the USB drive. Save the changes and exit the BIOS settings.
- Your computer will now boot from the USB drive. Follow the on-screen instructions to proceed with the Windows 11 installation.
- When prompted, choose the option to “Install Windows” and select your preferred language, time zone, and keyboard layout.
- On the installation type screen, select the “Custom: Install Windows only (advanced)” option.
- Choose the partition where you want to install Windows 11. If you want to keep your files, make sure to select the partition with your existing Windows installation.
- Follow the remaining instructions to complete the installation process. Windows 11 will be installed on your chosen partition, and your files will be preserved.
- After the installation is complete, your computer will restart, and you’ll be greeted with the Windows 11 setup screen. Follow the on-screen prompts to personalize your settings and set up your user account.
Once you’ve completed these steps, you’ll have successfully reinstalled Windows 11 using a bootable USB drive. Your system will now run on a fresh installation of Windows 11, while your important files and data will be preserved.
Remember to keep a backup of your important files before reinstalling Windows 11 to ensure none of your data is lost. Additionally, make sure to create a bootable USB drive using a reliable source, such as the official Microsoft website, to ensure a smooth and secure installation process.
Method 3: Reinstalling Windows 11 without losing data using a recovery partition
Reinstalling Windows 11 without losing your valuable data can be achieved using the built-in recovery partition on your device. This method is particularly useful when you encounter issues with your operating system and want to perform a clean installation while preserving your files, applications, and settings.
To begin, you’ll need to access the recovery partition on your device. This can usually be done by pressing a specific key combination during the boot process, such as F11 or F12. Consult your device’s manual or manufacturer’s website to find the correct key combination for your computer.
Once you’ve successfully accessed the recovery partition, you’ll be presented with a variety of options. Look for the option that allows you to reinstall Windows 11 while keeping your personal files. This option is usually labeled “Refresh” or “Reset” and will guide you through the reinstallation process step-by-step.
Before proceeding, it’s important to back up any critical data that you haven’t already saved to an external storage device. While the reinstallation process is designed to preserve your files, it’s always best to have an extra copy to ensure their safety.
Follow the on-screen instructions to initiate the reinstallation process. Windows 11 will guide you through the setup process, including selecting your language preferences, creating a user account, and configuring other system settings.
Once the reinstallation is complete, your device will restart, and you’ll be greeted with a fresh installation of Windows 11, while still retaining your personal files and data. Take the time to ensure that all your applications are running smoothly and that your files have been successfully preserved.
If you encounter any issues or errors during the reinstallation process, refer to the troubleshooting resources provided by Microsoft or consult a professional for assistance. It’s important to address any problems promptly to avoid any potential data loss or further complications.
By using the recovery partition to reinstall Windows 11, you can refresh your operating system without the fear of losing your important files. This method provides a convenient and reliable way to troubleshoot issues with your system and ensure its optimal performance.
Remember, it’s always a good practice to regularly back up your files to an external storage device or a cloud backup service. This helps to safeguard your data in case of any unforeseen circumstances or system failures.
Conclusion
Reinstalling Windows 11 without losing data may seem like a daunting task, but with the right steps and preparation, it can be a smooth and successful process. By following the methods outlined in this article, you can reinstall the operating system while preserving your important files and settings.
Remember to back up your data beforehand and create a recovery drive or installation media. This will ensure that you have a safety net in case something goes wrong during the reinstallation process.
Additionally, make sure to carefully follow the instructions provided by Microsoft or seek assistance from their official support channels if you encounter any issues or have questions specific to your device.
Reinstalling Windows 11 can be an opportunity to breathe new life into your computer and improve its performance. By taking the necessary precautions and following the recommended steps, you can reinstall Windows 11 with ease, knowing that your valuable data will be safely retained.
FAQs
1. Can I reinstall Windows 11 without losing my data?
Yes, Windows 11 offers a feature called “Reset this PC” that allows you to reinstall Windows while keeping your personal files intact. However, it is always recommended to backup your important data before performing any system reinstallation.
2. How do I access the “Reset this PC” feature in Windows 11?
To access the “Reset this PC” feature in Windows 11, go to Settings by clicking on the Start button and selecting the gear icon. In the Settings menu, navigate to the System category and then select the “Recovery” option. Under the “Advanced startup” section, click on the “Restart now” button. Once the PC restarts, choose the “Troubleshoot” option, followed by “Reset this PC.”
3. Will reinstalling Windows 11 remove all my installed applications?
Yes, reinstalling Windows 11 through the “Reset this PC” feature will remove all the applications you have installed. However, your personal files and data will be preserved. It is important to note that reinstalling Windows will remove any custom settings and configurations you have made.
4. How long does it take to reinstall Windows 11?
The time it takes to reinstall Windows 11 can vary depending on several factors, such as the speed of your computer and the amount of data stored on the system. On average, a clean installation of Windows 11 can take anywhere from 30 minutes to a few hours. It is advisable to allocate a sufficient amount of time for the reinstallation process.
5. Do I need an internet connection to reinstall Windows 11?
While an internet connection is not strictly required to reinstall Windows 11 using the “Reset this PC” feature, it is highly recommended. An internet connection allows Windows to download the latest updates and drivers during the reinstallation process, ensuring that you have the most up-to-date version of the operating system.