
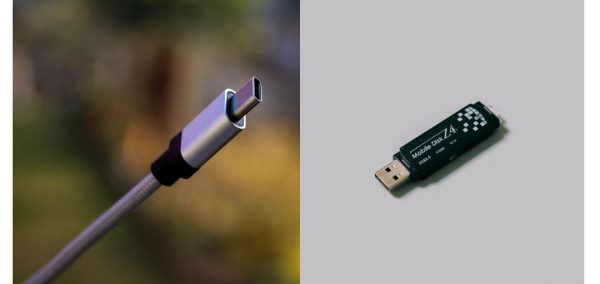
Connecting your USB device to your Android phone is a fairly simple and straightforward process. You just insert the flash drive or the adapter into the port where you would normally insert your charger, and you’re good to go. However, it’s possible that you won’t be able to access your files right away because your USB device is not recognized by your phone. When this happens, it can be quite frustrating, especially when you’re out and about and the only way to access the files in your flash drive is through your phone.
The good news is that there are lots of ways to resolve this issue. In this article, we’ll give you a rundown of the most common reasons why your phone can’t recognize your USB device and eight ways you can fix this problem.
Also read: Best Uses of USB OTG Adapter
Why a USB Device Won’t Be Recognized on Android
For you to work through fixing your unrecognizable USB device, you need to identify the root of the problem first. Here are some of the most common reasons why your phone can’t recognize the USB device connected to it.
Corrupted USB Device
One reason that your USB device or flash drive can’t be recognized is that it might be corrupted. This can happen for a number of reasons, like if the USB device wasn’t ejected properly, or if there was a sudden power failure while you were transferring files. When you have a corrupted flash drive, your Android phone won’t be able to read the files in it. Another possibility is that your phone will be able to read your files, but the data will be all garbled and unusable.
Unsuitable OS Version
Another reason why your phone doesn’t recognize your flash drive is that its OS isn’t built to connect with a USB OTG device. For your phone to recognize and read your flash drive, it has to be an Android version 3.1 or higher. These OS versions can support USB 2.0 and USB 3.0.
Compatibility Issues
Your USB device might not be recognized on an Android phone due to compatibility issues. To connect your phone to a flash drive, your phone should be able to support the OTG standard. Unfortunately, not every Android phone is compatible with USB OTG, even if its OS is Android version 3.1 or higher; OTG compatibility is a feature that hardware manufacturers have to enable.
An easy way to check if your phone is compatible with USB OTG is to look for the USB OTG logo, as shown below, on the box your phone came in or on the manufacturer’s website.
-

Photo by nicht angegeben from WIkimedia Commons
You can also look for USB OTG compatibility in the list of specifications. Alternatively, you can try out third-party apps, like Easy OTG Checker and USB OTG Checker, to check if your phone supports the OTG standard.
Damaged Connector on the Phone
It’s also possible that your phone can’t recognize your flash drive because the connector on your phone is damaged. In these situations, it’s possible that your phone can still be charged, but it can’t transfer files. That’s because the contacts or components of the connector that are responsible for data transfer are damaged.
Damaged OTG Cable or Adapter
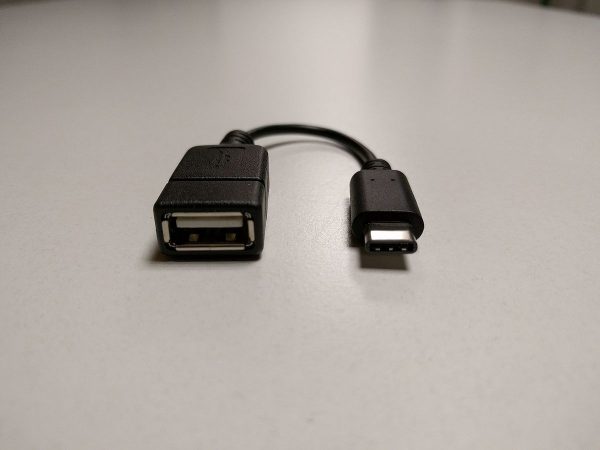
The culprit might also be the OTG cable itself; the OTG cable or adapter might be damaged, which is why your phone can’t recognize and read your USB device. To check whether this is the case, connect your flash drive to a different OTG compatible phone using the cable. If that phone still can’t recognize the flash drive, it might be the OTG cable that’s defective.
Incorrect File Format
Your USB device’s file system might also not be compatible with Android phones. Take note that most Android phones only support FAT32, Ext3, and Ext4 file formats; most of the latest Android phones and tablets also support the exFAT file format. If your flash drive’s file system is NTFS, chances are that your phone won’t be able to recognize it.
Best Fixes to a USB Device Not Recognized on Android
Luckily, there are a number of fairly easy fixes for a USB device that can’t be recognized by an Android device. Below are some of the methods you can try out. You can also try similar methods when your phone does not recognize your SD card.
1. Try the USB Device on Another Phone or Tablet
The first method you might want to try out is to connect the USB device to another OTG compatible smartphone or tablet. If that phone can recognize the flash drive, it might be your phone that’s at fault here. If that’s the case, you can try out methods two, three, seven, and eight on this list.
However, if a different device still can’t recognize your flash drive, it might be the USB Device or the OTG connector that’s the culprit, in which case you can try out methods four, five, and six on this list to try to resolve the issue.
2. Restart Your Mobile Device
One easy fix for a USB device that’s not recognized by your Android phone is to restart your phone. This is one of the go-to solutions recommended by Android experts whenever you’re encountering any issue with your phone. That’s because restarting your phone gives it a chance to rest and work better when you turn it on again.
To restart your Android phone, follow these easy steps:
- Press and hold the power button on your phone for at least 20 seconds. This is usually found on the top, left side, or right side of the device.
- Afterward, a power menu will appear on your screen. Tap the “Restart” option if you see one.
- Wait for your phone to turn off and turn back on.
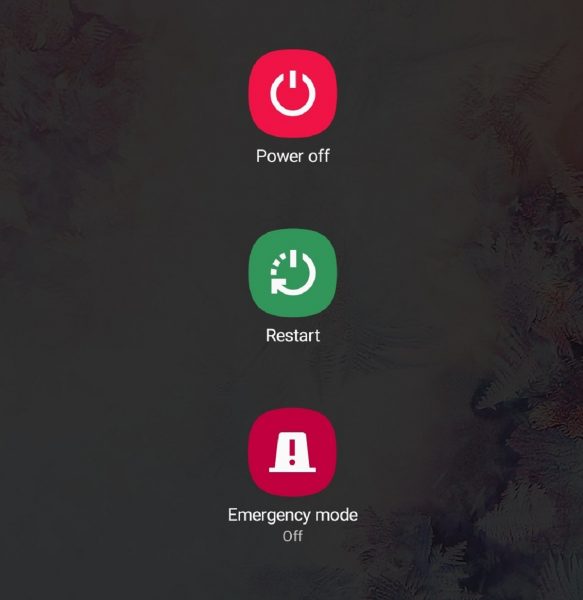
However, if your phone doesn’t have a restart option, you can manually restart it by doing the following:
- Press and hold your phone’s power button for at least 20 seconds.
- Tap on the “Power off” or the equivalent option that appears on your phone.
- Wait for your phone to turn off completely.
- After at least a minute, turn your phone on again by pressing and holding the power button.
3. Update Your Phone’s Apps and/or OS
Another option you can try is updating the apps on your Android phone, or your phone’s OS, or both. Doing so eliminates the possibility of your apps or software causing your phone to not recognize your flash drive. Having up-to-date apps and software also fixes issues that the previous versions had so that you can have a more bug-free user experience.
Updating the Apps
You can update the apps on your Android phone in two ways: manually or automatically. To update an app manually, follow these steps:
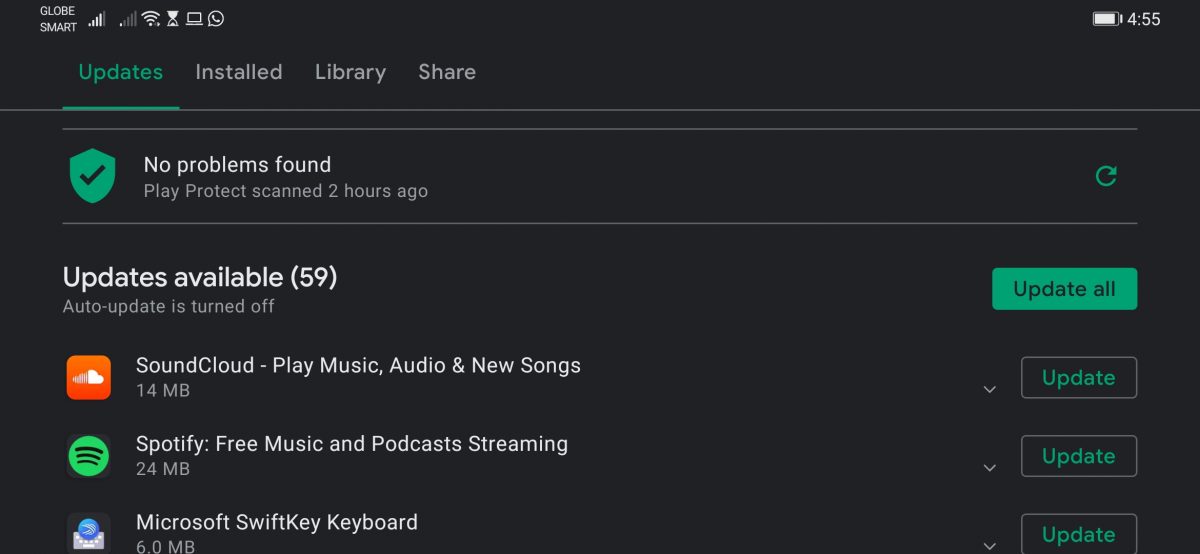
- Go to the Google Play Store app.
- Select the “Menu” icon (the three parallel lines on top of one another) on the upper-left-hand corner of your screen.
- Tap the “My apps & games” icon.
- Tap the “Update” button beside the apps that need updating or simply tap “Update all” to install all available updates.
- If App Permissions show up on your screen, tap “Accept” to continue with the update.
To update your phone’s apps automatically, proceed with these steps:
- Go to the Google Play Store app.
- Tap the “Menu” icon on the upper-left-hand corner of your screen.
- Go to “Settings.”
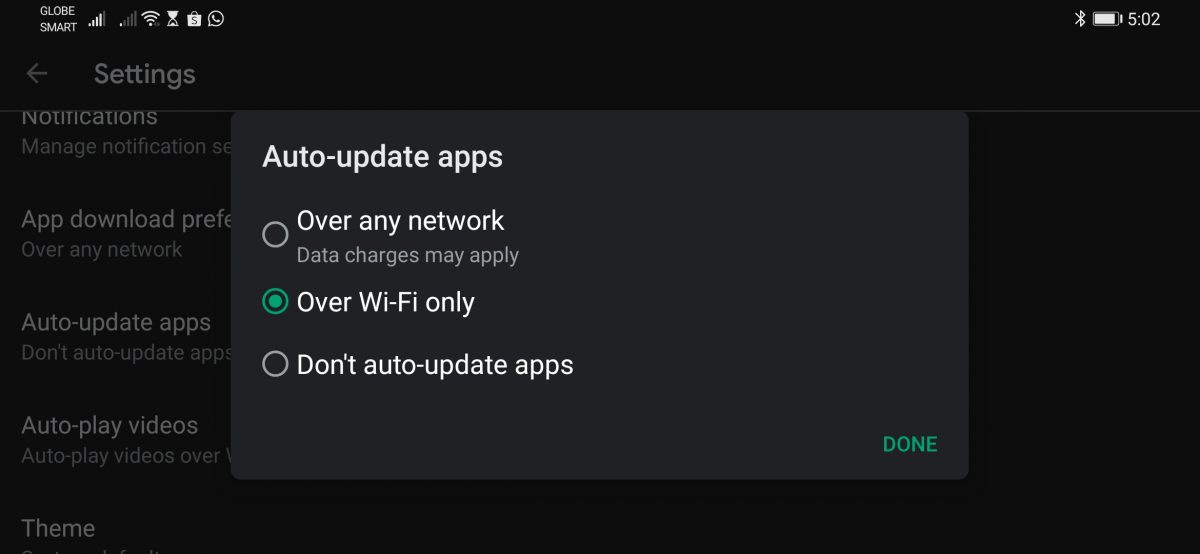
- Tap “Auto-update apps” then select either “Auto-update apps at any time” or “Auto-update apps over Wi-Fi only.
Updating the OS
Updating your phone’s OS takes quite a long time, around 20 to 30 minutes. On the bright side, it’s fairly easy to do. You just have to follow these steps:
- Connect your phone to a stable Wi-Fi network.
- Head over to your phone’s Settings app and select “About Phone,” which displays all pertinent information about your device, including its Android version.
- Look for the button that says “Check now for update” and tap it.
- Tap the “Install now” or the equivalent option, and the updating process will begin.
4. Check the OTG Cable
Another thing you can do if your phone can’t recognize your USB device is to check the OTG cable. Similar to how you would check whether a flash drive is working or not, try connecting the OTG cable to another OTG compatible device. If the cable doesn’t work there either, it might be time to purchase a new OTG cable. It’s pretty easy to find a new OTG cable, as it’s sold by a lot of retailers, including Amazon and Walmart.
5. Format the USB Device
You can also try formatting the flash drive if your Android phone still can’t recognize it. Formatting a USB device means erasing all of the files and data that are stored in it. This isn’t the same as deleting the files in the flash drive yourself. That’s because doing so still leaves out some remnants of those files that you can’t see just by opening the flash drive’s folder. Formatting your flash drive erases all of the data in it permanently, restoring it to how it was when you first bought it—both in terms of storage capacity and performance.
To format your USB device, all you need is your USB stick and a computer. The process is pretty simple as well and only involves the following steps:
- Insert the USB device into your computer.
- Open your computer’s File Explorer, which resembles a folder.
- On the navigation pane on the left, select “This PC.”
- Look for the name of your flash drive under “Devices and drives.” Right-click on your flash drive, and select the “Format” option.
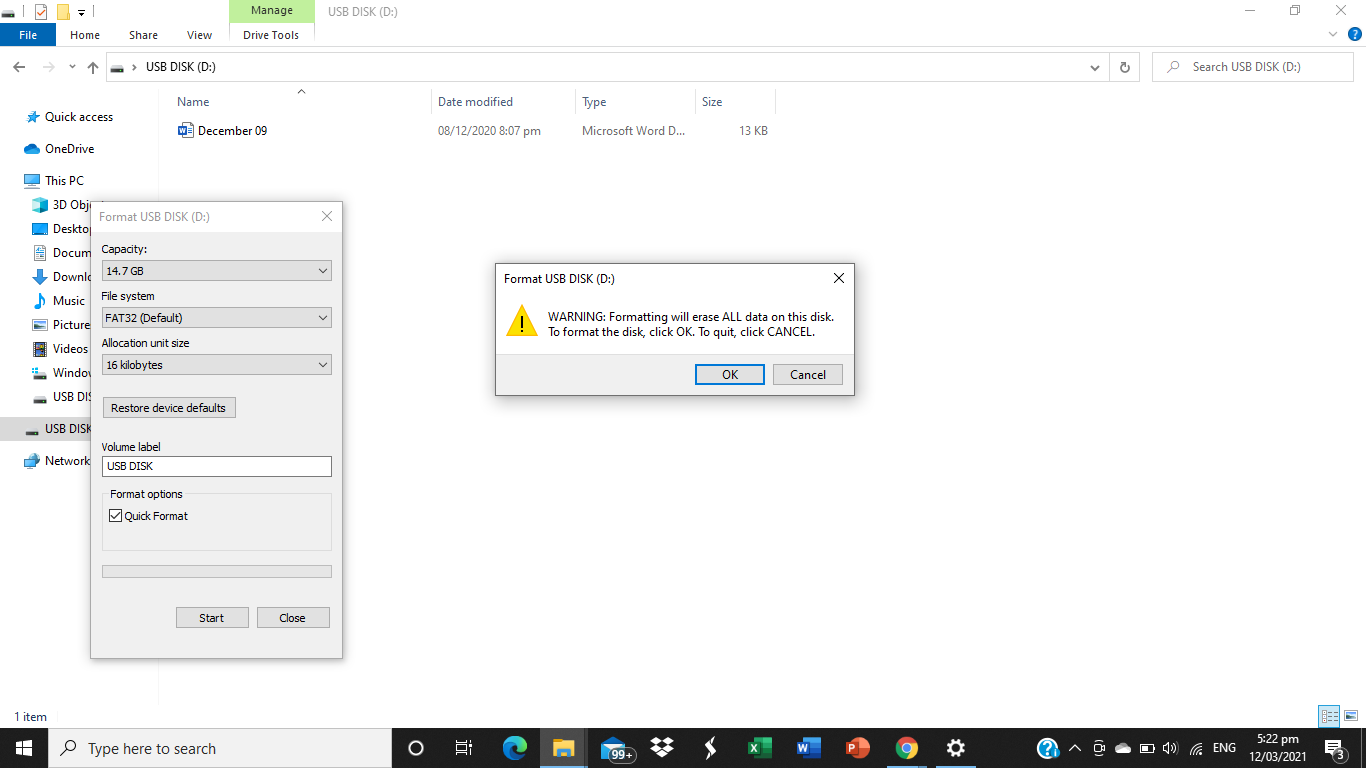
- Upon clicking, you’ll be presented with the option to do a quick format or a full format. A quick format deletes all of the computer files from your flash drive. A full format, on the other hand, wipes your flash drive completely clean by erasing every last bit of data. A full format is what you’ll want to do because this erases all of the issues in your drive.
- A warning window will appear. This notifies you that fully formatting your device will permanently erase all of your data. Click “OK.”
Note that the time it takes to complete a full format may vary. It mostly depends on the size of your flash drive, how much data is being erased, and the speed of your computer.
6. Use a Suitable File Format
Changing your flash drive’s file system is yet another solution when your Android phone can’t recognize your flash drive. As we said earlier, Android only supports FAT32, Ext3, Ext4, and (if you have a newer phone) exFAT file system formats. So if your flash drive isn’t set to any of these file formats, that’s probably the reason that your phone can’t recognize it. But don’t fret, as changing your USB device’s file system is fairly easy. You just need to follow these steps:
- Insert your flash drive into your laptop or PC.
- Open File Explorer.
- Select “This PC” from the navigation pane on the left.
- Look for your flash drive under “Devices and drives.” Right-click on it, and select “Format.”
- Then, select “Quick Format.”
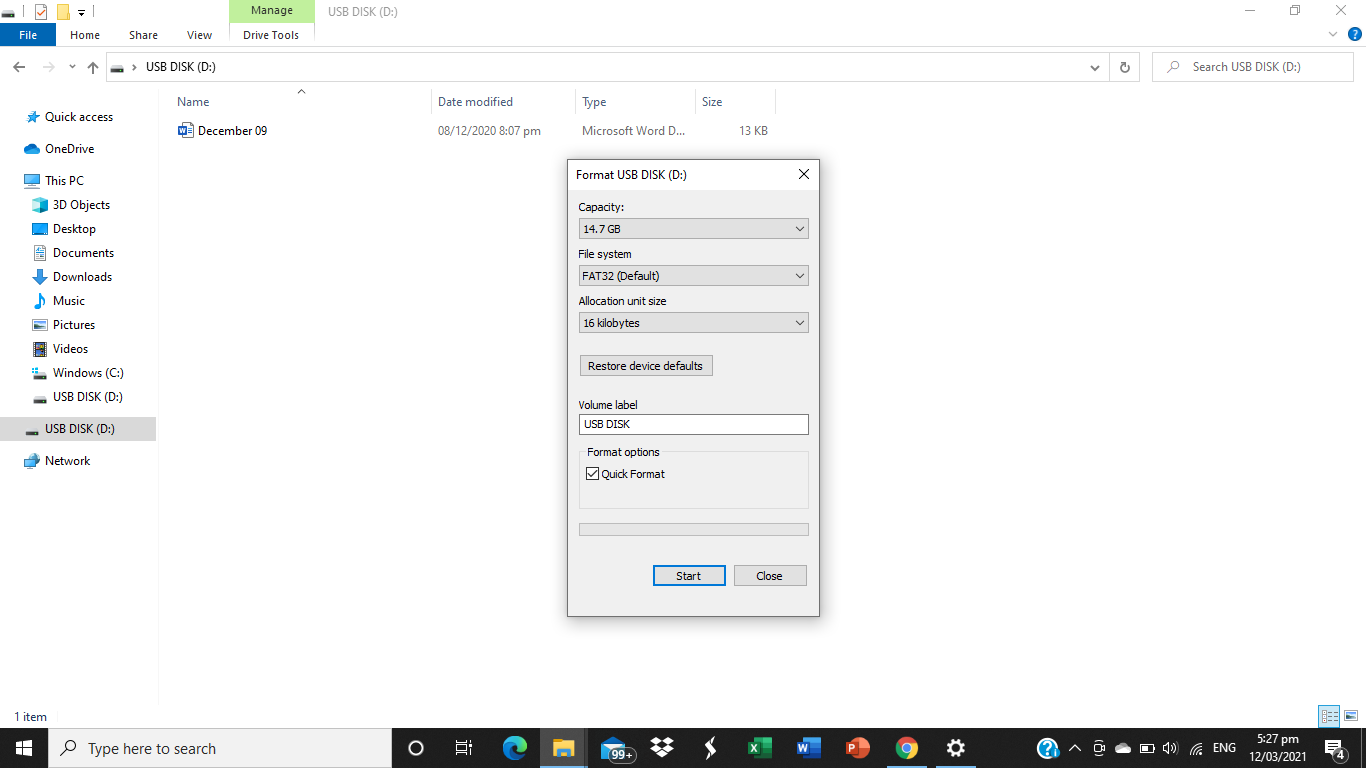
- Click on the drop-down menu under “File system,” and select any of the following formats: FAT32, Ext3, Ext4, and exFAT.
- While you’re at it, you can also rename your USB device if you’d like. You can do so under the “Volume label.”
- Click on “Start,” and wait for the process to be complete.
7. Get a File Management App
If you’ve verified that your phone is compatible with USB OTG but it still can’t recognize your flash drive, try installing a new file management app onto your phone. By default, your Android phone already has a file management app, which is called File Manager. However, it may not be able to read all of the flash drives you connect to your phone, especially those that have an NTFS file system. A reliable and more capable file management app can read the flash drives of all file systems. This is a solution you can opt for if you don’t want to format your USB device.
There are a number of file management apps available on the Google Play Store. ES File Explorer and OTG USB File Explorer are just some of the file managers you can try out.
8. Root Your Android Device
If you’ve tried all of the suggestions above and your Android phone still can’t recognize your flash drive, consider rooting your phone. Rooting, sometimes called “jailbreaking,” is a process that gives a user root access or privileged control over their phone’s operating system. With root access, you can alter or replace your phone’s settings and overcome limitations that hardware manufacturers have placed on your phone.
However, do keep in mind that unlike all the other suggestions on this list, rooting your phone is a solution that’s a lot more complex and involves more risk. Thus, you should really only attempt it if you’re confident enough and know what you’re doing. One wrong step and you can risk bricking your phone. You can also be exposing your device to more security threats since rooting your phone disables some of its built-in security features. So, again, don’t try it if you’re not a hundred percent sure of what you’re doing.
Also read: How to Root Your Android Phone
Takeaway
So there you have it: the best solutions for when your USB device is not recognized by your phone. Encountering this problem can be a bit frustrating, and there can be a number of root causes for why your Android device can’t read your flash drive. We hope this guide helped you identify and solve the problem. Let us know which solution worked best for you!