
Excel is a powerful tool for organizing and analyzing data, but as your dataset grows larger, it can become challenging to manage and consolidate information from multiple sources. That’s where the feature of consolidating data in Excel comes in handy. Consolidating data allows you to combine information from different worksheets, workbooks, or even different file formats into one central location.
Whether you’re dealing with sales data from various regions, financial reports from different departments, or survey results from different time periods, consolidating data can save you time and effort. This process ensures that all the information is organized in a single location, making it easier to analyze and draw insights. In this article, we’ll explore the step-by-step process of how to consolidate data in Excel, along with some useful tips and tricks to make the task even more efficient.
Inside This Article
- What is data consolidation?
- How to consolidate data using the Consolidate tool
- Consolidating data using formulas and functions
- Combining data from multiple worksheets
- Merging data from different workbooks
- Consolidating data with PivotTables
- Tips and best practices for data consolidation
- Conclusion
- FAQs
What is data consolidation?
Data consolidation is the process of combining and organizing data from multiple sources into a single, unified dataset. It is a common task in data analysis and management, particularly when dealing with large amounts of information. The goal of data consolidation is to create a comprehensive view of the data, making it easier to analyze, extract insights, and make informed decisions.
Data consolidation can involve merging data from multiple worksheets within a single Excel file, combining data from different workbooks, or even consolidating data from external sources. The consolidated data can be used for various purposes, such as creating reports, conducting analyses, or generating a summary of information.
By consolidating the data, you can eliminate duplication, improve accuracy, and save time. Instead of working with scattered data across multiple sources, you can have a centralized and organized dataset that is easier to manage and analyze. This makes data consolidation a valuable technique for professionals in various domains, such as finance, marketing, research, and more.
How to consolidate data using the Consolidate tool
Data consolidation is a powerful feature in Microsoft Excel that allows you to combine data from multiple sources into a single worksheet. It is particularly useful when you have data scattered across various worksheets or workbooks, and you need to analyze or summarize the information in one place. Excel provides a built-in tool called Consolidate to simplify this process and save you time and effort.
To consolidate data using the Consolidate tool in Excel, follow these steps:
- Open Excel and make sure all the worksheets or workbooks that contain the data you want to consolidate are open.
- Click on the worksheet where you want to consolidate the data. This will be your destination worksheet.
- Navigate to the Data tab in the Excel ribbon and click on the Consolidate button in the Data Tools group.
- In the Consolidate dialog box, select the consolidation function you want to use, such as Sum, Average, Count, etc. This determines how the data will be combined.
- Click on the Add button in the References field, and select the data ranges or worksheets you want to consolidate. You can use the mouse to select the ranges or click on the Collapse Dialog button to manually enter the range addresses.
- Choose whether you want to consolidate by position or category. Consolidating by position combines data from the same cell positions across different worksheets, while consolidating by category combines data based on labels or categories.
- Check the options for Top row and Left column if your data range or worksheet has labels that you want to include in the consolidation.
- Specify the location where you want the consolidated data to be placed. You can either choose a specific cell reference or click on the Collapse Dialog button to select a cell directly on the worksheet.
- Click on the OK button to consolidate the data. Excel will merge the selected data ranges or worksheets into the destination worksheet based on your chosen consolidation function.
Once the consolidation is done, you can further customize the consolidated data by applying formatting, sorting, or creating formulas. The Consolidate tool provides a seamless way to bring together data from different sources and perform analysis or reporting tasks efficiently.
Remember that the Consolidate tool works best when the data ranges or worksheets have a consistent structure, with the same column headers or labels. In cases where the data is not organized uniformly, you may need to use other methods, such as formulas, functions, or PivotTables, to consolidate the data in Excel.
Consolidating data using formulas and functions
When it comes to consolidating data in Excel, formulas and functions can be powerful tools. They allow you to automate the consolidation process and make it more efficient. Here, we will explore some of the commonly used formulas and functions for consolidating data.
SUM function: This function is widely used to add up values from multiple cells or ranges. To consolidate data using this function, you simply write “=SUM(range1, range2, …)” in the cell where you want the consolidated value to appear. The function will calculate the sum of all the specified ranges.
AVERAGE function: If you want to consolidate data by calculating the average value, the AVERAGE function is your go-to option. Similar to the SUM function, you can specify multiple ranges or cells as arguments, and the function will calculate the average of those values.
MAX and MIN functions: If you need to find the highest or lowest value from a set of data, the MAX and MIN functions are your best bets. These functions allow you to consolidate data by finding the maximum or minimum value from multiple ranges or cells.
COUNT function: Sometimes, you may need to consolidate data by counting the number of occurrences. The COUNT function comes in handy here. By specifying the ranges or cells you want to count, the function will provide you with the total count.
IF function: The IF function is incredibly useful when you want to consolidate data based on certain conditions. You can set up logical tests within the function to specify which values should be included in the consolidation. This allows you to customize the consolidation based on specific criteria.
Aside from these commonly used functions, Excel offers a wide range of other formulas and functions that can be utilized for consolidating data. Depending on your specific requirements, you can explore functions like CONCATENATE, VLOOKUP, INDEX, MATCH, and many more.
By leveraging these formulas and functions, you can consolidate data in Excel with ease and flexibility. They provide you with the ability to perform complex calculations, apply conditional logic, and customize the consolidation process according to your needs.
Combining data from multiple worksheets
Combining data from multiple worksheets in Excel can be a powerful way to analyze and summarize information from different sources. Whether you have data spread across several sheets within the same workbook or in separate workbooks altogether, Excel provides several methods to consolidate and merge this data into one cohesive dataset. Here are a few approaches you can take to combine data from multiple worksheets in Excel:
1. Copy and paste: One of the simplest methods is to manually copy and paste the data from each worksheet into a new sheet. This method works well if you have a small number of worksheets or if the data is relatively small in size. However, it can become time-consuming and error-prone if you have a large number of worksheets or a substantial amount of data.
2. Use the Consolidate tool: Excel provides a built-in feature called “Consolidate” that allows you to combine data from multiple worksheets or workbooks. This tool can be accessed from the Data tab under the Data Tools group. By specifying the ranges or selecting the worksheets/workbooks you want to consolidate, Excel can automatically merge the data for you. This method is especially useful when dealing with larger datasets or when the data is regularly updated across multiple sources.
3. Utilize formulas and functions: Excel’s formulas and functions give you the flexibility to consolidate data from multiple worksheets using various mathematical operations. For example, you can use the SUM function to add up values from corresponding cells in different sheets, or the VLOOKUP function to retrieve specific data from different worksheets based on a common identifier. This method requires some knowledge of Excel functions but provides more control and customization options.
4. Merge data with Power Query: Power Query is a powerful Excel add-in that allows you to connect to multiple data sources, including different worksheets or workbooks. With Power Query, you can perform advanced data transformations, filter out unnecessary columns, and create relationships between multiple tables. This method is particularly beneficial if you need to regularly combine and analyze data from multiple sources, as Power Query provides a streamlined and automated approach.
Combining data from multiple worksheets in Excel can save you time and help you gain valuable insights from diverse data sources. Choose the method that best suits your needs and take advantage of Excel’s powerful features to streamline your data consolidation process.
Merging data from different workbooks
Merging data from different workbooks can be a useful way to combine information from multiple sources into a single workbook. Whether you have data stored in separate Excel files or you want to consolidate data from different departments or teams, merging workbooks can streamline your analysis and reporting processes.
To merge data from different workbooks in Excel, follow these steps:
- Open the destination workbook where you want to merge the data.
- Go to the “Data” tab in the Excel ribbon and click on “Get Data” or “From File” depending on your Excel version.
- Select the option to “Browse” or “Import” data from another workbook.
- Navigate to the location where the source workbook is stored and select it.
- Choose the specific worksheet or range of cells that you want to merge into the destination workbook.
- Click on “Load” or “Import” to merge the selected data into the destination workbook.
Once the data is merged, you can customize its formatting and perform any necessary data transformations or manipulations. Excel provides various tools and functions for organizing and analyzing merged data, allowing you to create meaningful reports and charts based on the consolidated information.
Merging data from different workbooks offers several benefits. It eliminates the need to manually copy and paste data between workbooks, saving you time and reducing the chances of errors. It also enables you to maintain separate source workbooks while still having access to all the data in a single consolidated workbook.
With Excel’s powerful capabilities for merging data, you can handle large volumes of information and effectively combine data from different sources. Whether you’re analyzing sales data, financial information, or any other type of data, merging workbooks can enhance your data analysis and reporting processes.
By merging data from different workbooks, you can gain valuable insights and make informed decisions based on a comprehensive view of your data. So, start exploring the possibilities of merging workbooks in Excel and unlock the full potential of your data analysis endeavors.
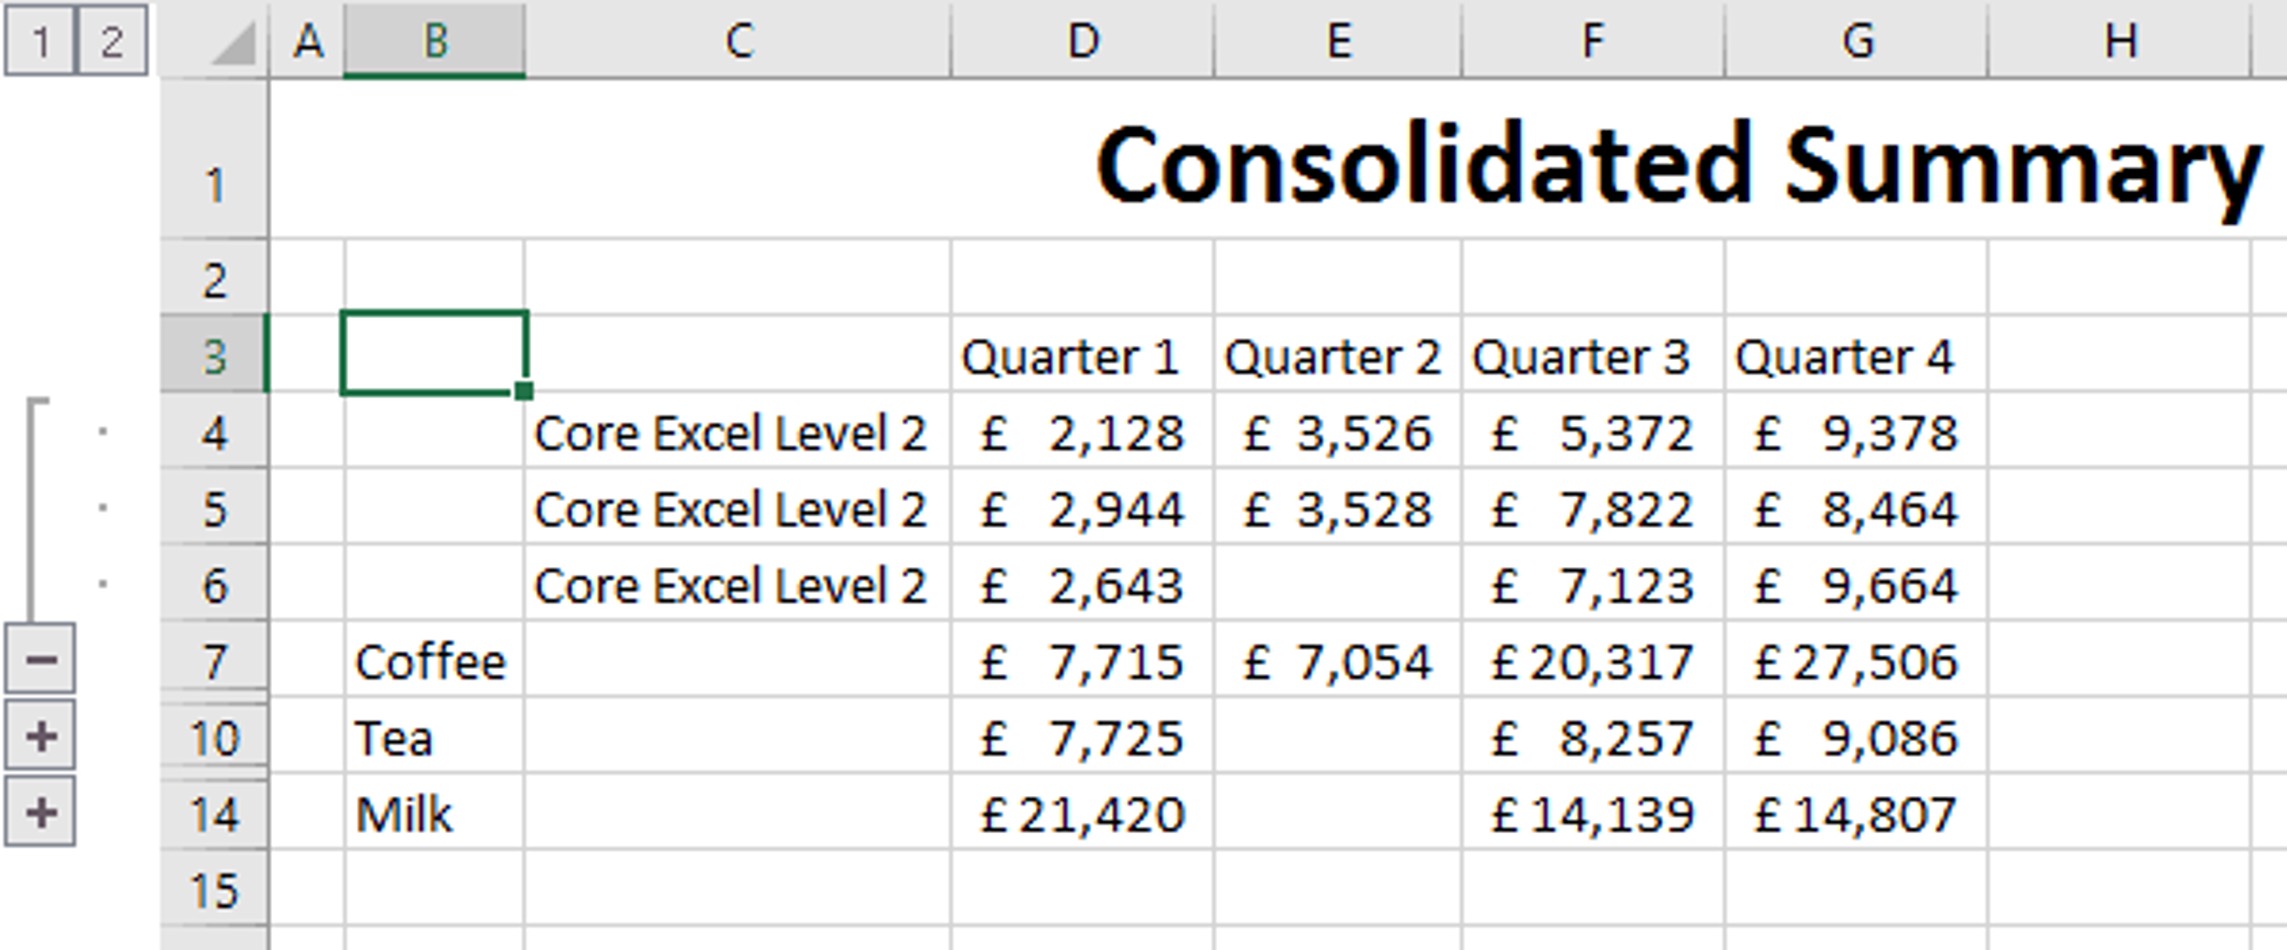
Consolidating data with PivotTables
PivotTables are a powerful tool in Excel that allows you to consolidate and summarize large amounts of data quickly and efficiently. With PivotTables, you can transform raw data into meaningful insights and highlight patterns and trends.
To consolidate data using PivotTables, follow these steps:
- Select the data range that you want to consolidate.
- Go to the “Insert” tab in the Excel ribbon and click on “PivotTable.” This will open the Create PivotTable dialog box.
- In the dialog box, ensure that “Select a table or range” is selected and that the correct data range is displayed.
- Choose where to place the PivotTable, either on a new worksheet or on an existing worksheet. Select the appropriate option and click “OK.”
- The PivotTable Field List will appear on your screen. This tool allows you to drag and drop the fields from your data into the desired areas of the PivotTable.
- Drag the fields that you want to consolidate into the appropriate areas: the column area, the row area, the values area, or the filter area.
- Customize your PivotTable by adding subtotals, grand totals, and other calculations as needed.
- Use the filter area to filter your data based on specific criteria, allowing you to focus on specific subsets of your consolidated data.
- Format your PivotTable to make it visually appealing and easy to read.
- Refresh your PivotTable whenever your data is updated to ensure that your consolidation remains up to date.
One of the benefits of using PivotTables for data consolidation is their flexibility. You can easily rearrange the fields in your PivotTable or add/remove fields to adapt to changing data requirements.
PivotTables also enable you to summarize data using various functions such as sum, count, average, max, and min. These functions can give you valuable insights by providing different perspectives on your consolidated data.
Furthermore, PivotTables allow you to group data by categories, dates, or numeric ranges, providing a more organized and structured view of your consolidated data.
By utilizing PivotTables for data consolidation, you can save time and effort while gaining valuable insights from your data. Whether you are working with sales figures, financial data, or any other type of data, PivotTables can streamline your analysis and help you make informed decisions.
Tips and best practices for data consolidation
When it comes to consolidating data in Excel, there are several tips and best practices that can help you streamline the process and ensure accurate results. Follow these guidelines to make the most out of your data consolidation efforts:
1. Plan and organize: Before you start consolidating data, take the time to plan and organize your worksheets or workbooks. Ensure that your data is structured consistently and that you have a clear understanding of how you want the consolidated data to appear. This will save you time and prevent errors later on.
2. Clean up your data: Clean and normalize your data to avoid discrepancies and inconsistencies. Remove any unnecessary spaces, duplicates, or unnecessary formatting. This will help improve the accuracy and reliability of the consolidated data.
3. Use named ranges: Consider using named ranges to make your formulas and references easier to understand and maintain. Named ranges provide a descriptive name for a specific cell range, making it easier to reference in your consolidation formulas.
4. Take advantage of data validation: Implement data validation rules to ensure that only valid data is entered into your worksheets. This can help prevent errors and inconsistencies during the consolidation process. Use data validation rules to restrict input to specific ranges, numerical values, or predefined criteria.
5. Utilize conditional formatting: Conditional formatting can be a powerful tool when consolidating data. Use it to highlight specific data points, identify trends, or spot any outliers or errors. Conditional formatting can help you visually analyze and identify patterns within your consolidated data.
6. Use data tables: Excel’s data tables feature can simplify data consolidation, especially when dealing with large datasets. By converting your data range into a table, you can easily sort, filter, and perform calculations on the consolidated data. Data tables also automatically expand as new data is added, making your consolidation process more efficient.
7. Test and validate: Always test your consolidation process before finalizing your results. Double-check that formulas are working correctly and ensure that the consolidated data matches your expectations. Validate the accuracy of your results by comparing them with the original data sources.
8. Document your process: Documenting your consolidation process can be invaluable, especially if you need to repeat the process in the future or share it with others. Take note of the steps you followed, any specific formulas used, and any challenges or insights you encountered. This documentation will serve as a reference and help streamline future data consolidation tasks.
9. Regularly refresh your data: If your source data is frequently updated, make sure to refresh your consolidated data regularly. This will ensure that your consolidated data remains up to date and accurate. Excel provides various options for automatically refreshing data, such as using data connections or macros.
10. Stay organized with multiple consolidation ranges: If you’re consolidating data from multiple sources or files, consider using multiple consolidation ranges. This allows you to consolidate data from different sections or sheets while maintaining a clear organization and structure. By using multiple consolidation ranges, you can easily manage and update your consolidated data.
By following these tips and best practices, you can consolidate your data in Excel more efficiently and effectively. Whether you’re dealing with large datasets, multiple worksheets, or different workbooks, these guidelines will help you streamline the consolidation process and achieve accurate results.
Conclusion
Consolidating data in Excel is a powerful and efficient way to organize and analyze information. Whether you’re working with large datasets, merging data from different sources, or summarizing information for reporting purposes, Excel provides a range of tools and functions to help you consolidate your data effectively.
By using functions like SUM, AVERAGE, and COUNT, along with tools such as PivotTables, Power Query, and Data Consolidation, you can easily manage and manipulate your data to gain valuable insights. Additionally, Excel’s flexibility allows you to customize your consolidation process according to your specific needs and goals.
Remember to plan your consolidation strategy beforehand, ensuring that you have a clear understanding of the data you’re working with and the desired outcome. This will help you determine the appropriate consolidation method and ensure accurate and reliable results.
With the knowledge and skills gained from this article, you’re now ready to take your data consolidation in Excel to the next level. Explore the various techniques, experiment with different features, and unlock the full potential of Excel to streamline your data management process and make informed decisions.
FAQs
1. Can I consolidate data from multiple sheets in Excel?
Yes, you can consolidate data from multiple sheets in Excel. You can use the Consolidate tool or formulas like SUM, AVERAGE, or COUNTIFS to bring together data from different sheets into a single sheet or summarize it across multiple sheets.
2. How do I consolidate data from different workbooks in Excel?
To consolidate data from different workbooks in Excel, you can use the Power Query feature. With Power Query, you can connect to multiple workbooks, choose the specific data you want to consolidate, and then combine it into a single workbook or worksheet.
3. Can I consolidate data based on specific criteria in Excel?
Yes, you can consolidate data based on specific criteria in Excel. By using formulas like SUMIF or SUMIFS, you can consolidate data that meets certain criteria. For example, you can consolidate sales data for a specific region or consolidate customer data for a particular product.
4. Is it possible to update consolidated data automatically in Excel?
Yes, it is possible to update consolidated data automatically in Excel. If you are using formulas to consolidate data, the results will update automatically when the source data changes. If you are using tools like Power Query or Power Pivot, you can set up refresh options to update the consolidated data periodically or upon opening the file.
5. How do I remove duplicate values when consolidating data in Excel?
To remove duplicate values when consolidating data in Excel, you can use the Remove Duplicates feature. After consolidating the data, select the range of cells, go to the Data tab, click on Remove Duplicates, and choose the columns you want to check for duplicates. Excel will then remove any duplicate values, leaving you with unique data.