
In this fast-paced digital age, our reliance on wireless networks has become paramount. Whether it’s for work, entertainment, or staying connected with loved ones, a reliable and secure wireless network is essential. The wireless network name, also known as the SSID (Service Set Identifier), is what identifies your network to devices. Sometimes, you may find the need to change the wireless network name, perhaps to personalize it or enhance security. But how exactly do you go about changing your wireless network name? In this article, we will guide you through the necessary steps to change your wireless network name, providing you with a seamless and hassle-free experience. So, let’s dive in and find out how to give your wireless network a new identity!
Inside This Article
- Step 1: Accessing the Wireless Router Settings
- Step 2: Locating the Network Name (SSID) Settings
- Step 3: Changing the Wireless Network Name
- Step 4: Saving the Changes and Restarting the Router
- Conclusion
- FAQs
Step 1: Accessing the Wireless Router Settings
Accessing your wireless router settings is the first step to changing the network name. To get started, ensure that your computer or mobile device is connected to the wireless network. Once connected, open a web browser and enter the router’s IP address in the address bar. The IP address is typically found on the back or bottom of the router, or in the user manual.
After entering the IP address, press Enter on your keyboard to access the router’s login page. You will be prompted to enter a username and password. If you’ve never changed these login credentials before, consult the router’s user manual or manufacturer’s website for the default username and password.
Once you’ve successfully logged in, you will be directed to the router’s settings page. The layout and options may vary depending on your router model and manufacturer. Look for a tab or section labeled “Wireless” or “Network Settings.” This is where you’ll find the options to change the network name.
If you’re unable to locate the settings, try looking under different tabs or sections. Sometimes, router settings are organized differently based on the manufacturer’s preferences. Additionally, if you’re using a router provided by your Internet Service Provider (ISP), they may have a customized interface, so consult their documentation or support if necessary.
Once you’ve found the appropriate settings page, you’re ready to proceed to the next step.
Step 2: Locating the Network Name (SSID) Settings
Once you have accessed the wireless router settings, the next step is to locate the Network Name (SSID) settings. The SSID is the name of your wireless network that appears when you search for available networks on your devices.
The location of the SSID settings may vary depending on the make and model of your wireless router. However, most routers have a section dedicated to wireless settings where you can find the SSID options.
To begin, look for a tab or menu option on the router’s interface that is labeled “Wireless” or “Wi-Fi.” Click on this tab or option to access the wireless settings.
Once you are in the wireless settings section, you should see a field or option titled “SSID” or “Network Name.” This is where you can view and modify the SSID of your wireless network.
If you are having trouble locating the SSID settings, refer to the user manual or the manufacturer’s website for specific instructions. They should provide detailed information on how to navigate the router’s settings interface and find the SSID options.
Remember, the SSID is the name that you and others will see when searching for available wireless networks. It is important to choose a distinctive and memorable name to differentiate your network from others in your area.
Once you have successfully located the SSID settings, you are ready to proceed to the next step and change the wireless network name to your desired option.
Step 3: Changing the Wireless Network Name
Now that you have accessed the wireless router settings, you are ready to change the wireless network name (also known as the SSID). Changing the network name is a simple process and can be done within a few easy steps.
Follow these instructions to change the wireless network name:
1. Look for an option called “Network Name (SSID)” or something similar in the router settings page. This is where you can change the name of your wireless network.
2. Click on the field that displays the current network name and delete the existing name. You can choose any name you like for your network, but keep in mind that it should be unique and easily recognizable.
3. Once you have entered the new name, save the changes. The exact method to save the changes may vary depending on your router model. Look for a “Save” or “Apply” button, and click on it to ensure that the new network name is saved.
4. After saving the changes, it is recommended to restart the router for the new network name to take effect. This can be done by unplugging the power cable from the router, waiting for a few seconds, and then plugging it back in. Alternatively, you can find a “Restart” option in the router settings page and use it to restart the router.
5. Once the router has restarted, the new network name will be broadcasted, and you can connect to it using the updated name.
Remember to update the network name on all your devices that were previously connected to the old network. This will ensure that they can connect to the updated network without any issues.
Changing the wireless network name not only allows you to personalize your network but also enhances security by making it more difficult for unauthorized users to identify and connect to your network. It is a good practice to change the network name periodically to keep your network secure.
Step 4: Saving the Changes and Restarting the Router
After you have made the necessary changes to the wireless network name (SSID), it’s important to save the changes and restart the router for the new name to take effect. This step ensures seamless connectivity for all your devices that are connected to the network.
To save the changes, look for the “Save” or “Apply” button on the router settings page. The location of this button may vary depending on the router model and firmware version. Click on this button to apply the new network name and any other settings you have modified.
After saving the changes, it’s time to restart the router. This can usually be done by navigating to the “Administration” or “System” section of the router settings. Look for an option like “Reboot” or “Restart” and select it to initiate the restart process.
During the restart, the router will disconnect from the internet temporarily and then reconnect with the new network name. It’s normal for all devices connected to the router to also lose internet connectivity during this process. This interruption usually lasts for a few seconds or a couple of minutes, depending on the router.
Once the router has restarted, you can check if the new network name has been successfully applied. Look for the Wi-Fi network name (SSID) on your devices, and it should now reflect the changes you made.
Restarting the router is crucial as it ensures that all devices connect to the network using the updated name. Without a restart, some devices may continue to display the old network name, causing confusion or potential connectivity issues.
It’s worth noting that when you restart the router, all devices connected to it will be temporarily disconnected from the internet. Therefore, it’s advisable to choose a convenient time to perform this step, especially if there are ongoing activities that rely on internet connectivity.
By following these simple steps and saving the changes while restarting the router, you can successfully modify the wireless network name (SSID) and enjoy a personalized and easily identifiable network for your devices.
Conclusion
In conclusion, changing the wireless network name, also known as the SSID, is a relatively simple process that can be done to enhance network security, improve visibility, or customize the network to your preference. By accessing the router’s administration page and navigating to the wireless settings, you can modify the SSID with just a few clicks.
Remember, when changing your network name, it’s important to choose a unique and easily identifiable name that reflects your personal preference. Avoid using any sensitive information or personal details in the SSID, as this can potentially compromise your security. Additionally, be sure to update the new network name on all your devices to ensure seamless connectivity.
By following the steps outlined in this guide, you can confidently change your wireless network name and optimize your network settings with ease. Embrace the power of customization and security by personalizing your wireless network name to create a unique and secure online experience.
FAQs
1. Why would I want to change my wireless network name?
Changing your wireless network name, also known as the SSID (Service Set Identifier), can offer a range of benefits. It allows you to personalize your network name, making it easier for you to identify and connect to your own network among other available networks in your area. Additionally, changing your network name can improve security by making it more difficult for unauthorized users to guess the default network name specific to your router.
2. How can I change my wireless network name?
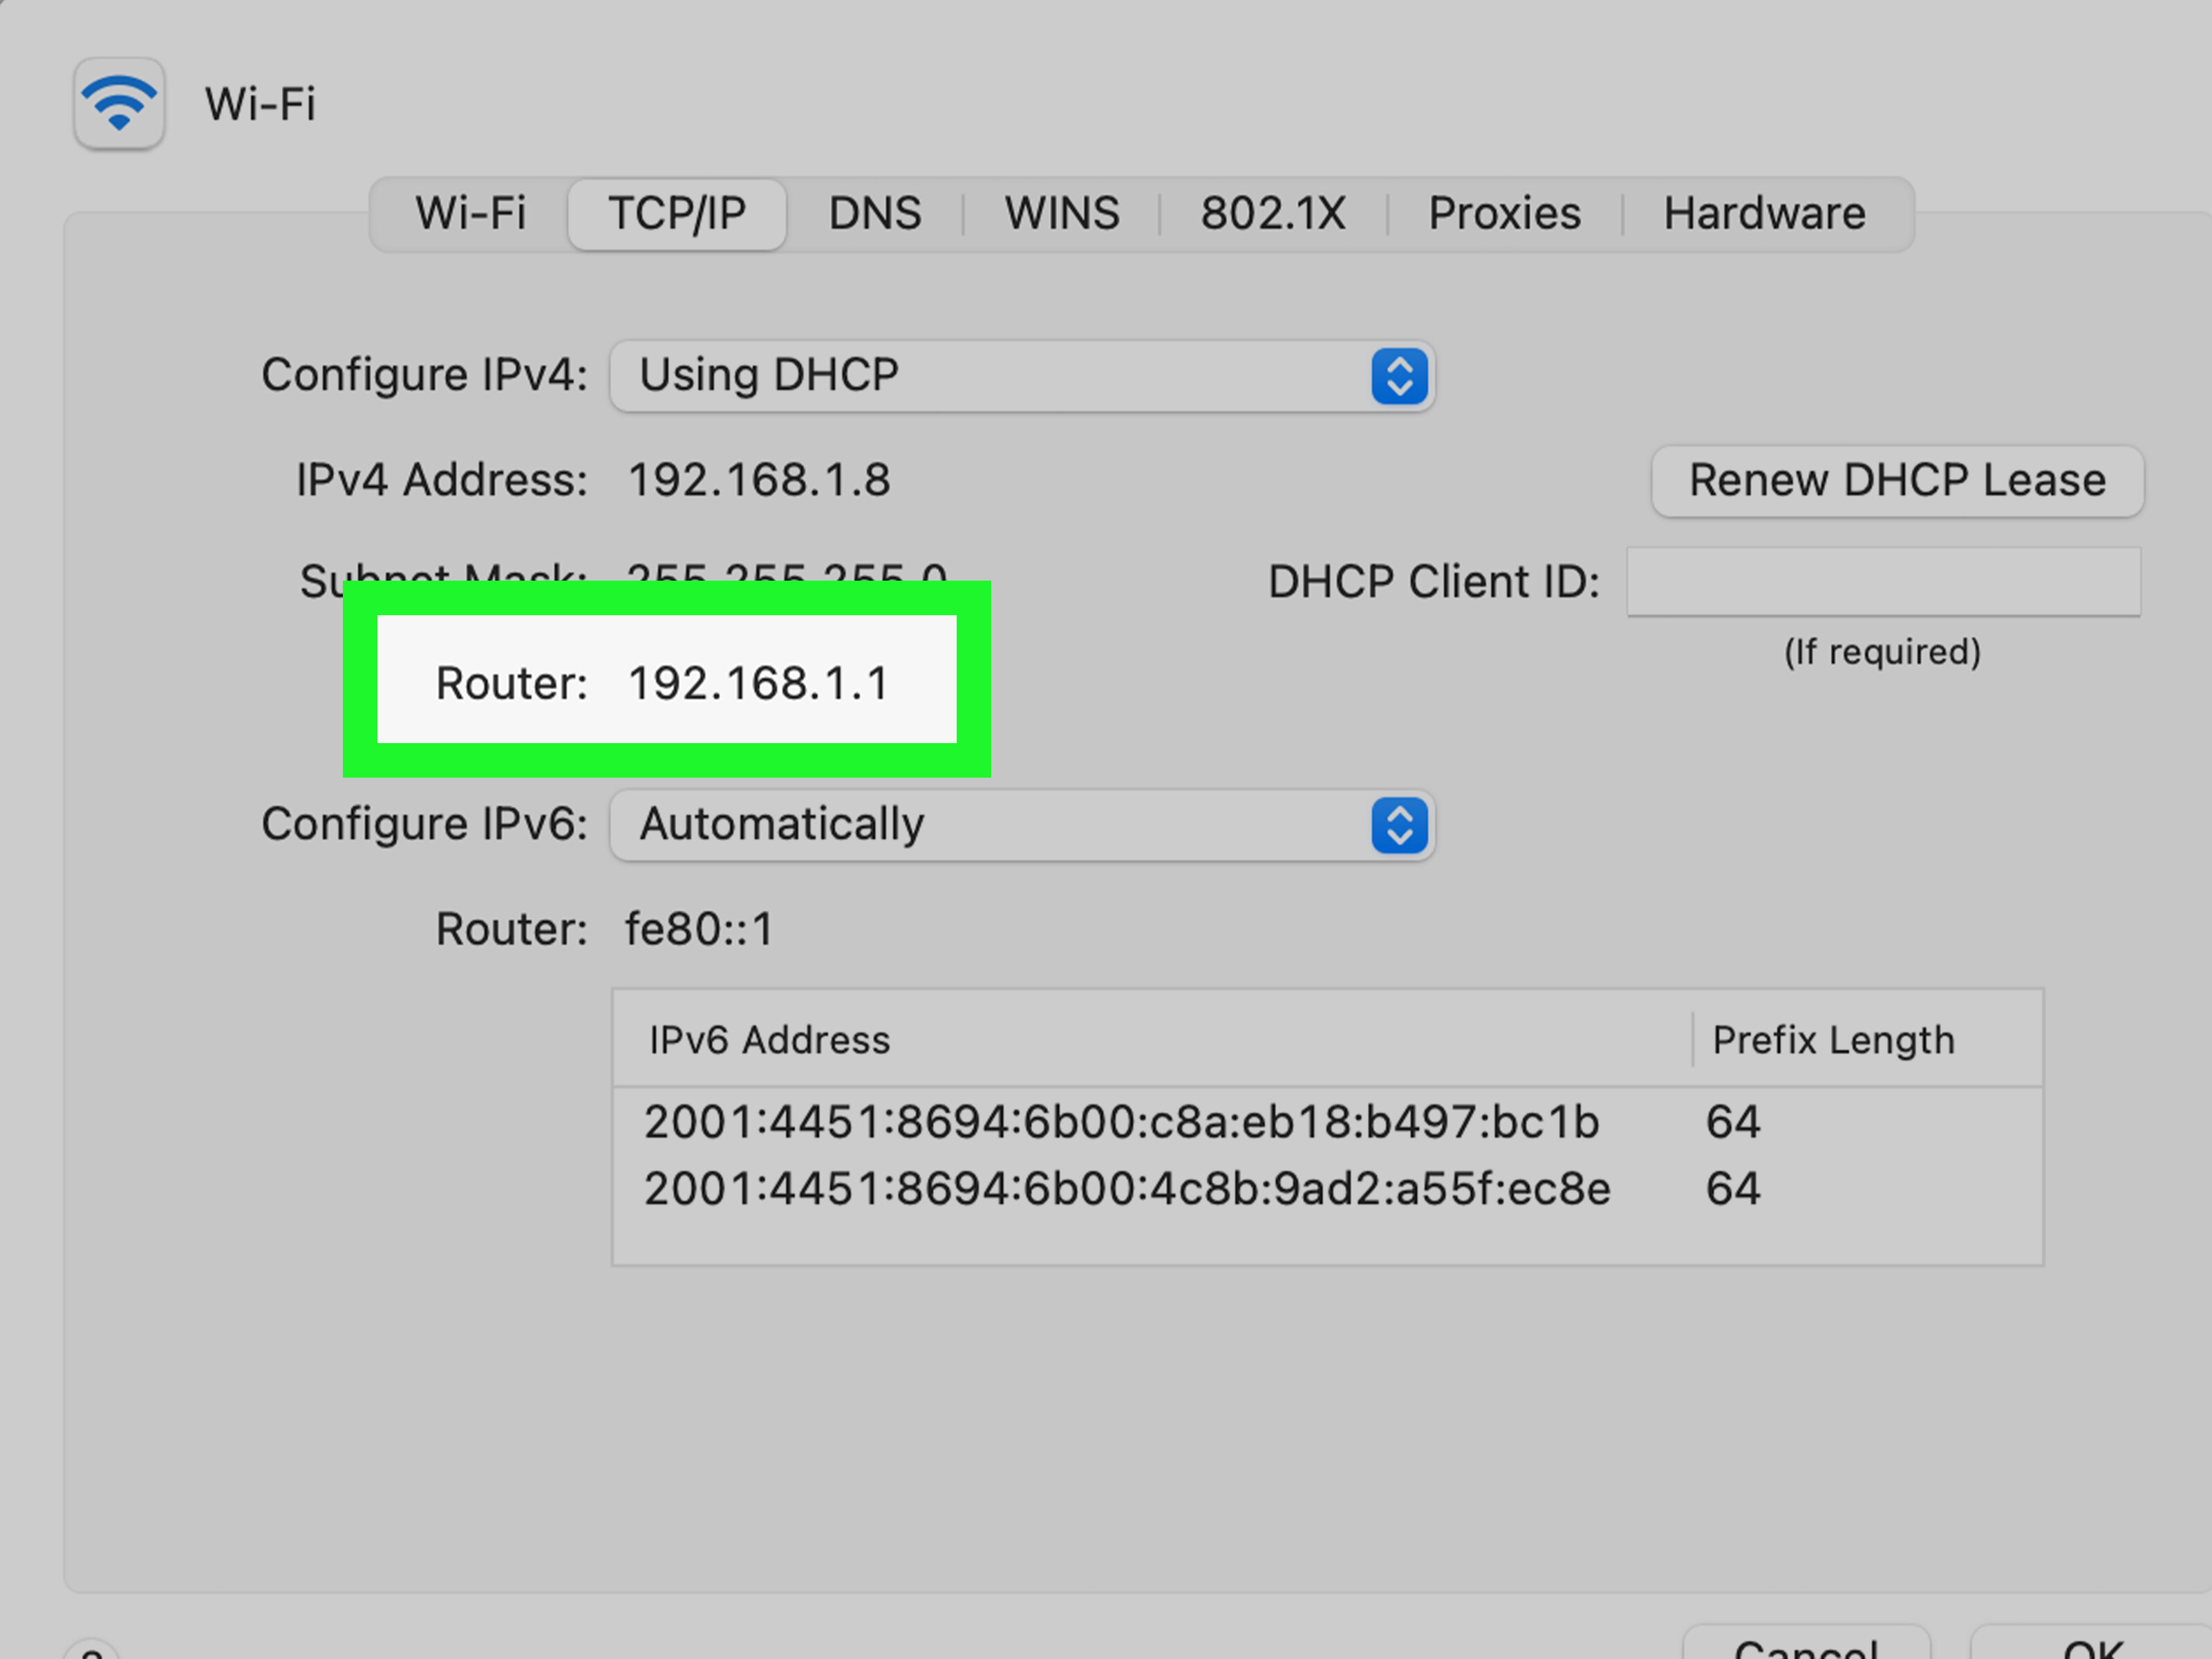
The process of changing your wireless network name can vary slightly depending on the make and model of your router. Generally, you can change your network name by accessing your router’s web-based configuration page. This page can usually be accessed through a web browser by typing in the router’s default IP address (such as 192.168.1.1) in the address bar. Once logged into the configuration page, locate the wireless settings section and look for an option to change the SSID or network name. Enter your desired network name, save the changes, and restart your router if prompted.
3. Are there any restrictions or guidelines for choosing a new network name?
While there are no strict rules for choosing a network name, it is advisable to follow a few guidelines. Avoid using personal information or any sensitive details in your network name, as it could potentially compromise your security. Additionally, it’s recommended to choose a unique and memorable name that doesn’t disclose any personal information or indicate the brand of your router. Keep in mind that some routers may have character limits or restrictions on the type of characters that can be used in the network name.
4. Will changing my network name affect my devices’ connectivity?
No, changing your network name should not affect the connectivity of your devices. However, after changing the network name, you will need to reconnect your devices to the newly named network. This can be done by selecting the new network name from the available Wi-Fi networks list on your devices, entering the password if necessary, and connecting as usual.
5. What do I do if I forget my new network name?
If you forget your new network name, you can usually retrieve it by accessing your router’s web-based configuration page. Refer to your router’s manual or the manufacturer’s website for specific instructions on how to access the configuration page. Once logged in, navigate to the wireless settings section, and you should be able to view the current network name (SSID). If you are unable to access your router’s configuration page, you may need to perform a factory reset of your router to revert to the default network name.