
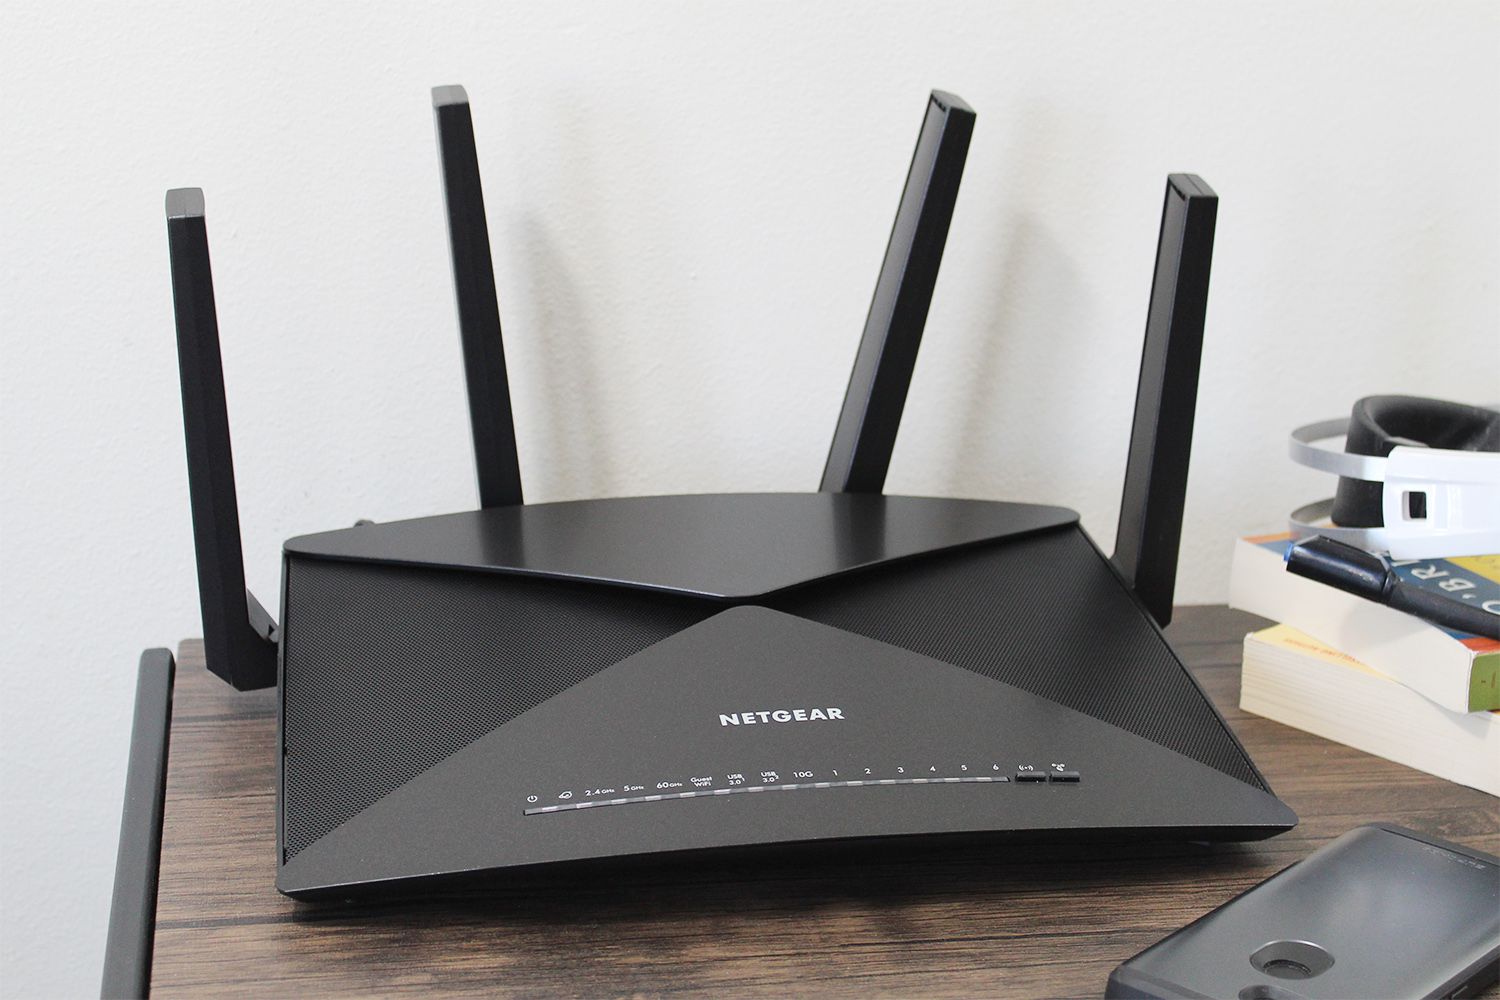
Are you struggling to set up your Netgear wireless router? Don’t worry, we’ve got you covered! In today’s connected world, having a reliable and secure wireless network is essential. Netgear is a trusted name in the industry, known for their high-performance routers that offer seamless connectivity. Whether you’re a tech-savvy individual or just starting out, setting up a Netgear wireless router can seem daunting at first. But fear not, because in this article, we will guide you step-by-step through the process, ensuring that you are up and running in no time. So grab your router, a cup of coffee, and let’s dive into the world of wireless networking!
Inside This Article
- Initial Setup
- Connecting the Router
- Accessing the Router’s Web Interface
- Configuring Wireless Settings
- Conclusion
- FAQs
Initial Setup
Setting up your Netgear wireless router is the first step towards enjoying a seamless and secure internet connection. By following a few simple steps, you can have your router up and running in no time. Here’s a step-by-step guide to help you with the initial setup process:
1. Unbox and inspect: Start by unboxing your Netgear router and inspecting the contents. Ensure that you have all the necessary components, including the router, power adapter, Ethernet cable, and any other accessories provided.
2. Choose a suitable location: Select a central location for your router that is away from obstructions such as walls or large objects. This will help provide optimal Wi-Fi coverage throughout your home or office.
3. Connect the power: Plug in the power adapter provided with the router into a power outlet. Ensure a stable power supply to prevent any interruptions during the setup process.
4. Connect to your modem: Take the Ethernet cable and connect one end to the modem and the other end to the Internet or WAN port on the back of the router. This will establish a connection between your modem and router.
5. Power on the router: Turn on your Netgear router by pressing the power button. Wait for it to fully boot up, which can take a couple of minutes.
6. Connect your device: Use your computer or mobile device to connect to the wireless network emitted by the router. Look for the network name (SSID) and password (usually provided on a label under the router) and connect to it.
7. Open a web browser: Once connected to the router’s network, open a web browser on your device. Type in the default IP address or domain name provided by Netgear in the address bar (e.g., 192.168.1.1 or routerlogin.com).
8. Login to the interface: You will be directed to the router’s login page. Enter the default login credentials (usually admin for username and password for the password) to access the router’s web interface.
9. Complete the setup wizard: Follow the on-screen instructions to complete the setup wizard. This will involve selecting a network name and password for your Wi-Fi network, configuring advanced settings, and setting up security features.
10. Save your settings: Once you have completed the setup process, click on the “Save” or “Apply” button to save your changes and ensure they take effect. Your Netgear wireless router is now successfully set up and ready for use!
By following these steps, you will have your Netgear wireless router up and running, providing you with a reliable and secure internet connection. Remember to keep your router’s firmware updated and change the default settings to enhance security.
Connecting the Router
Once you have unboxed your Netgear wireless router, it’s time to connect it to your existing internet service. Follow these steps to ensure a successful setup:
1. Power off your modem: Before connecting the router, make sure your modem is turned off. This will prevent any potential conflicts during the setup process.
2. Connect the router to the modem: Use an Ethernet cable to connect the router’s WAN or Internet port to the modem’s Ethernet port. Ensure that the connections are secure.
3. Power on the modem: Plug in the power cable to your modem and turn it on. Wait for a few minutes to allow the modem to establish a stable connection.
4. Power on the router: Connect the power adapter to your Netgear wireless router and plug it into a power outlet. Turn on the router by pressing the power button, if applicable. Wait for the router to boot up and establish a connection with the modem.
5. Verify the connection: Check the LED lights on the router to ensure that the connection with the modem is established. The status lights may vary depending on the router model, but typically, you should see solid lights for power, internet, and LAN ports.
6. Connect your devices: Now that the router is connected and the internet is up and running, you can connect your devices to the wireless network. Look for the wireless network name (SSID) and the network password on the router or in the documentation.
7. Test the internet connection: Connect a device to the wireless network and open a web browser to verify if you can access the internet. If everything is working correctly, you should be able to browse websites without any issues.
That’s it! You have successfully connected your Netgear wireless router to your modem, and your devices are now ready to enjoy a stable and secure internet connection. If you encounter any issues during the setup process, refer to the router’s manual or Netgear’s support website for troubleshooting assistance.
Accessing the Router’s Web Interface
Accessing the web interface of your Netgear wireless router is essential for configuring various settings and managing your network. Here’s how you can do it:
1. First, make sure your computer or device is connected to the router either via an Ethernet cable or through a Wi-Fi connection.
2. Open a web browser on your computer and enter the default IP address for your Netgear router in the address bar. The default IP address is typically “192.168.1.1” or “192.168.0.1”.
3. Press the Enter key on your keyboard to access the router’s web interface.
4. You will be prompted to enter a username and password to log in. By default, the username is usually “admin” and the password is either “password” or left blank. Check the router’s documentation or the manufacturer’s website for the correct login credentials.
5. Once logged in, you will have access to the Netgear router’s web interface, which allows you to configure various settings such as wireless network name (SSID), security settings, port forwarding, and more.
6. Navigate through the different sections and menus to make the desired changes to your network settings. Be cautious when modifying settings, as improper changes can impact the performance of your network.
7. After making the necessary changes, remember to save your settings before exiting the web interface.
That’s it! You have successfully accessed the web interface of your Netgear wireless router. Now you can modify various settings to customize your network according to your preferences.
Configuring Wireless Settings
Configuring the wireless settings of your Netgear wireless router is an essential step to ensure a secure and efficient wireless network. By following these steps, you can customize your wireless network to suit your preferences and optimize its performance.
1. Access the Router’s Web Interface: Before you can configure the wireless settings, you need to access the router’s web interface. Open a web browser on a device connected to the router and enter the default IP address (usually 192.168.1.1 or 192.168.0.1) in the address bar. Provide the login credentials when prompted.
2. Navigate to the Wireless Settings: Once logged in, navigate to the wireless settings section. This can typically be found under the “Setup” or “Wireless” tab, but the exact location may vary depending on the router model.
3. Set the Wireless Network Name (SSID): The SSID is the name of your wireless network that will be visible to other devices. Choose a unique and memorable name that does not reveal any sensitive information. You can also choose to hide the SSID if you want to make your network less visible.
4. Choose the Wireless Security Type: Select the appropriate wireless security type to protect your network from unauthorized access. The recommended security types are WPA2-PSK (AES), which provides strong encryption, or WPA3 if supported by your router and devices. Avoid using WEP or WPA/WPA2 mixed mode as they offer less secure encryption.
5. Set the Wireless Security Key: Set a strong and unique password for your wireless network. This security key, also known as the passphrase or pre-shared key (PSK), will be required to connect to the network. Make sure to use a combination of uppercase and lowercase letters, numbers, and special characters for better security.
6. Enable Guest Network (Optional): If your router supports it, you can enable a guest network to provide temporary access to visitors without granting them access to your primary network. This helps to keep your main network secure while still allowing guests to connect.
7. Adjust Advanced Wireless Settings: Explore the advanced wireless settings section to customize additional options such as channel selection, wireless mode, and transmission power. These settings may have an impact on the range and performance of your wireless network, so adjust them according to your specific requirements.
8. Save and Apply Settings: Once you have configured the wireless settings according to your preferences, click on the “Save” or “Apply” button to save the changes. The router will then apply the new settings, which may take a few moments to complete.
By following these steps, you can successfully configure the wireless settings of your Netgear wireless router and create a secure and reliable wireless network that meets your needs. Remember to periodically review and update your wireless settings to ensure continued security and optimal performance.
Conclusion
Setting up a Netgear wireless router can seem like a daunting task, but with the right information and guidance, it becomes a breeze. By following the step-by-step instructions provided in this article, you can establish a reliable and secure wireless network in your home or office.
Remember to carefully choose the location for your router, ensuring optimal signal strength and coverage. Keep your network secure by setting a strong, unique password and regularly updating the firmware of your router. Additionally, take advantage of the advanced features offered by Netgear routers, such as parental controls and guest networks, to enhance the functionality and security of your wireless network.
Now that you have successfully set up your Netgear wireless router, you can enjoy seamless internet connectivity and experience faster speeds. Don’t hesitate to explore further troubleshooting options or reach out to Netgear’s customer support if you encounter any issues along the way.
Happy browsing!
FAQs
1. What is a wireless router?
A wireless router is a device that allows multiple devices to connect to the internet wirelessly by creating a local network. It serves as a gateway between the devices and the internet service provider.
2. Why should I choose a Netgear wireless router?
Netgear is a reputable brand known for its high-quality and reliable networking devices. Netgear wireless routers offer fast and stable connections, advanced security features, easy setup process, and excellent customer support.
3. How do I set up my Netgear wireless router?
Setting up a Netgear wireless router is easy and straightforward. First, connect the router to your modem using an Ethernet cable. Then, power on both the modem and the router. Access the router’s configuration page by typing the default IP address (usually 192.168.1.1 or 192.168.0.1) in your browser’s address bar. Follow the on-screen instructions to complete the setup process.
4. Can I set up my Netgear wireless router without a computer?
Yes, you can set up your Netgear wireless router without a computer. Most Netgear routers have a mobile app that allows you to set up and manage the router using your smartphone or tablet. Simply download the app, follow the instructions, and you’ll have your router up and running in no time.
5. How can I secure my Netgear wireless router?
To secure your Netgear wireless router, make sure to change the default administrator username and password. Enable encryption (WPA2 is recommended) to prevent unauthorized access to your network. Also, regularly update the router’s firmware to ensure you have the latest security patches.