
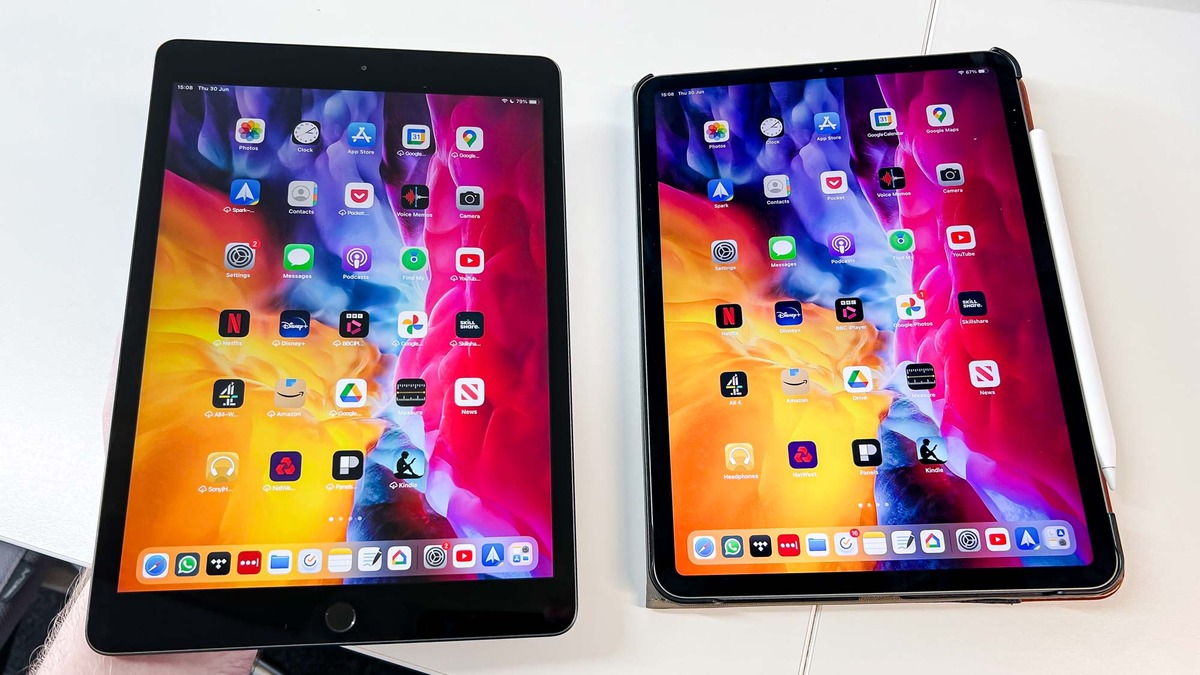
So, you’ve finally upgraded to a new iPad, and now comes the exciting process of transferring all your data from your old device to the shiny new one. Whether you’re moving from an older iPad model to the latest one or upgrading to a different variant, ensuring a seamless data transfer is crucial to maintaining your productivity and preserving your valuable information.
But, fear not! In this article, we will guide you through the step-by-step process of transferring your data from your old iPad to your new one. From photos and videos to contacts and apps, we’ve got you covered. So, grab your new device, follow along, and get ready to enjoy all your familiar content on your exciting new iPad!
Inside This Article
- Method 1: Using iCloud
- Method 2: Using iTunes
- Method 3: Using Quick Start
- Method 4: Using Third-Party Apps
- Conclusion
- FAQs
Method 1: Using iCloud
When it comes to transferring data from your old iPad to a new iPad, iCloud offers a convenient and hassle-free option. iCloud enables you to automatically back up your device and sync your data, making it easily accessible across multiple devices. Follow these steps to transfer your data using iCloud:
Step 1: Ensure that both your old and new iPads are connected to a stable Wi-Fi network.
Step 2: On your old iPad, go to “Settings” and tap on your Apple ID at the top of the screen.
Step 3: From there, select “iCloud” and ensure that the toggle for each type of data you want to transfer is turned on.
Step 4: Tap on “iCloud Backup” and choose “Back Up Now” to initiate a manual backup of your data.
Step 5: Once the backup is complete, turn on your new iPad and follow the initial setup process until you reach the “Apps & Data” screen.
Step 6: Select “Restore from iCloud Backup” and sign in with your Apple ID.
Step 7: Choose the most recent backup from the list displayed and wait for the restore process to finish.
Step 8: Once the restore is complete, your new iPad will restart and all the selected data from your old iPad will be transferred over.
Using iCloud is a simple and efficient way to transfer your data from your old iPad to your new one. Just make sure you have enough free storage space on your iCloud account to accommodate all the data you want to transfer.
Method 2: Using iTunes
If you prefer a more traditional method to transfer data from your old iPad to your new iPad, using iTunes is a reliable option. iTunes allows you to create a backup of your old iPad and restore it onto your new device. Follow the steps below to transfer your data using iTunes:
Step 1: Connect your old iPad to your computer and open iTunes.
Step 2: Select your iPad from the list of devices in iTunes.
Step 3: Click on the “Backup Now” button to create a backup of your old iPad on your computer. It’s important to ensure that the backup is completed successfully before proceeding.
Step 4: After the backup is complete, disconnect your old iPad from your computer and connect your new iPad.
Step 5: In iTunes, select your new iPad from the device list.
Step 6: Click on the “Restore Backup” button and select the backup file of your old iPad that you created in Step 3.
Step 7: iTunes will begin restoring your old iPad’s data onto your new iPad. Make sure to keep your new iPad connected to your computer until the process is complete.
Step 8: Once the restoration is finished, disconnect your new iPad from your computer and enjoy your transferred data on your new device.
Using iTunes to transfer data from your old iPad to your new iPad allows you to have a complete replica of your old device on your new one. This includes not only your apps and settings but also your personal data such as contacts, messages, and photos.
However, it’s worth noting that using iTunes to transfer data may take some time, especially if you have a large amount of data to transfer. Additionally, you will need a computer with the latest version of iTunes installed.
Overall, using iTunes provides a seamless and reliable method of transferring data from your old iPad to your new one. It ensures that all your content and settings are preserved, allowing you to pick up right where you left off with your new device.
Method 3: Using Quick Start
If you have recently purchased a new iPad and want to transfer data from your old iPad to the new one, the Quick Start feature can save you a lot of time and effort. Quick Start is a built-in feature in iOS that allows you to easily transfer data, apps, and settings from one iPad to another. It works wirelessly using a direct Wi-Fi connection between the two devices. Here’s how you can use Quick Start to transfer data from your old iPad to your new one:
1. Make sure that both your old and new iPads are running the latest version of iOS and are connected to the same Wi-Fi network.
2. Turn on your new iPad and place it next to your old iPad. A “Set Up New iPad” prompt will appear on your old iPad.
3. On your old iPad, tap the “Continue” button and point the camera at the pattern displayed on your new iPad. This will establish a secure connection between the two devices.
4. Follow the on-screen instructions to enter the passcode of your old iPad on the new iPad or use Touch ID/Face ID to authenticate the transfer.
5. Once authenticated, choose the desired options for transferring data, such as Apps & Data, Settings, and Apple ID.
6. Wait for the transfer process to complete. Depending on the amount of data being transferred, this may take a few minutes.
7. Once the transfer is complete, you can start using your new iPad with all the data, apps, and settings from your old iPad.
Using Quick Start is a convenient and efficient way to transfer data between iPads. It ensures a seamless transition and eliminates the need for manual data transfer, saving you time and hassle. Whether you’re upgrading to a new iPad or simply replacing an old one, Quick Start is a valuable feature that simplifies the process.
Method 4: Using Third-Party Apps
If you prefer a more streamlined and user-friendly approach to transferring data from your old iPad to a new one, you can consider using third-party apps. These apps offer intuitive interfaces and advanced features that simplify the process.
One popular app for transferring data between iOS devices is AnyTrans. This powerful tool allows you to transfer photos, videos, music, contacts, messages, and more with just a few clicks. It supports both wireless and wired transfers, making it convenient for different situations.
To get started with AnyTrans, follow these simple steps:
- Download and install AnyTrans on both your old and new iPads.
- Launch the app on both devices and ensure they are connected to the same Wi-Fi network.
- On your old iPad, tap the “Send” button, and on your new iPad, tap the “Receive” button.
- Select the types of data you want to transfer, such as photos, videos, or contacts.
- Tap “Next” and wait for the transfer process to complete.
Another popular option is iMazing, a comprehensive iOS management tool that offers data transfer capabilities. With iMazing, you can easily transfer your apps, app data, media files, and more between devices.
To transfer data using iMazing, follow these steps:
- Download and install iMazing on your computer.
- Connect both your old and new iPads to the computer using USB cables.
- Launch iMazing and select your old iPad from the list of devices.
- Choose the data you want to transfer, such as apps, photos, or messages.
- Click the “Copy to Device” button and select your new iPad as the destination.
- Wait for the transfer to complete, and then disconnect your devices.
These are just a few examples of the many third-party apps available for transferring data from your old iPad to a new one. Each app may have its own unique features and capabilities, so it’s worth exploring different options to find the one that best suits your needs.
Remember to always read reviews and do some research before choosing an app, as compatibility and user experience can vary. With the right third-party app, you can enjoy a seamless and efficient data transfer process between your iPads.
Conclusion
Transferring data from your old iPad to your new iPad doesn’t have to be a daunting task. By following the simple steps outlined above, you can seamlessly transfer all your important files, apps, and settings to your new device.
Whether you choose to use iCloud backup, iTunes, or the Quick Start feature, the process is designed to be user-friendly and efficient. It’s important to remember to back up your data before transferring it to ensure that nothing is lost in the process.
With your new iPad, you can pick up right where you left off and enjoy all of the features and functionality that Apple has to offer. So don’t hesitate to make the switch and upgrade to a new device, knowing that your valuable data is safely transferred.
Now that you know how to transfer data from your old iPad to your new iPad, go ahead and make the transition with confidence and ease. Enjoy your new device!
FAQs
1. How do I transfer data from my old iPad to a new iPad?
Transferring data from an old iPad to a new iPad is a straightforward process. You have a couple of options: You can use iCloud to back up your old iPad and restore the backup on the new iPad, or you can use iTunes to transfer the data directly. To use iCloud, make sure both iPads are connected to Wi-Fi and signed in with the same Apple ID. On your old iPad, go to Settings > [Your Name] > iCloud > iCloud Backup, and tap “Back Up Now.” On your new iPad, follow the setup instructions and choose “Restore from iCloud Backup” when prompted. If you prefer to use iTunes, connect your old iPad to your computer, open iTunes, select your device, and click “Back Up Now.” After the backup is complete, connect your new iPad to the computer, select it in iTunes, and choose “Restore Backup.”
2. What data can I transfer from my old iPad to a new iPad?
When you transfer data from your old iPad to a new iPad, you can transfer a wide range of content, including apps, app data, contacts, calendars, settings, photos, videos, music, books, and more. The specific data that can be transferred will depend on the backup method you choose – iCloud or iTunes. Both methods allow for a comprehensive transfer of data, ensuring that you have all your important information on your new iPad.
3. Can I transfer data from an Android tablet to a new iPad?
Unfortunately, transferring data directly from an Android tablet to an iPad is not supported. iOS and Android have different operating systems, and as a result, the data transfer process is not compatible. However, you can manually transfer certain data, such as photos and videos, by connecting your Android tablet to a computer and copying the files to your computer. Then, you can transfer them to your new iPad using iCloud Drive, email, or third-party apps.
4. Will my apps be automatically installed on the new iPad?
When you transfer data from your old iPad to a new iPad, your apps will not be automatically installed. However, if you have enabled automatic app downloads in your iCloud settings, any apps you have previously downloaded will be available to download on your new iPad without having to repurchase them. To enable automatic app downloads, go to Settings > [Your Name] > iTunes & App Store, and toggle on the “Apps” option under Automatic Downloads.
5. How long does it take to transfer data from an old iPad to a new iPad?
The time it takes to transfer data from an old iPad to a new iPad will vary depending on the amount of data being transferred and the speed of your internet connection or computer. If you are using iCloud, the transfer process may take a while, especially if you have a large amount of data to download. If you are using iTunes, the transfer will generally be faster, as the data is transferred directly from your computer to your new iPad. It is recommended to keep your devices connected and avoid interrupting the transfer process until it is complete.