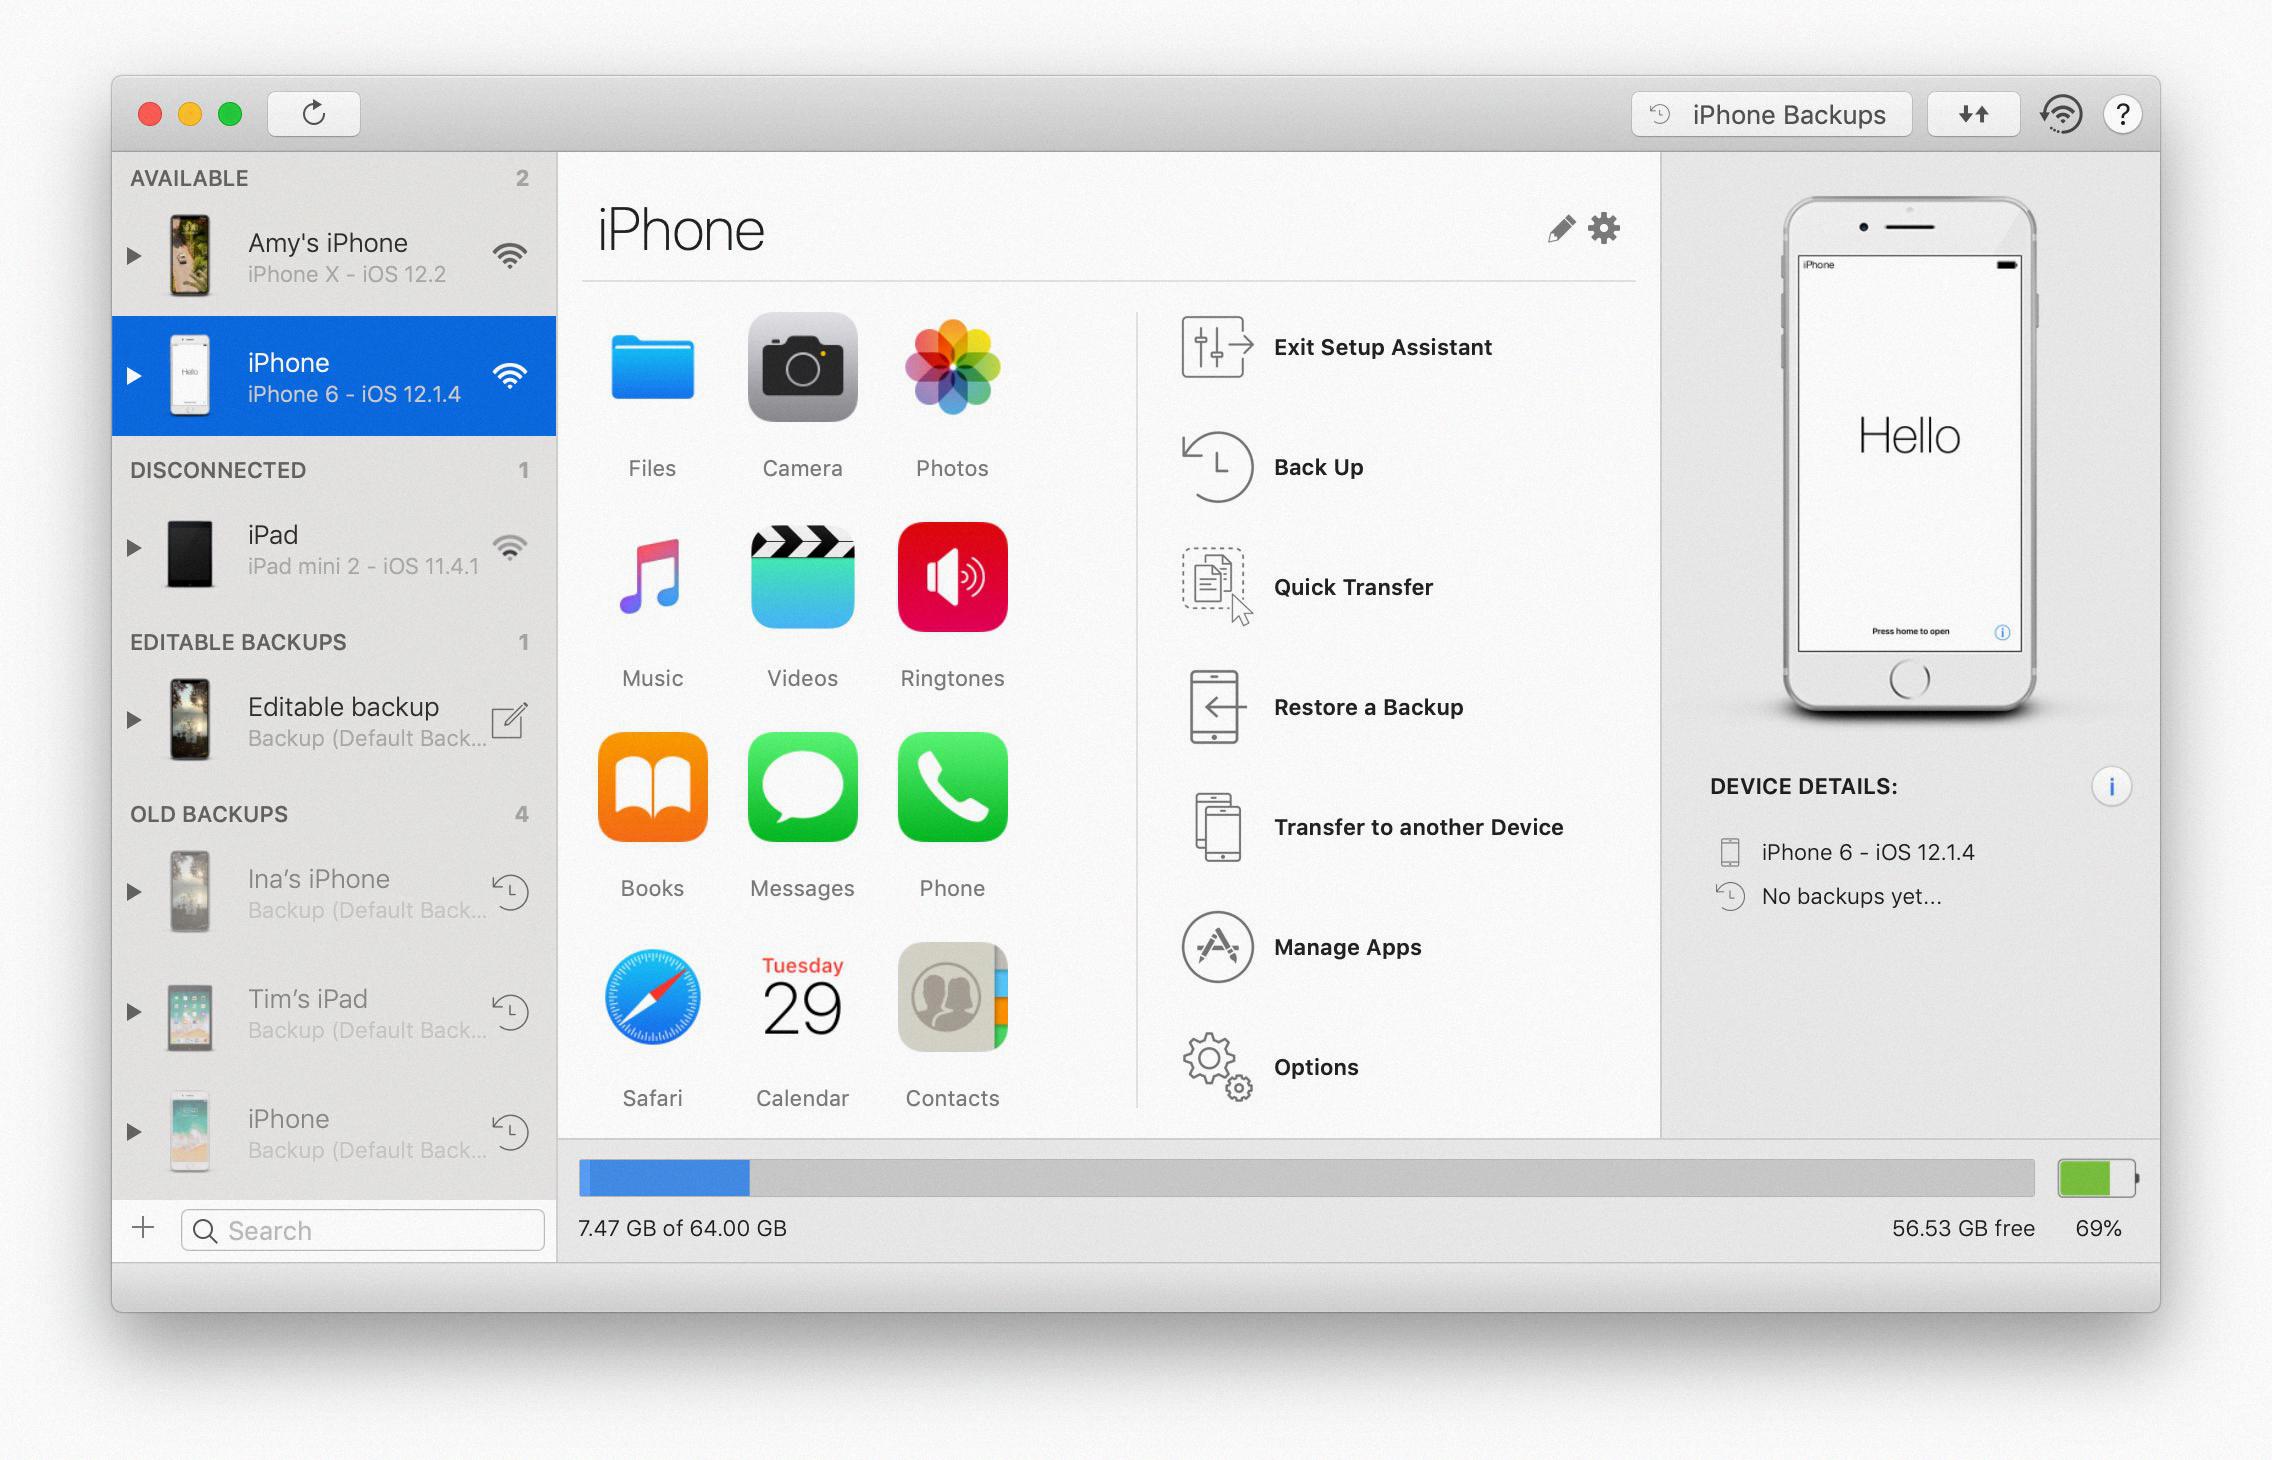
The iOS Setup Assistant is the automatic, step-by-step process that appears when you first turn on a new iPhone or iPad, or immediately after you erase the device. It is not a standalone app you can open from Settings; instead, it runs once to guide you through essential configuration, including language, Wi-Fi, Apple Account, and security features.
What is the iOS Setup Assistant and when does it appear?
The iOS Setup Assistant is a built-in feature of the iOS and iPadOS operating systems. It appears automatically on a brand-new device when you press and hold the power button until the Apple logo appears. It also reappears after you perform a factory reset, which erases all content and settings. The assistant walks you through every necessary step, from selecting your language to setting up Face ID or Touch ID, so you can start using your device with your preferences applied.
How to trigger the iOS Setup Assistant
There are two primary methods to trigger the iOS Setup Assistant:
- Power on a brand-new device: Press and hold the power button (its location varies by model) until the Apple logo appears. The setup assistant will start automatically.
- Perform a factory reset on an existing device: Go to Settings > General > Transfer or Reset > Erase All Content and Settings. This erases all data and returns the device to its out-of-box state, causing the Setup Assistant to launch on the next power-on. Warning: This action permanently deletes all personal data, photos, apps, and settings. Back up your device before proceeding.
A step-by-step guide to the setup process
The following walkthrough applies to both iPhone and iPad. Follow these steps after the device powers on and the Setup Assistant begins.
- "Hello" screen: You will see "Hello" displayed in many languages. Swipe up or press the Home button to begin.
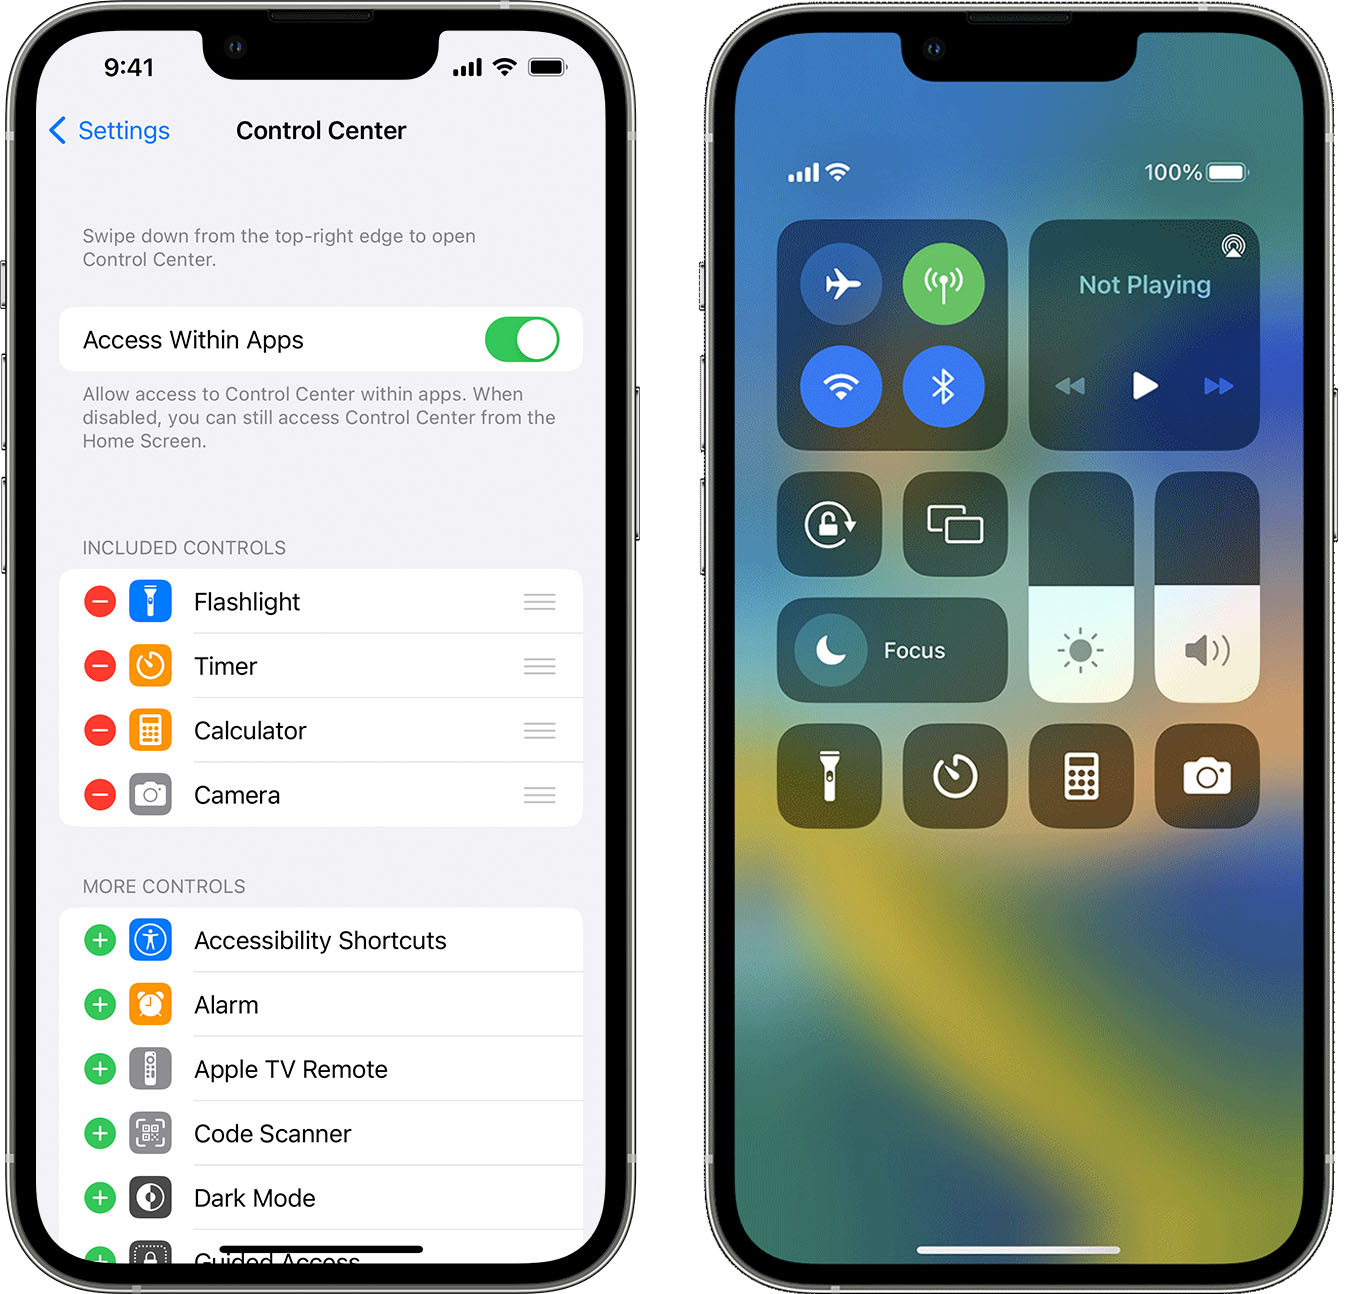
- Accessibility shortcuts: If you are blind or have low vision, you can turn on VoiceOver by pressing the side button or top button three times. To enable Zoom, tap the screen two times with three fingers.
- Language and region: Choose your preferred language and region. You can also choose the size of text and icons: Default, Medium, or Large.
- Quick Start vs. manual setup: If you have another iPhone or iPad with iOS 11, iPadOS 13, or later, you can use Quick Start to transfer settings wirelessly. Otherwise, choose to set up manually.
- Choose who this device is for: Select whether to set up your iPhone for yourself or for a child.
- Connect to Wi-Fi or cellular: Activate your device by connecting to a Wi-Fi network (you may need the network name and password) or a cellular network.
- Data transfer and restore: You can restore or transfer your data and apps from an iCloud backup, an iTunes backup, a previous iPhone, or an Android device. Wireless data transfer from a previous device requires both devices to have iOS 12.4, iPadOS 13, or later. Have your previous iPhone or a backup of your device ready if you're transferring data. Have your Android device ready if you're transferring Android content.
- Apple Account (Apple ID): Sign in with your Apple Account or another Apple device. If you do not have one, you can create an Apple Account during setup. Have your credit or debit card account information ready if you want to add a card to Apple Pay during setup.
- Face ID or Touch ID and passcode: Set up Face ID or Touch ID by following the onscreen instructions. Create a six-digit passcode; you can tap "Passcode Options" for a four-digit passcode, custom passcode, or no passcode.
- Additional settings: When you see the "Get Started" screen, the setup process is complete.
What if my device is managed by a company or school?
If your iPhone or iPad is deployed or managed by a company or other organization, an administrator provides setup instructions. For supervised Apple devices, administrators can skip all or specific Setup Assistant panes using a device management service and Apple School Manager or Apple Business. For supervised devices enrolled through Apple Business Manager (ABM) or Apple School Manager (ASM) with a device management (MDM) service, the Setup Assistant can be streamlined for zero-touch deployment. Administrators can skip many setup panes using a `skipSetupItems` array, as Apple has deprecated many per-screen skip options in iOS 14+ and iPadOS 14+ in favor of this more flexible control. Some Setup Assistant controls for administrators require macOS 15+, iOS 15+, or iPadOS 15+. If you encounter setup screens that seem missing or pre-configured, contact your IT administrator for guidance. Updating iOS and operating systems may also affect how MDM profiles interact with the Setup Assistant, so ensure your device management policies are current.
Frequently Asked Questions
Can I skip the iOS Setup Assistant?
You cannot completely skip the Setup Assistant; it must run at least once to activate the device. Skipping essential steps like connecting to Wi-Fi or signing in with an Apple Account may limit functionality until they are completed.
How do I access the iOS Setup Assistant after I have already set up my device?
You cannot re-launch the Setup Assistant without erasing your device. This will delete all data, so back up your device first.
What if I cannot see the "Hello" screen when I turn on my device?
If the device was previously set up, it will skip the Setup Assistant and go directly to the Lock Screen. To see the "Hello" screen, you must erase the device.
Do I need an internet connection to use the iOS Setup Assistant?
Yes, an internet connection through a Wi-Fi network or cellular data service is required to activate the device, sign in with your Apple Account, and restore data from a backup. You can complete the Wi-Fi step during setup; if no Wi-Fi is available, you may be able to activate over cellular.
Can I transfer data from an Android device during setup?
Yes. You will need your Android device and the Move to iOS app installed on it to transfer contacts, message history, photos, and more.
Related reading: How To Add Accessibility Features To The IPhone & IPad Control Center (iOS 13 & IPadOS) and What Is An IPA File: Everything You Have To Know.