
If you are an Apple user, you might already be familiar with the Apple ID. It’s a crucial component of getting the most out of your Apple devices and services. Your Apple ID serves as a unique identifier that allows you to access various features such as the App Store, iCloud, and Apple Music.
But what if you need to change your Apple ID? Whether you want to update your email address, enhance security, or simply use a different account, the process of changing your Apple ID is relatively straightforward. In this article, we will guide you through the steps to change your Apple ID and ensure a smooth transition without losing any valuable data or purchases.
Inside This Article
- Why Change Your Apple ID?
- Steps to Change Your Apple ID
- Verify Your Email Address
- Sign Out of Your Apple ID on All Devices
- Sign In with the New Apple ID
- Update Your Apple ID on All Devices
- Conclusion
- FAQs
Why Change Your Apple ID?
Changing your Apple ID is a decision that may arise for various reasons. Here are a few common scenarios why you might consider changing your Apple ID:
1. Personal Information: If your personal details such as name, email address, or phone number have changed, it is important to update your Apple ID accordingly. This ensures that your account information is accurate and up to date.
2. Security: In cases where you suspect that your Apple ID may have been compromised or you simply want to enhance your account security, changing your Apple ID can be a prudent step. By creating a new Apple ID, you can start afresh with stronger security measures, such as a unique and complex password.
3. Consistency: It is possible that you have used different email addresses for different Apple services in the past. Changing your Apple ID allows you to consolidate all your Apple services under a single account, making it easier to manage and access your digital content.
4. Family Sharing: If you are part of a Family Sharing group and want to change the organizer or transfer the responsibility to another family member, changing your Apple ID is necessary. This ensures that the new organizer can manage and control the shared purchases and subscriptions effectively.
5. Privacy Concerns: Suppose you are concerned about your online privacy and want to minimize the personal information associated with your Apple ID. In that case, changing your Apple ID can help you maintain a lower digital footprint and protect your privacy.
Remember, changing your Apple ID will have implications on various devices and services associated with your account. It is essential to follow the proper steps to ensure a seamless transition and avoid any disruption in accessing your purchased content and services.
Steps to Change Your Apple ID
Changing your Apple ID is a straightforward process that allows you to update your personal or business information associated with your Apple devices. Whether you want to change your email address or simply enhance your security by creating a new Apple ID, the following steps will guide you through the process.
Step 1: Open the Apple ID website
To begin the process, open a web browser and visit the official Apple ID website. You can access this by typing “appleid.apple.com” in the address bar. Make sure you have a stable internet connection.
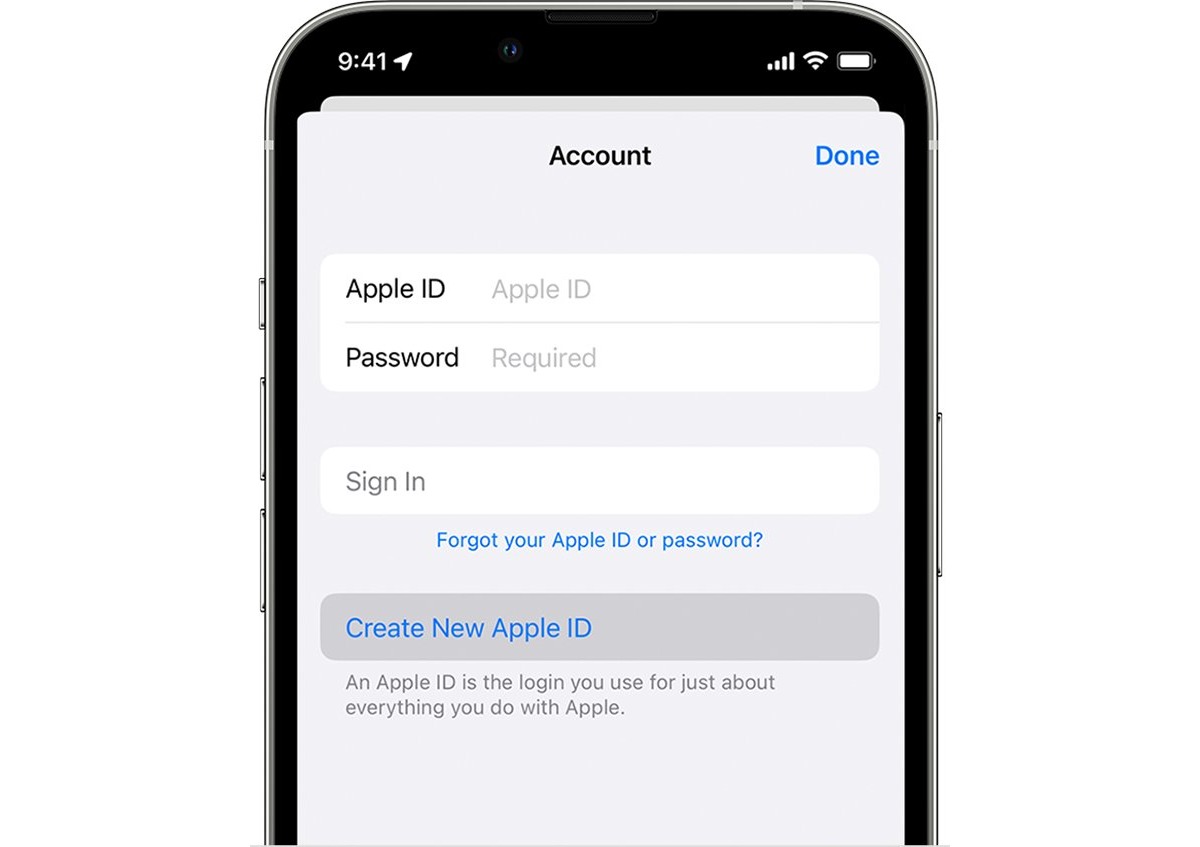
Step 2: Sign in to your Apple ID
Once you’re on the Apple ID website, sign in with your current Apple ID and password. This will allow you to access the account settings and make the necessary changes.
Step 3: Go to the “Edit” section
After signing in, you will be directed to the account management page. Look for the “Edit” option, usually located under the section that displays your name and contact information.
Step 4: Change your Apple ID
In the “Edit” section, you will find the option to change your Apple ID. Select the field where your Apple ID currently exists and update it with the new email address or username you wish to use as your Apple ID. Remember to choose an email address that you have access to and is not already associated with an existing Apple ID.
Step 5: Save the changes
After entering the new Apple ID, click on the “Save” or “Update” button to save the changes you’ve made. Keep in mind that once you’ve changed your Apple ID, you will need to use the new email address or username to sign in to all your Apple devices and services.
Step 6: Verify your new Apple ID
After saving the changes, Apple may send a verification email to the new email address you provided. Check your inbox and follow the instructions to verify your new Apple ID. This step is crucial to ensure that you have full access to your account and can use all Apple services without any limitations.
Step 7: Update your Apple ID on all devices
Once you’ve verified your new Apple ID, it’s important to update it on all your Apple devices, including iPhones, iPads, Macs, and Apple TVs. Go to the “Settings” or “System Preferences” on each device and sign out of your existing Apple ID. Then, sign in again with your new Apple ID to ensure all your devices are synced with the updated information.
Step 8: Enjoy your new Apple ID
After completing these steps, you can enjoy using your new Apple ID on all your devices. Your updated Apple ID will be associated with all your purchases, subscriptions, and services, allowing for a seamless experience across the Apple ecosystem.
Remember, changing your Apple ID requires careful consideration, as it may have implications for your access to existing purchases, subscriptions, and data. Therefore, it’s important to make the necessary backups and transfers before making any changes to ensure a smooth transition.
Verify Your Email Address
After changing your Apple ID, it is important to verify the new email address associated with it. Verifying your email address adds an extra layer of security and ensures that you have access to the email account where you can receive important notifications and reset your password if needed. Here are the steps to verify your email address:
1. Open your email inbox and look for a message from Apple with the subject line “Verify your Apple ID email address”.
2. Open the email and click on the verification link provided in the message. This will redirect you to the Apple ID verification page.
3. On the verification page, enter your Apple ID and password to sign in to your account.
4. Once signed in, you will see a message confirming that your email address has been verified successfully.
It is important to note that if you don’t see the verification email in your inbox, check your junk or spam folders. Additionally, make sure to add Apple’s email address to your contacts or whitelist to ensure that future communication from Apple doesn’t end up in your spam folder.
By verifying your email address, you are ensuring that your Apple ID remains secure and that you can easily manage your account and access all the features and services that Apple has to offer.
Sign Out of Your Apple ID on All Devices
When changing your Apple ID, it is essential to sign out of your old Apple ID on all of your devices. This ensures a smooth transition to your new Apple ID and removes any potential security risks. Here’s how you can sign out of your Apple ID on all devices:
1. Go to Settings: Open the Settings app on your iPhone, iPad, or iPod touch.
2. Tap your name: Scroll down and tap on your name, located at the top of the Settings menu. This will take you to your Apple ID settings.
3. Sign out: Scroll to the bottom and select “Sign Out.” A pop-up message will appear asking for confirmation. Tap “Sign Out” again to proceed.
4. Enter your Apple ID password: You will be prompted to enter your Apple ID password to confirm the sign out process. Enter your password and tap “Turn Off” to disable Find My iPhone.
5. Sign out of iCloud: Next, you will have the option to sign out of iCloud. Choose whether you want to keep a copy of your data on your device or delete it. Then, tap “Sign Out” to complete the process.
6. Sign out of iTunes & App Store: You can also choose to sign out of the iTunes & App Store. This will prevent anyone from making purchases using your old Apple ID. Simply toggle the switch next to “iTunes & App Store” to sign out.
7. Repeat on other devices: Repeat these steps on all of your other Apple devices, including your iPad, iPod touch, Mac, and Apple Watch, to ensure that you are signed out of your old Apple ID on all devices.
By signing out of your old Apple ID on all of your devices, you can ensure a seamless transition to your new Apple ID. Remember to sign in with your new Apple ID on each device later to regain access to your apps, purchases, and iCloud.
Sign In with the New Apple ID
Once you have successfully changed your Apple ID, the next step is to sign in with your new credentials on all your Apple devices. Signing in with the new Apple ID ensures that you can access all the features and services associated with your Apple account.
Here are the steps to sign in with the new Apple ID:
- On your iPhone or iPad, go to the Settings app.
- Scroll down and tap on “Sign in to your iPhone” or “Sign in to your iPad.”
- Enter your new Apple ID and password in the respective fields.
- Tap on “Sign In” to proceed.
- You may be prompted to enter a verification code sent to your email or registered phone number. Follow the on-screen instructions to complete the verification process.
- Once the verification is done, your device will sync with the new Apple ID, and you will have access to all your previously purchased apps, music, and other content.
It is important to sign in with the new Apple ID on all your devices to ensure that your account information is up to date and synchronized across all your Apple products. This way, you can seamlessly access your iCloud data, app purchases, and other services without any interruptions.
If you encounter any issues while signing in with the new Apple ID, make sure you have entered the correct credentials. Double-check your email address and password to avoid any typos or mistakes.
Additionally, if you have set up two-factor authentication for your Apple ID, you might need to verify your identity through another trusted device or phone number during the sign-in process. Follow the instructions provided on your device to complete the verification successfully.
By signing in with your new Apple ID, you can take full advantage of Apple’s ecosystem and enjoy a seamless user experience across all your devices.
Update Your Apple ID on All Devices
Once you have successfully changed your Apple ID, the next step is to update it on all of your devices. This will ensure that you can access all of your personal data and subscriptions seamlessly across all devices. Follow the steps below to update your Apple ID on different devices:
1. iPhone or iPad:
1. Go to “Settings” on your device.
2. Tap on your name at the top of the Settings menu.
3. Tap on “iTunes & App Store” and then tap on your Apple ID.
4. From the pop-up menu, select “Sign Out” to sign out of the old Apple ID.
5. Sign in with your new Apple ID by tapping on “Sign In” and entering your new credentials.
2. Mac Computer:
1. Open the Apple menu and click on “System Preferences.”
2. Click on “Apple ID.”
3. Click on “Overview” on the left-hand side of the window.
4. Click on the “Sign Out” button to sign out of the old Apple ID.
5. Sign in with your new Apple ID by clicking on “Sign in” and entering your new credentials.
3. Apple Watch:
1. Open the Apple Watch app on your iPhone.
2. Tap on the “My Watch” tab.
3. Tap on your name at the top of the screen.
4. Tap on “Apple ID” and then tap on “Sign Out” to sign out of the old Apple ID.
5. Sign in with your new Apple ID by tapping on “Sign In” and entering your new credentials.
4. Apple TV:
1. Go to “Settings” on your Apple TV.
2. Click on “Users and Accounts.”
3. Click on your Apple ID and select “Sign Out” to sign out of the old Apple ID.
4. Sign in with your new Apple ID by selecting “Sign In” and entering your new credentials.
Remember to update your Apple ID on all devices to ensure a smooth and uninterrupted experience across your Apple ecosystem. Changing your Apple ID may require reauthorizing certain subscriptions or signing in to apps and services again, but once you have updated your Apple ID on all devices, you will have full access to your personalized content.
Conclusion
Changing your Apple ID is a straightforward process that can be done in a few simple steps. Whether you need to update your personal information, switch to a new email address, or enhance your account security, Apple provides the necessary tools and guidance to make the transition smooth and seamless.
By following the steps outlined in this article, you can easily change your Apple ID and ensure that your account is up to date and secure. Remember to always keep your login credentials safe and avoid sharing them with anyone.
With your updated Apple ID, you can continue enjoying the full range of features and benefits that Apple devices and services have to offer.
So don’t hesitate! Take control of your Apple ID today and enjoy a seamless and personalized user experience across all your Apple devices.
FAQs
1. Can I change my Apple ID on my iPhone?
Yes, you can change your Apple ID on your iPhone. Simply go to Settings, tap on your name at the top of the screen, then tap on “Sign Out.” After signing out, you can sign back in with a different Apple ID by tapping on “Sign in to your iPhone” and following the on-screen instructions.
2. What happens to my data when I change my Apple ID?
When you change your Apple ID, your data such as contacts, photos, and app purchases associated with the old Apple ID will no longer be accessible on your device. However, you can choose to merge the data from your old Apple ID to your new one during the sign-in process.
3. How do I change my Apple ID password?
To change your Apple ID password, go to Settings, tap on your name at the top of the screen, then tap on “Password & Security.” Select “Change Password” and follow the prompts to set a new password. Make sure to choose a strong, unique password to protect your Apple ID.
4. Can I use multiple Apple IDs on one device?
Yes, you can use multiple Apple IDs on one device. However, keep in mind that some features like Find My iPhone and iCloud Keychain will only work with the primary Apple ID associated with the device. You can switch between Apple IDs in the settings to access different content and services.
5. How often can I change my Apple ID?
There is no set limit on how often you can change your Apple ID. However, frequent changes may cause confusion or inconvenience, especially if you have subscriptions or purchases tied to your Apple ID. It is generally recommended to use a stable Apple ID and make changes only when necessary.