
Welcome to our comprehensive guide on how to erase history on iPhone 13. As technology advances, our smartphones hold a vast amount of personal information and browsing history. Whether you’re looking to protect your privacy, clear up storage space, or simply start fresh, knowing how to erase history on your iPhone 13 is essential. In this article, we’ll walk you through the step-by-step process of clearing browsing history, app usage history, and location history on your iPhone 13. We’ll also provide you with some useful tips and tricks to ensure that your data is securely wiped and cannot be recovered. So, let’s dive in and learn how to keep your iPhone 13 history free and your privacy intact.
Inside This Article
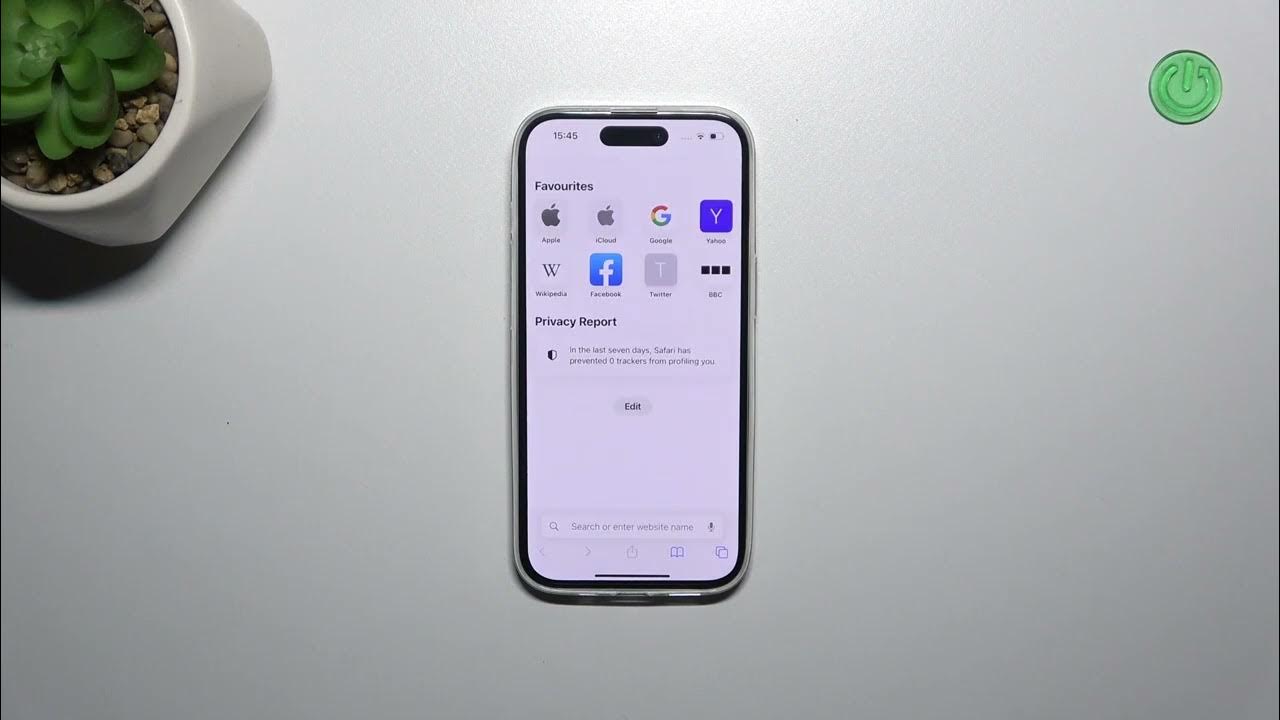
- Method 1: Clear Browsing History on Safari
- Method 2: Delete Location History
- Method 3: Remove Call History
- Method 4: Erase Message History
- Conclusion
- FAQs
Method 1: Clear Browsing History on Safari
Whether you’re concerned about your online privacy or simply want to free up some storage space on your iPhone 13, clearing your browsing history is a valuable step to take. By removing your browsing history, you can ensure that your online activities remain private and secure.
To clear your browsing history on Safari, follow these simple steps:
- Open the Safari app on your iPhone 13.
- Tap on the bookmark icon at the bottom of the screen.
- Next, tap on the clock icon located at the top of the bookmark screen. This will take you to the History section.
- Here, you will see a list of websites you’ve visited recently. To clear your browsing history, simply swipe left on each website and tap the “Delete” button. Alternatively, you can tap on the “Clear” button at the bottom right corner to remove all the history at once.
It’s important to note that clearing your browsing history will not remove any saved passwords or autofill information. If you want to remove this data as well, you can do so by going to Settings > Safari > Clear History and Website Data.
By regularly clearing your browsing history, you can ensure that your iPhone 13 remains clutter-free and your online activities stay private. It’s a simple yet effective way to maintain control over your digital footprint.
Method 2: Delete Location History
One of the significant privacy concerns on smartphones is the collection and storage of location data. Your iPhone tracks your location for various purposes, such as providing personalized recommendations and mapping services. However, if you value your privacy or want to clear your location history for any reason, you can follow the steps below.
To delete your location history on iPhone 13, you can use the Settings app:
- Open the Settings app on your iPhone 13.
- Scroll down and tap on Privacy.
- Next, tap on Location Services.
- Scroll down and select System Services.
- Locate and tap on Significant Locations.
- You will be prompted to enter your passcode or use Face ID/Touch ID to access the Significant Locations menu. Authenticate using the required method.
- Once in the Significant Locations menu, you will see a history of places your iPhone has recorded. Here, you can individually delete specific locations by swiping left and tapping the Delete button.
- If you want to remove all your location history, tap on Clear History at the bottom of the menu.
- A confirmation pop-up will appear. To proceed, tap on Clear History.
After following these steps, your iPhone 13 will no longer retain your location history. It’s important to note that this will not disable location tracking on your device. Applications and services that require location data will still be able to access it with your permission.
By periodically deleting your location history, you can have more control over your privacy and ensure that your device does not store unwanted information about your movements.
Keep in mind that clearing your location history may affect the accuracy of certain location-based services, such as map directions or personalized recommendations. Decide whether the trade-off for privacy is worth it for your specific needs.
Method 3: Remove Call History
If you want to erase your call history on your iPhone 13, there are a few simple steps you can follow. This method will ensure that all your incoming and outgoing calls are completely removed from your device.
Step 1: Open the Phone app on your iPhone 13 by tapping on the green phone icon on your home screen.
Step 2: Once you have the Phone app open, navigate to the “Recents” tab located at the bottom of the screen. This tab will display your recent call history.
Step 3: In the “Recents” tab, you will see a list of all your recent calls, including missed, received, and dialed calls. To remove a specific call, swipe left on the call record.
Step 4: After swiping left on the call record, a red “Delete” button will appear. Tap on this button to remove the call from your call history.
Step 5: If you want to remove multiple calls, you can tap on the “Edit” button located at the top right corner of the screen. This will allow you to select multiple call records for deletion. Once you have selected the calls you wish to remove, tap on the “Delete” button at the bottom left corner of the screen.
Step 6: After deleting the calls, you can verify that they have been successfully removed by navigating back to the “Recents” tab. The call records you deleted should no longer be visible.
By following these steps, you can easily remove your call history on your iPhone 13. This is a useful method if you want to maintain your privacy or simply want to declutter your call log.
Method 4: Erase Message History
When it comes to erasing message history on your iPhone 13, there are a few different methods you can use. Whether you want to delete individual messages or clear your entire message thread, it’s important to know how to do it effectively. In this section, we will explore the various options available to you.
1. Delete Individual Messages: If you only want to remove specific messages from a conversation, you can do so easily. Simply open the Messages app, find the conversation that contains the message you want to delete, and swipe left on the message. Tap the “Delete” button that appears to remove the message from the conversation.
2. Delete Entire Conversation: If you want to clear an entire conversation, including all messages within it, you can do this as well. To do so, open the Messages app, find the conversation you want to delete, swipe left on it, and tap the “Delete” button. This will remove the entire conversation and all associated messages.
3. Auto-Delete Messages: Another option to consider is enabling the auto-delete feature for messages. This feature allows you to automatically delete messages after a specified period, such as 30 days or 1 year. To enable this feature, go to Settings, tap on Messages, scroll down to the “Message History” section, and select the desired time frame under “Keep Messages. This will ensure that your message history is regularly cleared, reducing the need for manual deletion.
4. Use Third-Party Apps: If you want more control over managing and erasing your message history, there are several third-party apps available on the App Store. These apps offer advanced features for securely deleting messages and managing your conversations. Some popular options include iDelete, Private Message Box, and Secure Text Keyboard. Make sure to research and choose a trusted app that suits your privacy needs.
Remember, clearing your message history removes the messages permanently and cannot be undone. It’s always a good idea to double-check which messages you want to delete to avoid accidentally removing important conversations. By following these methods, you can effectively erase your message history and maintain your privacy on your iPhone 13.
Conclusion
In conclusion, knowing how to erase history on your iPhone 13 is vital for maintaining your privacy and freeing up storage space. By following the steps outlined in this article, you can easily clear your browsing history, call logs, and app data, ensuring that no sensitive information is left behind.
Regularly clearing your history can also help improve the performance of your iPhone 13, as it reduces the burden on the device’s resources. Plus, with the added benefit of preserving your privacy, you can browse the web, use apps, and make calls with peace of mind.
Remember to exercise caution when deleting data, as once it’s gone, it can’t be recovered. Consider creating backups of important information to prevent accidental loss.
With the knowledge and tools to erase your iPhone 13’s history, you can take control of your device’s privacy and optimize its performance. Embrace the power of a clean slate and enjoy a seamless and secure mobile experience.
FAQs
1. How do I erase history on iPhone 13?
To erase history on your iPhone 13, follow these steps:
1. Open the Settings app on your iPhone 13.
2. Scroll down and tap on “Safari” or the browser you use.
3. Tap on “Clear History and Website Data”.
4. Confirm your action by tapping on “Clear History and Data” again.
This will clear your browsing history and website data on your iPhone 13.
2. Will erasing history on iPhone 13 delete all my data?
No, erasing history on your iPhone 13 will only delete your browsing history and website data. It will not delete any other data on your device, such as photos, contacts, or apps.
3. Can I recover the erased history on my iPhone 13?
No, once you have cleared your browsing history and website data on your iPhone 13, it cannot be recovered. It is permanently deleted from your device.
4. Does erasing history on iPhone 13 improve performance?
Clearing your browsing history and website data on your iPhone 13 can free up some storage space and improve the performance of your device, especially if you have accumulated a large amount of browsing data over time. However, the impact on performance may vary depending on the overall usage and health of your device.
5. How often should I erase history on iPhone 13?
The frequency of erasing history on your iPhone 13 depends on your personal preferences and privacy concerns. If you want to keep your browsing activities private or if you want to free up storage space, you can consider clearing your history on a regular basis, such as once a month or every few weeks.