
Welcome to the exciting world of the iPhone 10! If you’ve recently acquired this sleek and powerful device, you’re likely eager to set it up and start exploring its myriad features. Setting up your iPhone 10 is a straightforward process that involves configuring essential settings, personalizing your device, and ensuring that everything is tailored to your preferences. In this comprehensive guide, we’ll walk you through the step-by-step process of setting up your iPhone 10, from initial activation to customizing your home screen and essential features. By the end of this article, you’ll be equipped with the knowledge and confidence to make the most of your new iPhone 10. Let’s dive in and get your iPhone 10 up and running!
Inside This Article
- Getting Started- Unboxing and assembling your iPhone 10- Powering on and setting up your iPhone 10- Setting up Face ID and Touch ID
- Customizing Your iPhone 10
- Connecting with Others: Setting up Email Accounts and Messaging Apps, Making and Receiving Calls, Using FaceTime and Other Video Calling Options
- Managing Your Apps and Data
- Conclusion
- FAQs
Getting Started- Unboxing and assembling your iPhone 10- Powering on and setting up your iPhone 10- Setting up Face ID and Touch ID
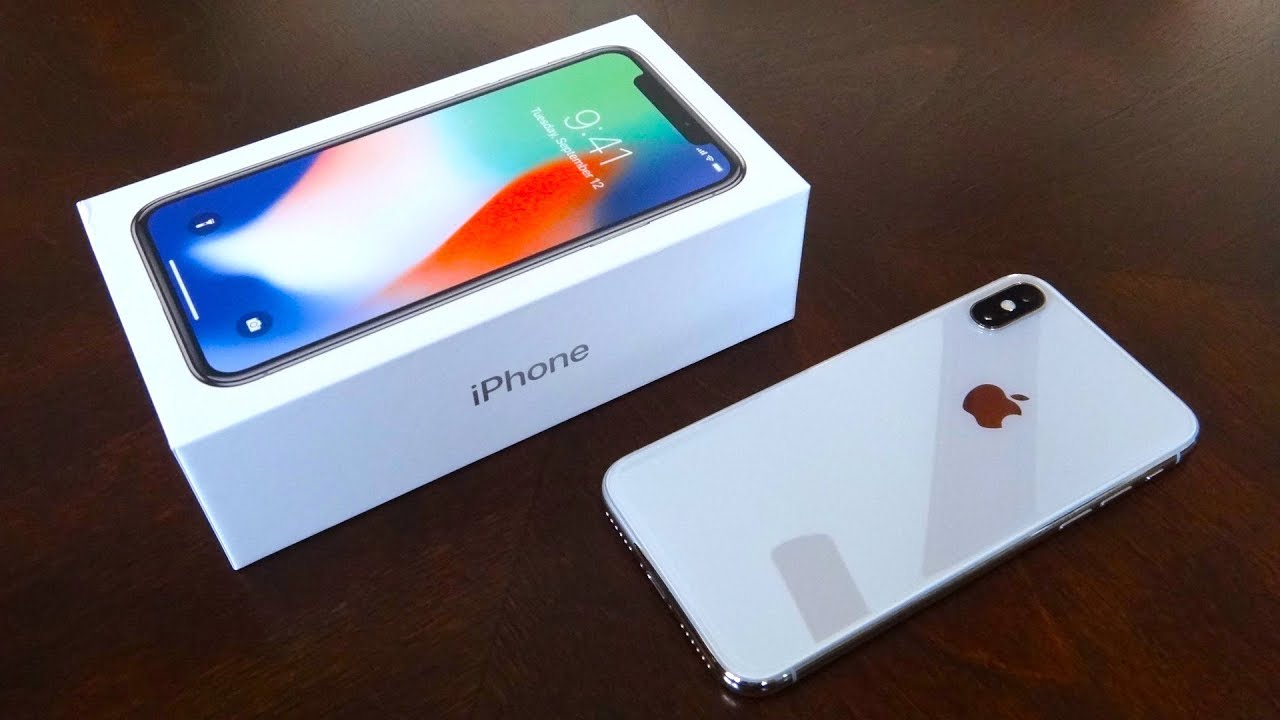
Congratulations on your new iPhone 10! Unboxing and assembling your device is the first step to unleashing its incredible features. When you open the sleek packaging, you’ll find your iPhone 10 nestled inside. Take a moment to appreciate the elegant design before carefully removing it from the box. Make sure to check for any additional accessories, such as the charging cable and earphones, tucked away beneath the device.
Now, it’s time to power on your iPhone 10. Locate the power button, usually found on the right side of the device. Press and hold the button until the Apple logo appears on the screen. This signals that your iPhone 10 is coming to life. As the device boots up, you’ll be prompted to select your language, region, and connect to a Wi-Fi network. Follow the on-screen instructions to complete the initial setup process.
Setting up Face ID and Touch ID adds an extra layer of security and convenience to your iPhone 10. Face ID allows you to unlock your device and authenticate purchases with just a glance, while Touch ID enables fingerprint recognition for quick and secure access. To set up Face ID, navigate to the “Settings” app, select “Face ID & Passcode,” and follow the prompts to enroll your facial features. For Touch ID, you can find the setup option within the same “Settings” app under “Touch ID & Passcode.”
Customizing Your iPhone 10
Once you’ve set up your iPhone 10, the next step is to customize it to suit your preferences. This includes personalizing your home screen and app layout, adjusting display settings and accessibility options, and managing notifications and privacy settings.
Personalizing Your Home Screen and App Layout
Your iPhone 10’s home screen is where you access all your apps and features. You can personalize it by rearranging app icons, creating folders for better organization, and setting your favorite wallpaper. To move an app, simply press and hold its icon until it starts jiggling, then drag it to your desired location. You can also create a folder by dragging one app onto another. Additionally, you can customize your app layout by choosing the number of apps to display on each row and column on the home screen.
Adjusting Display Settings and Accessibility Options
Customizing the display settings on your iPhone 10 allows you to adjust the brightness, text size, and color options to suit your preferences. You can access these settings by navigating to “Settings” > “Display & Brightness.” Moreover, the accessibility options enable you to personalize your iPhone 10 to accommodate specific needs, such as visual, auditory, or motor impairments. You can enable features like VoiceOver, Magnifier, and Display Accommodations to enhance your overall user experience.
Managing Notifications and Privacy Settings
Managing notifications ensures that you receive timely alerts from your apps without being overwhelmed. You can customize notification settings for each app by navigating to “Settings” > “Notifications.” Here, you can choose the type of notifications to receive, such as banners or alerts, and prioritize them based on your preferences. Additionally, managing privacy settings allows you to control which apps have access to your location, contacts, photos, and other sensitive data. You can review and adjust these settings by navigating to “Settings” > “Privacy.”
Connecting with Others: Setting up Email Accounts and Messaging Apps, Making and Receiving Calls, Using FaceTime and Other Video Calling Options
Staying connected with friends, family, and colleagues is effortless with the iPhone 10. Setting up your email accounts and messaging apps is a simple process that ensures you’re always in touch, while making and receiving calls is a breeze. Additionally, the iPhone 10 offers a seamless experience for video calling through FaceTime and other video calling options.
When it comes to setting up email accounts and messaging apps, the iPhone 10 provides a user-friendly interface. You can easily add your email accounts by navigating to the Settings app, selecting “Mail,” and then tapping “Accounts.” From there, you can choose to add an email account and follow the on-screen instructions to complete the setup. Similarly, messaging apps such as iMessage, WhatsApp, and Facebook Messenger can be downloaded from the App Store and set up with just a few taps.
Making and receiving calls on the iPhone 10 is as simple as tapping the phone icon and selecting a contact. The crystal-clear audio quality ensures that every conversation is a pleasure, whether you’re making a quick call or engaging in a lengthy discussion. With features like call waiting, call forwarding, and the ability to merge calls, the iPhone 10 offers a comprehensive calling experience.
For video calling, the iPhone 10’s FaceTime feature is a standout option. With FaceTime, you can initiate video calls with other iPhone users effortlessly. The high-definition video quality and clear audio make FaceTime an excellent choice for staying connected with loved ones, especially when miles apart. Additionally, the iPhone 10 supports a range of other video calling apps, providing you with flexibility in choosing the platform that best suits your needs.
Managing Your Apps and Data
One of the most exciting aspects of owning an iPhone 10 is the ability to download and organize a wide range of apps from the App Store. Whether you’re looking for productivity tools, entertainment options, or creative outlets, the App Store offers a diverse selection to cater to your needs and interests. With just a few taps, you can enhance your iPhone 10’s functionality and personalize it to suit your lifestyle.
Backing up and restoring your iPhone 10 is crucial for safeguarding your valuable data and ensuring a seamless transition when upgrading to a new device or recovering from an unexpected issue. By utilizing iCloud or iTunes, you can create regular backups of your device, including app data, settings, photos, and more. This proactive approach provides peace of mind, allowing you to restore your iPhone 10 to its previous state in the event of data loss or device replacement.
Managing storage and optimizing device performance are essential for maintaining a smooth and efficient user experience on your iPhone 10. With a myriad of apps, photos, videos, and other content stored on your device, it’s important to regularly assess and manage your storage usage. By identifying and removing unnecessary files, clearing app caches, and utilizing built-in tools such as Offload Unused Apps, you can free up space and ensure optimal performance for your iPhone 10.
Conclusion
Setting up your iPhone 10 is a breeze, and once you’ve completed the initial steps, you’ll be ready to explore the endless features and functionalities of this remarkable device. From customizing your settings to downloading your favorite apps, the iPhone 10 offers a seamless and intuitive user experience. By following the steps outlined in this guide, you can ensure that your iPhone 10 is configured to suit your preferences and needs, allowing you to make the most of its cutting-edge technology and impressive capabilities. Whether you’re a first-time iPhone user or an experienced iOS enthusiast, the setup process is designed to be straightforward and user-friendly, ensuring that you can start using your device with confidence and ease.
FAQs
1. How do I set up my iPhone 10 for the first time?
To set up your iPhone 10 for the first time, simply press and hold the side button until the Apple logo appears. Follow the on-screen instructions to select your language, connect to a Wi-Fi network, set up Touch ID or Face ID, and sign in with your Apple ID.
2. Can I transfer data from my old iPhone to the iPhone 10?
Yes, you can transfer data from your old iPhone to your new iPhone 10 using the Quick Start feature. Simply place your old iPhone next to your new iPhone 10, and follow the on-screen instructions to transfer your data, including your settings, apps, and passwords.
3. How do I set up Face ID on my iPhone 10?
To set up Face ID on your iPhone 10, go to Settings > Face ID & Passcode. Tap "Set Up Face ID" and follow the instructions to scan your face. Once set up, you can use Face ID to unlock your iPhone, make purchases, and sign in to apps.
4. What is the best way to protect my iPhone 10 during the setup process?
During the setup process, it's essential to protect your iPhone 10 by using a screen protector and a sturdy case. This will help safeguard your device from scratches, drops, and other potential damage.
5. How can I ensure that my iPhone 10 is backed up during the setup process?
To ensure that your iPhone 10 is backed up during the setup process, it's recommended to enable iCloud Backup. Simply go to Settings > [Your Name] > iCloud > iCloud Backup, and toggle the iCloud Backup switch to the on position. This will automatically back up your iPhone 10's data to iCloud whenever it's connected to Wi-Fi and plugged in.