
Sure, I can help you with that. Here's the introduction for the article:
html
So, you’ve decided to part ways with your iPhone 11. Whether you’re upgrading to a new model or simply looking to erase all your data before selling or donating your device, it’s essential to understand the process of wiping your iPhone 11 clean. This comprehensive guide will walk you through the steps to ensure that your personal information is securely removed from the device. By following these instructions, you can rest assured that your iPhone 11 will be ready for its next chapter, free from any traces of your digital footprint.
Inside This Article
- Preparing to Erase Your iPhone 11
- Backing Up Your Data
- Erasing Your iPhone 11
- Restoring Your iPhone 11
- Conclusion
- FAQs
**
Preparing to Erase Your iPhone 11
**
Before erasing your iPhone 11, it’s crucial to take a few preparatory steps to ensure a smooth process. First and foremost, ensure that your device is sufficiently charged or connected to a power source to prevent any interruptions during the erasure process. Additionally, make sure to back up all important data, such as photos, contacts, and documents, to avoid permanent loss.
Another vital consideration is to disable “Find My iPhone” to prevent any activation lock issues after the erasure. This can be done by navigating to Settings, tapping your name, selecting iCloud, and then turning off the “Find My iPhone” feature. Moreover, it’s advisable to sign out of iCloud and the iTunes & App Store to disassociate your device from your accounts.
Furthermore, if your iPhone 11 is linked to any Bluetooth accessories or Apple Watch, it’s recommended to unpair them to ensure a seamless transition post-erasure. Finally, ensure that you have the necessary login credentials for your Apple ID and any associated accounts, as these may be required during the setup process after the erasure.
**
Backing Up Your Data
**
Before you erase your iPhone 11, it’s crucial to back up your data to ensure that you don’t lose any important information. Backing up your device allows you to restore your data onto a new phone or after you’ve erased and reset your current one. Here’s how to back up your iPhone 11:
1. Using iCloud: iCloud provides a convenient way to back up your iPhone wirelessly. To do this, ensure that your device is connected to a Wi-Fi network, then go to Settings, tap on your name, select iCloud, and then tap iCloud Backup. Finally, select “Back Up Now” to initiate the backup process. It’s important to ensure that you have enough iCloud storage space for the backup.
2. Using iTunes: If you prefer to back up your iPhone 11 using your computer, you can use iTunes. Connect your iPhone to your computer using a USB cable, then open iTunes and select your device. From there, click “Back Up Now” to start the backup process. It’s advisable to encrypt your backup to include sensitive information such as passwords.
3. Verifying Your Backup: Once the backup process is complete, it’s a good practice to verify that your data has been successfully backed up. You can do this by going to Settings, tapping on your name, selecting iCloud, then iCloud Backup. Under “Back Up Now,” you should see the time and size of your last backup. If you’ve used iTunes, you can verify the backup by going to iTunes > Preferences > Devices.
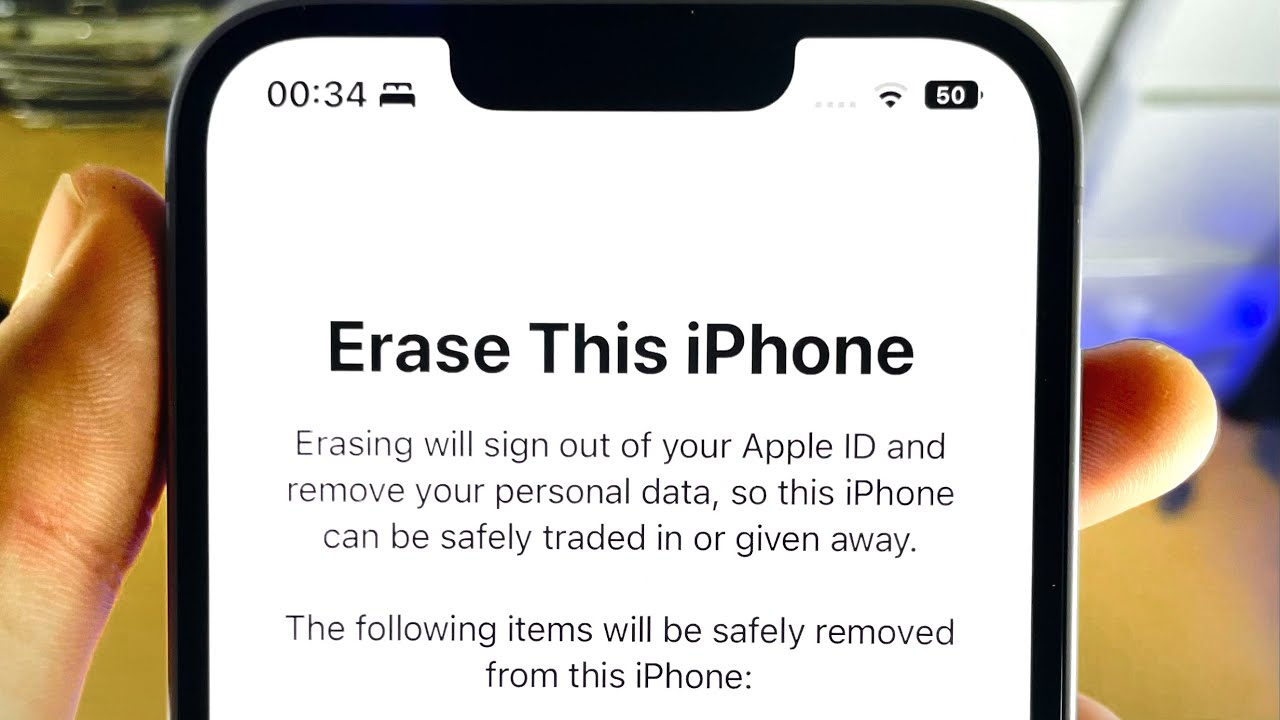
Erasing Your iPhone 11
When it comes time to part ways with your iPhone 11, whether you’re upgrading to a new model or passing it on to someone else, it’s crucial to erase all your personal data from the device. This process ensures that your sensitive information remains secure and prevents it from falling into the wrong hands.
Erasing your iPhone 11 is a straightforward process, but it’s essential to follow the correct steps to ensure that all data is permanently removed from the device. Once you initiate the erasure, it’s virtually impossible to recover the deleted data, so it’s crucial to back up any information you want to retain before proceeding.
Before erasing your iPhone 11, it’s important to disable Find My iPhone and sign out of iCloud and the iTunes Store. This step ensures that the device is no longer linked to your Apple ID, allowing the new owner to set it up with their own credentials. Additionally, it prevents any potential activation lock issues for the new user.
Once you’ve disabled Find My iPhone and signed out of iCloud and the iTunes Store, you can proceed with the erasure process. This can be done directly on the device by navigating to Settings, selecting General, and then tapping Reset. From there, choose the “Erase All Content and Settings” option, and follow the on-screen prompts to confirm the erasure.
After initiating the erasure, your iPhone 11 will go through a process of deleting all data and restoring the device to its factory settings. This ensures that all personal information, apps, and settings are completely removed from the device, leaving it in a clean state for its next user.
It’s important to note that once the erasure process begins, it cannot be undone. Therefore, it’s crucial to double-check that you’ve backed up any important data before proceeding. Once the erasure is complete, you can feel confident that your iPhone 11 is ready for its next owner, free from your personal information and ready for a fresh start.
Sure, here's the content for "Restoring Your iPhone 11" section:
html
Restoring Your iPhone 11
Restoring your iPhone 11 is a straightforward process that allows you to bring back your data and settings after performing a factory reset or getting a new device. Whether you’re setting up a new iPhone 11 or recovering from a backup, the restoration process ensures that your device is personalized to your preferences.
To begin the restoration, ensure that your iPhone 11 is connected to a stable Wi-Fi network. Then, navigate to the “Apps & Data” screen during the initial setup or go to “Settings” > “General” > “Reset” > “Erase All Content and Settings” if you’re restoring from a factory reset. Select “Restore from iCloud Backup” if you have a backup stored in iCloud, or choose “Restore from Mac or PC” if you have a backup saved on your computer.
After selecting the preferred backup option, sign in to your iCloud account or connect your iPhone 11 to your computer. Follow the on-screen instructions to select the most recent backup and initiate the restoration process. Depending on the size of the backup and your internet connection speed, the restoration may take some time to complete. Ensure that your iPhone 11 remains connected to power and the Wi-Fi network throughout the process.
Once the restoration is finished, your iPhone 11 will reboot, and you’ll be prompted to enter your Apple ID and password. After signing in, your device will begin downloading your apps, photos, and other data from the selected backup. It’s essential to remain connected to Wi-Fi and power until the process is fully completed.
Upon successful completion, your iPhone 11 will be restored to the state it was in when the backup was made. Your apps, settings, and personal data will be reinstated, allowing you to continue using your device seamlessly. With your iPhone 11 restored, you can enjoy a familiar and personalized experience tailored to your preferences.
Certainly! Here's the conclusion for the article:
html
Conclusion
Erasing your iPhone 11 is a crucial step to safeguard your privacy and security. Whether you’re preparing to sell your device, troubleshooting software issues, or simply seeking a fresh start, knowing how to erase your iPhone 11 is invaluable. By following the simple steps outlined in this guide, you can confidently reset your device to its factory settings, ensuring that your personal data is securely wiped. Remember to back up your important information before initiating the erasure process, and always proceed with caution to avoid any unintended data loss. With the knowledge gained from this article, you can now take control of your iPhone 11’s data and privacy with ease.
FAQs
Q: Can I erase my iPhone 11 remotely if it’s lost or stolen?
A: Yes, you can remotely erase your iPhone 11 using the “Find My” app or iCloud.com to protect your data in case it’s lost or stolen.
Q: Will erasing my iPhone 11 delete my iCloud account?
A: No, erasing your iPhone 11 will not delete your iCloud account. Your iCloud account is separate from the device and will remain intact even after erasing the iPhone.
Q: What should I do before erasing my iPhone 11?
A: Before erasing your iPhone 11, it’s important to back up your data to iCloud or your computer to ensure that you don’t lose any important information such as photos, contacts, or app data.
Q: Can I erase my iPhone 11 without a passcode?
A: Yes, you can erase your iPhone 11 without a passcode by using the “Find My” app or iCloud.com to remotely erase the device, even if you don’t have access to the passcode.
Q: Will erasing my iPhone 11 remove the iOS software?
A: No, erasing your iPhone 11 will not remove the iOS software. It will only erase your personal data and settings, returning the device to its factory default state.