
Congratulations on getting your hands on the latest iPhone 13! Setting up a new device can be an exciting yet daunting task, especially if you're new to the iPhone ecosystem. Fear not, as I'm here to guide you through the process and ensure that you get the most out of your new gadget right from the start. In this comprehensive guide, you'll learn everything from unboxing your iPhone 13 to configuring essential settings and transferring data seamlessly. By the end of this article, you'll be equipped with the knowledge and confidence to set up your new iPhone 13 like a pro. Let's dive in and make the most of your cutting-edge device!
Inside This Article
- Unboxing Your iPhone 13
- Turning On Your iPhone 13
- Setting Up Face ID or Touch ID
- Transferring Data from Your Old Device
- Conclusion
- FAQs
Unboxing Your iPhone 13
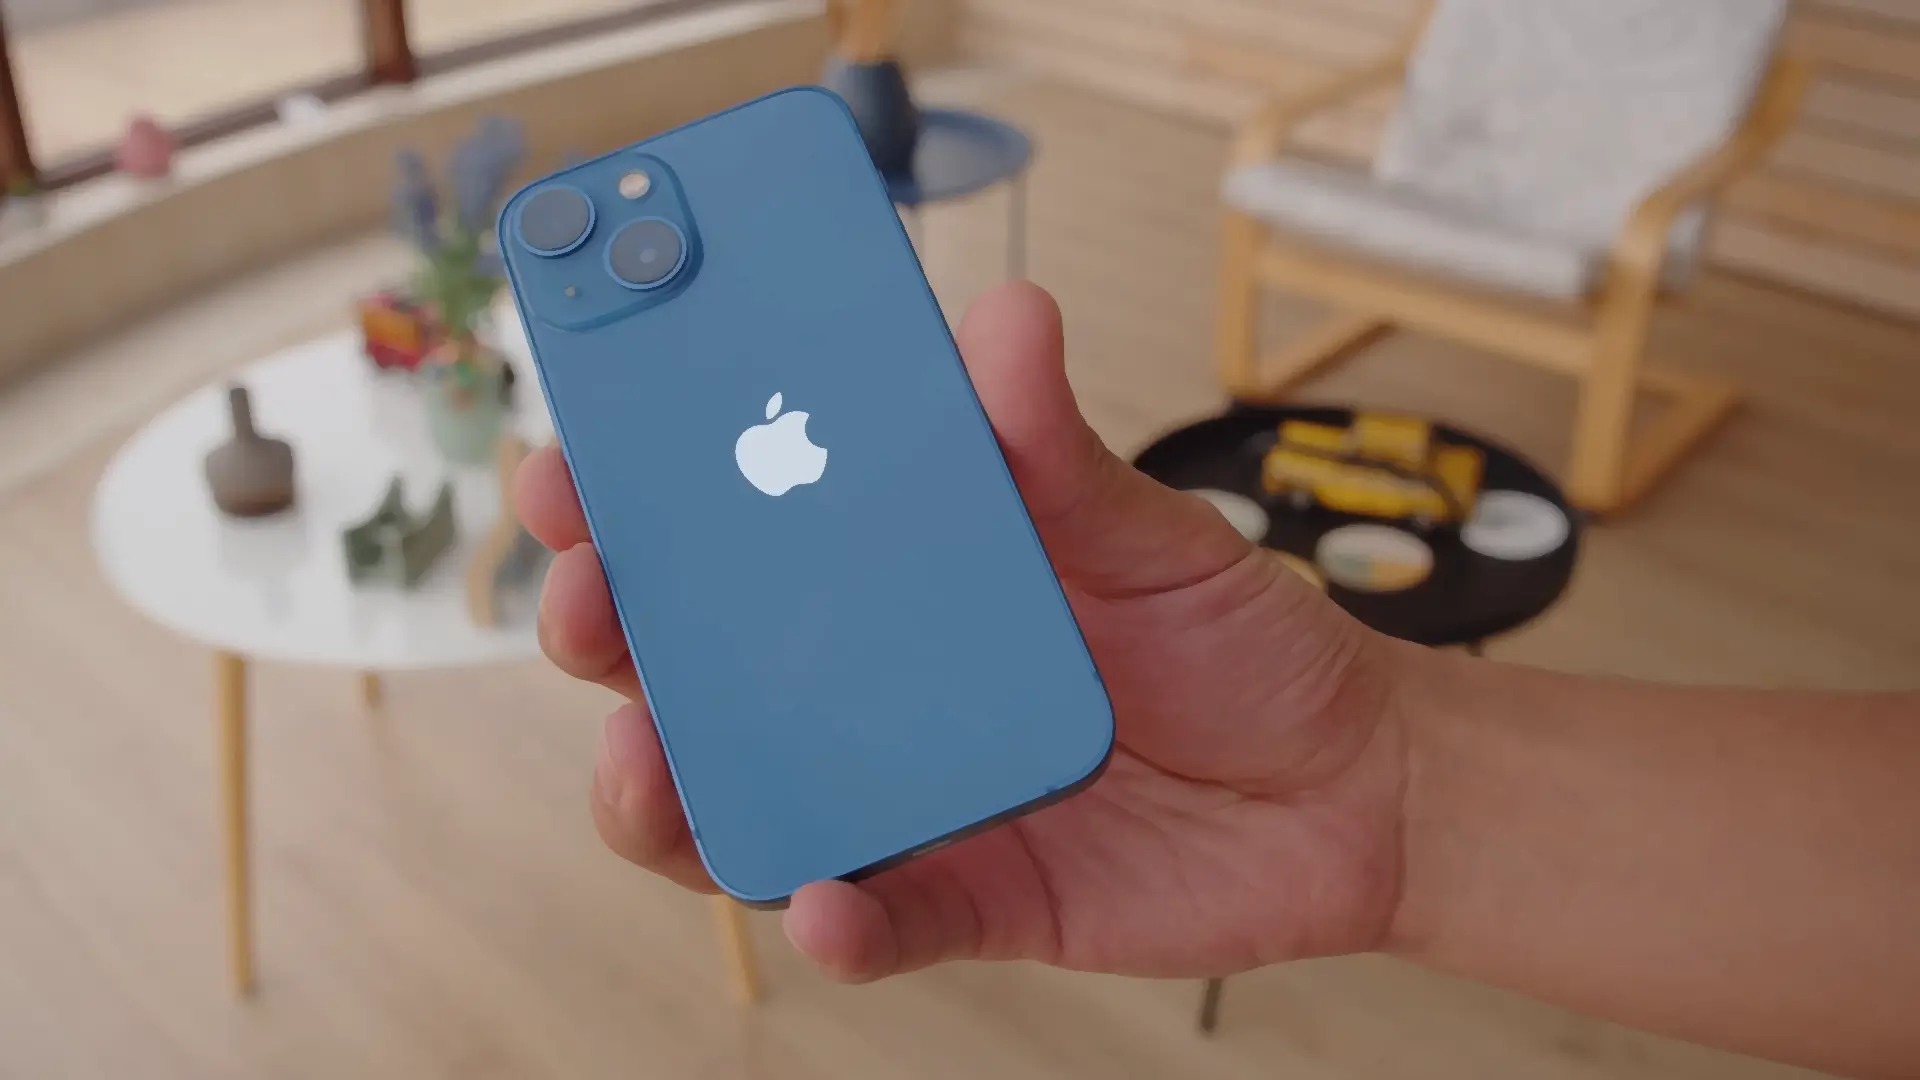
Congratulations on getting your hands on the latest iPhone 13! Unboxing a new phone is always an exciting experience, and the iPhone 13 is no exception. As you carefully remove the shrink wrap and lift the lid of the sleek white box, you’ll be greeted by the stunning design of the iPhone 13.
Peel back the protective film to reveal the gorgeous display, and lift the phone out of its snug compartment. The weight of the device feels just right in your hand, and the smooth finish exudes a sense of premium quality. Underneath the phone, you’ll find the included accessories, such as the charging cable, adapter, and perhaps a set of earbuds, depending on your region.
As you hold your new iPhone 13, take a moment to appreciate its craftsmanship and the anticipation of all the experiences it will bring. The unboxing is just the beginning of your journey with this remarkable device.
Sure, here's the content for "Turning On Your iPhone 13":
Turning On Your iPhone 13
After unboxing your shiny new iPhone 13, the excitement of turning it on for the first time is palpable. To power up your device, press and hold the side button until the Apple logo appears on the screen. This simple action marks the beginning of your journey with your new iPhone.
As the Apple logo illuminates the display, you’ll feel a rush of anticipation, knowing that you’re about to explore the innovative features and capabilities of your new device. The seamless integration of hardware and software in the iPhone 13 promises a user experience like no other.
Once the Apple logo fades, your iPhone 13 will boot up, and the setup process will commence. This is the initial step toward personalizing your device and making it truly yours. The captivating display and responsive interface of the iPhone 13 will immediately impress you, setting the stage for a delightful user experience.
Setting Up Face ID or Touch ID
Once you’ve powered on your new iPhone 13, it’s time to set up the advanced security features: Face ID or Touch ID. These features not only provide convenient access to your device but also ensure the security of your personal data. Here’s how to get started with setting up Face ID or Touch ID on your new iPhone 13.
If your iPhone 13 is equipped with Face ID, the setup process is remarkably simple. Navigate to the “Settings” app and select “Face ID & Passcode.” Then, tap “Enroll Face” to initiate the Face ID setup process. Follow the on-screen prompts to position your face within the designated frame, allowing the TrueDepth camera to capture your facial features from various angles. Once the setup is complete, you can use Face ID to unlock your device, authenticate app purchases, and more with just a glance.
For devices featuring Touch ID, the setup process is slightly different. Go to “Settings,” select “Touch ID & Passcode,” and then tap “Add a Fingerprint.” Follow the instructions to place your finger on the Touch ID sensor, adjusting your grip to ensure that the sensor captures all aspects of your fingerprint. After completing the setup, you can effortlessly unlock your iPhone 13 and authorize transactions using your registered fingerprint.
Both Face ID and Touch ID offer unparalleled convenience and security, allowing you to access your device and sensitive information with ease while safeguarding against unauthorized access. Whether you opt for the facial recognition technology of Face ID or the fingerprint authentication of Touch ID, your iPhone 13 is equipped with cutting-edge security features to streamline your digital experience.
Transferring Data from Your Old Device
When you upgrade to a new iPhone 13, you’ll want to ensure that all your important data, such as contacts, photos, and apps, seamlessly transitions to your new device. Fortunately, Apple provides a variety of convenient methods to facilitate this process.
The first step is to back up your old device. If you’ve been using an iPhone, the easiest way to do this is through iCloud. Simply go to Settings, tap your name, select iCloud, and then tap iCloud Backup. Ensure that your device is connected to Wi-Fi and plugged in, then tap “Back Up Now.” This will create a complete backup of your device, including your settings, app data, and home screen layout.
Alternatively, if you prefer to back up your device to your computer, you can use iTunes or Finder. Connect your old iPhone to your computer, open iTunes or Finder, select your device when it appears, and choose “Back Up Now.” This will create a secure backup of your device on your computer.
Once your old device is backed up, it’s time to set up your new iPhone 13. During the initial setup process, you’ll be prompted to restore from a backup. If you backed up your old iPhone to iCloud, simply select “Restore from iCloud Backup,” sign in to iCloud, and choose the most relevant backup to restore from. If you used iTunes or Finder to back up your old device, select “Restore from Mac or PC” and follow the on-screen instructions to complete the process.
After selecting the backup to restore from, your new iPhone 13 will begin transferring your data. This may take some time, depending on the size of your backup and the speed of your internet connection. Once the transfer is complete, your new device will be populated with all the data and settings from your old device, ensuring a seamless transition to your new iPhone 13.
**
Conclusion
**
Setting up your new iPhone 13 is an exciting experience that opens up a world of possibilities. From personalizing your device to exploring its advanced features, the process is designed to be intuitive and user-friendly. By following the steps outlined in this guide, you can seamlessly configure your iPhone 13 and begin enjoying its cutting-edge technology. Remember to take advantage of the iCloud services, security features, and accessibility options to tailor your device to your specific needs. As you embark on this journey with your new iPhone 13, may it become a trusted companion that enriches your daily life and keeps you seamlessly connected to the world around you.
FAQs
**Q: How do I transfer data from my old iPhone to the new iPhone 13?**
A: You can transfer data from your old iPhone to the new iPhone 13 using the Quick Start feature. Simply place your old iPhone next to the new iPhone 13, and follow the on-screen instructions to transfer your data, including settings, apps, and more.
Q: Can I use my current SIM card with the iPhone 13?
A: If your current SIM card is compatible with the iPhone 13, you can use it. However, if your current SIM card is not compatible, you may need to contact your carrier to obtain a new SIM card that is compatible with the iPhone 13.
Q: How do I set up Face ID on the iPhone 13?
A: To set up Face ID on the iPhone 13, go to Settings > Face ID & Passcode. Follow the on-screen instructions to set up Face ID by positioning your face within the frame and moving your head in a circular motion.
Q: What is the best way to optimize battery life on the iPhone 13?
A: To optimize battery life on the iPhone 13, consider adjusting settings such as screen brightness, background app refresh, and location services. Additionally, using Low Power Mode when your battery is running low can help extend battery life.
Q: How do I customize the home screen on the iPhone 13?
A: To customize the home screen on the iPhone 13, press and hold an app icon until it enters jiggle mode. From there, you can rearrange app icons, create app folders, and add widgets to personalize your home screen.