
Setting up a new iPhone 12 is an exciting process that allows you to personalize your device and make it your own. Whether you're unboxing your first iPhone or upgrading from a previous model, the setup process is designed to be intuitive and straightforward. In this article, we'll guide you through the essential steps to get your iPhone 12 up and running, from powering it on for the first time to customizing your settings and transferring data from your old device. By the end of this guide, you'll be ready to explore the impressive features and capabilities of your new iPhone 12. So, let's dive in and make the setup process a seamless and enjoyable experience.
Inside This Article
- Getting Started
- Turning on Your iPhone 12
- Setting Up Face ID or Touch ID
- Transferring Data from Your Old Device
- Conclusion
- FAQs
Getting Started
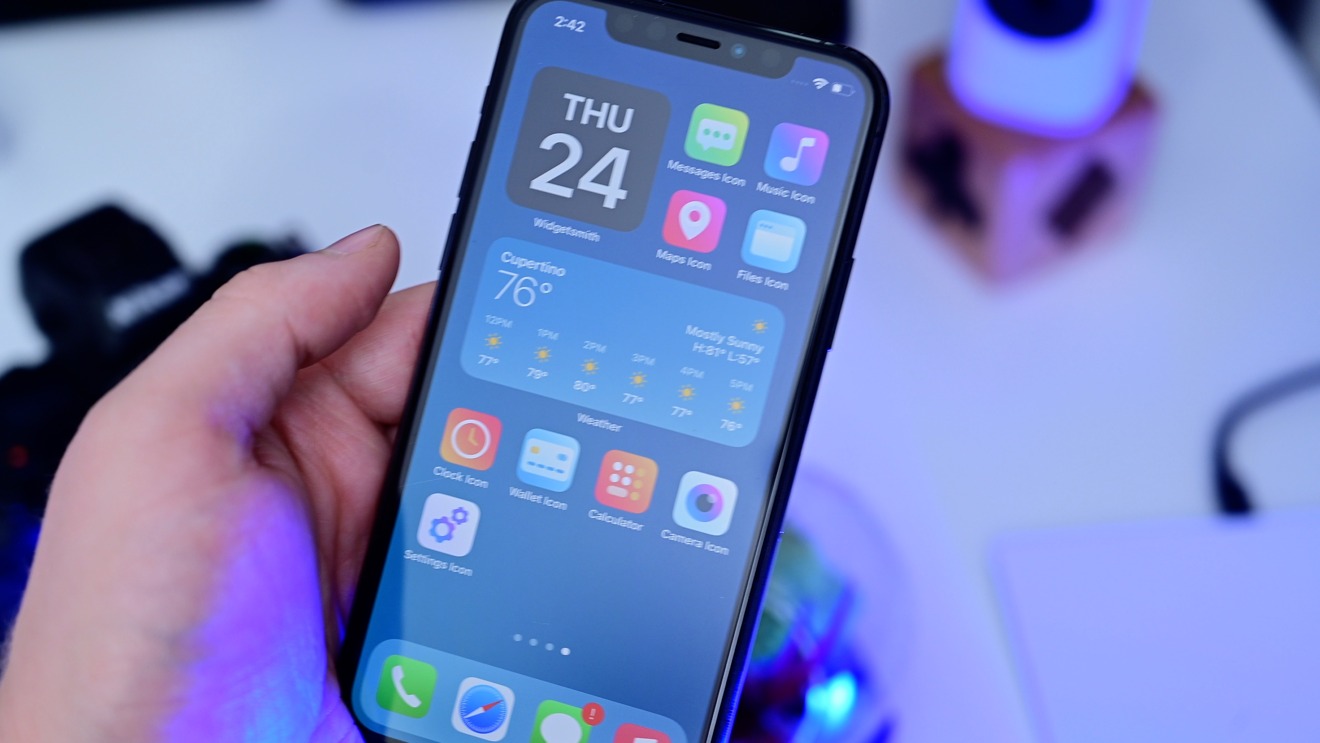
Congratulations on your new iPhone 12! Whether you’re upgrading from an older iPhone or switching from a different device, getting started with your new iPhone is an exciting experience. From unboxing the sleek device to powering it on for the first time, this guide will walk you through the essential steps to set up your iPhone 12 and get it ready for use.
Before diving into the setup process, it’s essential to ensure that your iPhone 12 is fully charged. Connect the device to the included charger and let it charge for a while. While it’s charging, take a moment to familiarize yourself with the physical features of the iPhone 12, including the power button, volume controls, and the iconic notch at the top of the display.
Once your iPhone 12 is adequately charged, you’re ready to embark on the setup journey. Grab your old device if you’re planning to transfer data, and let’s get started on setting up your new iPhone 12!
**
Turning on Your iPhone 12
**
So, you’ve got your hands on the sleek and powerful iPhone 12. The first step is to power it on and get ready to experience the magic of Apple’s latest creation. Whether you’re upgrading from an older iPhone or switching from a different brand, the process of turning on your iPhone 12 is a breeze.
Locate the power button on the right side of your iPhone 12. It’s slightly larger than the volume buttons and is used to turn the device on and off. Press and hold the power button until the Apple logo appears on the screen. This indicates that your iPhone 12 is booting up and will soon be ready for setup.
Once the Apple logo vanishes, you’ll be greeted by the “Hello” screen, signaling that your iPhone 12 is powered on and waiting for you to begin the setup process. Now you’re ready to embark on the exciting journey of personalizing your iPhone 12 to suit your preferences and needs.
Setting Up Face ID or Touch ID
Both Face ID and Touch ID are convenient and secure ways to unlock your iPhone and authenticate purchases. Setting up either of these features is quick and straightforward.
To set up Face ID, navigate to the “Settings” app and select “Face ID & Passcode.” Follow the on-screen instructions to enroll your face by positioning it within the designated frame and moving your head in a circular motion. Once completed, your iPhone will be able to recognize your face for unlocking the device and authorizing app and Apple Pay purchases.
If you prefer using Touch ID, you can set it up by going to “Settings,” selecting “Touch ID & Passcode,” and following the prompts to enroll your fingerprint. This method allows you to unlock your phone and approve transactions with just a touch of your finger.
Both Face ID and Touch ID provide an additional layer of security for your iPhone, offering convenience and peace of mind in safeguarding your personal information and device access.
Transferring Data from Your Old Device
Transferring data from your old device to your new iPhone 12 is a breeze thanks to Apple’s intuitive tools. The Quick Start feature allows you to transfer your data wirelessly from your old device to your new iPhone. Simply place your old device next to your new iPhone 12, and a prompt will appear asking if you want to set up a new device. Tap “Continue” and follow the on-screen instructions to complete the transfer.
If you prefer a more traditional approach, you can use iCloud or iTunes to transfer your data. iCloud enables you to wirelessly back up your old device and then restore that backup to your new iPhone 12. On the other hand, iTunes allows you to connect your old device to your computer and create a backup, which can then be restored to your new iPhone 12.
Regardless of the method you choose, be sure to back up your old device before initiating the transfer to ensure that all your data, including contacts, photos, apps, and settings, is seamlessly transferred to your new iPhone 12. Once the transfer is complete, you can enjoy the familiarity of your old device’s content on your new iPhone 12.
**
Conclusion
**
Setting up a new iPhone 12 is an exciting and straightforward process that allows you to personalize your device to your preferences. From transferring data to customizing settings, the iPhone 12 offers a seamless user experience. By following the steps outlined in this guide, you can ensure that your new iPhone 12 is tailored to meet your needs and preferences, providing you with a smooth and enjoyable experience from the moment you power it on. As you explore the features and functionalities of your new iPhone 12, you’ll discover the full extent of its capabilities, empowering you to stay connected, productive, and entertained in the digital world.
FAQs
Q: What do I need to set up my new iPhone 12?
A: To set up your new iPhone 12, you'll need a Wi-Fi connection, an Apple ID, and the latest version of iOS. Additionally, it's recommended to have a backup of your previous device, either through iCloud or iTunes.
Q: Can I transfer data from my old iPhone to the new iPhone 12?
A: Yes, you can transfer data from your old iPhone to the new iPhone 12 using the Quick Start feature, iCloud, or iTunes. This allows you to seamlessly transfer your apps, photos, contacts, and other data to your new device.
Q: How do I activate my new iPhone 12?
A: To activate your new iPhone 12, simply turn it on and follow the on-screen instructions. You may need to insert a SIM card or contact your carrier to activate the device, depending on your specific situation.
Q: What is the process for setting up Face ID on the iPhone 12?
A: Setting up Face ID on the iPhone 12 is a straightforward process. Simply go to Settings, select Face ID & Passcode, and follow the prompts to set up facial recognition for unlocking your device and authorizing purchases.
Q: Can I customize the settings during the setup process?
A: Yes, during the setup process, you have the opportunity to customize various settings, including language, region, Siri preferences, and privacy settings. This allows you to tailor the device to your preferences right from the start.