
Setting up Wi-Fi on your iPhone 10 is a fundamental step in harnessing the full potential of your device. Whether you're at home, work, or on the go, connecting to a Wi-Fi network ensures faster internet speeds, seamless app updates, and more. In this article, we'll delve into the ins and outs of setting up Wi-Fi on your iPhone 10, providing you with step-by-step guidance and valuable insights to make the process a breeze. By the end, you'll be equipped with the knowledge to effortlessly connect your iPhone 10 to Wi-Fi networks, enhancing your overall user experience. So, let's dive in and unlock the power of Wi-Fi connectivity on your iPhone 10.
Inside This Article
- Connecting to Wi-Fi Network
- Accessing Wi-Fi Settings
- Entering Wi-Fi Password
- Troubleshooting Wi-Fi Connection
- Conclusion
- FAQs
Connecting to Wi-Fi Network
Connecting your iPhone 10 to a Wi-Fi network is essential for accessing the internet, downloading apps, and streaming content. By connecting to Wi-Fi, you can also conserve your cellular data and enjoy faster internet speeds. Follow these simple steps to connect your iPhone 10 to a Wi-Fi network.
First, unlock your iPhone 10 by swiping up from the bottom of the screen or entering your passcode or using Face ID. Once unlocked, navigate to the home screen by pressing the home button or swiping up, depending on your settings.
Next, tap on the “Settings” app, which is represented by a gear icon. This will open the settings menu, where you can adjust various configurations for your iPhone 10.
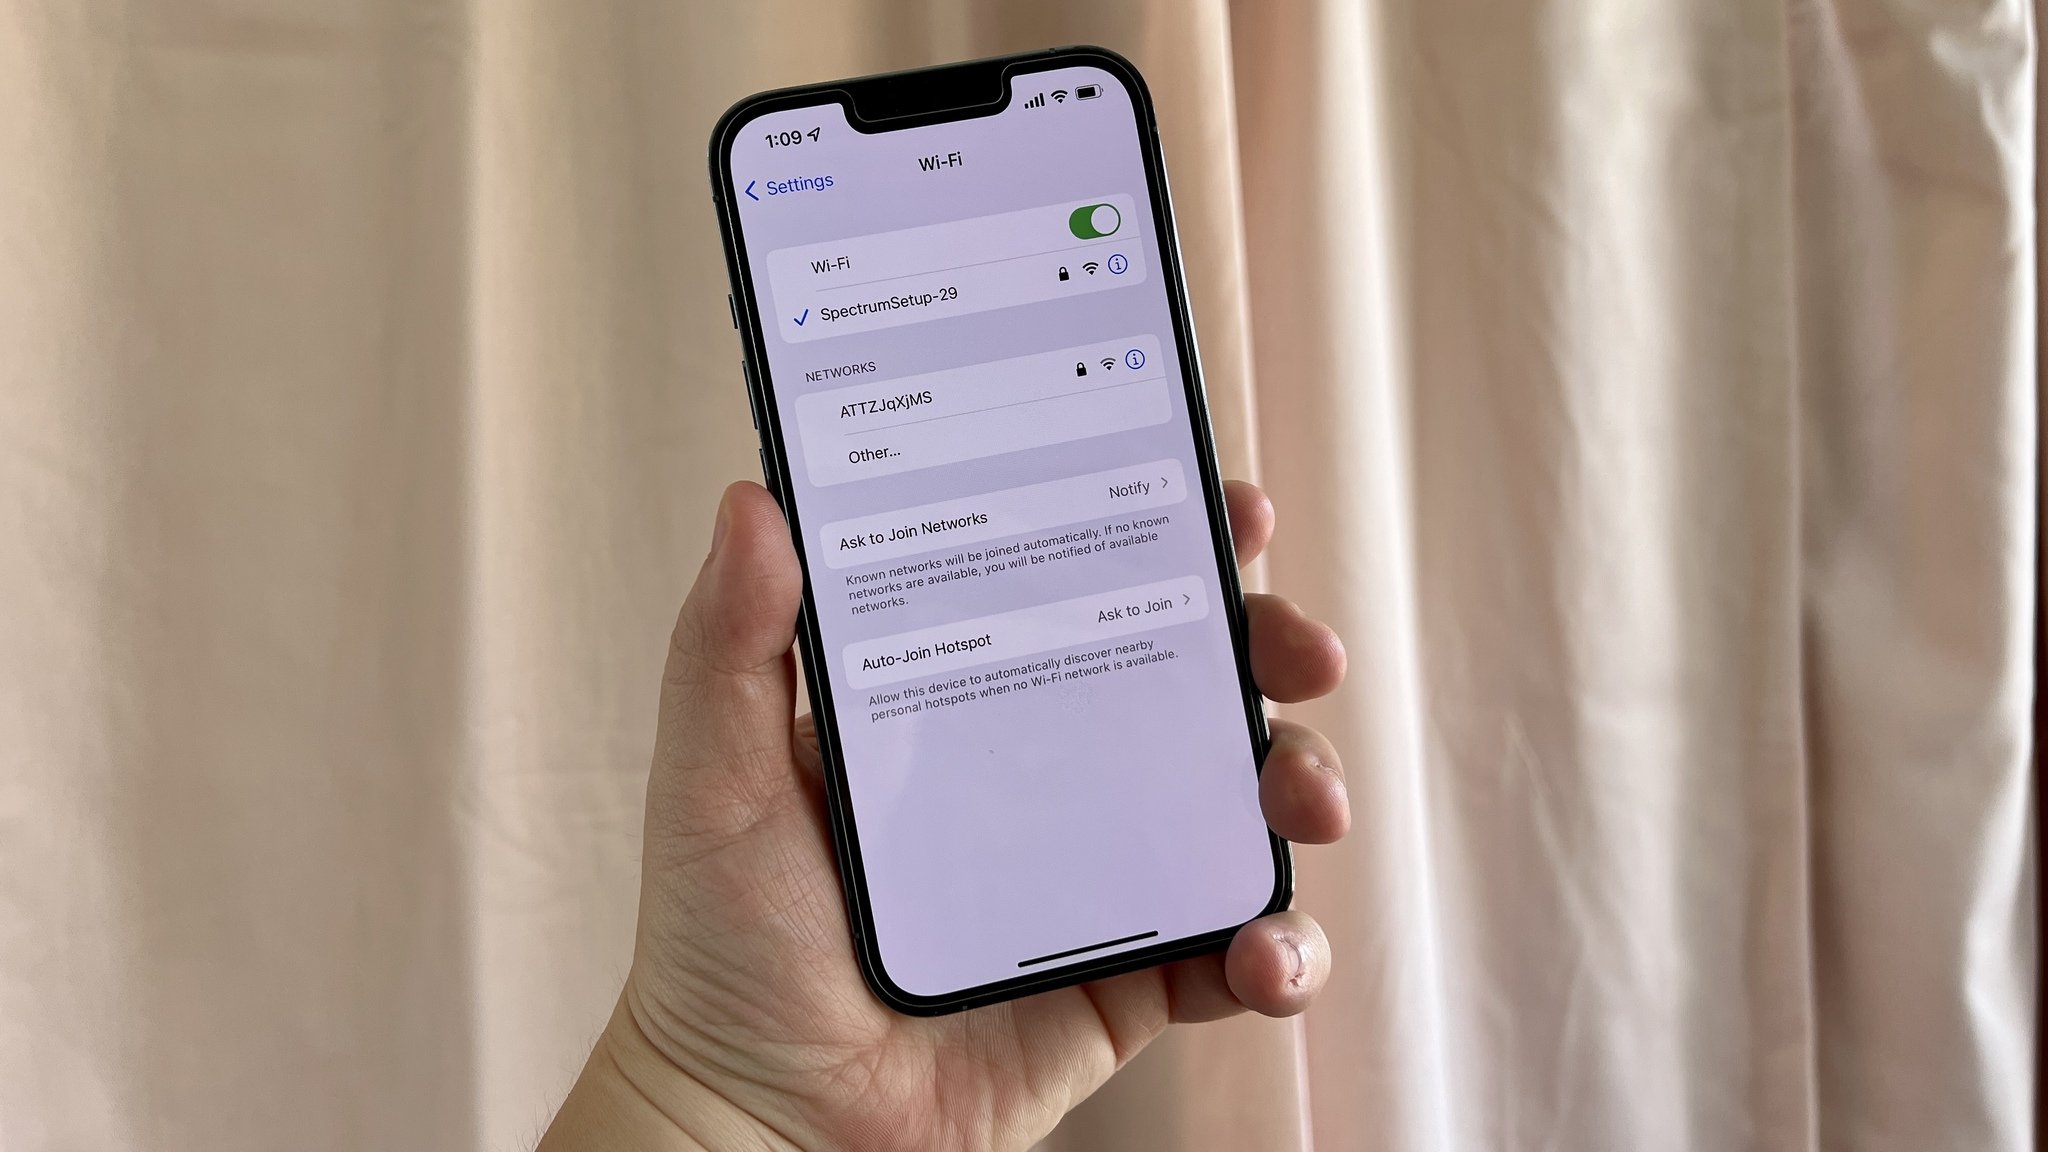
Now, look for the “Wi-Fi” option in the settings menu and tap on it. This will display a list of available Wi-Fi networks within range of your iPhone 10. Select the Wi-Fi network you want to connect to by tapping on its name.
If the Wi-Fi network is secured with a password, you will be prompted to enter the password. Once you have entered the correct password, tap “Join” or “Connect” to establish a connection to the Wi-Fi network.
After successfully connecting to the Wi-Fi network, a checkmark or Wi-Fi signal icon will appear next to the network name in the Wi-Fi settings menu, indicating that your iPhone 10 is now connected to the selected Wi-Fi network.
Accessing Wi-Fi Settings
Accessing the Wi-Fi settings on your iPhone 10 is a straightforward process that allows you to manage and configure your wireless connections with ease. Whether you’re connecting to a new network or adjusting your existing settings, the Wi-Fi menu provides the necessary options to ensure a seamless and reliable connection.
To access the Wi-Fi settings, begin by unlocking your iPhone 10 and navigating to the home screen. From there, locate and tap on the “Settings” app, which is represented by a gear icon. Once inside the Settings menu, scroll down and select “Wi-Fi” to enter the Wi-Fi settings panel.
Upon entering the Wi-Fi settings, you’ll be presented with a list of available networks in your vicinity. If Wi-Fi is enabled, your iPhone 10 will automatically scan for and display nearby networks, allowing you to select the desired network for connection. Additionally, you can manage and prioritize known networks by tapping on the “i” icon next to each network’s name.
**
Entering Wi-Fi Password
**
Once you’ve selected the desired Wi-Fi network, the next step is entering the password. This is a crucial security measure to ensure that only authorized users can access the network. The password, also known as the Wi-Fi key or security key, is typically a combination of letters, numbers, and special characters. It’s important to enter the password accurately to establish a secure connection.
After selecting the network, a prompt will appear, requesting the Wi-Fi password. The on-screen keyboard will enable you to input the characters. Take your time to carefully enter the password, ensuring that each character is accurate. Be mindful of uppercase and lowercase letters, as Wi-Fi passwords are case-sensitive.
As you enter the password, the characters will usually appear as dots or asterisks on the screen to protect the confidentiality of the information. This feature prevents others from viewing the password as you type it, adding an extra layer of security to the process.
Troubleshooting Wi-Fi Connection
Experiencing issues with your iPhone 10’s Wi-Fi connection can be frustrating, but there are several troubleshooting steps you can take to resolve the issue.
If you’re having trouble connecting to a Wi-Fi network, start by ensuring that the network you’re trying to connect to is functioning properly. Check if other devices can connect to the network, and if not, the issue may be with the network itself.
If the Wi-Fi network is operational but you still can’t connect, try restarting your iPhone 10. Sometimes, a simple reboot can resolve connectivity issues by refreshing the device’s network settings.
Another troubleshooting step is to forget the Wi-Fi network on your iPhone 10 and then reconnect to it. To do this, go to Settings, tap Wi-Fi, and then select the network. Tap “Forget This Network” and then reconnect by entering the password.
Updating your iPhone 10’s software to the latest version can also help resolve Wi-Fi connectivity issues. Apple often releases software updates that address known bugs and improve overall device performance, including Wi-Fi connectivity.
If none of these steps resolve the Wi-Fi connection problem, there may be an issue with your iPhone’s hardware. In this case, contacting Apple Support or visiting an authorized service provider can help diagnose and address any underlying hardware issues.
By following these troubleshooting steps, you can work towards resolving Wi-Fi connectivity issues on your iPhone 10 and enjoy seamless internet access on your device.
Conclusion
Setting up Wi-Fi on your iPhone 10 is a straightforward process that allows you to connect to wireless networks and enjoy seamless internet access. By accessing the Settings app and navigating to the Wi-Fi menu, you can easily search for available networks, enter the necessary credentials, and establish a reliable connection. Additionally, by prioritizing security and selecting trusted networks, you can safeguard your device from potential threats while benefiting from high-speed internet connectivity. With the ability to seamlessly switch between Wi-Fi networks and cellular data, your iPhone 10 ensures that you stay connected wherever you go. By following the steps outlined in this guide, you can effortlessly configure Wi-Fi settings and make the most of your device’s wireless capabilities.
FAQs
-
How do I set up Wi-Fi on my iPhone 10?
To set up Wi-Fi on your iPhone 10, go to "Settings," select "Wi-Fi," and toggle the switch to turn it on. Then, choose your Wi-Fi network from the list and enter the password if required. -
Can I connect to a hidden Wi-Fi network on my iPhone 10?
Yes, you can connect to a hidden Wi-Fi network on your iPhone 10. Simply select "Other" in the Wi-Fi settings, and manually enter the network name, security type, and password. -
Why is my iPhone 10 not connecting to Wi-Fi?
If your iPhone 10 is not connecting to Wi-Fi, try restarting your device, resetting network settings, or updating the iOS. Additionally, ensure that the Wi-Fi network is functioning properly and that you are within range. -
How can I improve Wi-Fi signal strength on my iPhone 10?
To improve Wi-Fi signal strength on your iPhone 10, ensure that you are close to the Wi-Fi router, remove any obstructions, and consider using a Wi-Fi extender or mesh network for broader coverage. -
Is it safe to connect to public Wi-Fi on my iPhone 10?
Connecting to public Wi-Fi on your iPhone 10 can pose security risks. It is advisable to use a virtual private network (VPN) for added protection when accessing public Wi-Fi networks.