
The Moto G is a popular smartphone known for its impressive features and user-friendly interface. Setting up the Access Point Name (APN) on your Moto G is essential for ensuring seamless connectivity to the internet and other mobile services. Whether you're switching carriers, troubleshooting network issues, or simply need to configure the APN settings for the first time, this guide will walk you through the process step by step. By the end of this article, you'll have a clear understanding of how to set up the APN on your Moto G, empowering you to stay connected and make the most of your smartphone's capabilities. So, let's dive in and demystify the process of configuring APN settings on your Moto G.
Inside This Article
- Overview of APN
- Accessing APN Settings on Moto G
- Setting Up APN on Moto G
- Troubleshooting APN Issues on Moto G
- Conclusion
- FAQs
**
Overview of APN
**
When it comes to using mobile data and accessing the internet on your smartphone, the Access Point Name (APN) plays a crucial role. The APN is a gateway that allows your device to connect to the internet through your mobile network provider’s infrastructure. It acts as a set of configuration settings that enable your phone to send and receive data over the network.
Essentially, the APN serves as a bridge between your device and the mobile network, ensuring that the data transmission occurs smoothly and efficiently. Without the correct APN settings, your smartphone may struggle to establish a stable and reliable connection to the internet, leading to issues such as slow browsing speeds, inability to send or receive multimedia messages, and limited access to certain online services.
Understanding and configuring the APN settings on your Moto G is essential for optimizing your mobile data experience. By ensuring that the correct APN details are in place, you can enjoy seamless internet connectivity, fast data speeds, and unhindered access to a wide range of online content and services.
Accessing APN Settings on Moto G
Access Point Name (APN) settings are crucial for your Moto G to connect to the internet and send multimedia messages (MMS). To access the APN settings on your Moto G, you need to navigate to the “Settings” app on your device.
Start by unlocking your Moto G and locating the “Settings” app, which is represented by a gear icon. Tap on the “Settings” app to open it, and then scroll down the list of options to find the “Network & Internet” category. Tap on “Network & Internet” to access further settings related to your device’s connectivity.
Within the “Network & Internet” menu, look for the “Mobile network” option and tap on it to reveal more settings. Here, you will find the “Advanced” option, which houses the APN settings. Tap on “Advanced” to access the APN settings on your Moto G.
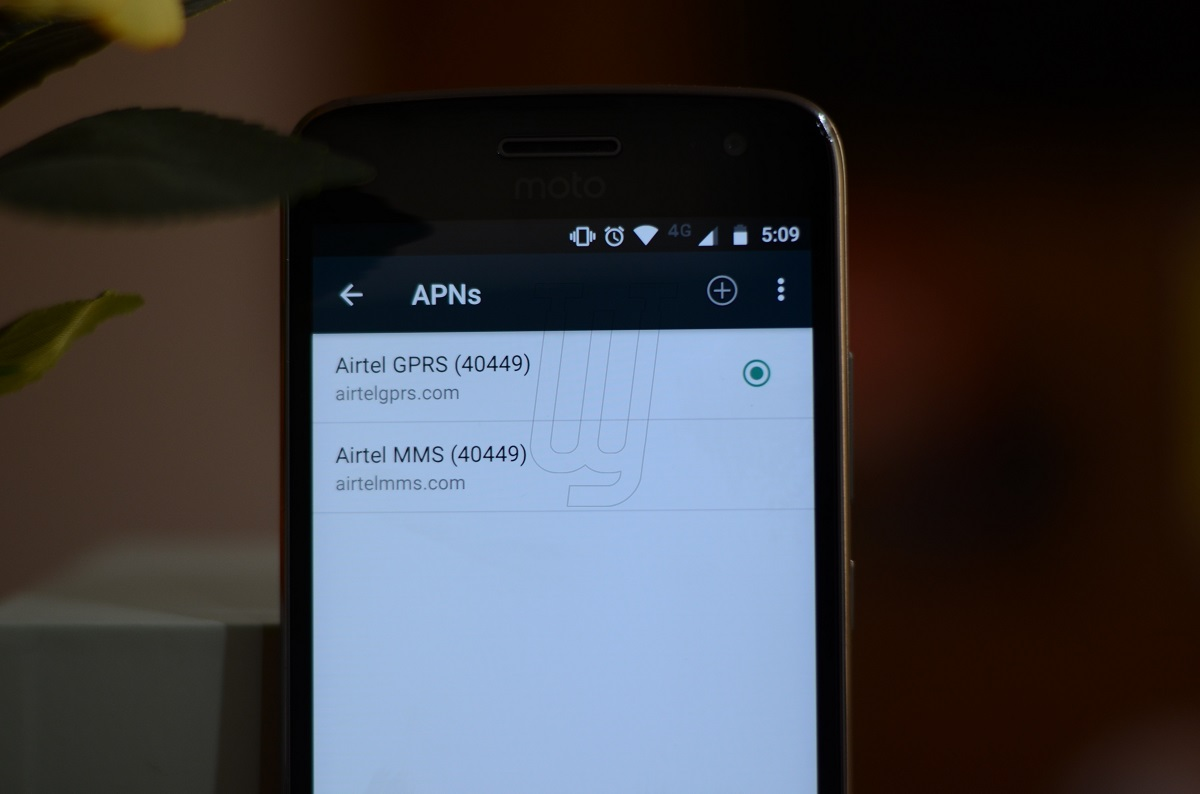
After tapping on “Advanced,” you will see the “Access Point Names” option. Tap on “Access Point Names” to view and configure the APN settings for your Moto G. This is where you can add, edit, or delete APN profiles to ensure that your device can connect to the internet and send MMS effectively.
Sure, here's the content for "Setting Up APN on Moto G" section:
html
Setting Up APN on Moto G
Setting up the Access Point Name (APN) on your Moto G is essential for ensuring proper data connectivity and network access. The APN settings act as a gateway between your device and the mobile network, allowing you to send and receive data, such as MMS and internet access.
Here’s a step-by-step guide to setting up the APN on your Moto G:
- Step 1: Start by accessing the “Settings” on your Moto G. You can do this by swiping down from the top of the screen and tapping the gear icon, or by locating the “Settings” app in your app drawer.
- Step 2: In the “Settings” menu, scroll down and tap on “Network & Internet” or “Connections,” depending on your device’s software version.
- Step 3: Select “Mobile network” or “Cellular networks” to access the SIM card settings.
- Step 4: Tap on “Advanced” or “Access Point Names” to view and edit the APN settings.
- Step 5: If you have multiple SIM cards in your Moto G, select the SIM card for which you want to set up the APN.
- Step 6: Tap on “Add” or the “+” symbol to create a new APN profile.
- Step 7: Enter the APN settings provided by your mobile carrier. These settings typically include fields for “Name,” “APN,” “Proxy,” “Port,” “Username,” “Password,” “Server,” “MMSC,” “MMS proxy,” “MMS port,” “MCC,” “MNC,” “Authentication type,” “APN type,” and “APN protocol.
- Step 8: After entering the APN details, save the settings and make sure to select the newly created APN as the active one.
- Step 9: Restart your Moto G to apply the new APN settings.
Once you’ve completed these steps, your Moto G should be configured with the correct APN settings, allowing for seamless data connectivity and network access.
Troubleshooting APN Issues on Moto G
While setting up the Access Point Name (APN) on your Moto G, you may encounter certain issues that can disrupt your phone’s network connectivity. Here are some troubleshooting steps to help you resolve APN-related problems:
1. Check APN Settings: Start by reviewing the APN settings you entered. Ensure that the details, such as the APN, username, password, server, MMSC, MMS proxy, MMS port, MCC, MNC, and authentication type, are accurate. Any discrepancies can lead to connectivity issues.
2. Restart Your Device: Sometimes, a simple restart can resolve network-related issues. Turn off your Moto G, wait for a few seconds, and then turn it back on to see if the APN settings take effect properly.
3. Network Coverage: Check if your device is within an area with adequate network coverage. Weak or fluctuating signals can impact the functionality of your APN settings, leading to connectivity problems.
4. Data Roaming: If you’re in an area where you typically don’t have network coverage, ensure that data roaming is enabled in your device’s settings. This allows your Moto G to connect to other networks when your primary network is unavailable.
5. Contact Your Service Provider: If the issue persists, get in touch with your service provider. They can assist in verifying the APN settings and may also provide specific configuration details tailored to their network.
6. Software Updates: Ensure that your Moto G is running the latest software version. Manufacturers often release updates to address network-related issues and improve overall device performance.
By following these troubleshooting steps, you can effectively address APN issues on your Moto G, ensuring seamless connectivity and optimal network performance.
Conclusion
Setting the Access Point Name (APN) on your Moto G is essential for ensuring seamless internet connectivity and optimal performance. By following the steps outlined in this guide, you can easily configure the APN settings to match your carrier’s requirements, enabling you to enjoy uninterrupted data services on your device. Whether you’re troubleshooting connectivity issues or switching to a new network, knowing how to set the APN empowers you to take control of your smartphone’s internet settings. With the right APN configuration, you can maximize your Moto G’s capabilities and stay connected wherever you go.
FAQs
-
What is an APN, and why do I need to set it on my Moto G?
An Access Point Name (APN) is the gateway between a mobile network and the internet. Setting the correct APN on your Moto G is crucial for accessing mobile data, sending MMS, and using other internet-based services.
-
How do I find the APN settings on my Moto G?
To access the APN settings on your Moto G, go to "Settings," then tap on "Network & Internet," followed by "Mobile network" and finally "Advanced." From there, select "Access Point Names" to view and edit the APN settings.
-
What information do I need to set up the APN on my Moto G?
You will need to obtain the correct APN settings from your mobile network provider. This typically includes details such as the APN name, APN type, proxy, port, username, password, server, MMSC, MMS proxy, MMS port, MCC, MNC, authentication type, and APN protocol.
-
What should I do if my Moto G is unable to connect to the internet after setting the APN?
If you encounter connectivity issues after setting the APN, try restarting your Moto G and ensuring that the entered APN settings are accurate. Additionally, check if mobile data is enabled in the device settings.
-
Are there any risks involved in changing the APN settings on my Moto G?
Modifying the APN settings on your Moto G is generally safe, as long as you input the correct details provided by your mobile network operator. However, incorrect APN settings may lead to connectivity issues, so it's essential to double-check the information before making any changes.