
Are you looking to add PayPal to your iPhone wallet? With the increasing popularity of digital payments, many users are seeking ways to conveniently manage their funds and make online transactions. The iPhone wallet, also known as Apple Wallet or Apple Pay, allows users to store their credit and debit cards, loyalty cards, boarding passes, and even digital tickets. But what if you want to add PayPal, a leading digital wallet service, to your iPhone wallet? Well, you’re in luck! In this article, we will guide you through the process of adding PayPal to your iPhone wallet, providing you with a hassle-free way to make purchases, transfer funds, and manage your PayPal balance directly from your iPhone. So, let’s dive in and explore how you can integrate PayPal with your iPhone wallet to enhance your payment experience.
Inside This Article
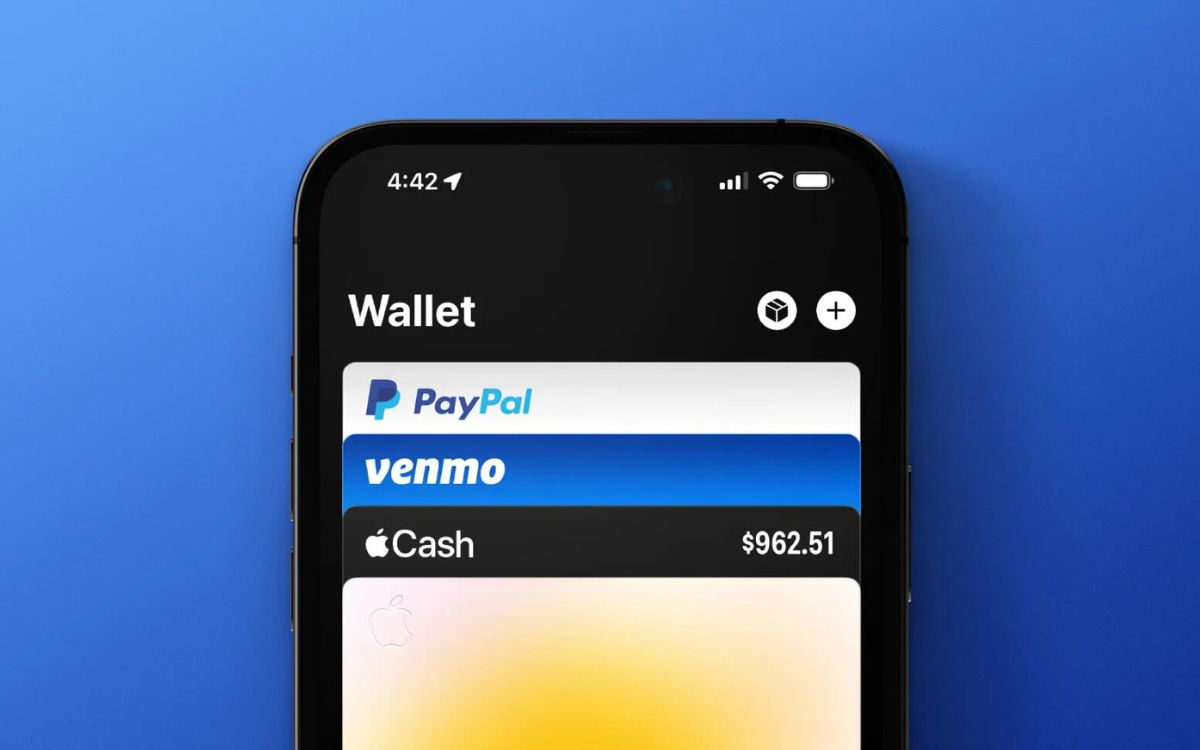
- How to Add PayPal to iPhone Wallet?
- Checking PayPal Compatibility
- Adding PayPal to Wallet via the PayPal App
- Adding PayPal to Wallet via the iPhone Settings
- Using PayPal in the iPhone Wallet
- Conclusion
- FAQs
How to Add PayPal to iPhone Wallet?
Adding PayPal to your iPhone Wallet allows you to easily make payments and transactions using the popular digital wallet service. It provides you with a convenient and secure way to manage your finances and make purchases directly from your iPhone. If you’re wondering how to add PayPal to your iPhone Wallet, you’ve come to the right place. In this article, we will guide you through the process step-by-step.
1. Checking PayPal Compatibility
Before you proceed with adding PayPal to your iPhone Wallet, it’s important to ensure that your PayPal account is compatible with the Wallet feature. To do this, make sure that you have the latest version of the PayPal app installed on your iPhone. Additionally, check if your PayPal account is linked to a valid bank account or credit/debit card.
2. Adding PayPal to Wallet via the PayPal App
The easiest way to add PayPal to your iPhone Wallet is by using the PayPal app. Follow these steps:
- Open the PayPal app on your iPhone.
- Tap on the “Settings” tab at the bottom right corner of the screen.
- Select “Wallet” from the list of options.
- Tap on “Add to Apple Wallet.”
- Follow the on-screen instructions to complete the process.
Once you have successfully added PayPal to your iPhone Wallet, you can start using it for payments and transactions.
3. Adding PayPal to Wallet via the iPhone Settings
If you prefer adding PayPal to your iPhone Wallet through the device settings, follow these steps:
- Open the “Settings” app on your iPhone.
- Scroll down and tap on “Wallet & Apple Pay.
- Tap on “Add Card.”
- Select “PayPal” as the payment option.
- Sign in to your PayPal account.
- Follow the on-screen instructions to complete the setup process.
Once the setup is complete, your PayPal account will be added to your iPhone Wallet, and you can start using it for payments and transactions.
4. Using PayPal in the iPhone Wallet
After adding PayPal to your iPhone Wallet, you can use it for various transactions. Here’s how:
- When making a purchase at a supported merchant, open your iPhone Wallet.
- Select the PayPal card from your Wallet.
- Authenticate using Face ID, Touch ID, or your device passcode.
- Place your iPhone near the payment terminal to complete the transaction.
Adding PayPal to your iPhone Wallet offers you a convenient and secure way to manage your funds. Whether you’re making online purchases or using it for in-store transactions, PayPal in your iPhone Wallet provides a hassle-free experience. Now that you know how to add PayPal to your iPhone Wallet, you can enjoy the benefits of this popular digital wallet service right at your fingertips.
Checking PayPal Compatibility
Before you add PayPal to your iPhone Wallet, it’s important to ensure that your device is compatible with this digital wallet service. Follow these steps to determine if you can use PayPal with your iPhone:
- Make sure your iPhone is running on the latest iOS version. PayPal is typically compatible with iOS 10 and above. To check for updates, go to Settings > General > Software Update.
- Ensure you have the latest version of the PayPal app installed on your iPhone. Visit the App Store and search for “PayPal” to find and install any available updates.
- Verify that your PayPal account is in good standing and linked to a valid funding source, such as a bank account or credit card. You can check your account status by logging into the PayPal app or website.
Once you have confirmed your iPhone’s compatibility with PayPal, you can proceed to add it to your iPhone Wallet for convenient and secure mobile transactions.
Adding PayPal to Wallet via the PayPal App
Adding PayPal to your iPhone Wallet is a seamless process when using the PayPal app. Here is a step-by-step guide on how to do it:
- Make sure you have the latest version of the PayPal app installed on your iPhone. If not, head to the App Store and update it.
- Open the PayPal app and log in to your account using your credentials.
- Once logged in, tap on the “Settings” icon, usually located in the top right corner of the screen.
- In the Settings menu, scroll down and tap on “Wallet” or “Digital Wallet.” This option may vary depending on the version of the app.
- Locate the option to add your PayPal account to your iPhone Wallet and select it. You may find this option under the “Add to Wallet” or “Wallet Integration” section.
- Follow the prompts that appear on the screen to complete the process. This might involve providing permission for the PayPal app to access your iPhone Wallet or verifying your identity by entering your PayPal account password.
- Once you have successfully added PayPal to your iPhone Wallet, you should see a confirmation message on the screen.
- Now, if you navigate to your iPhone Wallet, you should see your PayPal account listed among your payment methods. You can proceed to use PayPal for payments within supported apps, websites, or in-store at select locations.
By adding PayPal to your iPhone Wallet via the PayPal app, you can enjoy the convenience of making secure and easy payments using your PayPal account on your iPhone.
Adding PayPal to Wallet via the iPhone Settings
If you prefer to add PayPal to your iPhone Wallet using the device’s settings, follow these simple steps:
1. Open the “Settings” app on your iPhone.
2. Scroll down and tap on “Wallet & Apple Pay”.
3. Under the “Payment Cards” section, tap on “Add Card”.
4. Select “PayPal” from the list of available payment options.
5. You will be prompted to sign in to your PayPal account. Enter your login credentials and tap “Sign In”.
6. Once you are signed in, your PayPal account will be added to your iPhone Wallet.
7. To verify your PayPal account, you may be asked to provide additional information, such as your phone number or email address.
8. After successfully adding PayPal to your iPhone Wallet, you can make payments using your PayPal balance or linked bank accounts or cards.
By adding PayPal to your iPhone Wallet via the device settings, you can easily use it for online and in-store purchases without having to open the PayPal app separately. It provides a convenient and secure way to make payments using your PayPal account.
Using PayPal in the iPhone Wallet
Once you have successfully added PayPal to your iPhone Wallet, using it to make payments is a breeze. Here’s how you can use PayPal in the iPhone Wallet:
1. Launch the Wallet app on your iPhone.
2. Tap on the PayPal card within the Wallet app.
3. Authenticate your identity using Face ID, Touch ID, or your device passcode.
4. Once authenticated, you will see your PayPal balance and recent transactions.
5. To make a payment, simply hold your iPhone near a supported contactless payment terminal.
6. Ensure that your default payment method is set to PayPal. You can do this by going to Settings > Wallet & Apple Pay and selecting PayPal as the default payment method.
7. When prompted to confirm the payment on your iPhone, authenticate the transaction using Face ID, Touch ID, or your device passcode.
8. Once the payment is confirmed, you will receive a notification on your iPhone and within the PayPal app.
9. After each transaction, you can view the details in the Wallet app or review your transaction history in the PayPal app.
Using PayPal in the iPhone Wallet offers a convenient and secure way to make payments. It eliminates the need to carry physical cards or cash, allowing you to make purchases with just a few taps on your device.
Remember to keep your iPhone and PayPal account secure by enabling security features like biometric authentication and regularly updating your passwords.
So, take advantage of the seamless integration between PayPal and the iPhone Wallet and enjoy a hassle-free payment experience.
Conclusion
In conclusion, adding PayPal to your iPhone Wallet is a convenient and secure way to manage your digital transactions. With the popularity and accessibility of mobile payments on the rise, having an integrated digital wallet on your smartphone is becoming increasingly essential. PayPal offers a seamless experience with its user-friendly interface and robust security measures. By following the steps outlined in this article, you can easily add PayPal to your iPhone Wallet and enjoy the convenience of making payments with just a few taps on your device. Whether you’re shopping online, making in-store purchases, or sending money to friends and family, the integration of PayPal into your iPhone Wallet ensures a hassle-free and secure digital payment experience. So go ahead and take advantage of this feature to simplify your financial transactions and enjoy the benefits of a truly digital wallet.
FAQs
Q: Can I add PayPal to my iPhone Wallet?
A: Yes, you can add PayPal to your iPhone Wallet. With the latest iOS updates, Apple has made it possible for users to integrate PayPal and use it as a digital wallet for online and in-store transactions.
Q: How do I add PayPal to my iPhone Wallet?
A: To add PayPal to your iPhone Wallet, follow these steps:
1. Open the Settings app on your iPhone.
2. Scroll down and tap on “Wallet & Apple Pay”.
3. Tap “Add Card” or “Add PayPal” (depending on your iOS version).
4. Follow the on-screen prompts to enter your PayPal login details.
5. Once logged in, you can choose to link an existing PayPal account or create a new one.
6. Once your PayPal account is linked, you can start using it as a digital wallet for various transactions.
Q: Can I use PayPal as my primary payment method in iPhone Wallet?
A: Yes, you can set PayPal as your primary payment method in your iPhone Wallet. To do this, follow these steps:
1. Open the Settings app on your iPhone.
2. Scroll down and tap on “Wallet & Apple Pay”.
3. Tap on “Default Card”.
4. Select your linked PayPal account as the default card.
5. Your iPhone Wallet will now prioritize PayPal as the primary payment method for transactions.
Q: What are the benefits of adding PayPal to iPhone Wallet?
A: Adding PayPal to your iPhone Wallet has several benefits:
1. Simplified payment process: With PayPal integrated into your iPhone Wallet, you can enjoy a streamlined payment experience for online and in-store transactions.
2. Secure transactions: PayPal is known for its robust security measures, which adds an extra layer of protection to your financial information when making purchases.
3. Versatile payment options: PayPal supports a wide range of payment methods, including credit cards, debit cards, and bank transfers.
4. Convenient access to funds: You can easily manage and access your PayPal balance directly from your iPhone Wallet.
5. Compatibility with various apps and websites: With PayPal integrated, you can use it as a payment option on numerous apps and websites, making your transactions more convenient.
Q: Can I remove PayPal from my iPhone Wallet?
A: Yes, you can remove PayPal from your iPhone Wallet. To do this, follow these steps:
1. Open the Settings app on your iPhone.
2. Scroll down and tap on “Wallet & Apple Pay”.
3. Tap on your linked PayPal account.
4. Tap on “Remove” or “Delete Card”.
5. Confirm your decision to remove PayPal from your iPhone Wallet.
6. Once removed, PayPal will no longer be available as a payment option in your Wallet.