
In today’s digital age, smartphones have become an essential part of our lives. Whether you use an Android phone or a Windows computer, the ability to seamlessly connect and transfer data between the two is crucial. However, it’s not uncommon for users to run into issues when it comes to getting their Windows computer to recognize their Android phone. This can be frustrating, especially when you need to transfer files or perform other tasks. Thankfully, there are several troubleshooting steps and solutions you can try to get Windows to recognize your Android phone. In this article, we will explore helpful tips and techniques to resolve this problem and ensure a seamless connection between your Android phone and Windows computer.
Inside This Article
- Connecting Android Phone to Windows
- Enabling USB Debugging on Android
- Installing Android Device Drivers on Windows
- Troubleshooting Windows Recognition Issues
- Conclusion
- FAQs
Connecting Android Phone to Windows
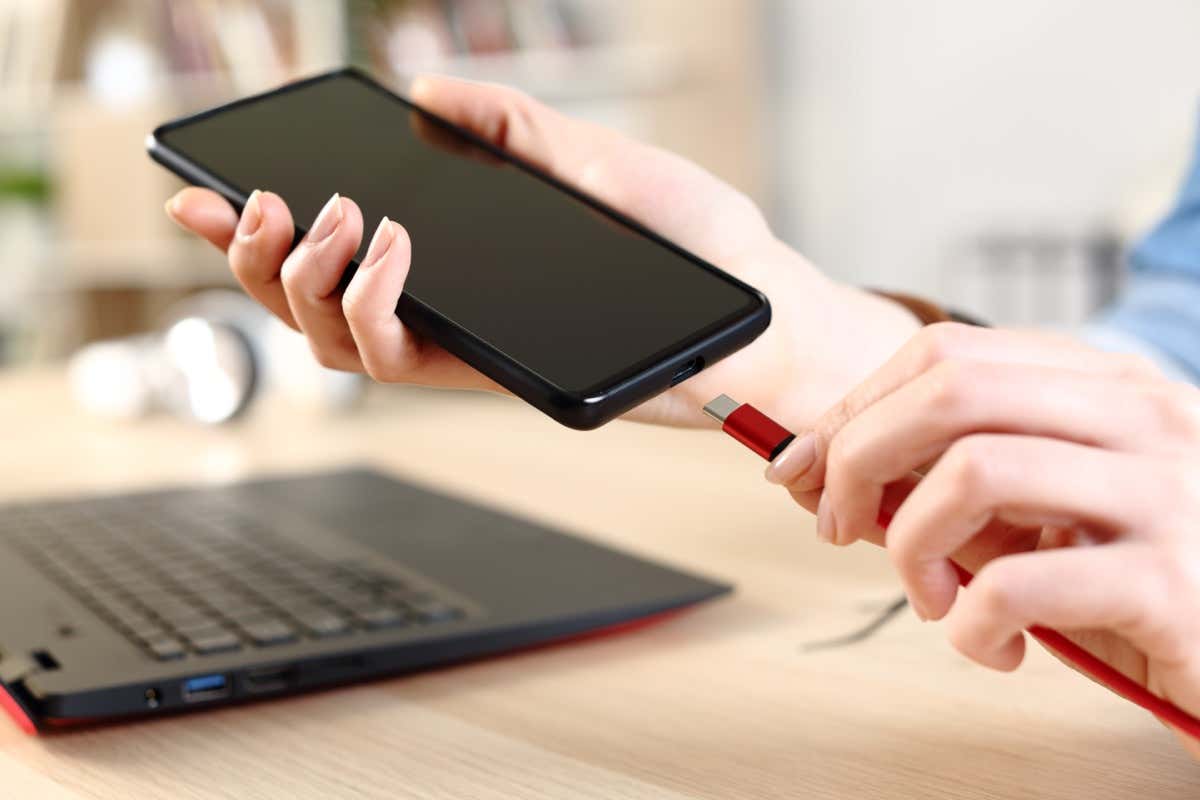
Connecting your Android phone to your Windows computer allows you to perform various tasks such as transferring files, backing up data, and even using your phone as a mobile hotspot. In this article, we will guide you through the steps to get Windows to recognize your Android phone.
Before you begin, ensure that you have a USB cable compatible with your Android phone and a Windows computer with the latest version of the operating system installed. Follow these simple steps:
- Unlock your Android phone and connect one end of the USB cable to your phone and the other end to an available USB port on your Windows computer.
- On your Android phone, you may see a prompt asking for your permission to allow USB debugging or to change USB options. Make sure to select the appropriate option based on your needs.
- Now, on your Windows computer, navigate to the “This PC” or “My Computer” folder. You should see your connected Android phone listed as a removable disk or device.
- Double-click on the icon representing your Android phone to open it and access its files and folders.
If you’re unable to see your Android phone in the “This PC” or “My Computer” folder, it could be due to several reasons. Here are some troubleshooting steps you can try:
- Ensure that USB debugging is enabled on your Android phone. To check this, go to “Settings” > “Developer Options” (or “Developer settings”) > “USB debugging” and make sure it is toggled on.
- Try using a different USB cable or USB port on your computer. Sometimes, a faulty cable or port can prevent the proper connection between your Android phone and Windows.
- Install the necessary Android device drivers on your Windows computer. You can usually download these drivers from the official website of your phone manufacturer.
- Restart both your Android phone and Windows computer. Sometimes, a simple restart can resolve connection issues.
By following these steps and troubleshooting tips, you should be able to successfully connect your Android phone to your Windows computer. Once connected, you can now easily transfer files, perform backups, and utilize various features seamlessly.
Enabling USB Debugging on Android
USB debugging is a crucial feature that allows communication between an Android device and a computer for development and debugging purposes. By enabling USB debugging, you gain access to advanced developer options and the ability to transfer data, install applications, and interact with your Android phone using the Android Debug Bridge (ADB) command line tool.
Here’s how you can enable USB debugging on your Android phone:
- Go to your Android phone’s Settings app. You can find it in your app drawer or by swiping down to access the quick settings panel and tapping on the gear icon.
- Scroll down and tap on “About phone.” The exact location of this option may vary depending on your device model and the version of Android you’re running.
- Look for the “Build number” or “Software information” option. Tap on it repeatedly (usually around 7 times) until you see a message saying “You are now a developer!” or something similar. This action enables the Developer options menu on your phone.
- Go back to the main settings menu and now you should see a new option called “Developer options.” Tap on it to access the developer settings.
- Scroll down to find the “USB debugging” option. It is usually located under the “Debugging” section or the “Developer tools” category. Toggle the switch next to it to enable USB debugging.
- You might see a confirmation popup warning you about the potential risks of enabling USB debugging. Read the message and tap “OK” to proceed.
- Connect your Android phone to your computer using a USB cable. Make sure the cable is securely plugged in on both ends.
That’s it! You have successfully enabled USB debugging on your Android phone. Now, your Windows computer should be able to recognize the device and establish a connection for various tasks like transferring files or running ADB commands.
Note: If you don’t see the “Developer options” menu in your Android phone’s settings, it could be because your device manufacturer has hidden it. In such cases, you may need to unlock the developer options by following specific instructions provided by the manufacturer or seeking help from online forums or support pages.
Installing Android Device Drivers on Windows
When connecting your Android phone to a Windows computer, it is important to ensure that the proper device drivers are installed. These drivers play a crucial role in enabling communication between your Android phone and the Windows operating system.
Before proceeding with the installation process, it is recommended to follow these steps:
- Make sure that your Android phone is connected to the computer via USB cable.
- Enable USB debugging on your Android phone. This can usually be found in the Developer Options section of your phone’s settings.
Once these preliminary steps are completed, you can proceed with installing the Android device drivers on Windows. Here’s how:
- Open your preferred web browser and visit the official website of your Android phone manufacturer.
- Navigate to the support or download section of the website.
- Search for the specific model of your Android phone and locate the drivers for your Windows operating system version.
- Download the appropriate driver file for your Android phone. It is usually in a compressed format like ZIP or RAR.
- Extract the contents of the downloaded driver file to a convenient location on your Windows computer.
- Connect your Android phone to the computer via USB cable.
- Open the Device Manager on your Windows computer. You can do this by right-clicking on the Start button and selecting Device Manager from the menu.
- In the Device Manager window, locate and expand the “Portable Devices” or “Other Devices” category.
- Right-click on your Android phone’s name and select “Update Driver.”
- Choose the option to browse your computer for driver software.
- Navigate to the location where you extracted the driver files, select the appropriate driver file, and click “Next” to proceed with the installation.
- Follow the on-screen instructions to complete the installation of the Android device drivers.
Once the drivers are successfully installed, your Windows computer should recognize your Android phone without any issues. You can now transfer files, perform software updates, and perform other tasks between your Android phone and Windows computer seamlessly.
If you encounter any difficulties during the installation process or your Windows computer still doesn’t recognize your Android phone, you may need to troubleshoot the issue further or seek assistance from the manufacturer’s support team.
Troubleshooting Windows Recognition Issues
If you’re experiencing issues with Windows recognizing your Android phone, don’t worry. There are a few troubleshooting steps you can take to resolve the problem. In this article, we’ll explore some common solutions that can help you get your Android phone recognized by your Windows computer.
1. Check the USB Cable and Connection: The first thing you should do is check the USB cable and connection between your Android phone and your computer. Ensure that the cable is firmly connected to both devices and that there are no loose connections. Try using a different USB cable to see if that resolves the issue.
2. Enable USB Debugging on Your Android Device: USB debugging allows your computer to communicate with your Android device. To enable USB debugging, go to your Android device’s Settings, tap on “About phone,” and then tap on “Build number” several times until you see a message stating that you are now a developer. Then, go back to the main Settings screen, select “Developer options,” and enable USB debugging.
3. Install Android Device Drivers: Sometimes, Windows may not recognize your Android phone because the necessary device drivers are not installed. To install the drivers, you can visit the manufacturer’s website and download the appropriate drivers for your specific Android phone model. Once downloaded, run the installer and follow the on-screen instructions to complete the installation.
4. Restart Your Android Phone and Windows Computer: Another simple troubleshooting step is to restart both your Android phone and your Windows computer. Sometimes, a simple restart can resolve recognition issues by refreshing the connection between the two devices.
5. Update Windows and Android Software: Ensuring that your Windows computer and Android device have the latest software updates can also help resolve recognition issues. Check for updates on both devices and install any available updates. Sometimes, outdated software can cause compatibility issues between the two devices.
6. Try a Different USB Port: Sometimes, the USB port that you are using on your computer may be the issue. Try connecting your Android phone to a different USB port on your computer to see if that resolves the recognition problem. It’s possible that the original USB port may have a hardware issue.
7. Restart the Android ADB Interface: The Android Debug Bridge (ADB) interface is responsible for establishing a connection between your Android device and your computer. To restart the ADB interface, open the Device Manager on your Windows computer, locate the Android ADB Interface, right-click on it, and select “Disable.” After a few seconds, right-click on it again and select “Enable.”
8. Check for Conflicting Software: Certain software programs on your computer may conflict with the recognition of your Android phone. Try temporarily disabling antivirus software, firewall, or any other security programs to see if they are causing the issue. If disabling these programs resolves the problem, you may need to adjust their settings or add exceptions to allow the connection.
9. Reset USB Settings on Your Android device: Some Android devices have the option to reset USB settings to default. To do this, go to your Android device’s Settings, select “System,” then “Advanced,” and finally “Reset options.” Tap on “Reset USB settings” and confirm your selection. This will revert any custom USB settings to their default values.
If none of these troubleshooting steps resolve the issue, it’s possible that there may be a hardware problem with either your Android phone or your Windows computer. In such cases, it’s recommended to reach out to the respective manufacturer’s support for further assistance.
Conclusion
Getting Windows to recognize your Android phone is essential for seamless connectivity and efficient data sharing. By following the steps mentioned in this guide, you can easily troubleshoot any connectivity issues and establish a smooth connection between your Android phone and Windows PC.
Remember, it’s important to keep your device drivers up to date, enable USB debugging mode, and use a high-quality USB cable to ensure a stable connection. If you encounter any difficulties, consult the manufacturer’s website or seek assistance from reliable online forums and communities.
With Windows recognizing your Android phone, you can effortlessly transfer files, manage your device, and even perform software updates from your PC. Enjoy the convenience and versatility of a seamless connection between your Windows PC and your Android phone!
FAQs
1. How can I get Windows to recognize my Android phone?
If your Windows computer is not recognizing your Android phone, there are a few troubleshooting steps you can try:
- Ensure that your Android phone is connected to the computer using a USB cable.
- Swipe down from the top of your Android phone’s screen to access the notification shade, and tap on the USB connection option. Make sure it is set to “Transfer files” or “File transfer.”
- Restart both your Android phone and your computer.
- Try using a different USB cable or USB port on your computer.
- Install the necessary USB drivers for your specific Android phone model. You can usually find these drivers on the manufacturer’s website.
2. Why is my Android phone not showing up in Windows File Explorer?
If your Android phone is not appearing in Windows File Explorer, try the following steps:
- Make sure that your Android phone is unlocked and the screen is not locked.
- Swipe down from the top of your Android phone’s screen and ensure that the USB connection is set to “Transfer files” or “File transfer.”
- Restart both your Android phone and your computer.
- Disable and re-enable USB debugging on your Android phone. You can find this option in the developer options settings.
- Try using a different USB cable or USB port on your computer.
3. Can I transfer files between my Android phone and Windows wirelessly?
Yes, you can transfer files between your Android phone and Windows wirelessly using various methods:
- Use the built-in Wi-Fi Direct feature on your Android phone.
- Install a third-party file transfer app such as AirDroid, Pushbullet, or Shareit.
- Set up a file-sharing service like Google Drive or Dropbox on both your Android phone and Windows computer.
4. How do I enable USB debugging on my Android phone?
To enable USB debugging on your Android phone, follow these steps:
- Go to the settings on your Android phone.
- Scroll down and tap on “About phone.”
- Find the “Build number” and tap on it repeatedly until you see a message saying you are now a developer.
- Go back to the main settings and tap on “Developer options.”
- Enable the toggle switch for “USB debugging.”
5. How can I update the USB drivers for my Android phone?
To update the USB drivers for your Android phone, follow these steps:
- Visit the website of your Android phone’s manufacturer.
- Navigate to the support or downloads section of the website.
- Find the USB drivers specifically for your Android phone model.
- Download and install the drivers following the instructions provided.
- Restart your computer after installing the drivers.