
WhatsApp is one of the most popular messaging apps in the world, known for its wide range of features and versatility. One of the most fun and creative features WhatsApp offers is the ability to create personalized stickers. Stickers are a great way to add a touch of personality and express yourself in conversations. While creating WhatsApp stickers on an iPhone may seem like a daunting task, it’s actually quite straightforward once you know how. In this article, we will walk you through the step-by-step process of creating WhatsApp stickers on your iPhone, so you can start adding your own custom stickers to your chats and make them more vibrant and engaging. Let’s get started!
Inside This Article
- Step 1: Download a sticker pack app
- Step 2: Create your own sticker pack
- Step 3: Design and customize your stickers
- Step 4: Add your stickers to WhatsApp
- Conclusion
- FAQs
Step 1: Download a sticker pack app
Creating your own stickers on WhatsApp can be a fun and creative way to express yourself. To get started, you’ll need to download a sticker pack app on your iPhone. These apps provide a platform where you can design, customize, and add stickers to your WhatsApp conversations.
There are several sticker pack apps available on the App Store, each offering their own unique features and designs. Some popular options include Sticker Maker Studio, Stickify Sticker Maker, and Sticker.ly. You can easily search for these apps on the App Store and choose the one that suits your preferences.
Once you find the sticker pack app you want to use, simply tap on the “Get” or “Install” button to download it onto your iPhone. The app will automatically install and appear on your home screen, ready for you to start creating your own stickers.
Remember to check the ratings and reviews of the sticker pack app before downloading to ensure you choose a reliable and user-friendly option. Reading reviews can give you valuable insights into the app’s functionality and ease of use, helping you make an informed decision.
After you have downloaded the sticker pack app, you’re ready to move on to the next step: creating your own sticker pack.
Step 2: Create your own sticker pack
Once you have downloaded a sticker pack app, it’s time to unleash your creativity and create your very own personalized sticker pack for WhatsApp. Follow these steps to get started:
- Open the sticker pack app: Launch the sticker pack app that you downloaded in Step 1.
- Create a new sticker pack: Look for an option to create a new sticker pack within the app. This will typically be located in the main menu or toolbar.
- Choose a name for your sticker pack: Give your sticker pack a catchy and memorable name. This will help you identify and differentiate it from other sticker packs.
- Select the number of stickers: Decide how many stickers you want to include in your pack. You can start small with a few stickers and add more later if needed.
- Design your stickers: This is where your creativity comes into play. Use the built-in tools or image editing software to design your stickers. You can create original artwork, use photos, or even convert memes into stickers.
- Save your stickers: Once you are satisfied with your designs, save each sticker individually. Make sure to save them in a format that is supported by the sticker pack app.
- Organize your sticker pack: Arrange the stickers in the order you want them to appear in the pack. This will ensure a seamless user experience when using the stickers in WhatsApp.
- Add a cover icon: Some sticker pack apps allow you to add a cover icon for your pack. Choose an appealing image that represents the theme or style of your stickers.
- Review and finalize: Before proceeding to the next step, take a moment to review your sticker pack. Make any necessary adjustments to ensure everything looks as intended.
Creating your own sticker pack allows you to express your personality, interests, and style through fun and creative images. Don’t be afraid to experiment and let your imagination run wild!
Step 3: Design and customize your stickers
Once you have downloaded a sticker pack app and created your own sticker pack, it’s time to unleash your creativity and start designing and customizing your stickers. This is where the fun truly begins!
Designing stickers can be a great way to express yourself and add a personal touch to your conversations. Whether you want to create funny, cute, or quirky stickers, the possibilities are endless.
Here are a few tips to help you design and customize your stickers:
- Choose the right image: Select an image or graphic that represents the concept or emotion you want to convey through your sticker. It can be a photo, a drawing, or even a combination of both.
- Size and shape: Consider the dimensions of your stickers and ensure they fit within the designated space. You can experiment with different sizes and shapes to create a visually appealing sticker pack.
- Add text or captions: Sometimes, a witty caption or a catchy phrase can enhance the impact of your stickers. Use text or captions sparingly to complement the visual element.
- Use colors wisely: Colors play a crucial role in sticker design. Choose a palette that matches the overall theme and maintains consistency throughout your sticker pack.
- Embrace creativity: Don’t be afraid to think outside the box. Experiment with different styles, patterns, and effects to make your stickers stand out.
- Test and fine-tune: Once you have created your stickers, test them in various conversations to ensure they are clear and visually appealing. Make any necessary adjustments or fine-tuning to perfect your designs.
Remember, the key is to create stickers that resonate with you and your intended audience. Let your imagination run wild and have fun during the design process.
After you have completed the design and customization of your stickers, you are ready to move on to the next step: adding them to WhatsApp.
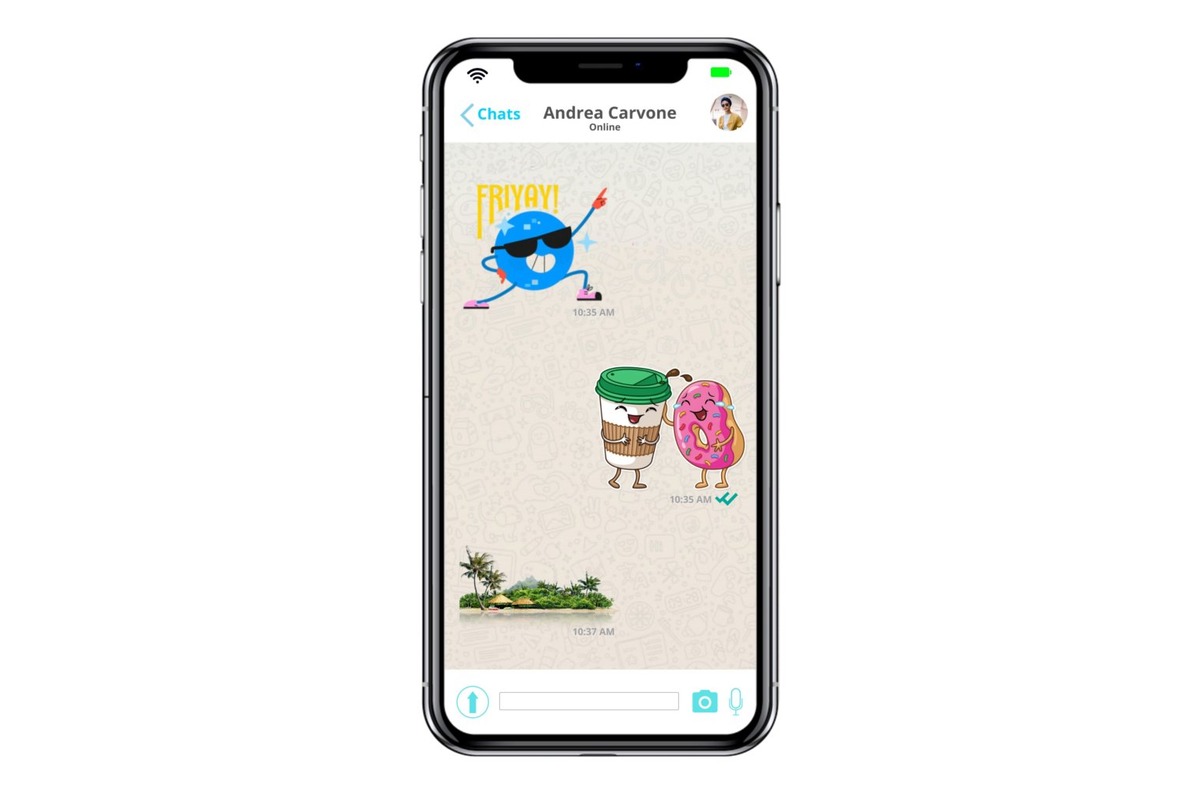
Step 4: Add your stickers to WhatsApp
After creating and customizing your stickers using a sticker pack app on your iPhone, the final step is to add them to WhatsApp. Here’s how you can do it:
1. Open WhatsApp on your iPhone.
2. Open a chat where you want to send stickers.
3. Tap on the sticker icon located next to the text input box. It looks like a square smiley face.
4. In the sticker menu, you’ll find a list of available sticker packs. Scroll through the list and find the one you created.
5. Tap on the sticker pack to view all the stickers within it. You can swipe left or right to browse through the stickers.
6. To send a sticker, simply tap on it. It will automatically be inserted into the chat. You can add multiple stickers in a single message.
7. If you want to remove a sticker from the message, long press on it and select “Remove” from the popup menu.
8. You can also favorite certain stickers by long pressing on them and selecting “Add to Favorites”. This will make the sticker appear at the top of the sticker menu for quick access.
9. To access your favorite stickers, tap on the star icon in the sticker menu.
10. If you want to add more sticker packs to WhatsApp, repeat the process of downloading a sticker pack app and creating your own stickers.
That’s it! You have successfully added your custom stickers to WhatsApp. Now you can enjoy sharing your personalized stickers with your friends and family.
Creating WhatsApp stickers on your iPhone is a fun and creative way to personalize your conversations and express yourself. With the availability of various sticker maker apps, you can easily turn your favorite images into stickers that can be shared with your friends and family.
By following the step-by-step guide outlined in this article, you can unleash your creativity and design stickers that reflect your unique style and personality. Whether you want to showcase your love for cute animals, share hilarious memes, or show support for your favorite sports team, the possibilities are endless.
So go ahead and explore the world of WhatsApp stickers on your iPhone. Impress your contacts with your custom-made stickers and make your conversations more fun and engaging. Start creating stickers today and add a personal touch to your WhatsApp chats!
FAQs
1. Can I create WhatsApp stickers on my iPhone?
Yes, you can create WhatsApp stickers on your iPhone. WhatsApp introduced the sticker feature in 2018, allowing users to express themselves with a wide range of fun and customized stickers.
2. How do I create WhatsApp stickers on my iPhone?
To create WhatsApp stickers on your iPhone, you can use third-party sticker maker apps available on the App Store. These apps offer an easy-to-use interface and allow you to create personalized stickers using your own photos or pre-designed templates.
3. Are there any free sticker maker apps for iPhone?
Yes, there are several free sticker maker apps available for iPhones. Some popular options include “Sticker Maker Studio” and “Stickify Sticker Maker.” These apps offer basic features and functionality for creating and customizing WhatsApp stickers without any cost.
4. Can I use my own photos to create stickers?
Absolutely! Most sticker maker apps for iPhone allow you to use your own photos to create stickers. Simply choose the photo you want to use, crop it to the desired shape or size, add any text or effects if desired, and save it as a sticker. You can then import these stickers into WhatsApp and start using them in your conversations.
5. Can I share the stickers I create with others?
Yes, with WhatsApp sticker maker apps, you can easily share the stickers you create with others. These apps provide options to export and share your stickers as WhatsApp-compatible files. You can then send these files to friends or share them on social media platforms for others to download and use.