Villagers are passive mobs in Minecraft, but they play an active role in your success in creating your own world. You can trade with villagers to get the items you need that are either rare in the game or difficult for you to craft. Of course, you have to find a thriving village to do this. But if you want to quit wandering around the map and abducting villagers, you can breed villagers instead and make your own city. This article will teach you how to breed villagers in Minecraft — both manually and using an automatic breeder.
Also read: Minecraft Villager Trades: How to Get the Best Items with Ease
Inside This Article
- What You Need to Breed Villagers
- How to Breed Villagers in Minecraft
- How to Automatically Breed Villagers in Minecraft
- Breeding Villagers in Survival Mode
- How to Add Profession to the New Villagers
- Why Do You Need to Breed Villagers in Minecraft?
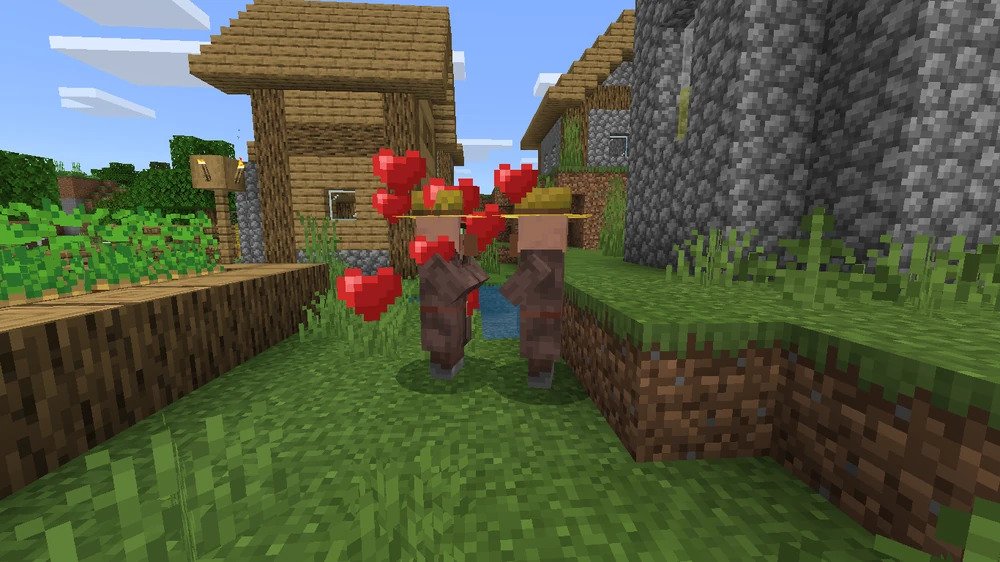
What You Need to Breed Villagers
Like breeding horses in Minecraft, or any mobs for that matter, there are certain conditions to meet for you to successfully mate two villagers. Below are the things you need to make two villagers willing to breed:
- A suitable breeding environment
- Blocks
- Two Villagers
- At least 3 beds
- Foods (bread, carrots, potatoes, or beetroots)
How to Breed Villagers in Minecraft
Step 1. Find a Village
The first step to breeding villagers is to find a village where you can mate them. Alternatively, you can find an uninhabited area if you want to build a new city. In survival mode, you have to consider the safety of your villagers when looking for a location. The breeding area should be mob-free and away from monsters, like zombies and piglins, that may attack your villagers.
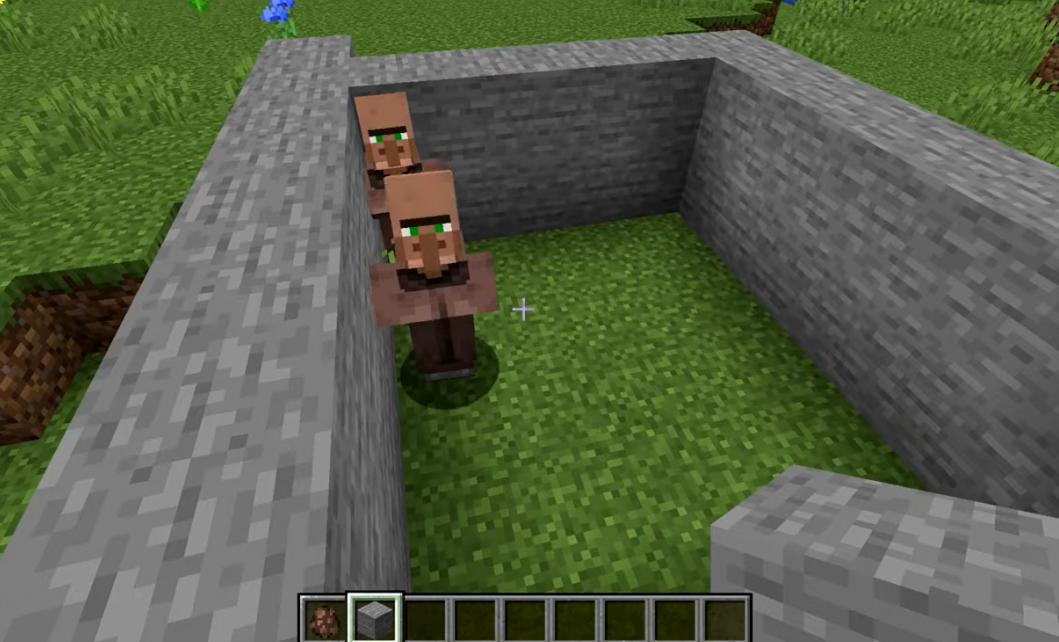
Step 2. Trap Two Villagers
How else will you allow your villagers to be romantic than to give them a little privacy? You can do this by trapping the couple in a small room. When two villagers are close to each other, build a wall around them using blocks. It should be at least two-block higher than beds so your villagers won’t be able to jump out.
If there are no villagers in your chosen area, you can fetch a couple from other villages using a boat. Once at your destination, you can hop out of the boat, destroy it to free your passengers, and begin breeding.
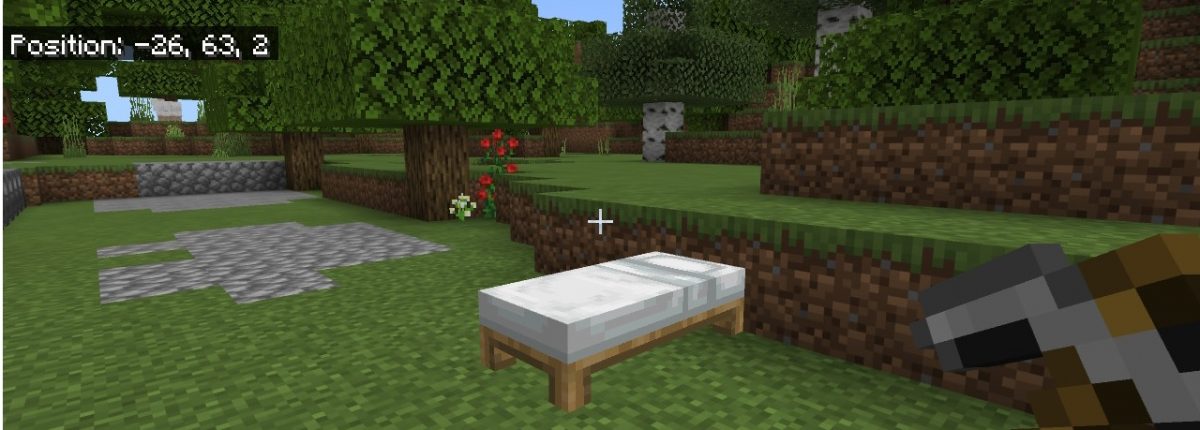
Step 3: Place at Least 3 Beds in the Room
There should be enough beds in the room for the villagers to start breeding. You need at least three beds – one each for the couple and one for the baby villager. Only one villager can occupy a bed, so you have to place additional beds if you want your villagers to spawn more babies.
We have a guide on how to make a bed on Minecraft. Once you have it, simply place it on the hot bar and tap an area within the room to put it down.
Step 4: Feed Your Villagers
You can’t simply trap villagers in a room and expect them to fall in love – you have to convince them. Feeding them is the only way to increase their willingness to mate. However, you can’t feed them with just about any crop. There are specific food items that would allow your villagers to reach the level of willingness needed to breed and procreate, namely: bread, carrots, potatoes, and beetroots.
| Food | Quantity Needed to Make Villagers Willing |
| Bread | 3 |
| Carrots | 12 |
| Potatoes | 12 |
| Beetroots | 12 |
Feeding your villagers with bread is the fastest way of increasing their willingness to breed because you only need three of those for each. You may also feed them with other food items, but you will need more of them to get your villagers full.
When you have the food needed, just throw them in the room and make sure that both villagers will feed.
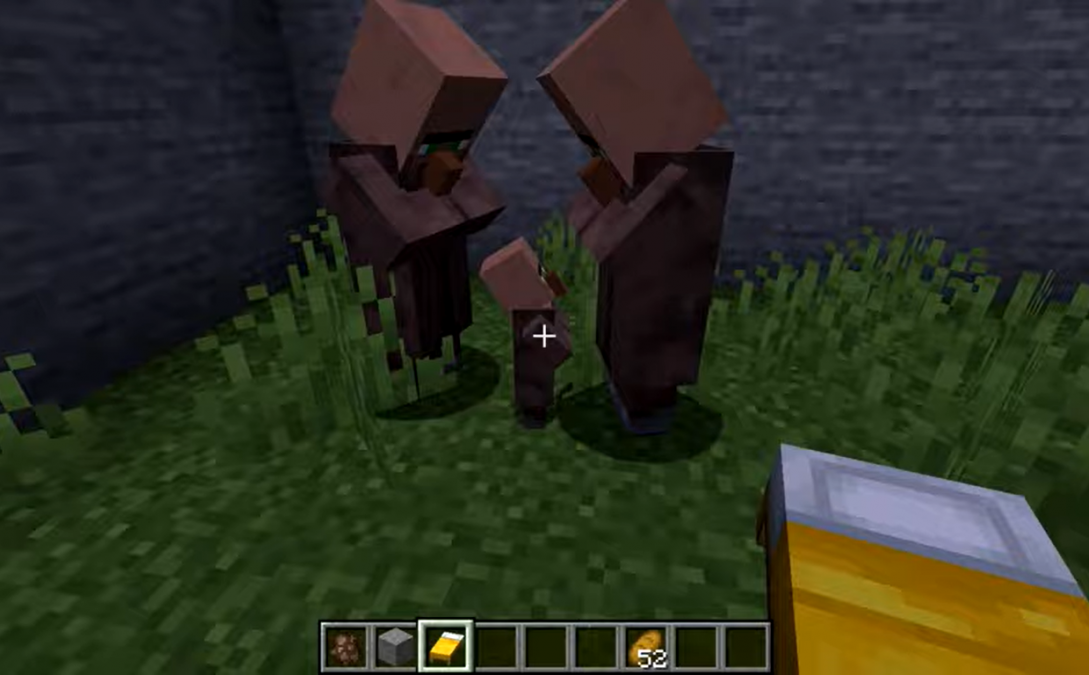
Step 5. Wait for the Baby Villager to Spawn
After feeding your villagers, all you have to do is wait for them to mate. Hearts should appear when they bump and stand next to one another. A baby villager will appear between them, eventually. In about 30 minutes or so, the baby villager should turn into a grown villager ready to be assigned a profession.
You can repeat the process to spawn more child villagers as long as you have extra beds.
How to Automatically Breed Villagers in Minecraft
It will take time and consume a lot of effort if you want to build a new city by just breeding villagers. If you want to save resources while still spawning baby villagers, you can build an automatic villager breeding farm – a baby factory if you may. You will still need two villagers and at least three beds for this process, but everything will be a bit complicated when it comes to the execution.
First, you have to include a farmer in the mix of the couple villagers and make a garden inside the breeding ground. Next, you have to plant any of the crops required to make the villagers willing to breed. The farmer will then automatically harvest these crops and share them with the other villager when their inventory is full. Therefore; both villagers will always be willing to breed.
Now, for the complicated part. Since you have limited beds and don’t want to manually add more, you have to keep the baby villager out of the breeding room so it won’t occupy the extra bed, and the next baby villager will have a space to spawn. To do this, you can build a trap door within the room that only baby villagers can fit. You can connect the trap door to a powered rail and a minecart to automatically send the baby villager somewhere else – to a trading hall for example. A new baby villager will then spawn in the breeder and the whole process will repeat.
Breeding Villagers in Survival Mode
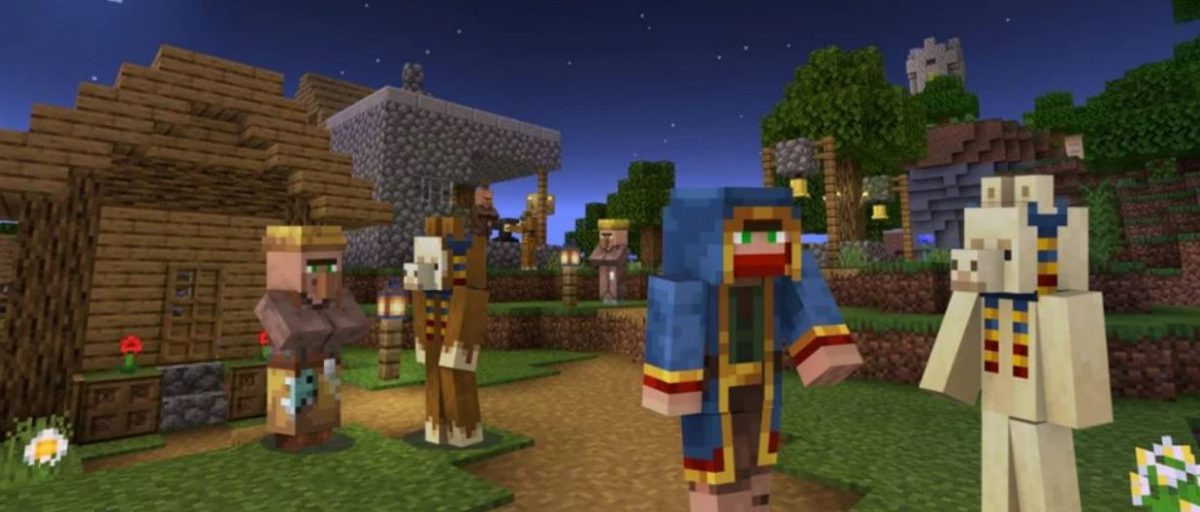
The process of breeding villagers in Minecraft survival mode is the same as breeding villagers in creative mode. After trapping two villagers in a room, you have to increase their willingness by adding enough beds and throwing them the right food. However, you may find survival mode more challenging because of zombies and other hostile mobs in Minecraft that may attack them. To prevent hostile mobs from spawning near your village or your breeding area, you can surround it with light-emitting blocks.
Thankfully, zombies can’t attack baby villagers you are transporting from your automatic breeding system using a minecart.
How to Add Profession to the New Villagers
Baby villagers, when they grow up, have no assigned job until they pick up a job site block. To assign a profession to a new villager, you have to place a job site block within their vicinity that corresponds to the profession you want them to take. There are 13 different villager professions in Minecraft. Nitwit and unemployed are, of course, excluded.
| Job Site Block | Profession |
| Blast Furnace | Armorer |
| Smoker | Butcher |
| Cartography Table | Cartographer |
| Brewing Stand | Cleric |
| Composter | Farmer |
| Barrel | Fisherman |
| Fletching Table | Fletcher |
| Cauldron | Leatherworker |
| Lectern | Librarian |
| Stonecutter | Stone Mason (Bedrock Edition only) / Mason (Java Edition Only) |
| Loom | Shepherd |
| Smithing Table | Toolsmith |
| Grindstone | Weaponsmith |
Why Do You Need to Breed Villagers in Minecraft?
The primary reason for farming villagers in Minecraft is so you can trade with them in the long run. New villagers will take a profession and, eventually, carry all the necessary goods for your domain. It’s always a good idea to keep breeding and giving professions to your villagers, so you’ll have plenty of options to trade with.
Villagers also die, and you might also want to discard some from your trading hall. In that case, you’ll have to replace them with new ones by breeding. Lastly, breeding will help you reach the needed number of Villagers to automatically spawn iron golems.
Takeaway
That’s how you grow the population of your Minecraft villagers by breeding. The process is relatively easy when you exactly know how to make them willing to mate. If you give it time, you can even create an automatic breeder so you can continue exploring while villagers keep coming.
Do you want to build more in Minecraft? Here’s how to build a Minecraft bee farm and make fireworks!
