
Smartphones have become our go-to devices for capturing precious moments and snapping stunning photos. Android devices, in particular, offer a wide range of features and functionalities to enhance our photography experience. One of these features is the ability to crop photos directly on your Android device.
Cropping photos allows you to remove unwanted elements, adjust composition, and focus on the main subject, resulting in a visually appealing image. Whether you want to create a perfectly framed profile picture for social media or simply enhance the composition of a landscape shot, learning how to crop photos on your Android device can be incredibly useful.
In this article, we will guide you through the process of cropping photos on Android, highlighting the steps, tools, and techniques you can use to achieve the desired results. So, grab your Android device and let’s get started!
Inside This Article
- Selecting the Right Photo Cropping Tool
- Opening and Importing an Image
- Adjusting the Crop Area
- Saving and Sharing the Cropped Photo
- Conclusion
- FAQs
Selecting the Right Photo Cropping Tool
When it comes to cropping photos on your Android device, having the right tool can make all the difference. With the multitude of photo editing apps available in the Google Play Store, it can be overwhelming to choose the right one. However, by considering a few key factors, you can easily find the perfect photo cropping tool that suits your needs and preferences.
The first thing to consider is the user interface of the app. Look for an app that has an intuitive and user-friendly interface, making it easy to navigate and use. This will ensure a smooth and hassle-free photo cropping experience.
Another crucial factor to consider is the range of features offered by the app. Different apps may have varying capabilities when it comes to cropping photos. Look for an app that not only allows you to crop photos but also offers additional features such as rotating, flipping, and adjusting the aspect ratio. This will give you more flexibility and control over the final result.
It is also worth checking if the app offers any advanced editing tools, such as the ability to adjust brightness, contrast, or apply filters. These additional editing features can help you enhance your photos further and achieve the desired effect.
Furthermore, consider the compatibility of the app with your Android device. Some apps may be optimized for specific Android versions or devices, while others may work well across various devices. Check the app’s compatibility information in the Play Store to ensure it will work seamlessly with your device.
Lastly, take into account the reviews and ratings of the app. This can provide valuable insights from other users who have already tried the app. Look for apps with positive reviews and high ratings, as this indicates a reliable and satisfactory user experience.
By considering these factors and doing a little research, you can confidently select the right photo cropping tool that suits your needs. With the right app, you can effortlessly crop your photos, unleash your creativity, and share stunning images with friends and family.
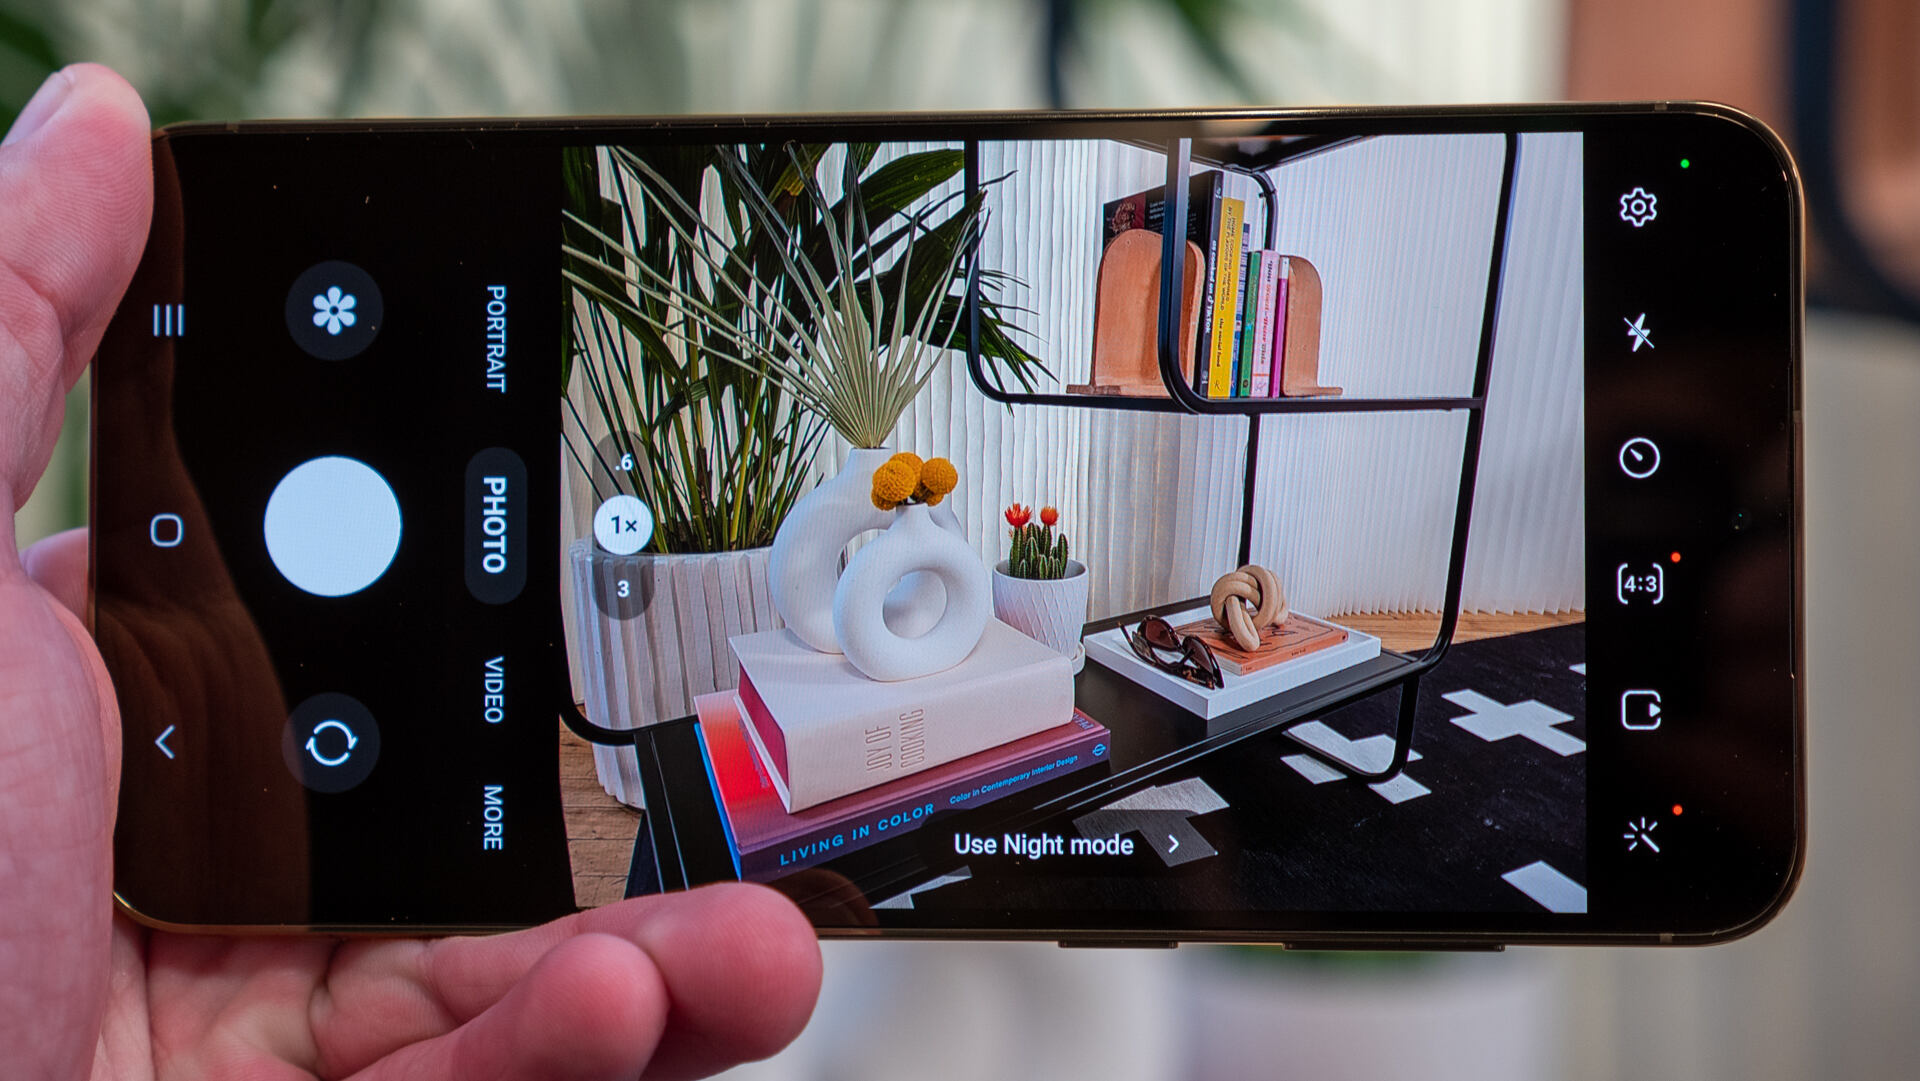
Opening and Importing an Image
When it comes to cropping photos on your Android device, the first step is to open and import the image you want to work with. Android offers a variety of apps and tools that allow you to do this easily. Let’s explore the steps to open and import an image for cropping.
1. Gallery App: Many Android devices come pre-loaded with a Gallery app, which serves as a central hub for accessing and managing your photos. Open the Gallery app and browse through the albums or folders to locate the image you want to crop.
2. Google Photos: If you use Google Photos as your default photo app, open the app and navigate to the desired image. Google Photos stores your photos in the cloud, making them accessible across multiple devices.
3. File Manager: If your image is stored in a specific folder on your device, such as the Downloads folder, you can use a file manager app to browse and locate the image. Popular file manager apps include ES File Explorer and Solid Explorer.
4. Camera App: If you want to crop a photo you recently took using your device’s camera, open the Camera app and access the photo gallery within the app. You can usually find the gallery icon in the bottom-left or top-right corner of the screen.
Once you have located the image you want to crop, simply tap on it to open it in full view. This will bring you to the next step of adjusting the crop area.
Adjusting the Crop Area
Once you have selected a photo and opened it in your preferred photo cropping tool on your Android device, you can begin adjusting the crop area to achieve the desired composition.
Here are a few helpful steps to adjust the crop area effectively:
- Resize the crop area: Most photo cropping tools allow you to resize the crop area by dragging the edges or corners. This gives you the flexibility to crop the image tightly or leave some empty space around the subject.
- Rotate the crop area: If your photo needs a slight rotation to level the horizon or align with a specific angle, you can use the rotation feature in the photo cropping tool. By simply rotating the crop area, you can straighten the image and enhance its overall composition.
- Adjust the aspect ratio: Some photo cropping tools offer preset aspect ratios (such as square, 4:3, or 16:9) that can be useful for social media posts or specific print sizes. You can choose the desired aspect ratio in the crop tool and adjust the crop area accordingly.
- Move the crop area: If you need to reposition the subject within the crop area, you can simply drag the selected part of the image to a different location. This can be useful for emphasizing a particular element or removing unwanted content from the frame.
Remember, the goal of adjusting the crop area is to enhance the composition and visual impact of the photo. Take your time to experiment and find the best crop that highlights the subject and tells the story you want to convey.
Once you are satisfied with the adjustments made to the crop area, you can proceed to save and share the cropped photo.
Saving and Sharing the Cropped Photo
After you have cropped your photo to your desired dimensions and composition, it’s time to save and share your masterpiece. Android offers various options for saving and sharing your cropped photo, ensuring that you can easily store it for personal use or share it with friends and family. Here’s how you can do it:
1. Save the Cropped Photo: To save the cropped photo on your Android device, simply tap on the save button or icon. This will preserve the edited version of your photo in your gallery or camera roll. Be sure to choose a memorable location or create a new album to keep your cropped photos organized.
2. Share the Cropped Photo: Android provides multiple ways to share your cropped photo with others. You can share it via social media platforms such as Facebook, Instagram, Twitter, or WhatsApp. Simply tap on the share button or icon, select the app you want to use, and follow the prompts to post or send the image. Additionally, you can also share the cropped photo via email or messaging apps by selecting the respective share option.
3. Print the Cropped Photo: If you want a physical copy of your cropped photo, Android allows you to print directly from your device. Connect your Android phone to a wireless printer that supports mobile printing and follow the instructions to print your photo. Alternatively, you can transfer the cropped photo to your computer and print it from there.
4. Set as Wallpaper: Android offers the option to set your cropped photo as a wallpaper. To do this, open the cropped photo in your gallery, tap on the menu or options button, and select the “Set as Wallpaper” option. You can choose whether to set the photo as your home screen wallpaper, lock screen wallpaper, or both.
5. Backup and Cloud Storage: To ensure the safety and availability of your cropped photo, you can store it in cloud storage or backup it to an external device. Android provides built-in backup and cloud storage options such as Google Drive or Google Photos. Simply select the cropped photo, tap on the backup or cloud storage icon, and follow the prompts to store your photo securely.
By following these steps, you can easily save, share, and leverage the full potential of your cropped photos on your Android device. Whether you want to showcase your creative side on social media or preserve your memories in physical form, Android offers a range of options to fulfill your needs.
Conclusion
Android devices have revolutionized the way we capture and share photos, and being able to crop them directly on your phone is a game-changer. With the built-in editing tools and a plethora of third-party apps available, you can easily crop your photos and bring out the best composition.
Whether you want to remove unwanted elements, focus on a particular subject, or resize your images for social media, Android provides you with the necessary tools to achieve these tasks. By simply following the steps mentioned in this article, you can learn how to crop photos on Android like a pro.
Remember, cropping is not just about removing unwanted portions; it’s about creating visually pleasing compositions that tell a story. So, go ahead, unleash your creativity, and make your photos stand out by mastering the art of cropping on Android.
FAQs
1. How can I crop photos on Android?
2. Can I crop photos directly from the Android Gallery app?
3. Is there a recommended photo editing app for cropping images on Android?
4. Will cropping a photo on Android result in a loss of image quality?
5. Can I undo a crop on an Android photo after it has been saved?