
Are you concerned about your online privacy and security while using your Android device? One of the best ways to protect your data and browse the internet securely is by using a VPN (Virtual Private Network). With a VPN, you can encrypt your internet connection and hide your IP address, making it difficult for anyone to track your online activities.
In this article, we will guide you through the process of getting a VPN on your Android device. Whether you want to access geo-restricted content, protect your personal information, or browse the internet anonymously, a VPN can provide you with the necessary tools to do so. So, let’s dive in and learn how to get a VPN on Android!
Inside This Article
- Why Use a VPN on Android?
- How to Choose a VPN
- Step 1: Research VPN Providers
- Step 2: Install a VPN App
- Step 3: Set Up and Configure the VPN
- Step 4: Connect to the VPN Server
- Step 5: Verify VPN Connection
- Troubleshooting Tips
- Conclusion
- FAQs
Why Use a VPN on Android?
Using a VPN (Virtual Private Network) on your Android device offers several benefits that can greatly enhance your online experience. Whether you’re browsing the internet, streaming content, or conducting sensitive transactions, a VPN can provide you with an added layer of security, privacy, and freedom. Here are some key reasons why you should consider using a VPN on your Android device:
- Enhanced Security: A VPN encrypts your internet connection, making it nearly impossible for hackers and cybercriminals to intercept your data. This is crucial, especially when using public Wi-Fi networks, where your personal information is vulnerable to eavesdropping.
- Privacy Protection: By masking your IP address and encrypting your online activities, a VPN enables you to browse the web anonymously. It prevents your ISP (Internet Service Provider) and other third-party entities from tracking your online behavior and collecting your personal data.
- Bypass Geo-Restrictions: With a VPN, you can easily bypass geo-restrictions and access region-locked content. This means you can stream your favorite movies, TV shows, and sporting events from anywhere in the world, regardless of your physical location.
- Secure Remote Access: If you often work remotely or need to access your company’s network while on the go, a VPN allows you to establish a secure connection to your workplace. This ensures that your sensitive business data remains protected from unauthorized access.
- Prevent Bandwidth Throttling: Internet service providers sometimes throttle the internet speeds of certain users or websites. By using a VPN, you can prevent throttling and enjoy a faster and more consistent browsing experience.
Overall, a VPN is a valuable tool for Android users who prioritize security, privacy, and unrestricted access to online content. It is easy to set up and can significantly enhance your online privacy and protection.
How to Choose a VPN
When it comes to choosing a VPN for your Android device, there are a few key factors that you should consider. By keeping these factors in mind, you can ensure that you select a VPN that suits your needs and provides reliable and secure browsing.
1. Consider Your Needs: Before you start researching different VPN providers, take a moment to assess your specific needs. Are you looking for a VPN to access geo-restricted content, protect your online privacy, or enhance your online security? Understanding your requirements will help you narrow down your options.
2. Security and Privacy Features: The primary reason for using a VPN is to encrypt your internet connection and protect your data. Look for a VPN that offers strong encryption protocols, a no-logs policy, and other advanced security features like DNS leak protection and a kill switch.
3. Server Locations: The number and spread of server locations is crucial when choosing a VPN. The more server locations available, the better chances you have of finding a server close to your physical location. This can improve connection speeds and overall performance.
4. Connection Speed: VPNs can potentially slow down your internet connection due to the encryption process. Look for VPN providers that have a reputation for offering fast and stable connections. You can check user reviews and independent speed tests to get an idea of the VPN’s performance.
5. Compatible Devices and Simultaneous Connections: Make sure the VPN you choose supports Android devices and offers multiple simultaneous connections. This will allow you to protect multiple devices with a single VPN subscription, giving you flexibility and convenience.
6. User-Friendly Interface: A user-friendly VPN app is essential for a smooth experience. Look for a VPN provider that offers an intuitive interface, easy navigation, and clear instructions. This will make it easier for you to set up and use the VPN on your Android device.
7. Customer Support: In case you encounter any issues or have questions, it’s important to have reliable customer support. Look for VPN providers that offer 24/7 customer support through various channels like live chat, email, or phone.
8. Price and Money-Back Guarantee: While cost should not be the sole deciding factor, it is important to consider the price of the VPN subscription. Look for a VPN that offers a competitive pricing plan and has a money-back guarantee, allowing you to try it out before committing.
Remember, choosing the right VPN for your Android device is crucial to ensure a secure and private browsing experience. Take your time to research and compare different providers based on your specific needs and preferences.
Step 1: Research VPN Providers
When it comes to using a VPN (Virtual Private Network) on your Android device, the first step is to research VPN providers and find the one that suits your needs. With so many options available, it’s essential to do some groundwork before making a decision. Here are a few key factors to consider during your research:
- Security and Privacy: Look for VPN providers that offer robust encryption protocols and have a strict no-logs policy. Your chosen VPN should prioritize your online security and maintain your privacy by not logging any of your online activities.
- Server Locations: Check the number of server locations offered by the VPN provider. Having a wide range of server locations allows you to bypass geographical restrictions and access content from different regions.
- Speed and Performance: Opt for a VPN that provides fast and reliable connection speeds. You don’t want your browsing or streaming experience to be hindered by a slow VPN connection.
- Device Compatibility: Make sure the VPN you choose is compatible with Android devices. It should have a dedicated app for Android that is easy to use and navigate.
- Customer Support: Look for VPN providers that offer 24/7 customer support. In case you face any issues or need assistance, reliable customer support can be a lifesaver.
- Pricing and Plans: Compare the pricing and plans offered by different VPN providers. Some may offer free versions with limited features, while others provide paid subscription options with more comprehensive features.
By considering these factors and doing thorough research, you can narrow down your options and find a VPN provider that meets your specific requirements. Remember, choosing the right VPN is crucial to ensure a secure and private browsing experience on your Android device.
Step 2: Install a VPN App
Installing a VPN app on your Android device is a crucial step in securing your online privacy and bypassing any restrictions imposed by your internet service provider (ISP) or country. Luckily, the process is relatively straightforward. Here’s a step-by-step guide on how to install a VPN app on your Android device.
1. Research VPN Providers: Before you can install a VPN app, you need to choose a reliable and reputable VPN provider. Take the time to research different options and consider factors such as server locations, connection speed, and privacy policy. Look for VPN apps that are compatible with Android devices.
2. Visit the Google Play Store: On your Android device, open the Google Play Store app. It’s typically located on your home screen or in the app drawer.
3. Search for the VPN App: In the search bar at the top of the screen, type in the name of the VPN provider you’ve chosen or relevant keywords like “VPN” or “Virtual Private Network.” Press the “Enter” key or tap the magnifying glass icon to start the search.
4. Select and Install the App: From the search results, identify the VPN app you want to install. Look for the official app developed by the VPN provider. Read the reviews and ratings to ensure it’s a reliable app. Tap on the app to open its page, and then press the “Install” button to start the installation process.
5. Grant Permissions: Once the app is installed, it may ask for certain permissions to function correctly. Read the permissions carefully and grant the necessary permissions for the app to work effectively. Reject any unusual or unnecessary permissions that might compromise your privacy or security.
6. Open the VPN App: After the installation is complete, locate the newly installed VPN app on your Android device. You can usually find it either on your home screen or in the app drawer. Tap on the app icon to launch it.
7. Create an Account or Log In: Some VPN apps require you to create an account before you can start using their services, while others allow you to log in if you already have an account. Follow the on-screen instructions to create an account or enter your existing credentials to log in.
8. Choose a Server Location: Once you’re logged in, you’ll typically be presented with a list of server locations to choose from. Select a server based on your preferences, such as location or specific bypass options. Keep in mind that the further the server is from your actual location, the potential speed loss you may experience.
9. Connect to the VPN: After selecting a server, tap the “Connect” or “Connect to VPN” button to establish a secure connection. The app will handle the connection process, and you’ll see a notification or icon indicating that you’re connected to the VPN.
10. Verify the VPN Connection: To ensure that the VPN is working correctly, you can visit a website or use an app to check your IP address. The IP address should match the server location you selected, indicating that your internet traffic is being routed securely through the VPN server.
Installing a VPN app on your Android device is essential for safeguarding your online privacy. With a VPN, you can browse the internet with peace of mind, knowing that your data is encrypted and your real IP address is hidden. Remember to keep the VPN app updated, as updates often include security enhancements and bug fixes.
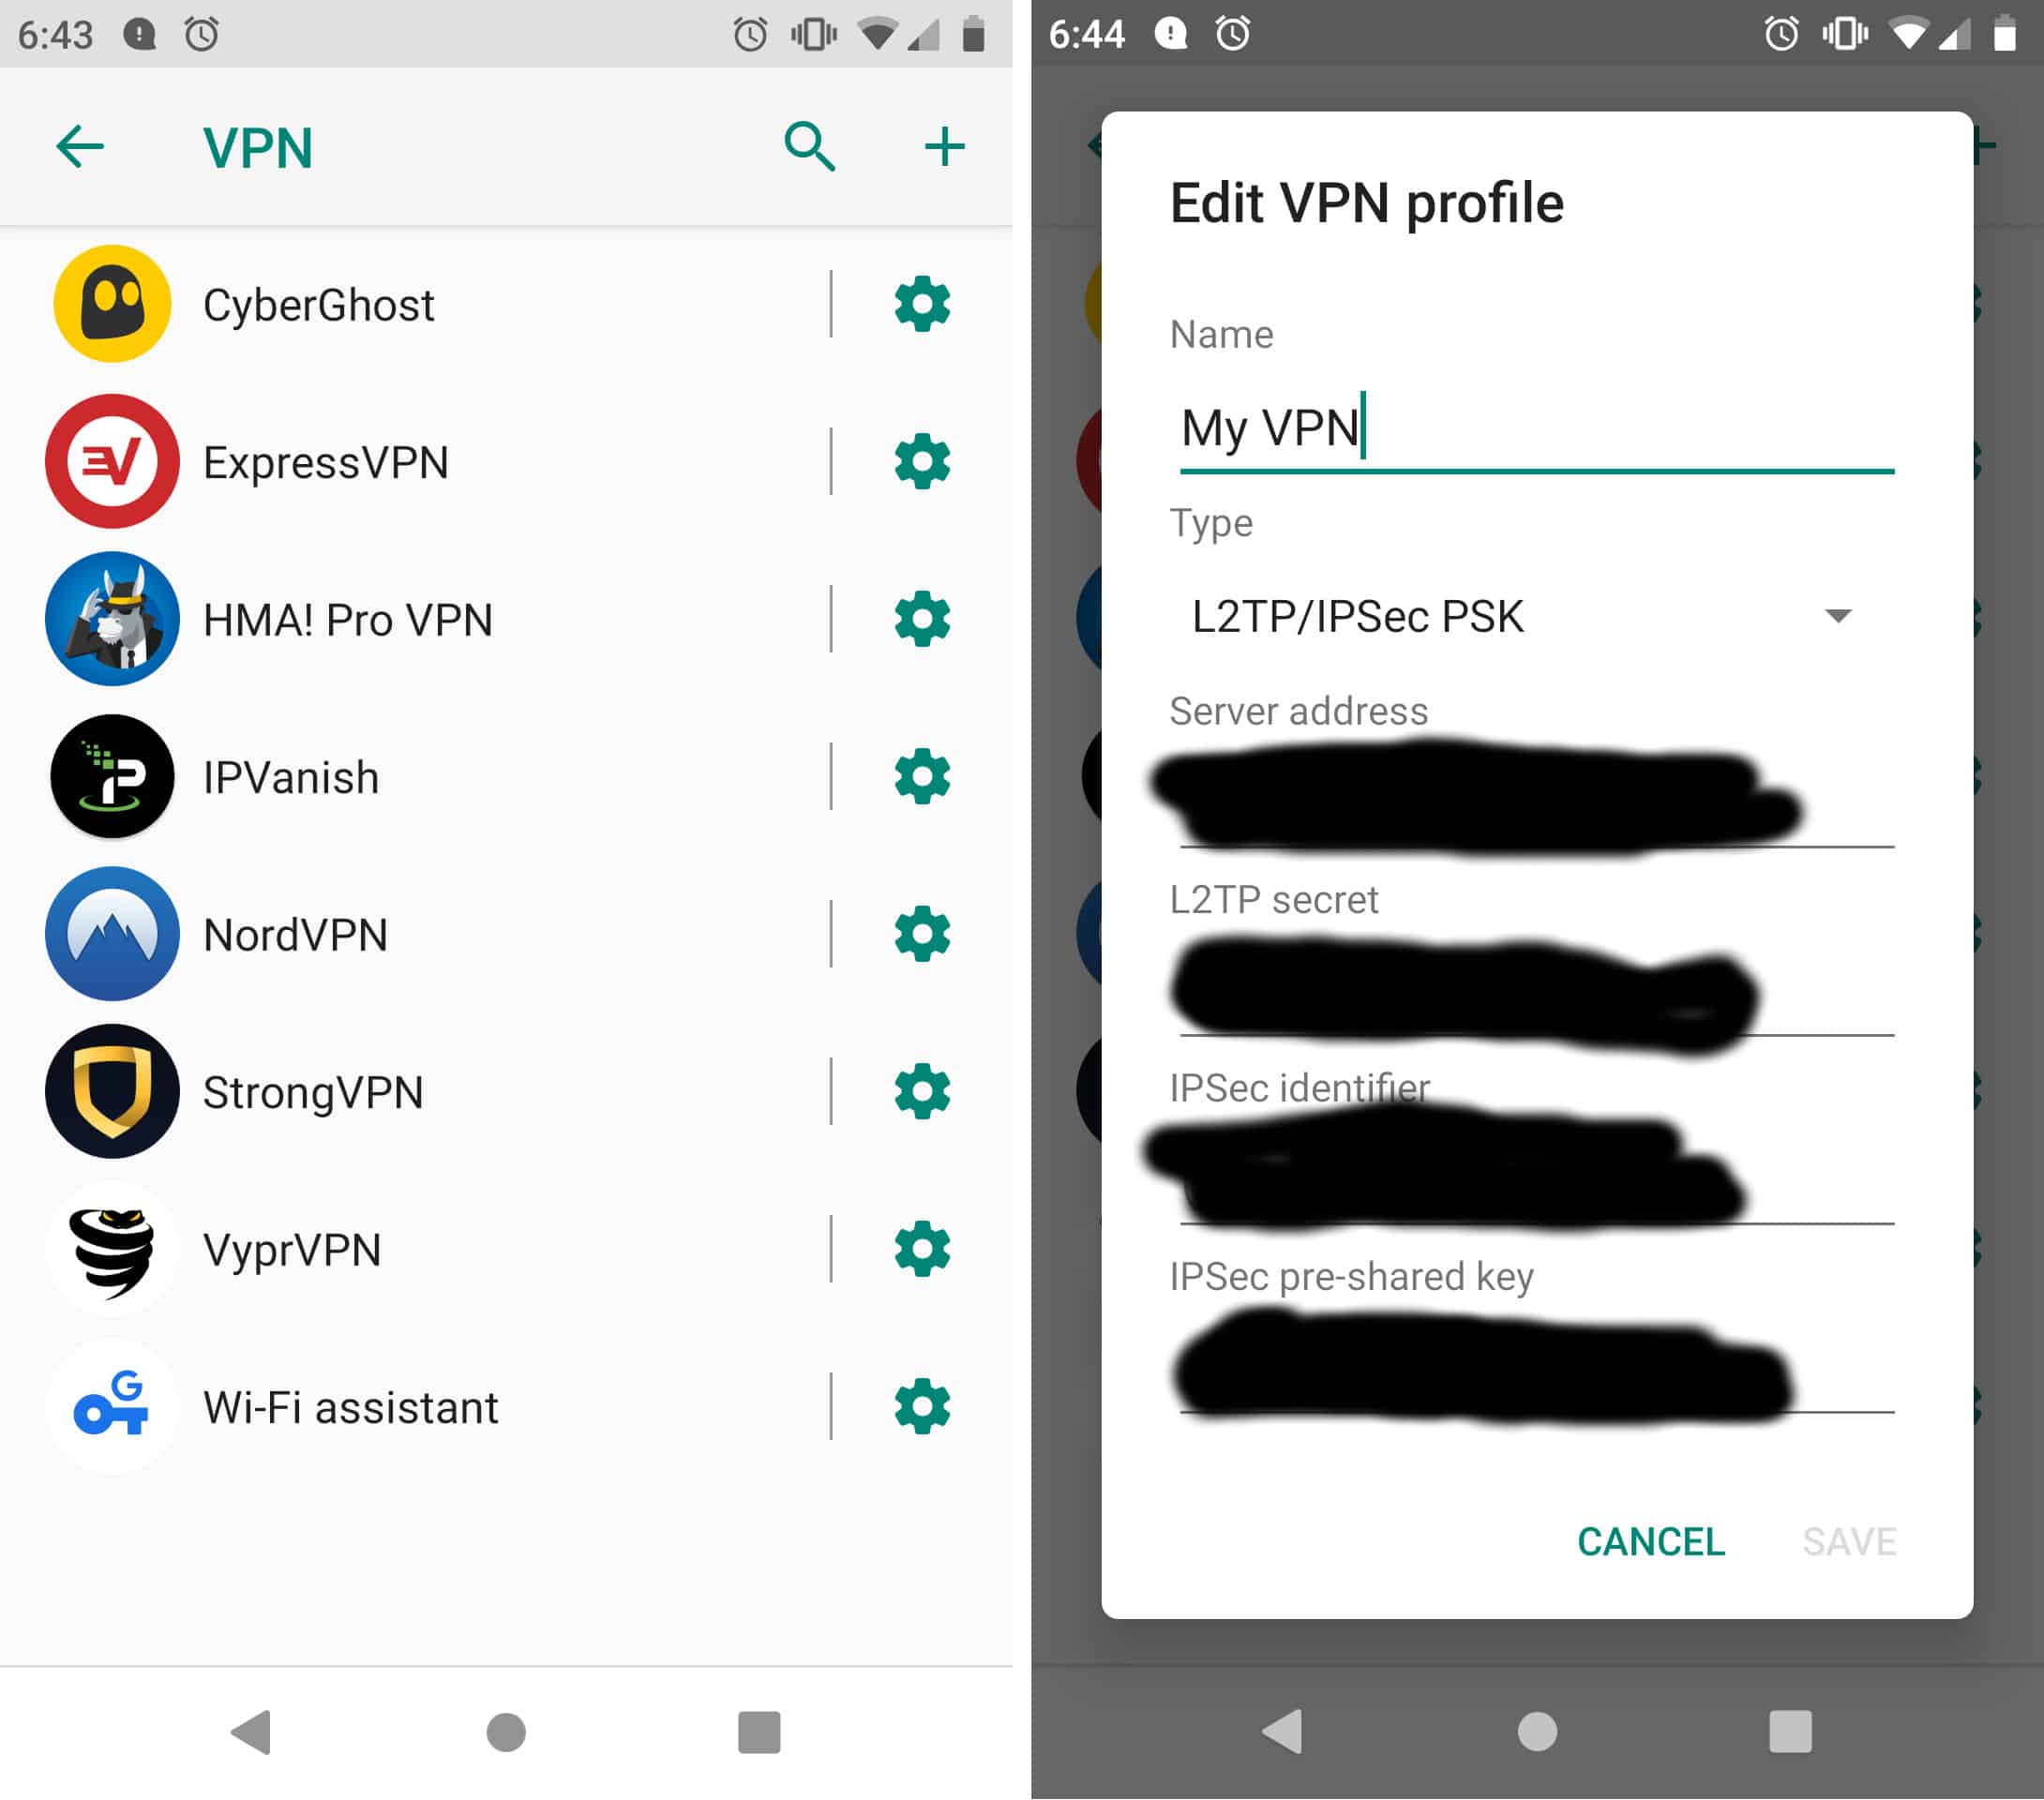
Step 3: Set Up and Configure the VPN
Once you have chosen a VPN provider and installed the VPN app on your Android device, the next step is to set up and configure the VPN. This process may vary slightly depending on the VPN app you are using, but the general steps remain the same.
Here is how you can set up and configure the VPN on your Android:
- Open the VPN App: Locate the VPN app on your Android device and open it. You will be greeted with a login screen or prompted to create an account if you haven’t done so already.
- Login or Create an Account: Enter your credentials to log in to the VPN app. If you don’t have an account, follow the on-screen instructions to sign up.
- Select a Server: Once you are logged in, you will typically be presented with a list of servers to choose from. Select a server location based on your preferences or the purpose of using the VPN.
- Configure Connection Settings: Depending on the VPN app, you may have the option to configure specific connection settings. These settings can include protocols, encryption methods, and network preferences. Adjust the settings according to your needs or leave them as default.
- Enable Kill Switch and DNS Leak Protection: For enhanced security, consider enabling the kill switch and DNS leak protection options if your VPN app provides them. The kill switch ensures that your internet connection is cut off if the VPN connection drops, while DNS leak protection prevents your DNS requests from leaking outside the VPN tunnel.
- Save and Connect: Once you have configured the desired settings, save the changes. You are now ready to connect to the VPN server.
It’s important to note that different VPN apps may have additional or slightly different steps during the setup and configuration process. Always refer to the VPN provider’s documentation or support resources for specific instructions related to their app.
Now that you have set up and configured the VPN on your Android device, it’s time to move on to the next step: connecting to the VPN server.
Step 4: Connect to the VPN Server
After successfully configuring your VPN on your Android device, it’s time to connect to the VPN server and start enjoying a secure and private internet connection. Follow these simple steps to connect to the VPN server:
- Open the VPN app: Locate the VPN app on your Android device and open it. Most VPN apps have a distinctive icon, making them easy to recognize.
- Sign in to your VPN account: If you haven’t already, you may need to sign in to your VPN account using your username and password. Some VPN services also offer other authentication methods such as fingerprint or facial recognition.
- Select a server: Once signed in, you will typically see a list of available servers. Choose a server location based on your needs. For example, if you want to access region-restricted content, select a server in the desired location.
- Connect to the server: Tap on the server you want to connect to. In most cases, you will see a connect button or a switch that you need to toggle to establish the VPN connection.
- Wait for the connection: Depending on your internet speed and server load, it may take a few seconds or minutes to establish the connection. During this time, the VPN app may show the connection status or progress bar.
- Verify the connection: Once the connection is established, you should see a notification or indicator confirming that you are connected to the VPN server. Some VPN apps also display the IP address of the server you are connected to.
That’s it! You have successfully connected to the VPN server on your Android device. From this point on, all your internet traffic will be encrypted and routed through the VPN server, ensuring your online activities remain private and protected.
Step 5: Verify VPN Connection
After connecting to a VPN server on your Android device, it’s crucial to verify that your VPN connection is working properly. Here are a few steps you can follow to confirm that your VPN is up and running:
1. Check the VPN Status: Open your device’s VPN settings and look for the status of the VPN connection. It should indicate that you are connected to a VPN server. Usually, there will be a VPN icon in the status bar at the top of your screen, displaying an “on” or “connected” status.
2. Test your IP Address: Websites like “whatismyip.com” or “ipleak.net” can help you verify your IP address. Before connecting to the VPN, note down your original IP address. Then, after connecting to the VPN, visit one of these websites again to see if your IP address has changed. If your IP address has indeed changed, it means that your connection is being routed through the VPN server.
3. Check for DNS Leaks: DNS leaks can expose your browsing activity even when connected to a VPN. To ensure that your DNS queries are also being handled by the VPN server, you can perform a DNS leak test. Services like “dnsleaktest.com” or “dnsleak.com” can help you identify if your DNS requests are leaking outside the VPN tunnel. If the test shows that your DNS is leaking, you may need to configure your VPN settings or seek assistance from your VPN provider.
4. Test Secure Connection: To ensure that your internet traffic is properly encrypted, you can perform a secure connection test. Many websites, including “sslshopper.com” or “whatsmybrowser.org,” offer SSL/TLS test tools that analyze your connection’s security. By running these tests before and after connecting to the VPN, you can ensure that your online activities are protected by the VPN’s encryption.
5. Check for Connection Drops: It’s essential to ensure that your VPN connection does not drop unexpectedly. To test this, stay connected to the VPN for an extended period and monitor the stability of the connection. If your VPN connection frequently drops or experiences disruptions, it may be necessary to troubleshoot or contact your VPN provider for assistance.
6. Test Geolocation: VPNs can mask your real location and provide anonymity online. To verify if your VPN is effectively hiding your location, you can use websites such as “iplocation.net” or “geoiptool.com” to check the geolocation of your IP address. The displayed location should match the server location you connected to, indicating that your VPN is working correctly.
By following these steps, you can ensure that your VPN connection is secure and functioning correctly on your Android device. Remember to periodically perform these verification checks to maintain the privacy and security of your online activities.
Sure! Here are some troubleshooting tips to help you resolve any issues you may encounter while setting up or using a VPN on your Android device.
Troubleshooting Tips
1. Check your internet connection: Before troubleshooting the VPN, ensure that your Android device is connected to a stable and reliable internet connection. A weak or unstable connection can affect the performance of the VPN.
2. Try different VPN servers: If you are experiencing slow speeds or connection issues, try connecting to a different VPN server. Sometimes, certain servers may be overloaded or experiencing technical difficulties, so switching to a different server can help improve performance.
3. Clear cache and data of VPN app: If the VPN app is behaving unexpectedly or not connecting properly, try clearing the cache and data of the VPN app. This can resolve any potential conflicts or corruption in the app’s temporary files.
4. Disable battery optimization: Some Android devices have a feature called battery optimization that can interfere with the functionality of certain apps, including VPNs. To ensure that the VPN app can operate without any interruptions, disable battery optimization for the VPN app in your device’s settings.
5. Check VPN permissions: Verify that the VPN app has the necessary permissions to function properly. Go to your Android device’s settings, find the VPN app, and ensure that all requested permissions are granted.
6. Update the VPN app: Outdated VPN apps may have compatibility issues or security vulnerabilities. Check if there is an updated version of the app available on the Google Play Store and install it to ensure that you have the latest features and bug fixes.
7. Restart your device: Sometimes, a simple restart can fix various software glitches and connectivity issues. Restart your Android device and try connecting to the VPN again to see if the problem is resolved.
8. Contact VPN provider support: If you have tried all of the above troubleshooting steps and are still experiencing issues, reach out to the customer support of your VPN provider. They will be able to assist you further and provide specific troubleshooting guidance for their VPN service.
Remember, troubleshooting steps can vary depending on the VPN app and Android device you are using. It’s always a good idea to consult the VPN provider’s documentation or support resources for any specific troubleshooting instructions they may have.
By following these troubleshooting tips, you should be able to overcome common issues and enjoy a secure and reliable VPN connection on your Android device.
Conclusion
In conclusion, getting a VPN on your Android device is a crucial step towards protecting your online privacy and security. With a VPN, you can browse the internet anonymously, secure your data from potential hackers, and access region-restricted content. Throughout this article, we discussed the importance of using a VPN on Android and provided step-by-step instructions on how to set it up.
Remember, not all VPNs are created equal, so it’s essential to choose a reliable and reputable provider. Whether you opt for a free VPN or a paid one, make sure it offers strong encryption, a wide server network, and a user-friendly interface.
By following the guidelines outlined in this article, you can enjoy a safer and more private online experience on your Android device. So, go ahead and protect your digital footprint with a VPN and take control of your online security and freedom.
FAQs
1. Why should I use a VPN on my Android device?
Using a VPN on your Android device can provide several benefits. Firstly, it enhances your online privacy and security by encrypting your internet connection and masking your IP address. This means that your data and online activities are protected from prying eyes, such as hackers or government surveillance. Additionally, a VPN allows you to access geo-restricted content by bypassing location-based restrictions. Whether you want to stream your favorite shows from another country or access websites that are blocked in your region, a VPN can help you achieve that.
2. How do I set up a VPN on my Android phone?
Setting up a VPN on your Android phone is relatively straightforward. First, you need to choose a reliable VPN provider and download their app from the Google Play Store. Once installed, open the app and follow the instructions for creating an account or logging in. After that, you can select a VPN server location and connect to it. Most VPN apps offer a one-click connect feature, making the process quick and easy.
3. Can I use a free VPN on my Android device?
While there are free VPN apps available for Android devices, it’s important to approach them with caution. Free VPNs often come with limitations such as data caps, slower connection speeds, and fewer server options. Additionally, some free VPNs may collect and sell your data to third-party advertisers, compromising your privacy. It’s recommended to opt for a reputable paid VPN service that guarantees your security and provides better performance.
4. Will using a VPN on my Android device slow down my internet speed?
Using a VPN on your Android device can potentially result in a minor decrease in internet speed. This is because the VPN encrypts your data and reroutes it through a remote server, adding an extra step in the connection process. However, the impact on speed is generally minimal, especially if you choose a reliable VPN provider with a wide server network and good infrastructure. In some cases, using a VPN can even improve your speed if your ISP is throttling certain types of internet traffic.
5. Can I use a VPN on all Android devices?
Yes, you can use a VPN on almost all Android devices, including smartphones and tablets. Whether you have the latest flagship device or an older model, as long as it runs on Android, you should be able to install and use a VPN app. It’s important to check the compatibility of the VPN app with your specific device and Android version before downloading it from the Play Store.