
Are you tired of using cables to transfer files between your iPhone and Mac? With AirDrop, you can easily share photos, videos, documents, and more wirelessly. AirDrop is a convenient feature available on iOS devices, including iPhones and Mac computers, that allows you to quickly transfer files between devices. Whether you want to send a funny meme to your friend or transfer important documents for work, AirDrop makes the process seamless. In this article, we will guide you on how to AirDrop from your iPhone to a Mac, saving you time and effort. You’ll learn how to enable AirDrop, set up the necessary options, and enjoy this hassle-free method of file transfer. Let’s dive in and explore the wonders of AirDrop!
Inside This Article
- How Does AirDrop Work?
- Steps to AirDrop from Your iPhone to a Mac
- Additional Tips and Troubleshooting
- Conclusion
- FAQs
How Does AirDrop Work?
AirDrop is a powerful feature available on iOS devices, including iPhones and Macs, that allows you to wirelessly share files, photos, and other data with other compatible devices nearby. It utilizes a combination of Wi-Fi and Bluetooth technologies to establish a direct connection between devices, bypassing the need for a network or internet connection.
When you initiate an AirDrop transfer from your iPhone to a Mac, both devices create a unique encrypted connection. This connection ensures that the transfer is secure and private, protecting your data from unauthorized access.
To facilitate the transfer, AirDrop uses a feature called “peer-to-peer” networking. This means that instead of relying on a centralized server or cloud storage, AirDrop establishes a direct connection between your iPhone and the Mac. This direct connection allows for speedy and reliable file transfers, with no lag or loss of quality.
One unique aspect of AirDrop is its ability to detect other nearby devices using Bluetooth technology. When you enable AirDrop on your iPhone and Mac, they will scan for other compatible devices within the vicinity. Once the devices are detected, they are listed as available recipients for any files you choose to share.
Not only does AirDrop make it incredibly easy to transfer files, but it also supports a wide range of file types, including photos, videos, documents, and more. Whether you want to send a large presentation for work or share a memorable photo with a friend, AirDrop has you covered.
Overall, AirDrop’s seamless integration with iOS devices and Macs, along with its secure and efficient peer-to-peer networking, make it a convenient and powerful tool for sharing files wirelessly.
Steps to AirDrop from Your iPhone to a Mac
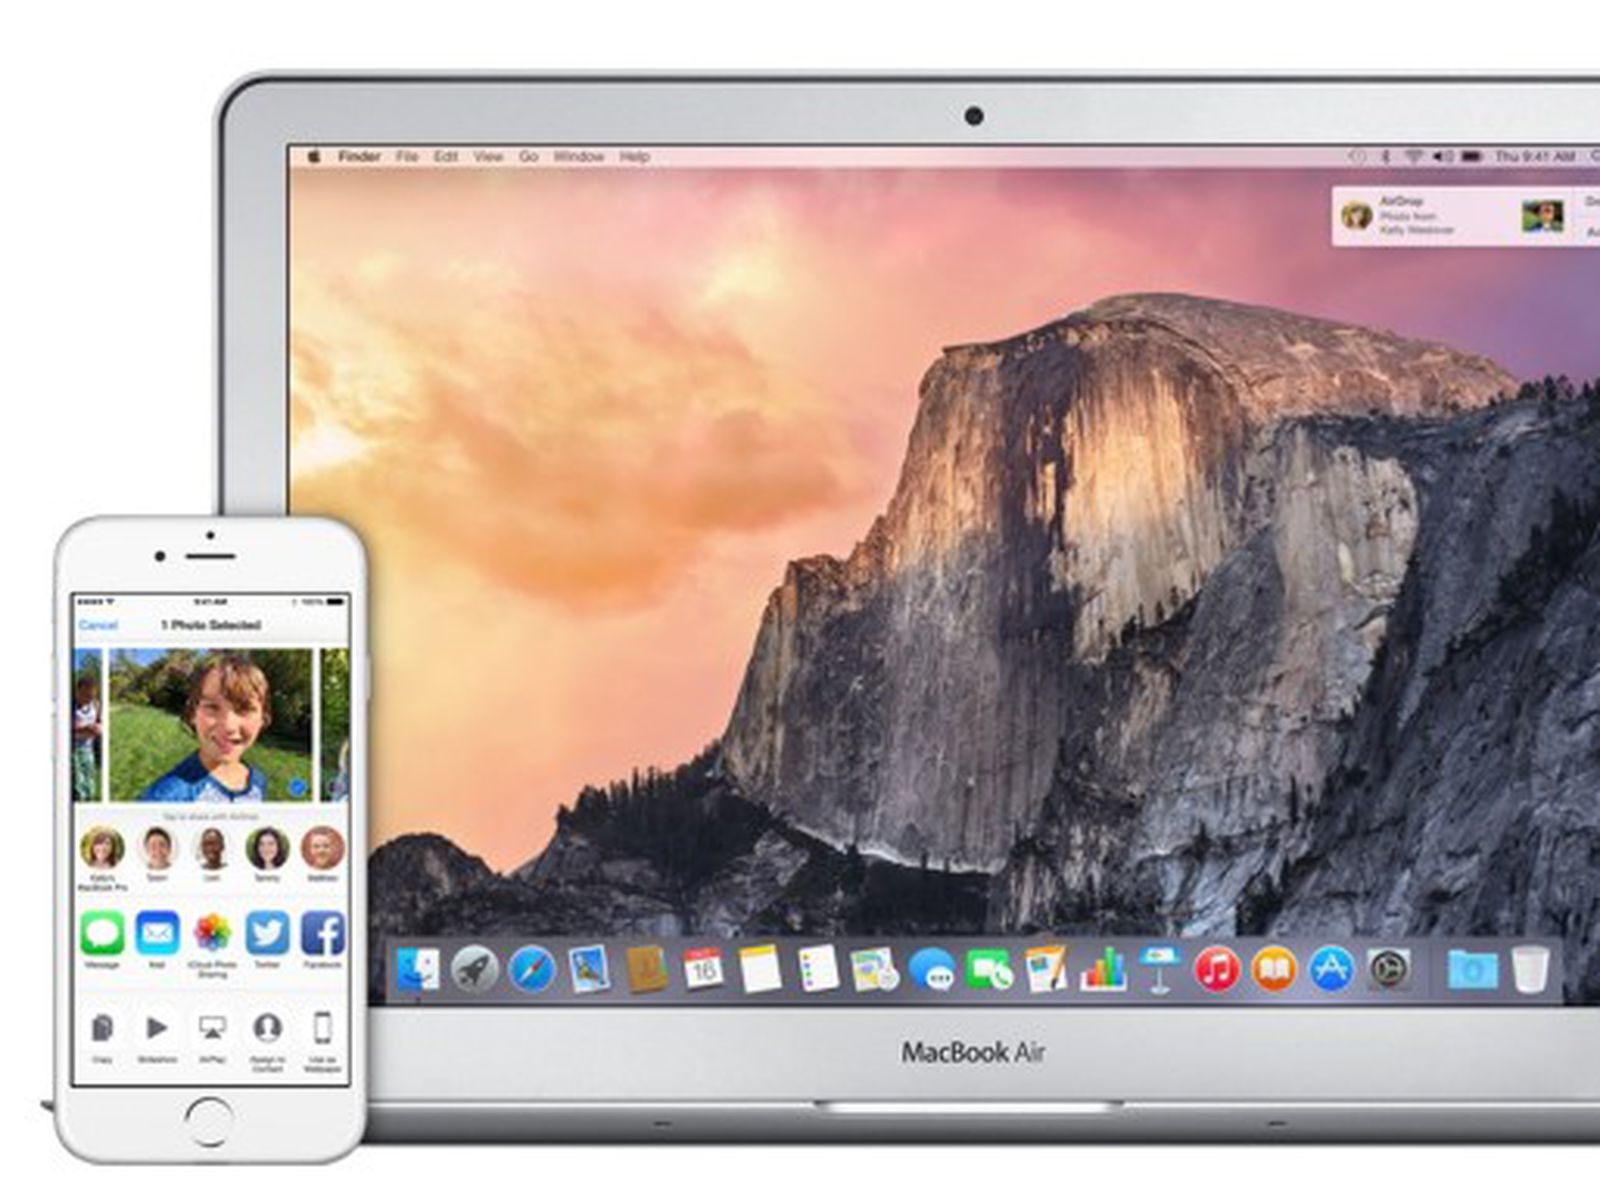
Transferring files between your iPhone and Mac has never been easier thanks to AirDrop. This feature allows you to wirelessly share photos, videos, documents, and more with just a few taps. Follow these simple steps to AirDrop from your iPhone to a Mac:
- Make sure that both your iPhone and Mac are connected to the same Wi-Fi network.
- On your iPhone, open the Control Center by swiping down from the top-right corner of the screen (for iPhone X and newer) or swiping up from the bottom of the screen (for older iPhone models).
- Long-press or firmly press the network settings card in the top-left corner of the Control Center to open a larger AirDrop menu.
- Select “Contacts Only” or “Everyone” in the AirDrop menu, depending on your preference. “Contacts Only” limits AirDrop to people in your contacts list, while “Everyone” allows anyone nearby to AirDrop files to your device.
- On your Mac, open a Finder window and navigate to the location where you want to save the files you’ll receive.
- In the Finder window, click “AirDrop” in the sidebar to enable AirDrop on your Mac.
- On your iPhone, select the file you want to AirDrop. This can be a photo, video, document, or any other compatible file.
- Tap the “Share” button, which looks like a box with an arrow pointing up.
- In the Share menu, you will see a list of nearby devices available for AirDrop. Look for your Mac’s name and tap on it to initiate the transfer.
- Wait for the progress bar to complete on both your iPhone and Mac to ensure the files have been successfully transferred.
- On your Mac, check the location you specified in step 5 to find the transferred files.
That’s it! You have successfully AirDropped files from your iPhone to your Mac. This convenient feature saves you the hassle of using cables or other transfer methods and allows for fast and easy file sharing between your devices.
Keep in mind that AirDrop may not be available on older Mac models or devices running older versions of iOS. Additionally, make sure that both devices have Bluetooth and Wi-Fi enabled for AirDrop to work properly.
If you’re experiencing issues with AirDrop, try the following troubleshooting steps:
- Ensure that AirDrop is enabled on both your iPhone and Mac.
- Restart both devices and try again.
- Check that Bluetooth and Wi-Fi are turned on and connected on both devices.
- Disable any VPN or firewall settings that may be interfering with AirDrop.
- If AirDrop still doesn’t work, consider updating your devices to the latest software version.
By following these steps and troubleshooting tips, you can easily AirDrop files from your iPhone to your Mac and enjoy seamless file sharing between the two devices.
Additional Tips and Troubleshooting
While AirDrop is a convenient feature for quickly sharing files between your iPhone and Mac, there can be instances where you may encounter some issues or need some extra guidance. Here are a few additional tips and troubleshooting steps to help you out:
Make sure both devices are compatible: AirDrop requires an iPhone 5 or later model running iOS 7 or later, and a Mac with OS X Yosemite or later. Ensure that both devices meet the minimum requirements for AirDrop to work properly.
Check your device visibility: If you’re having trouble detecting your iPhone or Mac on the AirDrop screen, make sure that both devices have their visibility settings properly configured. On your iPhone, swipe up from the bottom of the screen to open the Control Center and make sure that AirDrop is set to “Everyone” or “Contacts Only.” On your Mac, go to Finder > AirDrop and ensure that the “Allow me to be discovered by” option is set to “Everyone” or “Contacts Only.”
Turn off Personal Hotspot: If you’re using the Personal Hotspot feature on your iPhone, it can interfere with AirDrop. Make sure to turn off Personal Hotspot before attempting to use AirDrop.
Restart both devices: Sometimes, a simple restart can resolve connectivity issues. Try restarting both your iPhone and Mac, and then try using AirDrop again.
Disable Bluetooth and Wi-Fi: If AirDrop still isn’t working, try turning off Bluetooth and Wi-Fi on both devices, wait a few seconds, and then turn them back on. This can help refresh the connection and resolve any temporary glitches.
Update your software: Ensure that both your iPhone and Mac are running the latest software updates. Outdated software can sometimes cause compatibility issues with AirDrop.
Clear temporary files: Clearing temporary files on both your iPhone and Mac can help improve overall performance and resolve any storage-related issues that might be affecting AirDrop. Delete unnecessary files and clear cache regularly.
Reset network settings: If nothing seems to work, you can try resetting the network settings on your iPhone. Go to Settings > General > Reset > Reset Network Settings. Keep in mind that this will remove any saved Wi-Fi networks and passwords, so make sure to have them handy.
By following these additional tips and troubleshooting steps, you can troubleshoot any issues that may arise while using AirDrop and ensure a seamless file-sharing experience between your iPhone and Mac.
The AirDrop feature on iOS devices, such as iPhones, provides a convenient and efficient way to share files with other Apple devices, including Mac computers. It eliminates the need for cables or email attachments, making file transfer seamless and quick.
In this article, we’ve explored the step-by-step process of using AirDrop to transfer files from your iPhone to a Mac. From enabling AirDrop and adjusting its settings to selecting and transferring files, you now have the know-how to easily share documents, photos, videos, and more.
AirDrop not only simplifies file sharing but also ensures security and privacy. With its secure encryption protocols, you can confidently exchange files without worrying about unauthorized access.
So next time you need to send a file from your iPhone to a Mac, remember to use the AirDrop feature. It’s a handy tool that enhances productivity and streamlines your workflow. Give it a try and enjoy the seamless file transfer experience between your iPhone and Mac!
FAQs
1. Can I AirDrop files from my iPhone to a Mac?
Yes, you can easily AirDrop files from your iPhone to a Mac. AirDrop is a feature that allows you to wirelessly transfer files between Apple devices. It uses Bluetooth and Wi-Fi technology to establish a secure connection between the devices.
2. How do I enable AirDrop on my iPhone?
To enable AirDrop on your iPhone, follow these steps:
- Swipe up on your iPhone screen to access the Control Center.
- Press and hold the wireless connectivity box (Wi-Fi, Bluetooth, and AirDrop options will be displayed).
- Tap on the AirDrop option.
- Select “Contacts Only” or “Everyone” to set your AirDrop privacy preferences.
3. How do I AirDrop files from my iPhone to a Mac?
To AirDrop files from your iPhone to a Mac, here’s what you need to do:
- Make sure both your iPhone and Mac are connected to the same Wi-Fi network and have Bluetooth turned on.
- On your iPhone, open the app or select the file you want to AirDrop.
- Tap on the share icon (usually located at the bottom of the screen).
- From the sharing options, select the Mac device you want to AirDrop to.
- On your Mac, accept the AirDrop file transfer request.
4. What types of files can I AirDrop from my iPhone to a Mac?
You can AirDrop a wide range of files from your iPhone to a Mac, including photos, videos, documents, contacts, location information, and more. Most file types that are compatible with iOS can be successfully transferred via AirDrop.
5. Are there any file size limitations for AirDrop?
While AirDrop is capable of transferring large files, there may be limitations depending on the devices involved. For instance, older iPhone models or Macs may have restrictions on the file size they can handle. Additionally, the available storage space on the receiving device may also affect the maximum file size that can be transferred via AirDrop. It’s always a good idea to check the storage capacity and capabilities of your devices before initiating a transfer.