
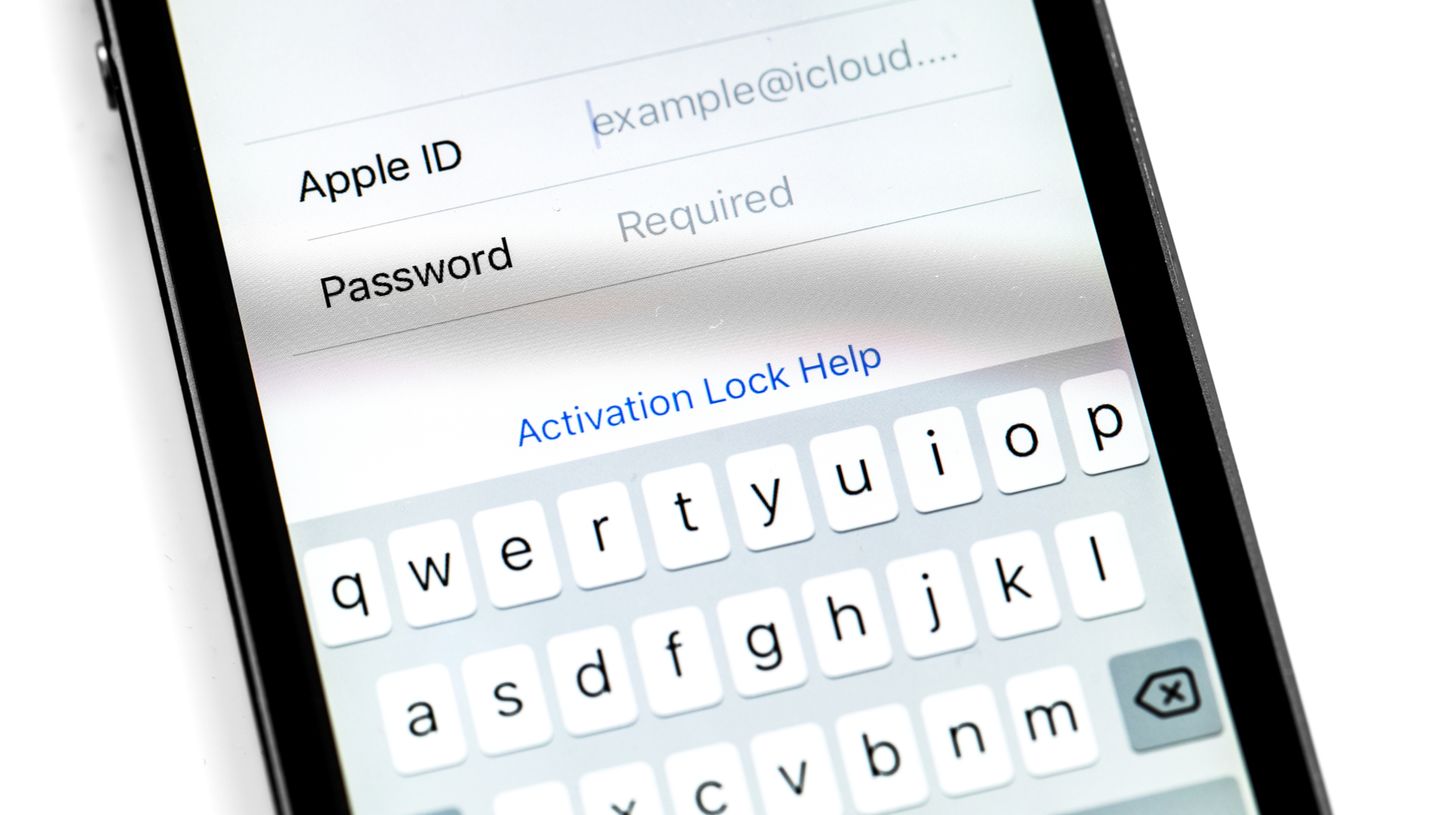
Changing the phone number associated with your Apple ID is a common need, whether due to a new phone number or a desire to update your account information. This process is essential for maintaining the security and functionality of your Apple devices and services. In this article, we will explore the step-by-step process of changing your phone number on your Apple ID. Additionally, we will discuss the importance of keeping your account information up to date and the potential benefits of doing so. Whether you're switching to a new phone number or simply ensuring that your account details are current, understanding how to change your phone number on your Apple ID is crucial. Let's delve into the details and simplify this essential task.
Inside This Article
- Check Your Current Apple ID Phone Number
- Update Your Phone Number on Apple ID
- Verify Your New Phone Number
- Use Two-Factor Authentication for Security
- Conclusion
- FAQs
Check Your Current Apple ID Phone Number
Before making any changes to your Apple ID phone number, it's essential to verify the current phone number associated with your account. This ensures that you have the most accurate information and can proceed with updating it correctly. Here's how you can check your current Apple ID phone number:
-
Open Settings on Your Apple Device: Start by unlocking your iPhone, iPad, or iPod touch and locating the Settings app. It's usually represented by a gear icon and is commonly found on the home screen.
-
Tap on Your Name: Once you're in the Settings app, scroll down and tap on "Your Name" at the top of the screen. This will take you to the Apple ID settings.
-
Select "Password & Security": Within the Apple ID settings, select "Password & Security." This section contains crucial information about your account's security settings, including your phone number.
-
Authenticate Your Identity: You may be prompted to authenticate your identity using Touch ID, Face ID, or your device passcode. This step ensures that only authorized users can access and modify sensitive account details.
-
View Your Trusted Phone Number: Under the "Phone Numbers" section, you'll find your current trusted phone number associated with your Apple ID. Take a moment to verify that this is the correct phone number before proceeding with any updates.
By following these steps, you can confidently confirm the phone number linked to your Apple ID. This foundational check sets the stage for seamlessly updating your phone number and ensuring that your account information remains accurate and up to date.
Update Your Phone Number on Apple ID
Updating your phone number on your Apple ID is a straightforward process that ensures your account information remains current and accessible. Whether you've changed your phone number or simply need to update the existing one, Apple provides a user-friendly method to make this adjustment. Here's a detailed guide on how to update your phone number on your Apple ID:
Method 1: Using Your iPhone, iPad, or iPod Touch
-
Access Your Apple ID Settings: Begin by unlocking your device and navigating to the Settings app. Once there, tap on your name at the top of the screen to access your Apple ID settings.
-
Select "Password & Security": Within the Apple ID settings, locate and tap on "Password & Security." This section contains essential security and account information, including your trusted phone number.
-
Authenticate Your Identity: To proceed with updating your phone number, you may be prompted to authenticate your identity using Touch ID, Face ID, or your device passcode. This step ensures that only authorized users can modify sensitive account details.
-
Update Your Phone Number: Under the "Phone Numbers" section, tap on your current trusted phone number. You'll then have the option to update or change the phone number associated with your Apple ID. Follow the on-screen prompts to enter the new phone number and confirm the changes.
-
Verification Code: After entering the new phone number, you may receive a verification code via SMS or a phone call to the new number. Enter the code as prompted to verify the new phone number and complete the update process.
Method 2: Using the Apple ID Website
-
Visit the Apple ID Website: Open a web browser and go to the Apple ID account page (appleid.apple.com).
-
Sign In and Access Account Settings: Log in with your Apple ID and password, then navigate to the "Security" section of your account settings.
-
Update Your Phone Number: Look for the option to update your trusted phone number. Follow the on-screen instructions to enter the new phone number and verify the changes.
By following these methods, you can effectively update your phone number on your Apple ID, ensuring that your account information remains accurate and accessible. This simple yet crucial update allows you to stay connected with Apple's services and receive important notifications, further enhancing your overall user experience.
Verify Your New Phone Number
Verifying your new phone number is a critical step in the process of updating your Apple ID information. This verification ensures that the new phone number is valid, accessible, and securely linked to your Apple ID account. By confirming the new phone number, you can seamlessly integrate it into your account, enabling smooth communication and enhanced security features. Here's a comprehensive guide on how to verify your new phone number:
Method 1: Verification through SMS
Upon updating your phone number on your Apple ID, you may receive a verification code via SMS to the new number. This code is a crucial element in the verification process, serving as a secure method to confirm the association of the new phone number with your Apple ID. Here's how to complete the verification using the SMS method:
-
Receive the Verification Code: Check your new phone's messaging app for the SMS containing the verification code. It's essential to ensure that you have a stable cellular or Wi-Fi connection to receive the code promptly.
-
Enter the Verification Code: Once you've received the SMS, enter the verification code into the designated field on your Apple device or the Apple ID website. This code serves as a unique identifier, confirming the authenticity of the new phone number.
-
Complete the Verification: After entering the verification code, follow any additional on-screen prompts to finalize the verification process. This may include confirming the changes and acknowledging the successful update of your phone number on your Apple ID.
Method 2: Verification through Phone Call
In some instances, Apple may provide the option to receive the verification code via a phone call to the new number. This method offers an alternative method of verification, catering to users who may prefer or require this approach. Here's how to complete the verification using the phone call method:
-
Answer the Call: When prompted to verify your new phone number, be prepared to receive a phone call to the updated number. Ensure that you are available to answer the call and listen for the automated verification code.
-
Enter the Verification Code: Upon receiving the automated call, carefully listen to the verification code provided. Enter this code into the designated field on your Apple device or the Apple ID website to proceed with the verification process.
-
Finalize the Verification: After entering the verification code, follow any additional instructions to confirm and finalize the verification of your new phone number. This may involve acknowledging the successful verification and ensuring that the updated phone number is securely linked to your Apple ID.
By following these verification methods, you can effectively confirm the association of your new phone number with your Apple ID. This crucial step enhances the security and functionality of your account, ensuring that your updated phone number is seamlessly integrated and ready for use across Apple's ecosystem.
Use Two-Factor Authentication for Security
In today's digital landscape, safeguarding personal information and digital assets is paramount. Apple offers a robust security feature known as Two-Factor Authentication (2FA) to provide an additional layer of protection for your Apple ID and its associated services. By enabling 2FA, users can significantly enhance the security of their accounts, mitigating the risk of unauthorized access and potential data breaches. Here's an in-depth exploration of how to use Two-Factor Authentication for security and the benefits it offers.
What is Two-Factor Authentication (2FA)?
Two-Factor Authentication is a security mechanism that requires two forms of verification before granting access to an account. In the case of Apple's 2FA, this typically involves something the user knows (such as a password) and something the user possesses (such as a trusted device or a verification code). This dual-layered approach adds an extra barrier against unauthorized access, as it necessitates both the correct credentials and a secondary form of validation.
How to Enable Two-Factor Authentication for Your Apple ID
Enabling 2FA for your Apple ID is a straightforward yet impactful process. By following these steps, you can fortify the security of your account and enjoy the peace of mind that comes with enhanced protection:
-
Access Your Apple ID Settings: Begin by accessing the Settings app on your Apple device and tapping on your name to enter the Apple ID settings.
-
Navigate to Security Settings: Within the Apple ID settings, locate and select the "Password & Security" section, where you'll find the option to enable Two-Factor Authentication.
-
Initiate the Setup Process: Follow the on-screen prompts to initiate the setup process for Two-Factor Authentication. This typically involves verifying your trusted phone number and selecting the devices on which you want to receive verification codes.
-
Secure Your Account: Once Two-Factor Authentication is enabled, your Apple ID and its associated services will require the additional verification step when signing in, accessing iCloud, making purchases, or managing your account. This added layer of security significantly reduces the risk of unauthorized access, identity theft, and fraudulent activities.
Benefits of Two-Factor Authentication
The implementation of Two-Factor Authentication offers several notable benefits, including:
-
Enhanced Security: By requiring a secondary form of verification, 2FA significantly reduces the likelihood of unauthorized access to your Apple ID and its associated services.
-
Protection of Personal Data: 2FA helps safeguard sensitive personal information, such as contacts, photos, documents, and payment details, stored within your Apple account.
-
Secure Account Recovery: In the event of a forgotten password or a compromised account, Two-Factor Authentication provides an additional layer of security during the account recovery process.
-
Trusted Device Management: With 2FA, you have control over designating trusted devices that can receive verification codes, allowing you to monitor and manage access to your account more effectively.
By leveraging Two-Factor Authentication, Apple users can proactively fortify the security of their accounts, ensuring a safer and more secure digital experience across the Apple ecosystem. This proactive security measure aligns with Apple's commitment to protecting user privacy and data integrity, empowering users to confidently engage with their devices and services while minimizing security risks.
In conclusion, changing your phone number on your Apple ID is a straightforward process that can be completed through the settings on your Apple device. By updating your phone number, you can ensure that you receive important notifications and verify your identity when accessing Apple services. It's essential to keep your contact information current to maintain the security and functionality of your Apple ID. With the step-by-step guide provided in this article, you can easily navigate the process and make the necessary updates to your Apple ID. Stay connected and informed by ensuring that your phone number is up to date on your Apple ID.
FAQs
-
Can I Change My Phone Number on Apple ID?
- Yes, you can change the phone number associated with your Apple ID. This can be done through the settings on your Apple device or through the Apple ID website.
-
Why Would I Need to Change My Phone Number on Apple ID?
- There are various reasons why you might need to change your phone number on your Apple ID. Common reasons include getting a new phone number, switching carriers, or simply updating your contact information.
-
Will Changing My Phone Number Affect My Apple ID Account?
- Changing your phone number on your Apple ID should not affect your account adversely. However, it's important to ensure that you have access to the new phone number for verification purposes and to receive important notifications from Apple.
-
Is It Necessary to Update My Phone Number on Apple ID?
- It is recommended to keep your contact information up to date on your Apple ID to ensure that you can receive account-related notifications and easily reset your password if needed.
-
How Do I Update My Phone Number on Apple ID?
- You can update your phone number on Apple ID by accessing the settings on your Apple device or by logging into your Apple ID account on the official website. The process typically involves verifying your identity and entering the new phone number to complete the update.