
Cell phones have become an inseparable part of our lives, serving as our connection to the world and a gateway to endless possibilities. Whether it’s for making calls, sending messages, browsing the internet, or engaging in social media, our mobile phones offer us a whole world at our fingertips. But what if you’re wondering how to get a sign on phone? Perhaps you’re seeking a sign-on bonus from a mobile service provider or looking for ways to enhance your phone’s functionality with new features. In this article, we will guide you through the process of getting a sign on phone, explore different options available, and provide answers to frequently asked questions. So, let’s dive in and discover the exciting world of phone sign-ons!
Inside This Article
- # How To Get Sign On Phone
- Enable Signature Feature on Your Phone
- Use Third-Party Signature Apps
- Utilize Built-in Signature Tools
- Sign Documents with Digital Signature Services
- Conclusion
- FAQs
# How To Get Sign On Phone
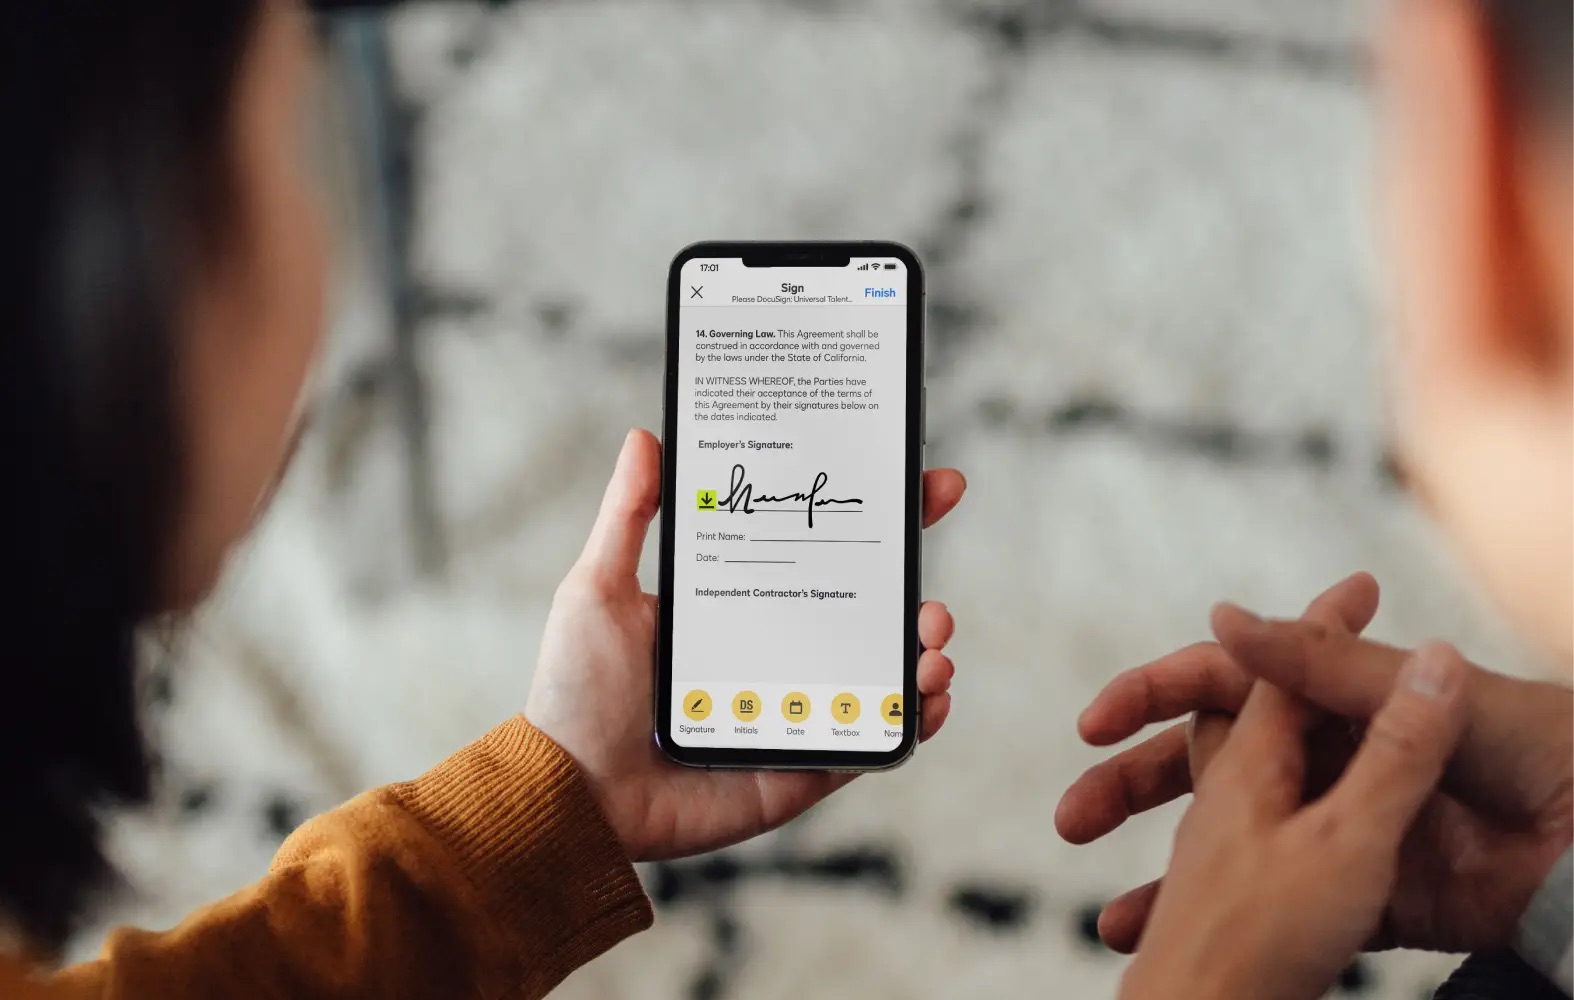
Are you wondering how to conveniently sign documents directly from your mobile device? Look no further! In this article, we will explore various methods to get your signature on your phone quickly and effortlessly.
Enable Signature Feature on Your Phone
The first option to consider is enabling the built-in signature feature on your phone. Many smartphones today come with a native solution that allows you to digitally sign documents directly from your device. To enable this feature, follow these simple steps:
- Go to the settings menu on your phone.
- Look for the “Signature” or “Signature Capture” option.
- Toggle the switch to enable the signature feature.
- Customize your signature by selecting an existing image or creating a new one.
- You’re all set! You can now easily sign documents using your phone’s signature feature.
By enabling the built-in signature feature, you’ll have the flexibility to sign documents on the go, eliminating the need for printing, scanning, or using a separate device.
Use Third-Party Signature Apps
If your phone doesn’t have a built-in signature feature or if you’re looking for more advanced signing options, third-party signature apps are a great alternative. These apps provide additional features, such as document editing, form filling, and cloud storage integration. Follow these steps to get started:
- Visit your app store (Google Play Store for Android or Apple App Store for iOS).
- Search for signature apps like “DocuSign,” “Adobe Sign,” or “SignEasy.”
- Download and install the app of your choice.
- Open the app and create an account (if required).
- Upload the document you want to sign or use the app’s camera feature to capture it.
- Insert your signature using the app’s signature tools.
- Save the signed document or send it directly from the app.
With third-party signature apps, you’ll have access to a wide range of features to manage and sign documents efficiently. Explore different apps to find the one that best suits your needs.
Utilize Built-in Signature Tools
In addition to dedicated signature apps, many productivity and document management apps offer built-in signature tools. These apps allow you to streamline your document signing process without the need to switch between multiple applications. Here’s how to utilize built-in signature tools:
- Open your preferred document management app (such as Google Drive, Microsoft Word, or Adobe Acrobat).
- Upload the document you want to sign.
- Look for the signature tool within the app.
- Tap on the signature tool to insert your signature.
- Adjust the size, position, and style of your signature as needed.
- Save the document with your signature applied.
By utilizing the built-in signature tools of document management apps, you can seamlessly sign and manage your documents without the hassle of switching between different platforms.
Sign Documents with Digital Signature Services
If you frequently deal with official or legally binding documents, using digital signature services can provide added security and verification. These services offer a higher level of authentication and legal recognition for your signed documents. To sign documents with a digital signature service, follow these steps:
- Choose a reputable digital signature service provider, such as “DocuSign,” “SignNow,” or “HelloSign.”
- Visit their website or download their mobile app.
- Create an account and follow the verification process.
- Upload the document you want to sign.
- Insert your digital signature using the provided tools.
- Review and confirm the details before signing.
- Save or send the signed document securely.
Opting for digital signature services ensures the highest level of authenticity and legality for your signed documents, making them ideal for contracts, agreements, and other important paperwork.
Getting your signature on your phone has never been easier! Whether you use the built-in signature feature, third-party apps, or digital signature services, you can enjoy the convenience of signing documents directly from your mobile device. Say goodbye to printing, scanning, and faxing, and embrace the efficiency of signing on the go!
Enable Signature Feature on Your Phone
If you want to add a personal touch to your digital communications, enabling the signature feature on your phone is a great way to do it. Whether you’re using an Android or iOS device, the process is relatively straightforward. Follow these simple steps to enable the signature feature:
1. For Android:
– Open the “Settings” app on your Android phone.
– Scroll down and find the “Accounts” or “Email” option.
– Tap on the email account for which you want to enable the signature.
– Look for the “Signature” or “Email Signature” option and tap on it.
– Enter your desired signature in the text box.
– Save the changes, and you’re good to go! Your signature will now be automatically added to all outgoing emails.
2. For iOS:
– Launch the “Settings” app on your iPhone or iPad.
– Scroll down and tap on “Mail” or “Accounts & Passwords”.
– Select the email account you want to add a signature to.
– Look for the “Signature” option and tap on it.
– Enter your desired signature in the text box.
– Once you’re done, tap on “Back” or “Done” to save the changes.
Now, you can confidently send emails or messages with your personalized signature attached. Whether it’s a simple “Best regards” or a more elaborate closing statement, having a signature adds a professional touch to your digital communications.
Use Third-Party Signature Apps
If you want to add a signature to your phone without relying on the built-in tools or features, a great option is to use third-party signature apps. These apps provide a simple and convenient way to create and add a personalized signature to your digital documents or emails.
With a wide variety of signature apps available on both iOS and Android platforms, you can easily find one that suits your needs. These apps allow you to create a signature using your finger or stylus, or even import a pre-designed signature image. You can also choose from different pen styles and colors to match your personal style or corporate branding.
Once you have created your signature, these apps allow you to easily add it to any document or email with just a few taps. You can simply import the document into the app, place the signature in the desired location, and save the document with the added signature. Some signature apps also offer advanced features like the ability to create templates for frequent use or securely storing your signatures for easy access.
One of the advantages of using third-party signature apps is the flexibility they offer. You are not limited to using the same signature across all documents or emails. You can have multiple signatures saved in the app and choose the one that best suits the context or purpose of your document. This is particularly useful if you have different roles or personas for which you require distinct signatures.
Furthermore, third-party signature apps often provide additional features like the ability to annotate or mark up documents, create custom workflows for approvals, or even integrate with other productivity apps like cloud storage services and email clients. These features can significantly enhance your productivity and streamline your document management process.
When choosing a third-party signature app, it is important to consider factors such as user reviews, ratings, and the overall user experience. Look for apps that have a good track record of reliability, security, and compatibility with different file formats. Moreover, ensure that the app offers a seamless integration with your preferred document management apps or email clients.
Utilize Built-in Signature Tools
Modern smartphones come equipped with a variety of built-in tools and features, and one such feature is the built-in signature tool. These tools are designed to make signing documents on your phone quick and convenient. Here are a few ways you can utilize the built-in signature tools on your phone:
1. Using the Markup Tool: Many smartphones now have a built-in markup tool that allows you to draw, write, and annotate documents. To utilize this tool for adding your signature, open the document or image you want to sign, then open the markup or editing options. From there, you can use the drawing or writing tool to create your signature directly on the document.
2. Setting up a Signature Shortcut: Some phones allow you to create a signature shortcut that can be easily accessed whenever you need to sign a document. To set up a signature shortcut, go to the settings menu, search for the signature settings, and follow the instructions to create your personalized signature. Once set up, you can easily insert your signature into documents with just a few taps.
3. Using the S-Pen or Stylus: If you have a smartphone that supports an S-Pen or stylus, you can utilize these tools to sign documents. Simply open the document you want to sign and use the S-Pen or stylus to write your signature directly on the screen. This method provides a more natural and pen-like experience for creating your digital signature.
4. Applying a Digital Signature Certificate: Some smartphones offer the option to apply a digital signature certificate, which adds an additional layer of security to your signature. This feature is particularly useful for signing sensitive documents or when a legally valid signature is required. To apply a digital signature certificate, go to the settings menu and search for the digital signature options.
Utilizing the built-in signature tools on your phone provides a convenient way to sign documents on the go. Whether you need to sign an important contract, authorization form, or any other document, these tools are designed to make the process quick, easy, and hassle-free.
Sign Documents with Digital Signature Services
In today’s digital world, signing documents electronically has become increasingly common and convenient. With the advancement in technology, you no longer need to print, sign, and scan documents. Instead, you can use digital signature services to securely sign documents online. Let’s explore how you can sign documents with digital signature services.
1. Choose a Reliable Digital Signature Service:
The first step is to select a reputable digital signature service that meets your needs. There are several options available, such as Adobe Sign, DocuSign, and HelloSign. These services provide a user-friendly interface and offer advanced security features to ensure the authenticity and integrity of your signature.
2. Create an Account:
Once you have chosen a digital signature service, you will need to create an account. This will typically require providing your email address, choosing a password, and agreeing to the terms of service. Some services may also require additional verification, such as phone number verification.
3. Upload the Document:
After creating your account, you can upload the document you want to sign. Most digital signature services support a wide range of document formats, including PDF, Word, and Excel. Simply select the document from your computer or cloud storage account and upload it to the digital signature service’s platform.
4. Add Your Signature:
Once the document is uploaded, you can add your signature to the appropriate places. Digital signature services provide different options for creating a signature. You can draw your signature using your mouse or touchpad, upload an image of your hand-written signature, or utilize pre-made signature templates. Choose the method that suits you best and add your signature to the document.
5. Customize the Signature:
Most digital signature services allow you to customize your signature to make it more professional and personalized. You can adjust the size, color, and style of your signature to match your preferences. Some services even offer options to include the date, company logo, or additional information alongside your signature.
6. Review and Finalize:
Before finalizing the signature process, it’s important to review the document and ensure that all information is correct and complete. Take a moment to go through the document, check for any errors or missing details, and make necessary adjustments if needed. Once you are satisfied, you can finalize the signature process.
7. Share or Download the Signed Document:
Once you have successfully signed the document, you can choose to share it directly from the digital signature service’s platform. You can send it via email, share a link, or download the signed document to your computer or cloud storage account. The recipient can then access the signed document and verify the authenticity of the signature.
Signing documents with digital signature services offers numerous benefits, such as saving time, reducing paperwork, and ensuring security. It provides a convenient and legally accepted method of signing documents in the digital age. So, whether you are signing a contract, a non-disclosure agreement, or any other important document, digital signature services can streamline the process and simplify your workflow.
Conclusion
In today’s fast-paced digital world, having a sign-on feature on your phone is not only convenient but also essential for added security. Whether you’re using your mobile device for personal or business purposes, being able to access your phone with a sign-on provides a layer of protection against unauthorized access.
In this article, we have explored the various methods of getting a sign-on feature on your phone, including passcodes, PINs, patterns, fingerprints, and facial recognition. Each method offers its own advantages and considerations, allowing you to choose the one that best suits your needs and preferences.
Remember to prioritize security and choose a sign-on method that is both secure and easy for you to use. Regularly update your passcodes, PINs, and patterns, and ensure that your fingerprints and facial recognition data are kept secure.
By implementing a sign-on feature on your phone, you can protect your personal information, secure your device, and enjoy the peace of mind that comes with knowing your phone is safeguarded against unauthorized access.
So, go ahead and enable that sign-on feature on your phone today, and take control of your device’s security!
FAQs
1. How do I sign up for a cell phone plan?
Signing up for a cell phone plan is easy and can be done in a few simple steps. Start by researching different cell phone providers and comparing their plans. Once you have decided on a provider and plan, visit their website or go to a physical store. Provide the necessary identification and select your desired phone and plan. You will be asked to sign a contract and set up payment details. After completing these steps, your cell phone plan will be activated, and you can start enjoying your new phone and service.
2. Can I keep my phone number when switching cell phone providers?
Yes, in most cases, you can keep your phone number when switching cell phone providers. This process is called number porting and allows you to transfer your existing number to a new provider. To do this, you will need to contact your current provider and obtain your account number and any other necessary information. Then, when signing up with the new provider, inform them that you would like to transfer your number. They will guide you through the porting process, which may take a few days to complete. It’s important to note that there may be fees associated with number porting, so be sure to check with your new provider for any potential charges.
3. How can I protect my cell phone from damage?
To protect your cell phone from damage, there are a few precautions you can take. First, invest in a sturdy phone case and a screen protector. These accessories can help prevent scratches, cracks, and other physical damages. Additionally, avoid exposing your phone to extreme temperatures or moisture, as these can damage the internal components. It’s also a good idea to regularly backup your data to prevent loss in case of accidental damage. Finally, be mindful of where you place your phone, avoiding situations where it could be easily dropped or sat on.
4. How can I extend the battery life of my cell phone?
To extend the battery life of your cell phone, there are a few strategies you can employ. First, reduce the screen brightness and set a shorter screen timeout period. This will help conserve battery power. Also, disable unnecessary push notifications and location services, as these can drain the battery. It’s a good practice to close any unused apps running in the background, as they consume energy. Finally, consider enabling power-saving mode or using a battery-saving app to optimize your phone’s power consumption.
5. Can I use my cell phone while traveling internationally?
Yes, you can use your cell phone while traveling internationally, but there are a few things to consider. First, check with your cell phone provider about international roaming options and charges. Some providers offer international plans or temporary add-ons that allow you to use your phone abroad. Alternatively, you can purchase a local SIM card at your destination and use it in an unlocked phone. This can provide you with local rates and avoid high roaming charges. However, keep in mind that using your phone internationally may incur additional data and calling fees, so it’s important to plan and choose the most cost-effective option based on your needs.