
In our fast-paced digital world, where convenience is key, signing documents on your phone has become more prevalent than ever. Gone are the days of printing out documents, signing them by hand, and then scanning or faxing them back. With the advancement of technology, you can now easily sign important documents directly from your mobile phone. Whether you need to sign a contract, legal document, or even a permission slip, signing on your phone is a simple and efficient process that saves time and energy. In this article, we will guide you through the step-by-step process of signing a document on your phone, so you can quickly and securely complete all your paperwork from the palm of your hand.
Inside This Article
- Section 1: Setting up Your Phone
- Section 2: Installing a Document Signing App
- Section 3: Uploading the Document
- Section 4: Signing the Document
- Section 5: Saving and Sharing the Signed Document
- Section 6: Additional Tips and Considerations
- Conclusion
- FAQs
Section 1: Setting up Your Phone
Before you can sign a document on your phone, it’s important to ensure that your device is set up properly. Here are some steps to follow in order to get your phone ready for document signing.
1. Update your operating system: Make sure that your phone’s operating system is up to date. This will ensure that you have the latest security features and software enhancements that may be necessary for document signing.
2. Set up a passcode or biometric authentication: To protect the confidential information in the documents you’ll be signing, it’s crucial to have a passcode or biometric authentication (such as fingerprint or face recognition) set up on your phone. This will add an extra layer of security and prevent unauthorized access.
3. Enable cloud storage: Many document signing apps rely on cloud storage services for seamless access to your documents. Make sure that you have a cloud storage account set up and enable the necessary permissions for the app to save and retrieve documents.
4. Configure email and contacts: Document signing often involves sending and receiving documents via email. Ensure that your email account is set up on your phone and that your contacts are synced, making it easier to access and share documents with others.
5. Check internet connectivity: Document signing typically requires an internet connection to upload, download, and sync documents. Ensure that your phone has a stable internet connection, whether through Wi-Fi or cellular data, for smooth and uninterrupted document signing.
By following these steps to set up your phone, you’ll be fully prepared to sign documents on the go. Now, let’s move on to the next section where we’ll discuss installing a document signing app.
Section 2: Installing a Document Signing App
Now that you have set up your phone, the next step is to install a document signing app. These apps allow you to easily and securely sign documents directly from your phone, eliminating the need to print, sign, and scan physical copies. There are several document signing apps available for both iOS and Android devices, each offering unique features and functionality.
To install a document signing app, follow these steps:
- Open the App Store (iOS) or Google Play Store (Android) on your phone.
- Search for “document signing app” in the search bar.
- Review the search results and read the app descriptions, ratings, and reviews to select the app that suits your needs.
- Tap the “Install” or “Get” button next to the app you have chosen.
- Wait for the app to download and install onto your phone.
Once the app is installed, you may need to create an account or log in with an existing account to access its features. Some apps offer free basic features, while others require a subscription for full access.
It is important to choose a reputable app that prioritizes the security and privacy of your documents. Look for apps that use encryption to protect your data and have positive reviews from users.
After installing the document signing app, you are now ready to move on to the next step: uploading the document you need to sign.
Section 3: Uploading the Document
Now that you have a document signing app installed on your phone, it’s time to proceed to the next step: uploading the document you wish to sign. Uploading a document to the app is a straightforward process that usually involves a few simple taps.
First, open the document signing app on your phone. Look for the option to upload a document, which is typically represented by an icon like a cloud or a file with an upward arrow. Tap on this icon to initiate the upload process.
Next, you will be prompted to select the source of the document. This can vary depending on the app you are using, but common options include choosing from your phone’s storage, accessing cloud storage services like Google Drive or Dropbox, or even scanning a physical document using your phone’s camera.
If you have the document saved on your phone, select the appropriate option and navigate to the location where the document is stored. Once you find the document, tap on it to select it for upload.
If you prefer to access cloud storage services for document retrieval, select the corresponding option and log in to your account when prompted. Once logged in, you will be able to browse through your cloud storage and select the desired document.
If you need to scan a physical document, select the scanning option and follow the instructions provided by the app. Typically, you will be asked to position the document in the camera’s viewfinder and take a photo. The app will then process the image and convert it into a digital document.
After selecting or scanning the document, the app will begin the upload process. This may take a few moments, depending on the size of the document and your internet connection speed. Once the document is uploaded, it will appear within the app’s interface, ready for you to sign.
It’s worth noting that some document signing apps may offer additional features to enhance the upload process. For instance, you may be able to rename the document, organize it into folders, or add tags for easy retrieval. Take a moment to explore the app’s interface and familiarize yourself with these features if they are available.
Now that you have successfully uploaded your document to the signing app, you’re one step closer to signing it electronically. In the next section, we will walk you through the process of signing the document on your phone.
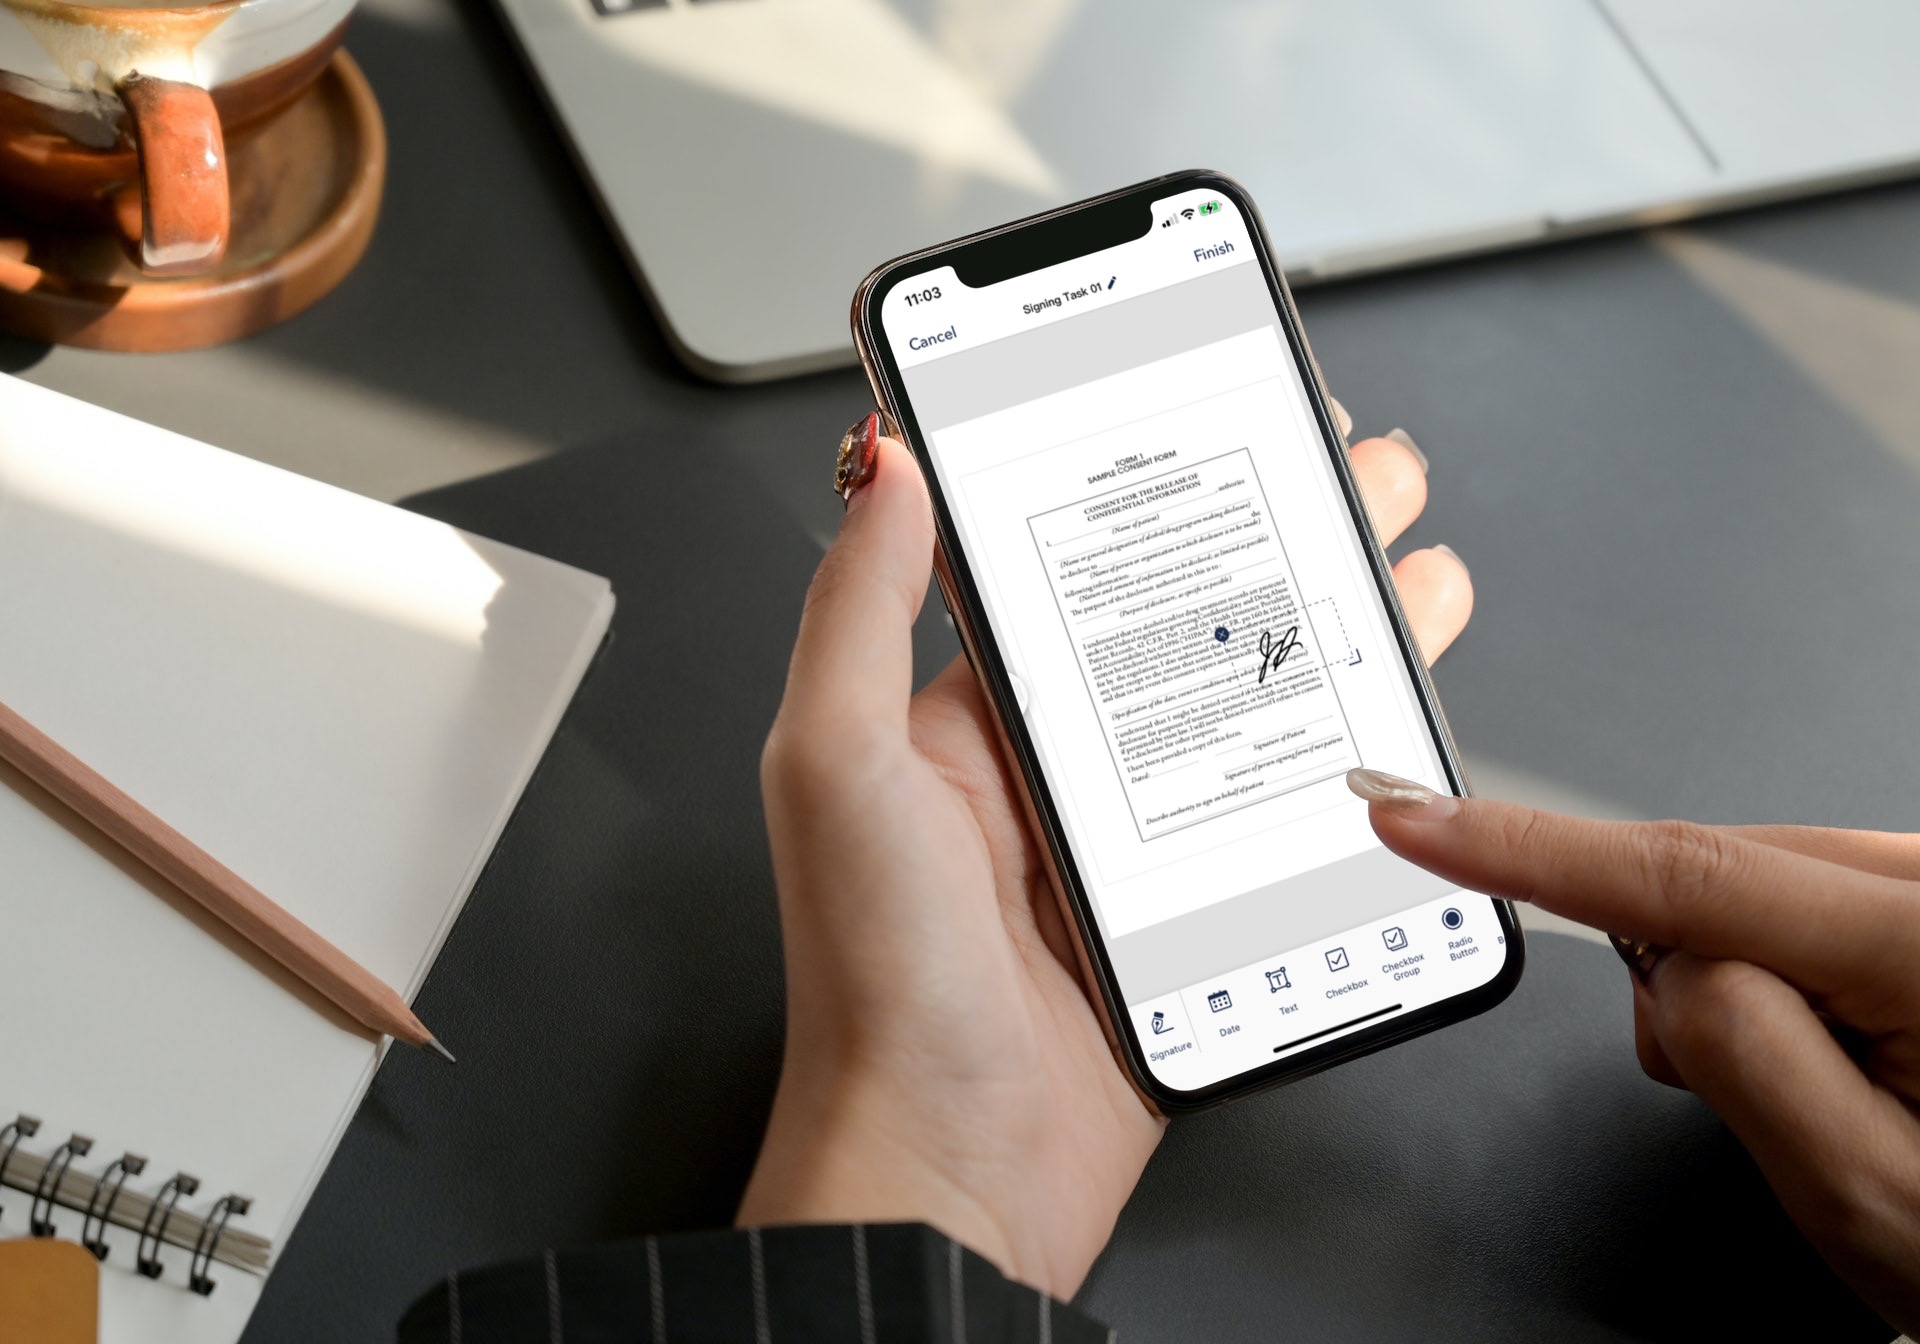
Section 4: Signing the Document
Now that you have uploaded the document to your phone and have chosen the desired signature, it’s time to sign the document. Follow the steps below to ensure a smooth and accurate signing process.
1. Review the Document: Before signing, take a moment to carefully review the document to ensure you understand its contents. Make sure all the necessary information is filled out correctly, and there are no errors or missing sections that may require attention.
2. Select the Signature Field: Look for the designated signature field within the document. Typically, this will be outlined or marked to indicate where the signature should be placed.
3. Tap on the Signature Field: Once you have identified the signature field, tap on it to activate the signing feature. This will prompt your phone to display options for adding your signature.
4. Choose your Signature Style: Depending on the document signing app you are using, you may have different options for creating or importing your signature. You can choose to sign using your finger, stylus, or even use a pre-saved image of your signature.
5. Sign the Document: With your selected signature style, sign the document by following the on-screen instructions. If signing with your finger or stylus, carefully trace your signature within the designated area. Take your time to ensure that the signature is legible and matches your actual signature.
6. Confirm and Encrypt: Once you have signed the document, the app may prompt you to confirm your signature and encrypt the document to ensure its authenticity and security. Follow the app’s instructions to complete this process.
7. Review the Signed Document: After signing, take a moment to review the document once again to ensure that your signature appears as intended and in the correct location. Double-check for any errors or discrepancies that need to be addressed.
8. Save and Export: Once you are satisfied with the signed document, save it within the document signing app or export it to your desired location. This could be your phone’s storage, cloud storage services, or via email.
9. Secure the Signed Document: To protect the integrity of the signed document, consider adding a password or encryption if the app offers such functionalities. This will ensure that only authorized individuals can access and modify the document.
Section 5: Saving and Sharing the Signed Document
Once you have successfully signed the document on your phone, it’s important to ensure that you save and share it securely. Follow these steps to effectively manage your signed documents:
1. Save the Document: First and foremost, save a copy of the signed document on your phone. Most document signing apps provide an option to save the document to your device’s internal storage or cloud storage services like Google Drive, Dropbox, or OneDrive. Choose the location that suits your needs and ensure that you save a backup copy of the document in a secure location for future reference.
2. Export the Document: Depending on the app you are using, you may have the option to export the signed document in different formats such as PDF or JPEG. Consider the requirements of the recipient or the nature of the document and choose the appropriate file format for exporting. PDF is usually the preferred format as it ensures that the formatting and security of the document remain intact.
3. Share the Document: Share the signed document with the intended recipient. Most document signing apps provide various sharing options such as email, messaging apps, or even direct upload to cloud storage platforms. Ensure that you choose a secure method of sharing that maintains the privacy and confidentiality of the document. You can also consider password-protecting the document or encrypting it to add an extra layer of security.
4. Verify the Delivery: After sharing the document, it’s a good practice to verify if the recipient has received and accessed the document successfully. Depending on the sharing method, you can request a confirmation or ask the recipient to acknowledge receipt of the document. This step ensures that the signed document has reached the intended individual or organization securely.
5. Retain a Copy: It’s crucial to retain a copy of the signed document for your own records. Keep the document in a safe place, either digitally or in printed form, depending on your preference. Having a backup copy ensures that you can refer back to the document if needed in the future. If you choose to keep a printed copy, consider storing it in a secure file cabinet or a locked drawer to protect it from damage or unauthorized access.
6. Remember Data Privacy: When saving and sharing signed documents on your phone, always prioritize data privacy and security. Ensure that the document signing app you choose follows industry-standard encryption protocols and offers secure storage options. Avoid sharing documents through unsecured channels or using untrustworthy apps that may compromise the confidentiality of your documents.
Saving and sharing your signed documents on your phone not only adds convenience to the process but also ensures that you have easy access to your important documents anytime and anywhere. Following these steps will help you effectively manage your signed documents and protect the privacy of sensitive information.
Section 6: Additional Tips and Considerations
Signing documents on your phone is a convenient way to handle paperwork on the go. To ensure a smooth and hassle-free experience, here are some additional tips and considerations to keep in mind:
1. Choose a secure document signing app: Make sure to select a reputable and secure app for signing your documents. Look for apps that offer encryption and other security measures to protect your sensitive information.
2. Verify the document: Before signing, double-check the document to ensure its accuracy. Review all the terms and conditions, including any fine print or clauses that may affect you.
3. Check for legal requirements: Depending on your jurisdiction, there may be specific legal requirements for signing documents electronically. Familiarize yourself with the laws in your region to ensure that your electronic signature is legally binding.
4. Use a stylus or your finger: When signing the document on your phone’s touchscreen, you can use a stylus for more precise control or simply use your finger. Experiment with both methods to find the one that works best for you.
5. Take your time: Just like signing a document in person, take the time to read and understand what you are signing. Don’t rush through the process, especially when dealing with important or legally binding documents.
6. Keep a copy: After signing the document on your phone, make sure to save a copy for your records. You can either store it securely on your phone or upload it to a cloud storage service for easy access later on.
7. Be mindful of battery life: Signing documents on your phone can drain the battery quickly. If you know you’ll be signing multiple documents or if you’re running low on battery, consider charging your phone or having a backup power source available.
8. Be cautious with public Wi-Fi: When using a document signing app on your phone, be mindful of the Wi-Fi network you’re connected to. Avoid using public Wi-Fi networks as they may not be secure, potentially putting your sensitive information at risk.
9. Update your app regularly: To ensure optimal functionality and security, keep your document signing app updated to the latest version. App updates often include bug fixes and enhancements that can improve your overall experience.
10. Understand the limitations: While signing documents on your phone is convenient, there may be certain limitations. For instance, some documents may require a handwritten signature, or certain institutions may not accept electronic signatures. Be aware of these limitations and make alternative arrangements if necessary.
By keeping these additional tips and considerations in mind, you can confidently sign documents on your phone knowing that you’ve taken the necessary precautions to protect your information and ensure that your signatures are legally binding.
Conclusion
Signing documents on your phone has become a convenient and efficient way to handle paperwork. With the advancements in technology, you can now avoid the hassle of printing, signing, and scanning documents, saving time and effort. Whether you’re on the go or working remotely, being able to sign documents on your phone offers a level of flexibility and convenience that was once unimaginable.
By using specialized apps or built-in features on your mobile device, you can easily add your signature, initials, and even fill out forms digitally with just a few taps and swipes. This process eliminates the need for physical copies and speeds up the document signing process, making it ideal for businesses and individuals alike.
Thanks to the widespread availability of these mobile signing solutions, signing documents on your phone has never been easier or more accessible. So, next time you have an important document to sign, harness the power of your mobile device and enjoy the convenience of signing on the go.
FAQs
1. Can I sign a document on my mobile phone?
Yes, you can definitely sign a document on your mobile phone. With the advancement in technology, many apps and platforms now allow you to sign digital documents directly from your phone.
2. Which apps can I use to sign documents on my phone?
There are multiple apps available on both iOS and Android platforms that enable you to sign documents on your phone. Some popular options include Adobe Acrobat Reader, DocuSign, HelloSign, and SignNow. These apps provide a seamless and convenient way to sign documents digitally.
3. Is it legally binding to sign a document on a mobile phone?
Yes, signing a document on your mobile phone can be legally binding, provided that you use a trusted and secure electronic signature platform. Many countries have recognized electronic signatures as valid and legally binding. However, it is essential to familiarize yourself with the specific laws and regulations related to electronic signatures in your jurisdiction.
4. How secure is it to sign documents on a mobile phone?
When using reputable apps or platforms, signing documents on a mobile phone can be highly secure. These applications employ advanced encryption techniques to ensure the confidentiality and integrity of your signed documents. Additionally, they often offer authentication measures, such as multi-factor authentication, to safeguard against unauthorized access or tampering.
5. Are there any limitations to signing documents on a mobile phone?
While signing documents on a mobile phone is highly convenient, there can be limitations depending on the complexity of the document. Some documents, such as those that require notarization or multiple signatures, may necessitate additional steps or may not be applicable to sign digitally. It is always advisable to review the specific requirements of the document and consult with legal professionals when necessary.