
Bluestacks is a popular Android emulator that allows users to run Android apps and games on their computers. If you enjoy mobile gaming, but prefer the larger screen and convenience of a computer, Bluestacks is the perfect solution. One of the major advantages of using Bluestacks is the ability to use a gamepad controller to enhance the gaming experience. Connecting and using a gamepad on Bluestacks is simple and straightforward, and in this article, we will guide you through the process. Whether you’re a casual gamer or a hardcore enthusiast, using a gamepad on Bluestacks can greatly improve your gaming sessions. So, let’s dive in and explore how to use a gamepad on Bluestacks!
Inside This Article
- Setting up Bluestacks
- Connecting the Gamepad to Bluestacks
- Configuring Gamepad Controls in Bluestacks
- Troubleshooting Gamepad Issues in Bluestacks
- Conclusion
- FAQs
Setting up Bluestacks
Bluestacks is an Android emulator that allows you to run Android applications and games on your computer. Setting up Bluestacks is a straightforward process that will have you enjoying your favorite mobile apps and games in no time.
To begin, you’ll need to download Bluestacks from the official website and install it on your computer. The installation process is similar to any other software installation, simply follow the on-screen prompts and agree to the terms and conditions.
Once the installation is complete, launch Bluestacks. You’ll be prompted to sign in with your Google account. This step is necessary to access the Google Play Store and download apps onto Bluestacks. If you don’t have a Google account, you’ll need to create one before proceeding.
After signing in, Bluestacks will take you through a setup wizard where you can customize certain settings. You can choose the language, enable app notifications, and sync your app data with your Google account. These settings can be adjusted later if needed.
Next, Bluestacks will initialize and load the Android interface on your computer. It may take a few moments for the process to complete, depending on your computer’s specifications. Once the interface is loaded, you’ll be greeted with the familiar Android home screen and app icons.
At this point, you’ve successfully set up Bluestacks on your computer. You can now start exploring the Google Play Store and downloading your favorite apps and games. Bluestacks lets you search for apps by name or browse through different categories to find new and exciting options.
Remember, Bluestacks is not limited to just gaming. You can also use it to run productivity apps, social media platforms, and other applications that you would typically use on your smartphone or tablet. Bluestacks provides a convenient way to enjoy all the benefits of Android on a larger screen and with the power of your computer.
With Bluestacks now set up, you’re ready to dive into the world of Android apps and games on your computer. Have fun exploring the vast array of options available and make the most out of your Bluestacks experience.
Connecting the Gamepad to Bluestacks
Bluestacks, an Android emulator for PC, allows you to enjoy your favorite mobile games on a bigger screen and with better controls. One of the main advantages of using Bluestacks is the ability to connect a gamepad for a more immersive gaming experience. In this section, we will guide you through the process of connecting your gamepad to Bluestacks.
Before getting started, make sure that you have a compatible gamepad. Most modern gamepads that are designed for PC or Android devices should work with Bluestacks. You can check the manufacturer’s website or the product packaging to ensure compatibility.
Once you have confirmed that your gamepad is compatible, follow these steps to connect it to Bluestacks:
- Connect your gamepad to your PC via USB cable or by using a wireless connection if available.
- Launch Bluestacks on your PC.
- In the Bluestacks interface, click on the “Settings” (gear icon) on the top right corner of the window.
- In the settings menu, click on the “Preferences” tab.
- Scroll down to the “Gamepad” section and click on it.
- Now, click on the “Add” button to add a new gamepad.
- Bluestacks will search for the connected gamepad. Once it detects the gamepad, you will see a prompt to map the buttons.
- Follow the on-screen instructions to map the buttons of your gamepad. This will ensure that the gamepad controls align with the on-screen controls of the games you play.
- Once you have finished mapping the buttons, click on “Save” to apply the changes.
That’s it! Your gamepad is now successfully connected to Bluestacks. You can now launch your favorite games and enjoy the enhanced gaming experience with the gamepad controls.
If you encounter any issues while connecting your gamepad to Bluestacks, don’t worry. The next section will guide you through troubleshooting common gamepad issues in Bluestacks.
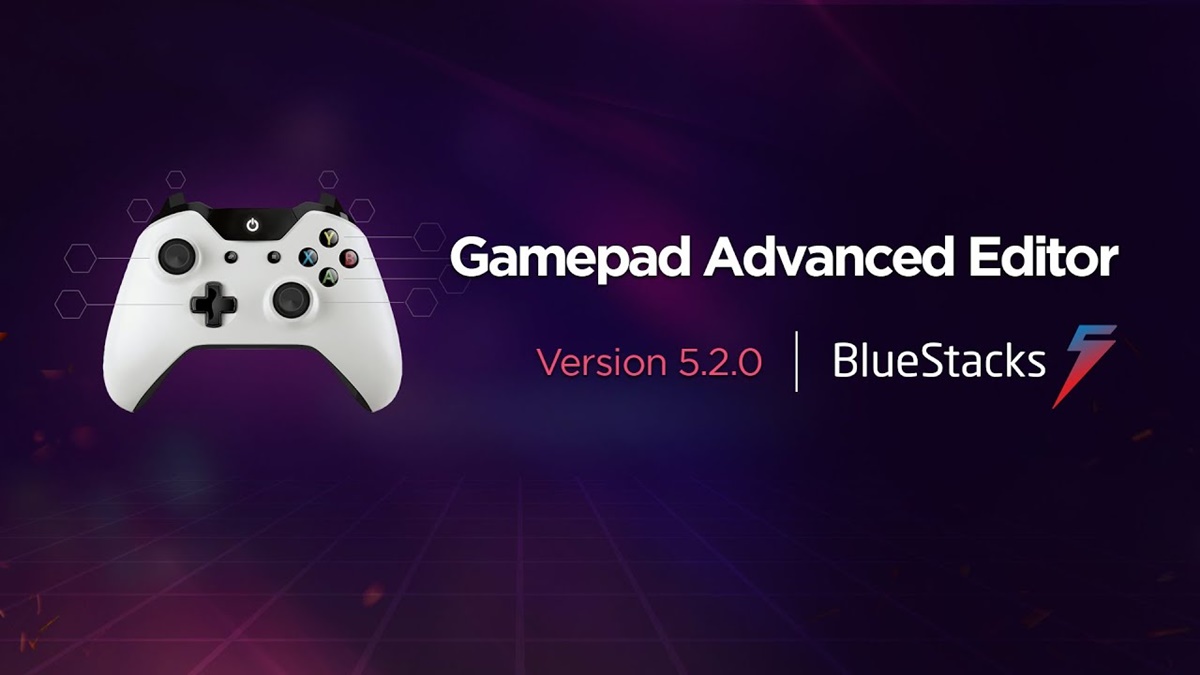
Configuring Gamepad Controls in Bluestacks
Once you have successfully connected your gamepad to Bluestacks, the next step is to configure the gamepad controls to ensure smooth and seamless gameplay. Bluestacks offers a user-friendly interface and a variety of customization options to optimize your gaming experience.
To configure the gamepad controls in Bluestacks, follow these simple steps:
- Launch Bluestacks on your computer and open the game you want to play.
- Click on the “Keyboard” icon located at the bottom right corner of the Bluestacks window. This will open the Keymapping Controls settings.
- In the Keymapping Controls settings, click on the “Gamepad” tab. Here, you will find a list of available control configuration options.
- Select the control you want to configure. You can map various gamepad buttons to specific keyboard keys, mouse movements, or game functions.
- Click on the “Configure” button next to the selected control.
- A pop-up window will appear with different configuration options. You can either assign a specific keyboard key to the gamepad button or select a pre-configured control scheme from the list.
- Once you have configured the control, click on the “Save” button.
- Repeat the above steps for each control you want to configure.
Bluestacks also provides advanced customization options, allowing you to create and save multiple control schemes for different games. You can switch between different control schemes easily within the Keymapping Controls settings.
Additionally, you can adjust the sensitivity and dead zones of the gamepad controls to suit your preferences. This can be done by clicking on the “Advanced” button in the Gamepad tab. Here, you can fine-tune the sensitivity and dead zones to achieve precise and responsive controls.
Once you have configured the gamepad controls to your liking, you are ready to dive into your favorite games on Bluestacks. Remember to save your control settings to avoid having to reconfigure them every time you launch the game.
With its intuitive interface and extensive customization options, Bluestacks provides a seamless and immersive gaming experience for mobile gamers using gamepads. So, grab your gamepad, configure the controls in Bluestacks, and enjoy the thrill of gaming on a bigger screen.
Troubleshooting Gamepad Issues in Bluestacks
If you’re experiencing any issues with your gamepad when using it with Bluestacks, don’t worry – you’re not alone. Gamepad compatibility can sometimes be a little tricky, but with a few troubleshooting steps, you can get it up and running smoothly. Let’s take a look at some common gamepad issues and how to fix them in Bluestacks.
1. No response from the gamepad: If your gamepad doesn’t seem to be responding at all when connected to Bluestacks, first make sure that it’s properly connected to your computer. Try unplugging and re-plugging it, ensuring that it’s connected securely. If that doesn’t work, try connecting it to a different USB port. If the gamepad still doesn’t respond, it’s possible that the gamepad itself may have a hardware issue.
2. Inaccurate or sluggish controls: If you’re experiencing laggy or inaccurate controls with your gamepad in Bluestacks, first check that your gamepad is running the latest firmware or drivers. Visit the manufacturer’s website and download any available updates. Additionally, make sure that your computer meets the minimum system requirements for smooth gameplay in Bluestacks.
3. Button mapping issues: If the buttons on your gamepad are not properly mapped or if some buttons are not working as intended, you can manually remap them in Bluestacks. Open the Bluestacks settings menu, go to “Preferences”, and then select “Game controls”. From there, you can customize the button mappings to your liking. Make sure to save the changes and test the controls in your game.
4. Gamepad not recognized: If your gamepad is not being recognized by Bluestacks at all, check if it’s compatible with Bluestacks. Visit the Bluestacks support website and look for a list of supported gamepads. If your gamepad is not on the list, it may not be compatible with Bluestacks, and you’ll need to consider using a different gamepad or controller.
5. Crashes or freezing: If Bluestacks crashes or freezes when using a gamepad, make sure that you’re running the latest version of Bluestacks. Check for any available updates and install them if necessary. If the issue persists, try disconnecting and reconnecting the gamepad, or using a different USB port. It’s also a good idea to close any other unnecessary programs running in the background that may be causing conflicts.
6. Restart Bluestacks: If you’re still encountering gamepad issues in Bluestacks, try restarting the application. Close Bluestacks completely and then reopen it. This simple step can often resolve minor glitches or conflicts and get the gamepad working again.
Remember that gamepad compatibility can vary depending on the game and the specific gamepad model you’re using. Make sure to check the game’s documentation or support forums to ensure that gamepad support is available. If all else fails, you can also reach out to Bluestacks support for further assistance.
By following these troubleshooting steps, you should be able to resolve most gamepad issues in Bluestacks and start enjoying your favorite mobile games with enhanced gameplay controls. Happy gaming!
Conclusion
In conclusion, learning how to use a gamepad on Bluestacks opens up a world of possibilities for gamers. Whether you’re playing Android games or using apps that require precise controls, having a gamepad can greatly enhance your gaming experience on this popular emulator.
By following the steps outlined in this guide, you can easily connect and configure your gamepad to use with Bluestacks. Remember to check if your gamepad is compatible and ensure that you have the necessary drivers installed.
Once everything is set up, you can enjoy seamless gaming with the comfort and precision of a gamepad. Say goodbye to awkward touch controls and embrace the familiarity and responsiveness of physical buttons.
So, what are you waiting for? Grab your gamepad, follow the instructions, and dive into a whole new level of gaming on Bluestacks!
FAQs
Q: Can I use a gamepad on Bluestacks?
Yes, you can use a gamepad on Bluestacks. Bluestacks has built-in support for gamepad controls, allowing you to play mobile games with the comfort and precision of a physical gamepad.
Q: How do I connect a gamepad to Bluestacks?
To connect a gamepad to Bluestacks, you’ll need to connect it to your computer via USB or Bluetooth, depending on the type of gamepad you have. Once connected, Bluestacks should recognize the gamepad and map its controls automatically.
Q: What gamepads are compatible with Bluestacks?
Bluestacks is compatible with a wide variety of gamepads, including popular options like the Xbox controller and PlayStation DualShock controller. Additionally, most third-party gamepads that are compatible with PC should work with Bluestacks as well.
Q: Can I customize the button mapping for my gamepad in Bluestacks?
Yes, you can customize the button mapping for your gamepad in Bluestacks. In the Bluestacks settings, you’ll find an option to remap the buttons on your gamepad to your desired inputs. This allows you to personalize the controls to suit your preferences and play style.
Q: Are there any limitations when using a gamepad on Bluestacks?
While gamepad support in Bluestacks is generally great, there may be some rare instances where certain gamepad models or specific game titles may not be fully compatible. It’s always recommended to check for any known compatibility issues for your specific gamepad model or games you intend to play on Bluestacks.